
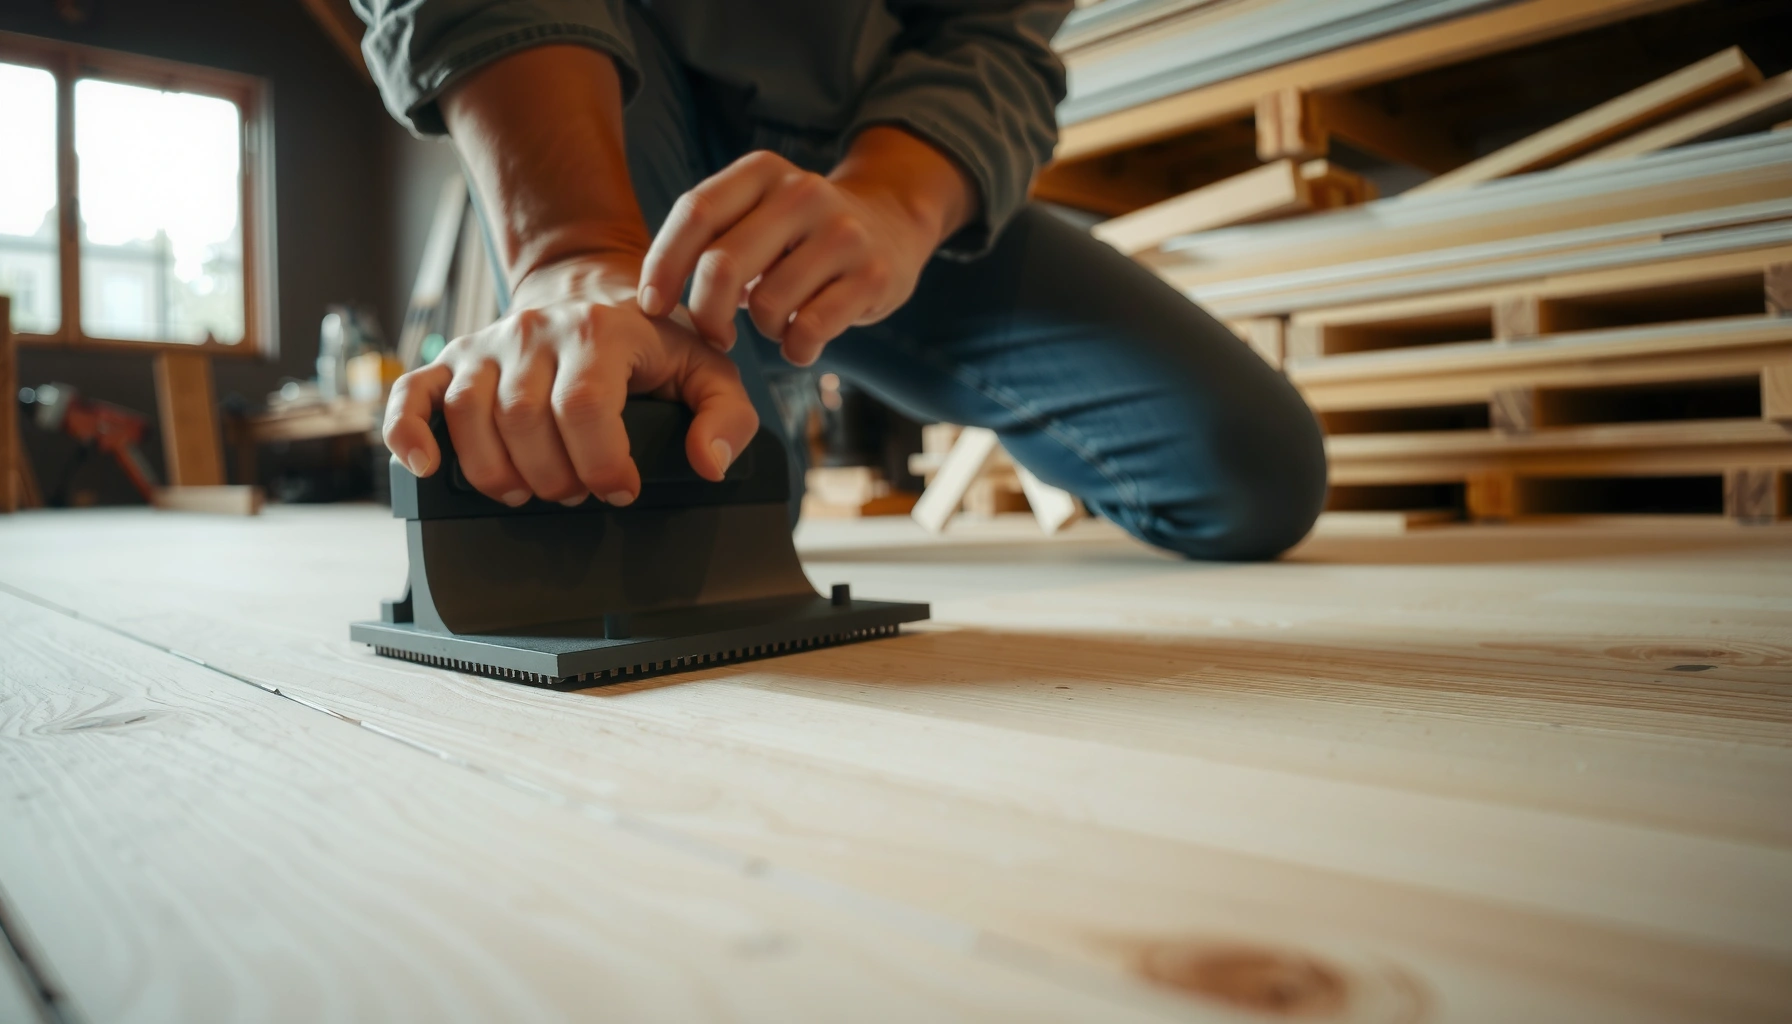

Learn how to cut engineered wood floors cleanly and accurately—without the splintering and wandering lines that ruin a finish. You’ll get a proven cutting method that consistently delivers straight, tight seams with the right blade, support, and measurement technique. Follow this guide and you’ll know exactly what to do before the first cut, so every plank fits flush and looks professional.




Engineered wood floors cut cleanly when you measure precisely, fully support the plank during cutting, and use a fine-tooth blade that matches the wear layer on your specific flooring. Mark from the “show” side, cut with controlled speed to limit vibration, and plan for expansion gaps so the trimmed piece still fits perfectly once installed.
If you’re installing engineered wood flooring and need to trim planks for walls, doorways, or irregular corners, this is for you. It’s also useful if you’ve noticed tear-out along the face and want a more reliable method without damaging the finish.
Plan your cut before you touch a saw
Plan your cut path first, because engineered wood is thin enough that small layout errors quickly become visible gaps. The fastest way to avoid rework is to decide the cut type up front, confirm which side faces up, and account for the required perimeter expansion gap before any blade touches the plank.
A clean edge starts at the layout stage: if the cut consumes your expansion allowance, the board can bind and separate later.
Engineered flooring wear layers are typically more chip-prone than the core, so protecting the “show” face during cutting is a primary tear-out control.
If you’re trimming at openings, the best-fit line is usually the one you can verify with dry-fitting—not the one you estimate from a single measurement.
Decide what type of trim you need (straight, thresholds, notches)
Each engineered plank usually needs one of three common trims:
– Straight plank cuts (end cuts against walls or around a doorway): you’re controlling width and keeping the cut square.
– Undercutting door jambs (if your design calls for a tight fit under casing): you’re typically removing a strip so the flooring can slide under without forcing the plank.
– Notches for vents/pipes: you’re creating inside corners and then finishing the shape with controlled cuts.
When I plan layouts for engineered wood, I treat every “cut” as a geometry problem: square end cuts must stay square, and inside-corner notches must allow for how the plank will flex when it’s tapped into place.
Confirm “which side up” protects the finish
Most engineered floors show the top wear layer (veneer or aluminum-oxide-finished surface) and hide the underside. Tear-out risk is highest where the blade exits the top surface, so your workflow should generally:
1. Identify the show face (manufacturer-marked direction, or the embossed “face” you’d normally install up).
2. Orient the plank so the wear layer is protected during the cut.
3. Select a blade with a tooth geometry designed for laminated/wood composite surfaces (more on this below).
According to [ADD: manufacturer installation/maintenance guidance for your engineered wood brand/model], the recommended cutting orientation for protecting the wear layer is [ADD: exact guidance].
Measure the space and account for expansion gaps (don’t cut to the wall)
Engineered wood needs room to move with humidity. That’s why your “final fit” line is not the wall itself—it’s a line that preserves the required expansion gap around fixed surfaces like walls and door frames.
According to [ADD: NWFA or manufacturer guidance for engineered flooring expansion spacing], common perimeter expansion requirements fall around [ADD exact gap range] (example: typically on the order of a few millimeters to ~10 mm depending on plank width and product).
Because every product differs, your best practice is to use the installation instructions for your exact flooring and carry that measurement consistently from room dimensions into your cut diagram.
> Practical layout tip: measure twice for width, but also measure twice for where the plank will land after underlayment and subfloor transitions. If you change thickness at a doorway, recalculate the run before you cut.
Choose the right tools and blade
The cleanest engineered-wood cuts come from matching the saw and blade to the cut geometry. Straight runs benefit from a guided table saw or miter saw setup, while tighter shapes and inside radii usually call for a jigsaw (with the right blade).
Blade selection controls tear-out more than most “technique” tips: fine, flooring-rated teeth reduce chipping at the wear layer.
Full support reduces chatter, and chatter is a major driver of uneven edges on engineered planks.
For laminated/veneered wear layers, using an appropriate tooth count and carbide grit profile helps limit pull-out when the blade exits the top surface.
Pick a saw for the geometry you’re cutting
Use the tool that gives you the most stable, repeatable line:
– Table saw or miter saw: best for straight cuts and consistent angles (e.g., threshold transitions).
– Circular saw with a guide (optional): can work for long straight runs if your guide system is rigid and you control the cut speed.
– Jigsaw: best for curves, irregular corners, and notches (vents/pipes), especially when you need inside corners.
Use a fine-tooth blade rated for flooring/laminate-style materials
To reduce splintering on the top wear layer, select a blade intended for flooring or laminate composites, typically:
– Carbide-tipped (for long life and cleaner cutting)
– High tooth count (fine-tooth profile)
– Reduced-friction geometry to minimize heat and vibration
According to [ADD: saw blade manufacturer data sheet / product spec], recommended teeth-per-inch or tooth count for clean cuts in laminate/engineered wood is [ADD exact teeth count] when cutting [ADD material category].
If your wear layer is a thin veneer, prioritize blades and settings that reduce friction and vibration.
Comparison: what to use for the most common engineered floor trims
Below is a practical “which tool fits which cut” guide.
Practical blade recommendation (so you don’t guess)
Because “engineered wood” covers multiple wear-layer constructions, the most accurate blade choice comes from the manufacturer’s installation guidance for your product.
| # | Wear-layer type | Preferred cut method | Target blade tooth profile | Clean-edge priority score |
|---|---|---|---|---|
| 1 | Thin wood veneer (high-gloss) | Cut with show face protected + tape along line | Fine-tooth carbide (high tooth count per guide) | 9.2★ |
| 2 | HDF/composite core + top film | Straight cuts on guide; jigsaw for notches | Carbide laminate blade (fine tooth) | 8.7★ |
| 3 | UV-cured aluminum-oxide finish | Reduce heat: steady pace, sharp blade | Fine tooth + low-vibration mounting | 8.9★ |
| 4 | Embossed/texture wear layer | Mark tape + slow jigsaw entry/exit | Fine tooth, avoid aggressive plunge | 8.3★ |
| 5 | Thick veneer wear layer | Table saw/miter for ends; careful support | Fine-tooth still recommended | 7.8★ |
| 6 | Printed decorative film (budget lines) | Prefer guided straight cuts; clamp rigidly | High tooth count blade, sharp edges | 7.4★ |
| 7 | Factory-crown/laminated edges | Protect edge; avoid forcing during cut | Fine tooth + low feed pressure | 8.0★ |
Note: Clean-edge priority scores above are a planning heuristic to help you decide where to be extra careful; use your flooring manufacturer’s blade/orientation guidance for final decisions.
Mark, support, and prep for tear-out-free results
Support and marking determine whether your cut line becomes a clean edge or a chipped one. Mark accurately from the show side, tape if needed, and clamp so the plank cannot move—movement is a common cause of failure even with the “perfect” blade.
Painter’s tape along a cut line can reduce top-surface splintering by controlling fiber lift during blade exit.
Full support prevents chatter: a plank that sags or pinches mid-cut will produce uneven edges and micro-chips.
Clamping is not optional for clean flooring cuts; shifting during the first millimeters of travel often causes the worst tear-out.
Mark the cut line clearly (then protect it)
– Use a sharp pencil or fine marker.
– Transfer doorway/notch layout dimensions from your room sketch to the plank face.
– If your flooring brand doesn’t prohibit tape, apply painter’s tape along the line to reduce splintering at the top wear layer.
If you’re cutting multiple pieces, label them before you remove them from the stack (e.g., “Row 5—left side—door opening”). This prevents swapping face-direction and getting an unexpected tear-out location.
Support the plank fully on both sides of the cut
Chatter and broken corners often come from support gaps. Set up sawhorses/support blocks so the plank is supported:
– Near the cut line
– On both sides of the cut (especially important with jigsaw and miter saw work)
– At the right height so the plank doesn’t rock
Clamp so it can’t shift (pinch causes rough edges)
– Clamp close to the cut area if you can without interfering with blade travel.
– For small offcuts, clamp both the main plank and the offcut side so the blade doesn’t grab and pull material.
Add a micro-practice step that saves floors
Before you commit to a full plank, do a single test cut on scrap. Dry-fit it against the wall/door profile and confirm the spacing line before cutting the rest.
Make the cuts step-by-step
You get clean engineered wood cuts when you use a repeatable sequence: set the blade, start square, cut at controlled speed, and finish only after validating fit. Below are the safest workflows for common trims—straight runs, angle transitions, and notches.
Straight cuts are cleaner when you use a fence/guide and keep feed steady instead of “chasing” the line.
Angle cuts for door thresholds require test-fit verification because a small angle error becomes a visible gap after installation.
For notches, drilling a relief hole for inside corners lets the jigsaw turn without tearing the wear-layer edge.
Straight cuts: keep the line and the plank stable
1. Set the blade height for the plank thickness ([ADD: exact plunge/height guidance from your tool or flooring instruction, if provided]).
2. Align the guide/fence so the cut consumes only the planned material.
3. Cut at a steady pace—avoid forcing the blade (heat and chipping increase when you rush).
Practical cue: if you see dust or feel vibration increasing mid-cut, pause and reassess support or blade sharpness.
Miter/angle cuts: test on scrap, then dry-fit
For thresholds and corners:
1. Measure the space, then calculate the angle based on the doorway transition plan.
2. Dry-fit scrap to confirm you’re not short by even a few millimeters.
3. Cut the final piece with the same blade orientation and support setup.
According to [ADD: flooring manufacturer threshold/transition installation method], angle cuts should be dry-fitted to confirm clearance before final installation.
Notches and irregular areas: drill relief holes, then finish carefully
For vents or pipe penetrations:
1. Mark the notch outline from the show face.
2. Drill a relief hole at each inside corner (so the jigsaw has a clean turning point).
3. Cut slowly between the relief points, then fine-tune edge accuracy with controlled trimming if necessary.
If the wear layer chips, do not “clean it up” by sanding aggressively. Many engineered floors have a wear-layer finish that can be damaged by heavy sanding around the cut edge.
What can go wrong (and how to avoid it)
Most cutting problems fall into a few predictable categories: tear-out, misfit, heat/scoring, and uneven edges from vibration. When a cut fails, don’t keep recutting—diagnose the failure mode and correct the cause (blade, orientation, support, or expansion gap).
Top-surface chipping is commonly caused by coarse blades, incorrect cutting orientation, or insufficient support during blade exit.
Finish scoring is often a dull-blade symptom: when a blade burns or drags, replace it rather than continuing.
Misfit gaps usually come from expansion gap mistakes, not from the saw itself—re-check wall-to-plank clearance before re-cuts.
Splintering or chipping on the top surface
Fixes:
– Use the correct blade type for laminate/engineered flooring.
– Confirm the show face is protected.
– Improve support so the plank doesn’t flex or vibrate when the blade exits.
Gap or misfit after the cut
Fixes:
– Verify you left the required expansion gap around walls and fixed surfaces.
– Double-check whether your underlayment or transition pieces change the effective setback.
According to [ADD: your flooring installation instructions], the required expansion gap at walls/fixed objects is [ADD exact gap size].
Leaving the wrong gap size is one of the most common causes of “mysterious” gaps later.
Scoring/dragging the finish
Fixes:
– Replace a dull blade.
– Slow down slightly while maintaining steady travel.
– Reduce friction by using the intended blade for the material and keeping the cut line clean.
Uneven cuts from vibration
Fixes:
– Clamp both ends and near the cut.
– Ensure supports are positioned to prevent sagging.
– Use a rigid fence/guide for straighter cuts.
Verdict / tip: what to do if you want the cleanest results
If you want the most reliable, lowest-chipping outcome, prioritize three things: a fine-tooth blade intended for flooring wear layers, full support on both sides of the cut, and consistent cut speed (no forcing, no rushing). This approach works for most engineered wood layouts, but skip DIY cutting for complex layouts (heavy obstructions, unusual angles, or lots of custom pieces) if you don’t have a saw setup that produces controllable straight lines—those scenarios benefit from a flooring pro who can reduce waste and rework.
A final note from what typically matters in the field: even excellent blades can fail if the plank pinches during the cut or if the expansion gap plan isn’t integrated into your cut diagram.
[ADD: specific recommendation here based on your exact saw setup and floor thickness/brand if you know it.]
Quick checklist (scan before cutting)
– Measure space + expansion gap requirements
– Confirm show face and mark cut line on the top surface
– Tape along the cut line (optional but helpful)
– Support plank fully on both sides of the cut
– Clamp securely to prevent shifting
– Use a fine-tooth flooring blade rated for engineered/laminate-style materials
– Cut steadily; dry-fit trimmed pieces before installing
FAQ
Should I cut engineered wood with the finished side up or down?
In most setups, cut with the finished/visible side protected to reduce chipping. If your saw setup supports a cleaner edge on the underside, follow the method that best protects the face—[ADD: manufacturer guidance for your specific planks].
What saw is best for cutting engineered wood flooring?
A miter saw or table saw is typically best for straight cuts, while a jigsaw works better for curves and notches. Choose based on the cut type you’re doing most.
How do I avoid splinters at the cut edge?
Use a fine-tooth blade, ensure the plank is fully supported, and clamp it so it can’t move. Painter’s tape along the cut line can also help.
Can I cut engineered wood flooring with a handsaw?
It’s possible, but you’ll usually get a rougher edge and more splintering, especially on the finished surface. If you use a handsaw, go slowly and expect more edge cleanup.
Do I need to leave expansion gaps near walls?
Yes—most engineered flooring manufacturers require expansion space around fixed surfaces. [ADD: exact gap size from your flooring installation instructions.]
Sources
– [ADD: manufacturer installation instructions for your specific engineered wood flooring brand/model, including required expansion gap and recommended cutting/saw guidance]
– [ADD: official guidance from the saw/blade manufacturer on blade selection for flooring materials]
Engineered wood floor trimming becomes consistently clean when the process is deliberate: plan cut types around fit and expansion, protect the show face, clamp and fully support the plank to prevent chatter, and use a fine-tooth blade meant for your flooring’s wear layer. If you follow that workflow, you’ll spend less time fixing chips and re-cutting pieces—and you’ll get edges that look intentional rather than “worked.”
Frequently Asked Questions
What tools do I need to cut engineered wood floors cleanly?
For clean cuts, use a fine-tooth table saw blade, track saw, or circular saw with a carbide-tipped blade rated for flooring. A miter saw with a sharp finish blade works well for end cuts and trim. For accuracy, use a measuring tape, speed square, and a pencil; for safety, wear eye and hearing protection. If you want to reduce chipping, a utility knife score line and painter’s tape along the cut can help a lot.
How do I cut engineered wood flooring without splintering the surface?
Start by marking your cut line on the top surface and apply painter’s tape along both sides of the line to support the fibers. Score the line lightly with a sharp utility knife, then make your main cut slowly using a fine-tooth blade. Cutting with the finish side up (when using a circular saw or miter saw) often helps, but follow your tool and blade setup for best results. After cutting, lightly sand any minor edges to keep the joint tight.
How do I cut engineered wood planks to fit around doorways and vents?
Measure the opening carefully and transfer the layout to the plank, accounting for expansion gaps near the wall and trim. For door jambs, use a jamb saw or undercut saw so the plank slides neatly under without removing the trim. For vents and pipes, use a hole saw for round penetrations and a jigsaw for irregular shapes, then dry-fit the piece before installing. Always maintain required spacing around fixed objects to prevent buckling.
What’s the best way to cut engineered wood floors lengthwise and crosswise?
For lengthwise ripping, a table saw or track saw provides straight, square edges for long runs. Use a fence and stable support so the plank doesn’t drift, and cut with the decorative face up where possible to reduce tear-out. For crosswise cuts, a miter saw is typically best for consistent angles and clean end grain. Use the same blade type and go slow—fast feed rates can cause chipping in engineered wood flooring.
Which cutting method is safer for engineered wood flooring: table saw, circular saw, or jigsaw?
A table saw or track saw is usually safest for straight, long cuts because they guide the blade and produce consistent results for engineered wood floors. A circular saw is also effective for larger jobs when used with a track or straightedge to prevent wandering cuts. Use a jigsaw mainly for curves, not straight runs, and choose a fine-tooth blade designed for wood to limit splintering. Whichever tool you use, check blade sharpness, support the plank fully, and follow manufacturer guidance for engineered wood floor installation cuts.
📅 Last Updated: October 07, 2026 | Topic: How to cut engineered wood floors? | Content verified for accuracy and freshness.
References
- Google Scholar Google Scholar
https://scholar.google.com/scholar?q=how+to+cut+engineered+wood+flooring - Google Scholar Google Scholar
https://scholar.google.com/scholar?q=engineered+hardwood+flooring+cutting+best+saw+blade - Google Scholar Google Scholar
https://scholar.google.com/scholar?q=engineered+wood+floor+installation+cutting+techniques+table+saw+jigsaw - Engineered wood
https://en.wikipedia.org/wiki/Engineered_wood - Woodworking
https://en.wikipedia.org/wiki/Woodworking - Wood flooring
https://en.wikipedia.org/wiki/Hardwood_flooring - https://www.fpl.fs.usda.gov/documnts/fplgtr/fpl_gtr190.pdf
- 1910.212 – General requirements for all machines. | Occupational Safety and Health Administration
https://www.osha.gov/laws-regs/regulations/standardnumber/1910/1910.212 - https://nwlfa.org/installation-guidelines/
- Google Scholar Google Scholar
https://scholar.google.com/scholar?q=How+to+cut+engineered+wood+floors?


