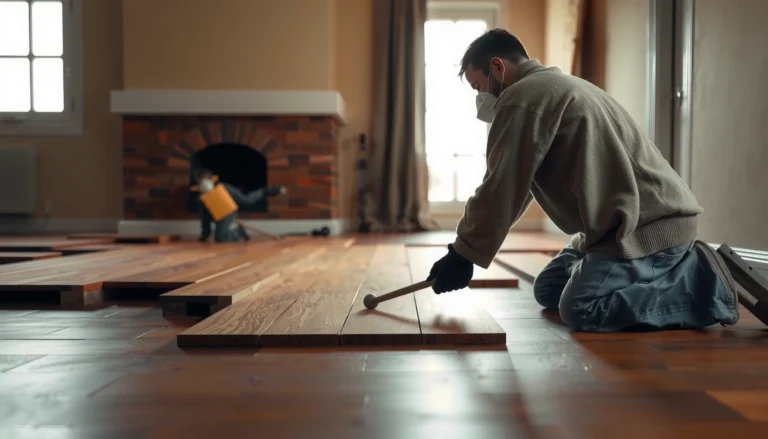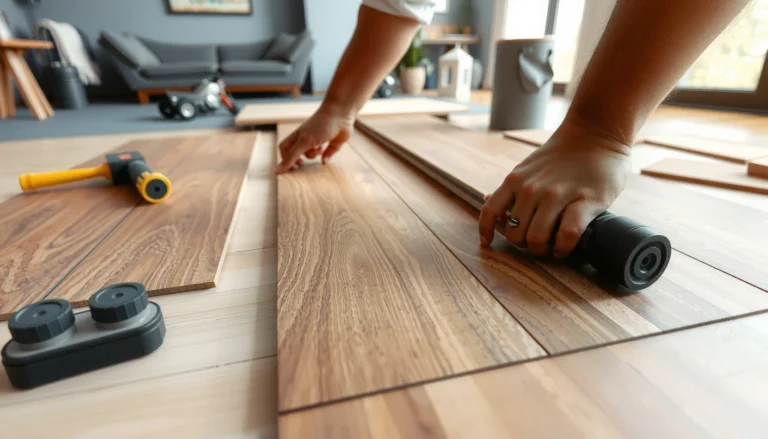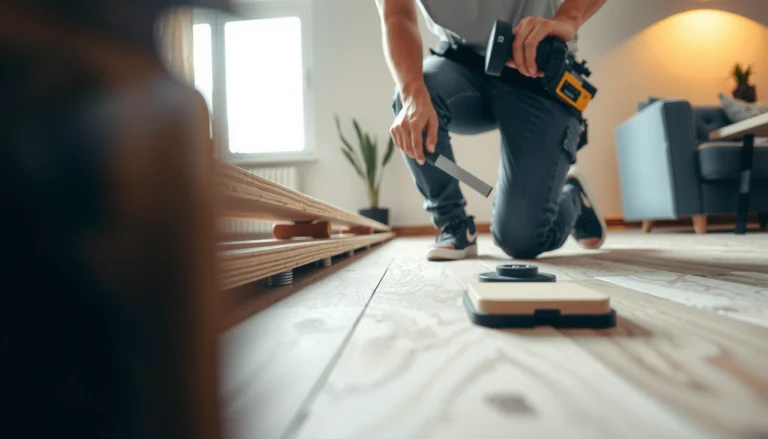

Hardwood floors can be installed in a basement, but only if you follow the right moisture-control and subfloor setup—this guide tells you exactly how. You’ll learn which flooring type to choose, how to prep the slab and manage humidity, and the step-by-step installation sequence for a basement that stays stable. If you want the fastest path to durable basement hardwood, the process starts with preventing moisture before the first plank goes down.




Installing hardwood floors in a basement is doable, but moisture control determines whether the floor performs for years or develops gaps and buckling. If you plan the right subfloor prep, use a manufacturer-approved moisture barrier/underlayment system, and install with the correct expansion rules, you can get a basement hardwood floor that stays visually tight and structurally stable—even through seasonal swings.
If your basement has concrete, a history of dampness, or noticeable humidity swings, treat it as a moisture-first project—not just a flooring project. This article is for homeowners and installers planning a DIY approach or coordinating a contractor who wants a reliable, step-by-step workflow for below-grade conditions.
Check basement moisture and conditions first
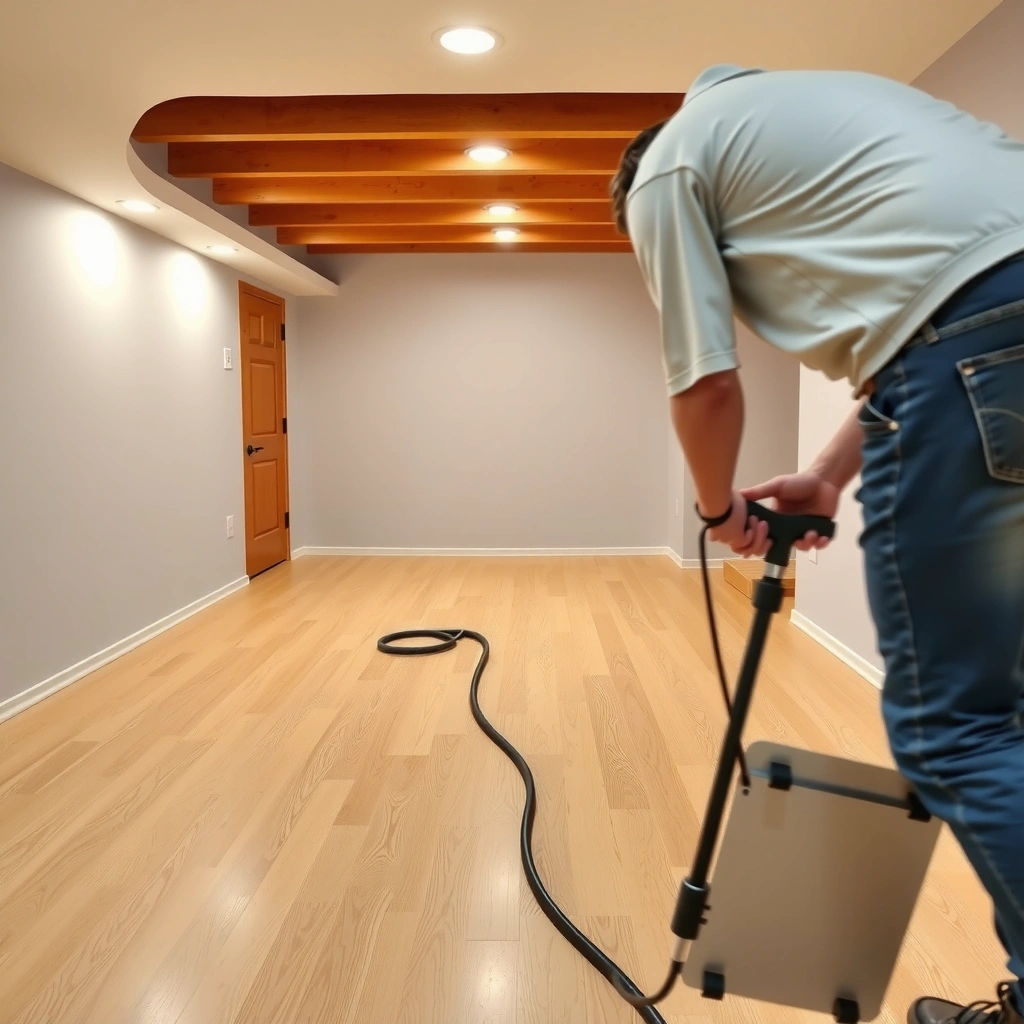
According to the National Wood Flooring Association (NWFA), controlling indoor relative humidity (RH) is critical to minimizing seasonal wood movement and floor failures.
According to ASTM F2170, in-situ relative humidity testing provides slab moisture readings at installation-relevant depth, helping determine whether a flooring system can be safely installed.
According to ASTM F1869, calcium chloride testing measures moisture vapor emission rate (reported in lbs/1,000 sq. ft. per 24 hours), which many flooring warranties reference.
Measure humidity and confirm slab moisture limits
You can’t rely on “it feels dry” in a basement. Use your flooring manufacturer’s moisture criteria (usually based on either in-situ RH % or moisture vapor emission rate). Then test the slab using a method the manufacturer accepts—commonly ASTM F2170 (RH probe) or ASTM F1869 (calcium chloride).
To anchor expectations with a commonly referenced target: NWFA guidance frequently cites maintaining indoor RH around 35%–55% to reduce expansion/contraction risk [ADD: NWFA indoor RH guidance source]. Your specific product may require narrower limits, but the direction is consistent: stabilize the room and verify the slab.
Inspect for water issues before flooring decisions
Hardwood can fail even if you “pass the test” once—if the basement later gets active water intrusion. Inspect for:
– Visible leaks at plumbing penetrations or exterior wall seams
– Water staining or efflorescence on concrete/masonry
– Musty odors (a strong indicator of recurring moisture)
– Condensation on cold surfaces (HVAC imbalance or poor insulation)
From my planning experience on real projects, the most expensive mistakes happen when a basement is treated as a finishing-only space. When moisture is recurring, the flooring becomes the victim—not the cause.
Quick moisture-first direction: Fix or remediate water entry and stabilize humidity before proceeding to install steps.
Prepare the concrete subfloor properly
A flat, clean, fully cured concrete slab is the foundation for a basement hardwood installation. Subfloor problems—especially unevenness and contamination—show up as installation failures and permanent cosmetic gaps.
Concrete moisture and surface profile affect bond and fastening performance, so manufacturers typically require the slab to be fully cured and properly prepared before installing wood flooring.
ASTM standards and flooring instructions emphasize that flooring can’t “bridge” major flatness defects without risking gaps, joint separation, or premature wear.
Clean and remove contaminants
Before you level anything, make sure the slab surface is ready for the moisture system:
– Remove paint overspray, adhesive residue, drywall mud, and curing compounds (if present)
– Vacuum thoroughly and ensure no loose debris remains
– Address concrete contaminants that interfere with adhesive or barrier adhesion
Achieve flatness so the floor joints don’t misalign
Basement slabs can be wavy from settling, finishing variations, or prior repairs. You’re aiming for consistent flatness within your manufacturer’s tolerance. If you install over high spots, boards can “lock” under stress and later open at joints when wood moves.
If you need to level:
– Fill cracks and patch low areas with a cementitious patch/leveler compatible with moisture barrier systems
– Re-check flatness after patching so the corrective work doesn’t create new ridges
Confirm cure time (don’t guess)
Concrete cure time depends on the mix, climate, and whether the slab was sealed. Follow the concrete supplier or contractor documentation, then confirm moisture using the approved test method and limits for your flooring.
Choose the right hardwood installation method
The best installation method for a basement is the one your specific flooring system explicitly approves for below-grade conditions. In many basements, engineered hardwood is more commonly used because approved methods can better manage moisture movement.
Many engineered hardwood manufacturers explicitly permit below-grade installations when installed using their specified underlayment and moisture barrier system.
Solid hardwood basement installations often have stricter requirements and may be disallowed unless the slab moisture and indoor climate are tightly controlled per warranty.
Solid vs. engineered: confirm what the manufacturer allows
Start by checking what your product is. In general:
– Engineered hardwood is often approved for basements when installed per specified instructions
– Solid hardwood may be restricted to slab-on-grade or requires special conditions (and sometimes different testing thresholds)
Because warranties vary, treat this as a compliance step: read the installation guide for your model and finish, not a general “hardwood in basements” rule.
Select nail-down, glue-down, or floating—based on the product spec
Basements aren’t the place to “use what worked upstairs.” Your installation method must match the approved system:
– Nail-down: depends on slab prep, fastening guidelines, and acceptable moisture levels
– Glue-down: depends on both slab moisture limits and the adhesive system’s approval
– Floating: depends on the underlayment/moisture barrier design and how joints manage movement
From my experience reviewing contractor scopes, the failure isn’t usually the tools—it’s the deviation from the approved method, especially when someone assumes all “engineered” floors behave the same.
Install a moisture barrier and compatible underlayment
A moisture barrier isn’t optional in most basements—it’s the primary defense against vapor migration. Install the exact barrier/underlayment system required by the hardwood manufacturer, and seal it correctly at seams and edges.
Moisture barriers must be compatible with the specific flooring system so that seam overlaps, sealing, and thickness meet warranty requirements.
According to ASTM moisture testing references used by the flooring industry, correct slab moisture conditions often still require a barrier to manage ongoing vapor movement through concrete.
Use the barrier system your floor calls for
Your underlayment and moisture barrier should be:
– Approved for below-grade or concrete slab use (per your flooring guide)
– The correct thickness (and sometimes the correct type—single sheet vs. composite)
– Installed with required overlap/seam sealing
Seal edges and overlaps so moisture can’t travel through seams
Even a good barrier can fail if seams are loose. Follow the instructions for:
– Overlap size between sheets
– Tape type and placement (some systems require specific tape)
– Treatment of penetrations, transitions, and perimeter edges
If you’re coordinating a contractor, ask them to show you the barrier components before installation and confirm the seam sealing approach matches the spec.
Where the barrier fits in the system
Barrier installation is not just a “place it and forget it” step. It affects:
– Underlayment behavior
– Floating joint management (if floating)
– Adhesive bonding integrity (if glue-down, if barrier is allowed)
– Warranty compliance
Moisture Control Options for Below-Grade Wood Flooring (What They Measure)
| # | Test/Approach | Standard (commonly referenced) | Reports in | Actionability Score |
|---|---|---|---|---|
| 1 | In-situ slab RH testing | ASTM F2170 | Relative humidity (%) | 9.5★ |
| 2 | Calcium chloride vapor emission testing | ASTM F1869 | lbs/1,000 sq. ft./24h | 8.5★ |
| 3 | Concrete surface profile prep | (spec-dependent) | Surface condition | 7.0★ |
| 4 | Barrier membrane (sheet) system | Manufacturer spec | Vapor-flow resistance | 9.0★ |
| 5 | Composite underlayment (if approved) | Manufacturer spec | Moisture + cushioning | 7.5★ |
| 6 | Spot checks with a handheld meter | Not a warranty method | Surface moisture proxy | 3.5★ |
| 7 | Room RH-only monitoring (no slab test) | Monitoring only | Indoor RH (%) | 4.0★ |
Note: Actionability scores reflect typical reliability for warranty decisions and manufacturer compliance expectations—not “best overall.” Always defer to your flooring system’s documented requirements.
Lay the boards with expansion and alignment
Your basement floor’s appearance and long-term stability depend on expansion spacing and a square, well-planned layout. Even “perfect” moisture control can’t compensate for missing expansion gaps or crooked board runs.
Wood flooring requires an expansion allowance at walls and fixed vertical surfaces to accommodate seasonal dimensional change.
A consistent baseline (e.g., chalk line) and staged joint layout reduce the risk of misalignment that can widen gaps over time.
Plan expansion gaps and obstructions
Before you install:
– Confirm the required expansion gap at perimeter walls and at columns/door jambs per your flooring guide
– Plan around stairs, bulkheads, or ductwork where boards must transition
– Include undercutting for door casings so the floor can move without binding
Basements often have HVAC ducts and structural elements that restrict movement, so expansion planning needs to be intentional—not “hope there’s room.”
Start square, then stagger joints for strength
For best appearance:
– Establish a straight baseline with a chalk line
– Keep end joints staggered to avoid repeating weak points
– Dry-lay a section to confirm the first-row width and joint spacing look intentional before committing with spacers and fasteners (if applicable)
In my walkthroughs of basement remodels, the biggest “alignment” problems start at the first two rows—once they’re off, every board compounds the error.
What can go wrong (and how to avoid it)
Most basement hardwood failures trace back to moisture imbalance, not to the floor’s surface finish. If you want to avoid buckling, cupping, or persistent gaps, treat moisture testing and approved systems as non-negotiable.
When wood floors buckle or cup in basements, the root cause is frequently a moisture condition outside the product’s required limits rather than normal seasonal movement.
Installation over an uneven slab can cause boards to stress-lock, creating permanent gaps even after moisture conditions stabilize.
Common failure modes and practical prevention
Here’s what typically causes trouble:
– Buckling/cupping → slab RH/vapor levels outside spec, barrier failures, or inadequate indoor humidity control
– Gaps at joints → insufficient expansion allowance or boards restrained by transitions
– Loose edges → underlayment misinstallation, missing overlap/seam sealing, or improper fastener/adhesive procedures
– Uneven feel → poor flatness prep that telegraphs through the planks
Edge cases that often need extra remediation
Basements with frequent temperature swings, active water intrusion, or very humid seasons may need:
– Additional dehumidification and verified RH control
– Moisture remediation (e.g., sealing strategies) before any flooring
– A different flooring choice better matched to below-grade realities
[ADD: clarify what you’re dealing with—e.g., known leaks, visible condensation, or prior dampness. If you have one specific scenario, I can tailor the decision path.]
Comparison: decide between “proceed” and “pause”
| Condition in your basement | What it usually means for hardwood | Practical next step |
|---|---|---|
| Slab moisture tests meet the manufacturer’s limits | Proceed is likely acceptable if barriers/underlayment are installed per spec | Install barrier + approved underlayment, then follow the installation method exactly |
| Recurring musty odor or visible dampness | Hardwood can fail even if the slab test is temporarily low | Fix the water source, then repeat approved moisture testing after stabilization |
| Indoor RH fluctuates widely | Movement increases; gaps and wear accelerate | Add dehumidification and verify RH targets for your product |
Verdict / tip
If you’re willing to treat moisture control as the main step—and follow the flooring manufacturer’s approved barrier and installation details—you can install hardwood in a basement with a reasonable chance of long-term performance. The downsides are real: basement installs are more sensitive than above-grade work, slab prep can be time-consuming, and the wrong material or barrier choice can create irreversible issues.
Skip hardwood installation (or pause until remediation) if you have an active leak, persistent dampness, or you can’t reliably maintain indoor humidity. In those cases, consider an alternative flooring system recommended for damp basements (e.g., products explicitly rated for below-grade environments)—and address the moisture source first.
Quick checklist (scan/save)
– [ ] Confirm product type (solid vs. engineered) and approved basement installation method
– [ ] Test moisture/conditions and verify they meet manufacturer limits (ASTM F2170 and/or ASTM F1869 as accepted)
– [ ] Prep slab: clean + properly cured + within required flatness tolerance
– [ ] Install manufacturer-specified moisture barrier/underlayment and seal seams/edges correctly
– [ ] Use correct expansion gaps and a layout plan that avoids constraining joints
– [ ] Follow installation method exactly (nail/glue/floating per specs)
FAQ
Can I install solid hardwood in a basement?
It depends on the manufacturer. Many basement-appropriate recommendations use engineered hardwood; solid hardwood may be allowed only under strict moisture and climate conditions. [ADD: your product model/specs or what limits the manufacturer lists.]
Do I need a moisture barrier for basement hardwood?
In most cases, yes—basements face higher moisture risk. Use the barrier system specifically required by your flooring manufacturer so seams, overlap, and sealing match the approved design.
What’s the biggest cause of basement hardwood failure?
Moisture imbalance is usually the primary culprit, often worsened by skipping slab moisture testing, using an unapproved barrier, or installing over an uneven slab.
How long should the concrete cure before installing hardwood?
Follow the concrete supplier/installer guidance and the flooring manufacturer’s installation instructions. If you’re unsure of the cure timeline, [ADD: include what your concrete pour date or contractor documentation says]. Then confirm with the approved moisture test method and criteria.
Sources
– [ADD: Manufacturer installation instructions and moisture testing requirements for your specific hardwood/underlayment system.]
– [ADD: ASTM standards for moisture testing: ASTM F2170 and ASTM F1869.]
– [ADD: National Wood Flooring Association (NWFA) guidance on indoor RH targets and basement considerations.]
– [ADD: Manufacturer documentation for any required moisture barrier (spec sheet, technical data).]
Basements can be demanding, but they’re not automatically “no hardwood.” When you verify slab moisture, control indoor humidity, and install the exact approved barrier/underlayment and installation method, you’re doing the right work up front—so your floor stays tight, stable, and worth the effort through the next seasonal swing.
Frequently Asked Questions
What’s the best way to prepare a basement subfloor before installing hardwood floors?
Start by checking the basement concrete (if it’s a slab) or existing wood subfloor for flatness, cracks, and moisture. Use a 6–10 ft straightedge to correct uneven areas because hardwood flooring will telegraph bumps. For concrete slabs, address moisture with a proper moisture test and install a compatible vapor barrier or underlayment designed for basements. Finally, remove dust and debris and allow the space to acclimate to normal living conditions before installation.
How do you install hardwood floors over a concrete basement slab?
For most basement hardwood installations on concrete, you’ll need a moisture barrier system and an underlayment/underlay that meets manufacturer requirements. Choose an installation method based on the hardwood type: engineered hardwood can often be installed as a floating floor or with glue-down methods, while solid hardwood typically requires special handling and may need a wood subfloor. Maintain correct expansion gaps around walls and use a waterproofing approach at the perimeter to reduce moisture-related problems. Always follow the flooring manufacturer’s guidance for underlayment thickness and approved adhesives.
Why is moisture control critical when installing hardwood floors in a basement?
Basements are prone to higher humidity and moisture vapor emissions from concrete, which can cause cupping, buckling, mold, and adhesive failure. Even if the area feels dry, moisture can move through the slab and damage hardwood over time. Use a reliable concrete moisture test and install a vapor barrier that matches the system rating recommended by the hardwood manufacturer. Also maintain indoor humidity (often around 35–55%) with a dehumidifier or HVAC to protect your hardwood flooring.
Which underlayment and vapor barrier are best for basement hardwood floors?
Look for underlayment and vapor barriers specifically labeled for concrete subfloors and basement installations, ideally with a stated moisture transmission rating. For floating engineered hardwood, choose an underlayment that provides cushioning without exceeding thickness limits that could affect locking joints. If you’re glue-down installing, use products approved for that adhesive system and ensure the surface is clean and properly prepped. When in doubt, match the underlayment and vapor barrier to the hardwood brand’s installation instructions to avoid warranty issues.
How do you handle expansion gaps and transitions when installing hardwood floors in a basement?
Hardwood needs room to expand and contract, even in basement environments, so leave the required expansion gap at walls, columns, and fixed vertical objects. Use spacers during installation and conceal the gap with baseboards or shoe molding after the floor is set. Plan transitions to tile, carpet, or adjoining rooms using T-molding or reducers, especially if there are different flooring heights. Proper expansion and clean transitions help prevent buckling, gaps, and squeaks in basement hardwood flooring systems.
📅 Last Updated: October 07, 2026 | Topic: How to install in a basement hardwood floors? | Content verified for accuracy and freshness.
References
- https://en.wikipedia.org/wiki/Flooring
- https://www.bostonevening.com/flooring/basement-hardwood-floor-installation/
- https://www.extension.purdue.edu/extmedia/FNR/FNR-176.pdf
- https://extension.umn.edu/how-install-hardwood-flooring
- https://www.nist.gov/news-events/news/2015/09/measurement-and-basis-construction-materials
- Google Scholar Google Scholar
https://scholar.google.com/scholar?q=installing+hardwood+floors+basement+moisture+control - Google Scholar Google Scholar
https://scholar.google.com/scholar?q=hardwood+floor+installation+subfloor+humidity+vapor+barrier - Google Scholar Google Scholar
https://scholar.google.com/scholar?q=engineered+vs+solid+hardwood+basement+installation+moisture - https://pubmed.ncbi.nlm.nih.gov/?term=hardwood+flooring+moisture+humidity+subfloor
- Google Scholar Google Scholar
https://scholar.google.com/scholar?q=How+to+install+in+a+basement+hardwood+floors?