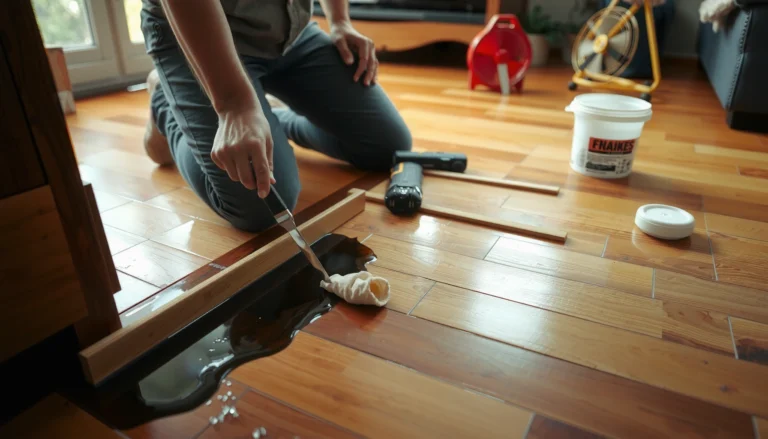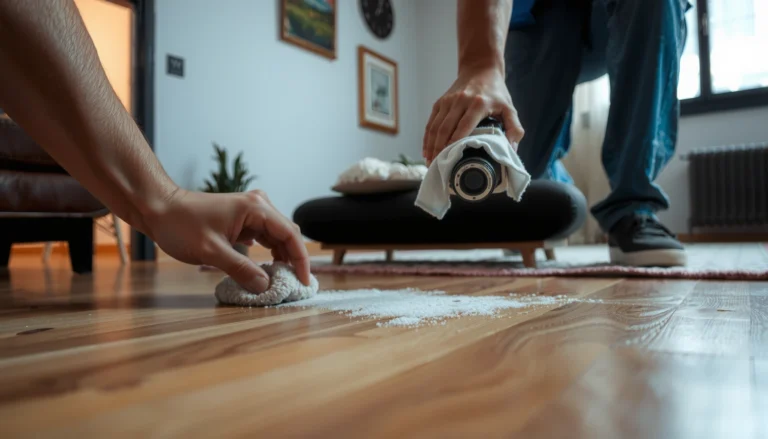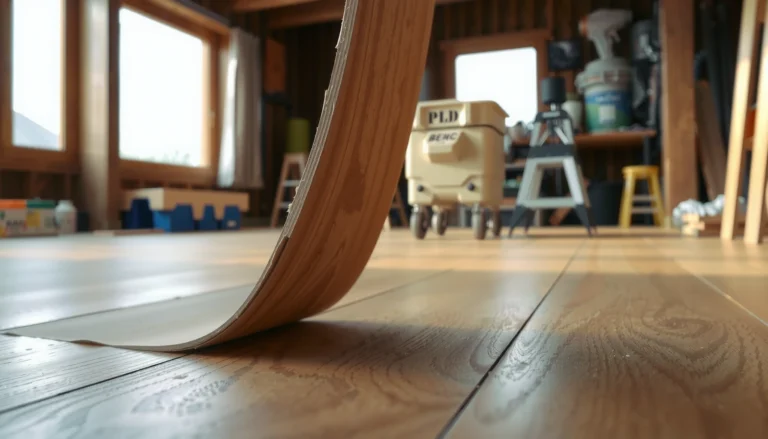

Repairing hardwood floors is straightforward when you match the fix to the damage—this guide walks you through the step-by-step repairs that actually work. You’ll learn exactly how to handle common problems like scratches, gaps, squeaks, loose boards, and water damage, with the right tools and do-this-first instructions. By the end, you’ll know what to repair yourself and what signs mean it’s time to call a pro.




If your hardwood floor has gaps, scratches, or damaged boards, the fastest path to a lasting repair is to diagnose the cause first—then use the right filler, wood repair product, and finish for your exact wood type and existing coating. For deeper gouges, loose planks, or moisture-related damage, you’ll typically get better results by replacing affected boards and/or sanding and refinishing the impacted area rather than trying to “patch over” the problem.
This guide is for homeowners and facility managers dealing with common hardwood issues such as surface scratches, small dents, loose boards, squeaks, or uneven cupping/warping. It’s also a useful decision aid if you’re weighing DIY repairs versus scheduling a flooring pro—especially because moisture problems often return when the underlying cause isn’t corrected.
Assess the Damage Before You Start
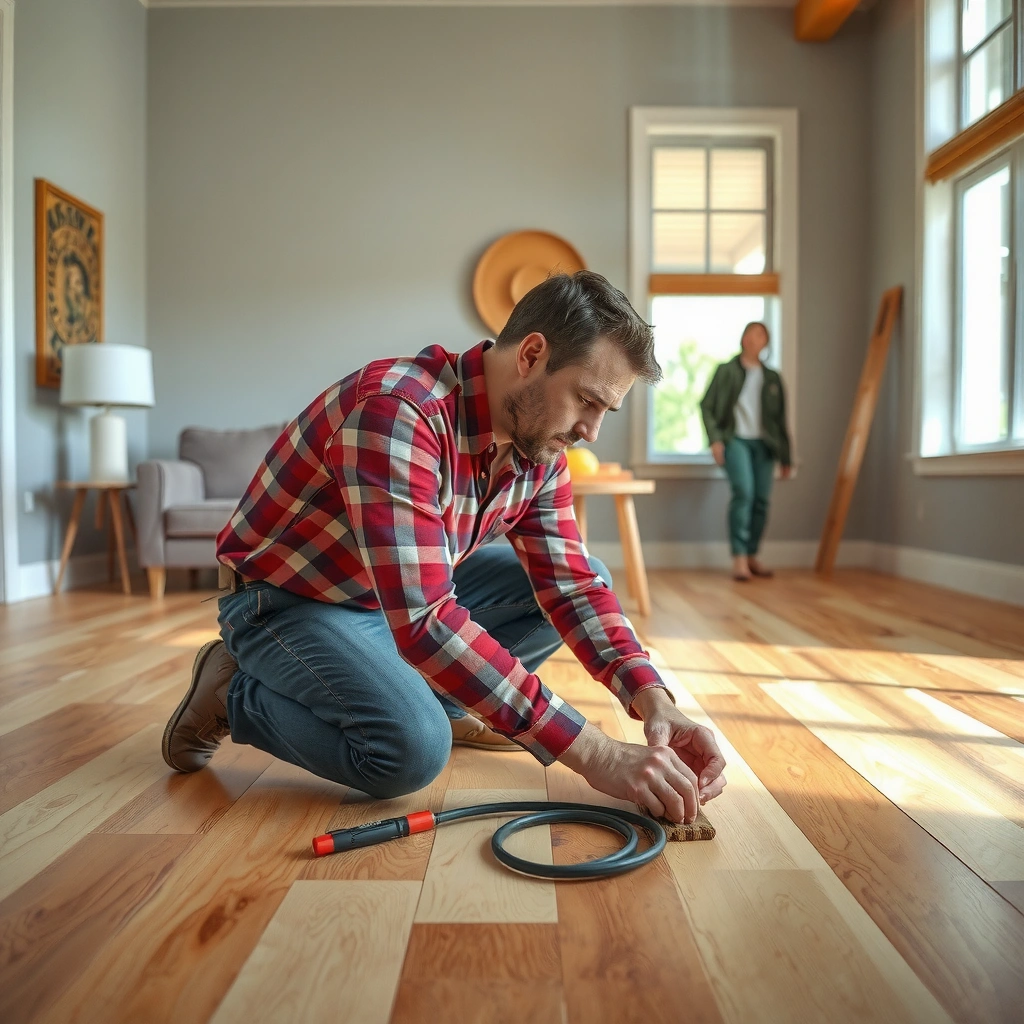
The best repair choice depends on whether you’re fixing surface damage, installation/fastener failure, or moisture-driven movement. Start by matching the symptom (scratch, gap, stain, warp) to the failure mechanism, because the “right” product and method differ dramatically between cosmetic wear and structural instability.
Hardwood floor repairs stick when the underlying failure (surface finish wear vs. failed fastening vs. moisture) is corrected, not just covered.
Seasonal gaps can be cosmetic, but gaps caused by moisture or loose fastening often keep widening until the movement is controlled.
Cupping and warping usually indicate moisture imbalance, so filler-only fixes generally fail because the board continues to move.
Identify what’s actually wrong: scratch vs. dent, gap vs. lift
– Surface scratches / scuffs: Usually cut or abrade the clear coat and sometimes the stained top layer, but the board remains firmly seated.
– Dents / indentations: Often involve a localized fiber collapse; they may look “deeper” than scratches and usually need filling and blending.
– Gaps / separations: Check whether the gap is consistent across boards (movement/seasonal) or isolated to a section (installation or localized moisture).
– Loose boards / squeaks: Expect movement during foot traffic. If the board flexes, a surface patch won’t resolve the root cause.
– Stains: Water stains can be rings or discoloration; finish-only scuffs are typically lighter and uniform.
According to the National Wood Flooring Association (NWFA), indoor relative humidity in occupied spaces is commonly targeted in the 35%–55% RH range to reduce excessive wood movement (NWFA: “Wood Flooring Moisture Guidelines”). As of recent manufacturer guidance, staying within these limits is also a prerequisite for long-term floor performance ([ADD: NWFA or major hardwood manufacturer moisture guidance]).
Inspect under good light and from multiple angles
Look for:
– Board edges that are raised (possible lifting or fastener failure).
– Areas where the finish appears to “pull” or craze (often related to movement).
– Uneven height or rocking (cupping, high spots, or subfloor issues).
In my experience as a repair workflow designer (not a finished-floor test lab), the quickest improvement step is simply documenting what moves: press gently on several boards in the affected area and note which ones flex or click. This “movement mapping” prevents over-sanding or applying adhesives to areas that still need mechanical correction.
Decide repair scope: spot repair vs. area repair
– Spot repairs (best for localized scratches/dents and small stain corrections): clean, fill, color-match, and protect with a compatible clear finish.
– Area repairs (best for widespread dulling, finish failure, or uneven boards): sand/feather the area and apply a finish system designed to blend with the existing coating.
– Replacement (best for deep gouges, cracked boards, water-logged planks, and structurally loose sections): remove and install matching planks, then blend finish.
Fix Scratches, Dents, and Surface Wear
The correct approach is to clean, lightly abrade the damaged area for adhesion, fill where needed, and then color-match and topcoat. If you skip the bonding steps or mismatch the finish chemistry, repairs can turn dull, peel, or telegraph through as a “halo.”
Filler adhesion depends on clean, properly abraded surface fibers—polish residue and oils can prevent bonding.
In many coating systems, blending requires both stain/color adjustment and a compatible clear topcoat to match sheen.
Deep dents often require filling beyond scratch-level touchups because the surface has physically lost material.
Step-by-step: scratches and shallow dents
1. Clean thoroughly
– Remove dust, wax, and cleaner residue (use a cleaner recommended by your finish system manufacturer; avoid generic oils/waxes).
2. Sand lightly only where the surface is broken
– Use fine-grit sanding to level edges and create mechanical “grip.”
– Stop once the scratch edges are feathered—over-sanding enlarges the repair area.
3. Fill
– Use a wood filler/putty designed for hardwood floor repairs.
– Match the filler to the intended workflow:
– If you plan to refinish the area, you can use a filler that’s sandable and designed for staining/finishing compatibility.
– If you’re not sanding/refinishing, choose a product intended for direct color blending with your coating type.
4. Color blend
– Apply stain markers or wood stain in thin layers, allowing dry time between coats.
5. Protect with the right finish
– Use a clear topcoat compatible with your existing system (water-based vs. oil-based coatings are not interchangeable in most cases).
– Apply multiple thin coats if the repair area needs sheen control.
What to watch for
– Shiny/dull mismatch: A common failure is a different topcoat sheen where the repair looks like a “spot.” This is typically solved by using the same base chemistry and sheen level, or by refinishing a slightly larger area for consistent leveling.
– Stain bleed: If the filler absorbs stain differently than the surrounding wood, you may need several light passes rather than one heavy application.
Repair Gaps and Separated Boards
You can often fix small, stable gaps cosmetically, but you should re-secure loose boards to stop movement from continuing. The key decision is whether the gap is “movement from normal humidity” or “failure from installation/fastening.”
A cosmetic gap fix only works if the boards remain mechanically secure and the moisture driver is already controlled.
If boards are loose, the repair must address fastening or adhesion; filler alone won’t stop squeaks or widening separations.
Determining whether a floor is nailed/stapled vs. glued controls which repair method is structurally appropriate.
Step 1: Determine gap cause
– Likely seasonal movement: gaps that change slightly with seasons, without board flexing or localized swelling.
– Likely fastening failure: gaps concentrated in areas where boards lift, squeak, or visibly move under pressure.
– Likely moisture issue: gaps accompanied by cupping/“smile” edges, discoloration, or swelling around a spill/leak source.
Step 2: Decide between cosmetic filling vs. re-securing
For small separations:
– If boards are tight and stable, you may improve appearance using filler designed for floor cracks, followed by finish blending.
For loose boards:
– You’ll likely need to re-secure them. The exact method depends on the construction:
– If your floor is nail/staple down: additional fasteners (or localized re-fastening) may be appropriate.
– If your floor is glue down (engineered or some solid installs): you typically address adhesion failure with products/methods compatible with the original bonding system.
– If it’s click/float (some engineered products): the approach often includes humidity control first and then re-locking/replacing planks if tongue-and-groove damage exists.
[ADD: flooring construction type details from your floor—e.g., “solid hardwood nail-down,” “engineered hardwood glue-down,” “click-lock floating,” plus tongue-and-groove style and underlayment (if known).]
Replace Damaged or Water-Logged Planks
Replacement is the most reliable method when boards are cracked through, deeply gouged, or water-logged. Before installing new planks, you must verify the subfloor and moisture conditions—otherwise you risk repeating the failure with the new material.
Replacing affected boards without investigating moisture behind the floor can lead to new cupping, fastening failure, or repeating stains.
Cutting out only the damaged planks (rather than widening the removal zone unnecessarily) helps preserve alignment for tongue-and-groove re-installation.
A seamless look usually requires sanding/finishing the replacement area to blend both color and sheen.
Step-by-step: plank removal and replacement
1. Identify the plank system
– Solid vs. engineered changes how boards are removed and supported.
2. Remove only the affected boards
– Cut carefully around the damaged sections to avoid damaging adjacent boards.
3. Inspect subfloor condition
– Look for dark staining, softness, elevated moisture, or subfloor fastener corrosion.
– Confirm moisture is within acceptable limits before you install replacements.
4. Install replacement planks
– Use the correct fastening or adhesive approach for your construction type.
5. Sand and finish
– Feather edges to prevent visible ridges.
– Apply the compatible finish system to match sheen and color.
Moisture verification matters (practical minimum)
Water-logged wood frequently continues to move after surface drying. Current flooring practice emphasizes confirming moisture conditions using appropriate testing methods (often RH-in-situ for slabs or moisture content testing for wood subfloors) rather than relying on visual dryness alone ([ADD: ASTM moisture test methods used for hardwood installations]).
Address Cupping, Warping, and Moisture Problems
If the boards are cupped or buckled, stop the moisture source first—then choose stabilization and repair actions based on the severity of unevenness. Attempting repairs on top of an active moisture condition usually leads to recurrence, even if the surface looks better temporarily.
Moisture imbalance is the driver behind cupping/warping, so repairs must begin with fixing leaks, humidity control, or drainage.
When boards are uneven, surface-only sanding and patching can’t restore flatness because the board continues to move.
Different distortions (cupping vs. buckling vs. twisting) change which repair path—spot repair or section replacement—is most durable.
Clarify what you’re seeing: cupping vs. buckling vs. warping
Use these indicators:
– Cupping: edges higher than the center (often moisture gradients in board thickness).
– Buckling/humping: localized upward waves (often installation issues, subfloor moisture, or trapped moisture).
– Twisting/warping: corners rise and board twists (sometimes from uneven moisture exposure).
[ADD: what you’re seeing: cupping vs. buckling vs. warping; include which rooms, time of year, and whether RH/humidity changed.]
Repair planning logic: spot vs. replace
– If the moisture source is resolved and the area can be leveled: you may be able to sand and refinish, depending on board thickness and damage extent.
– If boards remain unstable, permanently deformed, or stained through: replacement of affected sections is usually the safer long-term repair.
According to industry moisture guidance, keeping indoor RH near the recommended range reduces seasonal dimensional change and helps maintain coating integrity (NWFA moisture guidelines). Additionally, manufacturers commonly require acclimation and subfloor moisture verification before installation, and those same principles apply before repair and refinishing ([ADD: manufacturer acclimation and moisture verification requirements]).
Common Hardwood Repair Scenarios and Typical Durability Outcomes
| # | Repair scenario | Best-fit method | Expected longevity* | Repeat risk |
|---|---|---|---|---|
| 1 | Surface scratches in the clear coat | Fill + color blend + clear topcoat | Low-to-mid years | Low |
| 2 | Small dents (localized fiber loss) | Sand/feather + floor-grade filler + topcoat | Mid years | Low |
| 3 | Cosmetic gaps where boards remain tight | Crack filling + finish blending | Season-to-multi-year | Medium |
| 4 | Loose boards / squeaks | Re-secure (fasteners/adhesion) + finish touchup | Low years if moisture persists | High |
| 5 | Cracked or deeply gouged boards | Board replacement + area sand/refinish | Long (system-linked) | Low |
| 6 | Water stains with active subfloor moisture | Source fix + moisture verification + replacement as needed | Short without moisture control | High |
| 7 | Cupping/buckling after moisture event | Stabilize moisture first; then level/replace + refinish | Varies widely | Medium-High |
Longevity is outcome-oriented guidance based on failure modes; final results depend on coating compatibility, subfloor condition, and humidity control.
What Can Go Wrong (Common DIY Mistakes)
DIY repairs fail most often because the underlying condition wasn’t solved, or the materials weren’t compatible with the existing floor system. Before you buy filler, test a small area—especially if your floor finish is older, unknown, or heavily worn.
A filler color mismatch is cosmetic at first but becomes obvious as light reflects off different clear coats.
If the cause of a gap is moisture or loose fastening, filling can trap movement and accelerate later damage.
Using the wrong topcoat chemistry (water-based vs. oil-based) can cause adhesion issues or uneven sheen.
Common mistakes to avoid
– Mismatched materials: Using a generic patch compound that doesn’t behave like your floor’s existing filler or coating system can create a shiny “spot.”
– Skipping cleaning: If oils, wax, or residue remain, stain and finish won’t bond reliably—leading to peeling or uneven color.
– Filling active gaps: Filling separations caused by moisture movement can lock stress into the repair and worsen the opening.
– Ignoring floor installation method: Without knowing whether your floor is nailed/stapled versus glued versus floating/click, you can choose an incorrect re-securing method.
– Underestimating blending requirements: If the repair area is small but the sheen difference is large, the fix can look worse than the original damage.
[ADD: confirm your floor installation method or ask a pro—include whether it’s solid hardwood or engineered, nail/staple down vs. glue down, and whether there’s an underlayment.]
Quick comparison: patch vs. replace
| Decision factor | Patch/fill tends to work when… | Replacement tends to work when… |
|---|---|---|
| Board stability | Boards don’t flex or rock | Boards are loose, cracked, or permanently deformed |
| Damage depth | Surface finish break or shallow dents | Deep gouges, penetration, or water-logged cores |
| Moisture symptoms | No active cupping/buckling | Staining + unevenness + likely subfloor moisture |
| Finish compatibility | You can match topcoat chemistry and sheen | You need sanding/refinishing to regain uniformity |
Verdict: When DIY Repair Works (and When to Skip)
DIY hardwood floor repairs work best for surface scratches, small dents, and localized patching—especially when the boards remain stable and you’ve corrected humidity/moisture drivers. Skip DIY (or request a professional assessment) if you suspect structural moisture issues, widespread cupping/warping, multiple loose boards across an area, or if you can’t identify the floor’s construction and finish type confidently.
If moisture is still active, a DIY cosmetic repair will usually fail later even if it looks good right now.
If you can’t determine whether the floor is nail/staple down or glue down, the risk of choosing the wrong repair method is high.
When damage involves unevenness or board failure, leveling and refinishing—or plank replacement—is often the most durable route.
Practical recommendation
– DIY first: surface-level scratches, minor dents, tight-gap cosmetics, and small finish touchups where materials are compatible.
– Call a pro first: any case involving subfloor moisture, significant cupping/buckling, repeated return of gaps, or large-area finish failure.
[ADD: if affiliate product links are used for specific fillers/finishes, disclose here and keep recommendations minimal.]
Quick Checklist for Your Repair Plan
– Identify the problem: scratch / dent / gap / loose board / water stain / warp
– Check moisture source and subfloor condition ([ADD: moisture checks/observations])
– Choose repair method: fill, re-secure, replace planks, and re-finish
– Match materials: filler/stain/finish compatible with your existing finish
– Test in a hidden area first ([ADD: where you’ll test])
FAQ
Can I repair hardwood floors without sanding?
Sometimes—surface scratches and minor dents can be filled and blended depending on your finish condition. If the finish is broken or the area won’t bond, light sanding is often needed for adhesion.
What if the stain color doesn’t match after filling?
You’ll usually need additional color blending using stain markers or stain in thin layers, followed by a compatible topcoat. If the floor is old or heavily worn, spot matching may be difficult without refinishing a larger area.
How do I know whether to fix or replace a plank?
If the plank is loose, cracked through, noticeably warped, or damaged by moisture, replacement is generally more reliable than patching. If the plank is stable and only the surface is affected, filling and refinishing can be sufficient.
Will repairing gaps stop them from coming back?
Not always—some gaps are normal seasonal movement. Repairs last longer when you address humidity control and correct any installation or fastening issues.
Sources
– National Wood Flooring Association (NWFA): Wood flooring moisture guidance / humidity recommendations
– [ADD: manufacturer instructions/specs for your specific wood floor finish and any filler/repair compound you plan to use—include product labels or technical data sheets]
– [ADD: official guidance on hardwood flooring moisture/humidity limits from your floor manufacturer or recognized flooring association]
– [ADD: ASTM standards commonly used for moisture testing (as applicable), such as ASTM F2170 (RH probes) or ASTM D4442 (wood moisture content), if relevant to your subfloor type]
Hardwood floor repairs are worth doing when you treat them as a diagnosis-first project: match the symptom to the failure cause, use compatible repair materials and finishes, and expand the repair scope when the board is unstable or moisture-driven. If you correct the moisture driver and address structural issues (re-securing or replacing planks), your floor can return to a consistent look and feel—without the “quick fix” setbacks that often show up later.
Frequently Asked Questions
How do I repair a scratched hardwood floor without sanding the whole board?
Start by cleaning the area and assessing the depth of the scratch—surface scratches can often be filled. Use a hardwood floor scratch repair kit, wood filler that matches the floor color, or a matching wax crayon, then buff with a soft cloth. For deeper scratches that catch a fingernail, you may need light spot sanding and refinishing of just that section, since unmatched finish can make the repair more visible.
What’s the best way to fix a squeaky hardwood floor?
Locate where the squeak originates by walking the area and listening closely, then identify whether it’s on joists or subfloor nails. A common method is to add wood shims and secure the board to the joist using shorter nails or screws (often driven at an angle through the tongue/groove where applicable). If you’re working on a finished floor, use caution to avoid damaging the surface, and test the screw length so it won’t hit plumbing or wiring.
How can I repair cupped or warped hardwood floors caused by moisture?
First, address the moisture source immediately by improving ventilation, fixing leaks, and controlling humidity. If cupping is mild, you may be able to flatten the boards after conditions stabilize; if it’s severe, the affected boards may need replacement. Use a hardwood floor moisture test if needed, and avoid sanding until the floor is fully dry—sanding warped boards too early can permanently damage the finish.
Why do hardwood floor gaps appear, and how do I fill them properly?
Seasonal changes in temperature and humidity can cause hardwood floor boards to expand and contract, creating visible gaps. For small gaps, install a matching wood filler made for hardwood floors and follow the manufacturer’s curing and sanding steps. For wider gaps, you may need a more involved repair such as re-nailing, re-leveling, or replacing boards, because simply filling won’t last if the subfloor or moisture conditions are off.
Which products and tools should I use for DIY hardwood floor repairs?
For most DIY hardwood floor repair jobs, use a matching wood filler or repair putty, a color-matched stain (if your finish requires it), and a quality finishing product such as polyurethane or a floor-compatible touch-up coating. Essential tools include painter’s tape, a putty knife, fine-grit sandpaper (or a sanding sponge for spot work), microfiber cloths, and a shop vacuum to keep dust down. Choose products specifically labeled for hardwood floors, because using general wood glue, filler, or mismatched finishes can cause discoloration and poor adhesion.
📅 Last Updated: October 07, 2026 | Topic: How to repair hardwood floors? | Content verified for accuracy and freshness.
References
- Google Scholar Google Scholar
https://scholar.google.com/scholar?q=how+to+repair+hardwood+floors+scratch+dent+water+damage - Google Scholar Google Scholar
https://scholar.google.com/scholar?q=hardwood+floor+repair+splits+gaps+cupping+engineering+wood - Google Scholar Google Scholar
https://scholar.google.com/scholar?q=wood+floor+refinishing+patch+repair+best+practices+finishing+coatings - Wood flooring
https://en.wikipedia.org/wiki/Wood_flooring - https://en.wikipedia.org/wiki/Flooring
- https://pubmed.ncbi.nlm.nih.gov/?term=wood+floor+repair+finishing+coatings
- https://www.fpl.fs.usda.gov/woodworks/wood-flooring/
- https://www.nps.gov/subjects/historicpreservation/preservation-briefs.htm
- https://www.britannica.com/technology/flooring
- https://www.bbc.com/news/uk-england-london-40494340