To repair cracks in concrete floors, first assess the damage and identify the crack type. Gather essential tools like a chisel, wire brush, and patching compound. Thoroughly clean and slightly widen the crack for better adhesion. Apply a concrete bonding adhesive before filling the crack with epoxy or polyurethane repair material. Smooth and level the surface, then let it cure for at least a week. Finally, seal the area with a suitable sealant. Following these steps guarantees a durable repair—explore further to master each stage.
Assess the Damage and Determine the Crack Type
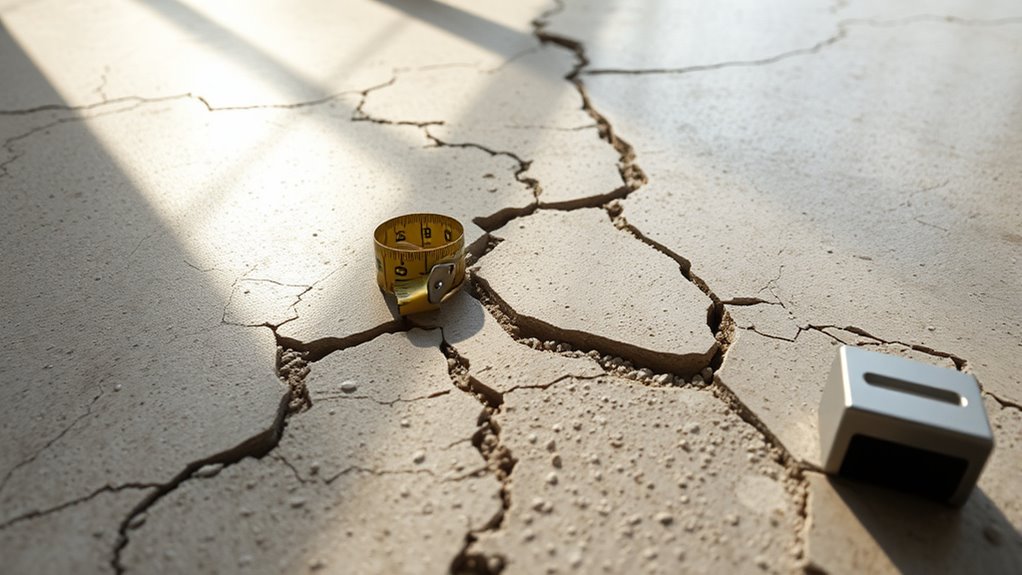
Before you begin repairs, you need to carefully assess the damage and identify the type of crack present in your concrete floor. Perform a thorough damage assessment by examining the crack’s width, length, depth, and pattern. Use crack identification techniques to classify whether it’s a hairline, structural, shrinkage, or settlement crack. This classification guides your repair approach and guarantees you address the root cause, not just the symptom. Measure cracks with a ruler or crack gauge to document severity. Note any accompanying signs like spalling or moisture intrusion. Accurate crack identification and damage assessment empower you to select the right repair method, preserving your concrete’s integrity and maintaining your space’s freedom. Skipping this step risks ineffective fixes and recurring issues down the line.
Gather Necessary Tools and Materials
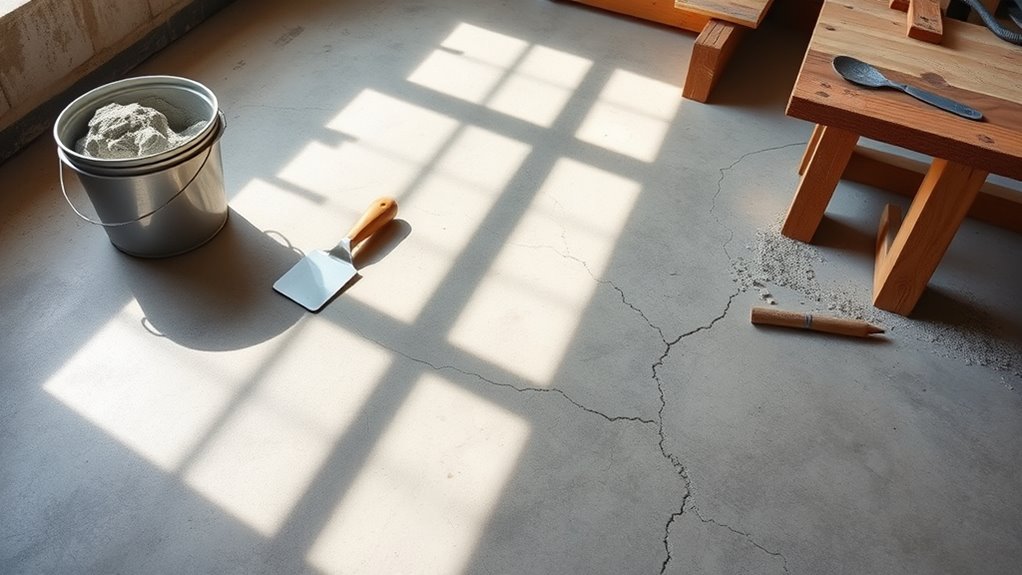
Once you’ve identified the crack type and assessed its severity, you can gather the appropriate tools and materials for the repair. Start with essential repair tools like a chisel, hammer, wire brush, and putty knife. A shop vacuum or compressed air helps remove debris. For concrete materials, choose a suitable patching compound—epoxy or polyurethane for structural cracks, and concrete resurfacer or filler for surface damage. You’ll also need a mixing bucket, trowel, and water for preparation. Personal protective equipment such as gloves, safety glasses, and a dust mask guarantee your safety during the task. Having the right repair tools and concrete materials at hand allows you to work efficiently and maintain control over the repair process, giving you the freedom to restore your floor properly.
Clean the Crack Thoroughly
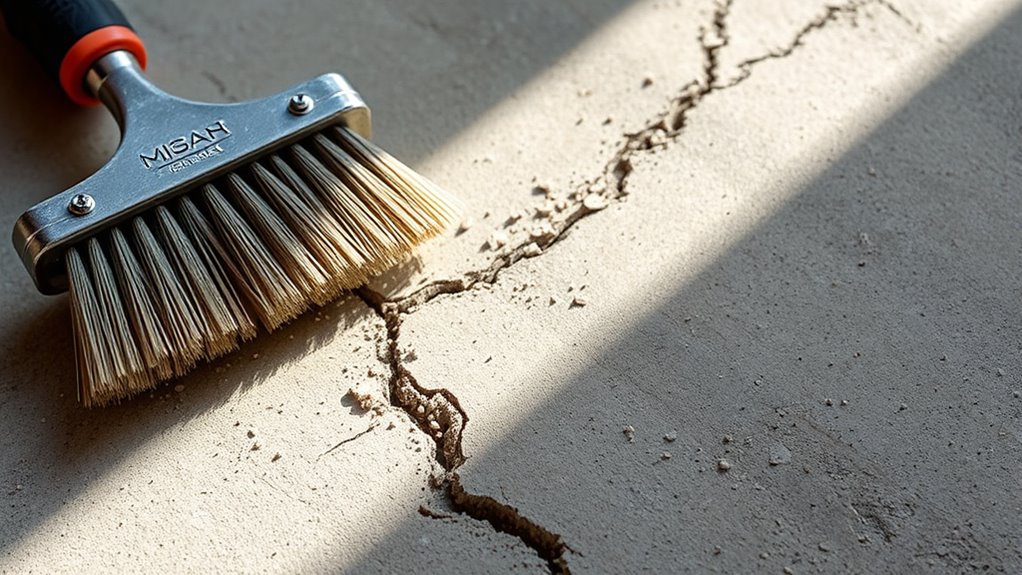
A clean crack is essential for a successful repair, so you’ll need to remove all dirt, dust, loose concrete, and debris. Start with the best cleaning methods: use a wire brush or a stiff-bristle brush to dislodge stubborn particles. For finer dust, a vacuum or compressed air works well to guarantee no residue remains. Avoid water at this stage since moisture can affect adhesion later. The right crack cleaning tools include a chisel or scraper for loose edges and a handheld vacuum for thorough removal. Taking time to clean the crack thoroughly assures the repair material bonds properly, giving you freedom from future crack failures. Your precision here sets the foundation for durable, long-lasting concrete floor repairs.
Prepare the Crack for Filling
Two key steps guarantee the crack is properly prepared for filling: widening the crack slightly and removing any remaining debris. Using proper crack preparation techniques ensures the filler adheres well and lasts. Start by enlarging the crack with a chisel or grinder to create a clean, V-shaped groove. Then, apply surface cleaning methods like brushing or vacuuming to clear dust and loose particles.
| Task | Recommended Tool |
|---|---|
| Widen the crack | Chisel or angle grinder |
| Remove debris | Wire brush or vacuum |
| Final surface clean | Compressed air or brush |
These crack preparation techniques optimize filler penetration and strengthen the repair, giving you durable freedom from recurring cracks.
Apply a Concrete Bonding Adhesive

You’ll apply a concrete bonding adhesive to guarantee the repair material adheres properly to the existing floor. Use a brush or roller to evenly coat the crack and surrounding area, following the manufacturer’s instructions. Allow the adhesive to dry fully before moving on, typically waiting the recommended curing time for best bonding.
Purpose of Bonding Adhesive
Several key benefits come from applying a concrete bonding adhesive before repairing cracks. You enhance bonding strength, guaranteeing the patch adheres firmly to the existing concrete. This prevents future delamination and extends the repair’s lifespan. Different adhesive types—epoxy, latex, or acrylic—offer tailored solutions depending on your floor conditions and repair material.
| Benefit | Description |
|---|---|
| Improved Bonding | Creates a strong interface between old and new concrete |
| Crack Prevention | Reduces risk of repair separation |
| Surface Compatibility | Adapts to various concrete textures |
| Increased Durability | Enhances repair longevity |
| Versatility | Suitable for multiple adhesive types |
Using the right bonding adhesive guarantees your repair restores structural integrity and resists wear, giving you lasting freedom from recurring cracks.
Application Techniques
Applying a concrete bonding adhesive correctly sets the foundation for a durable repair. Start by thoroughly cleaning the crack and surrounding surface to remove dust, debris, and loose particles. Choose an application method suited to your repair size—brushes work well for narrow cracks, while rollers or sprayers cover larger areas efficiently. Apply a uniform, generous coat of adhesive, making sure it penetrates the crack for ideal bonding. Avoid puddling or uneven layers, as these compromise adhesion. Follow recommended wait times for tackiness before applying repair materials; this guarantees maximum bond strength. These precise application methods are critical repair techniques that make certain your concrete floor crack repair holds up under stress, giving you lasting freedom from recurring damage.
Drying and Curing Time
Although it might be tempting to rush, allowing the concrete bonding adhesive to dry and cure properly is crucial for a strong, lasting repair. Proper drying techniques prevent premature failure, while effective curing methods enhance bond strength and durability. Here’s a quick reference for ideal drying and curing times:
| Step | Drying Time | Curing Method |
|---|---|---|
| Initial Adhesive Set | 1-2 hours | Air dry, avoid moisture |
| Tack-Free Time | 4-6 hours | Maintain ambient temp |
| Full Cure | 24-48 hours | Keep surface slightly moist |
| Final Strength | 7 days | Controlled humidity |
| Ready for Use | After full cure | Avoid heavy loads |
Following these guidelines guarantees your repair holds up, giving you the freedom to use your floor without worry.
Mix the Concrete Patch or Epoxy
You’ll want to pick a concrete patch or epoxy that matches the crack size and floor conditions. Follow the manufacturer’s instructions closely to get the right consistency and strength. Use a clean mixing container and mix thoroughly to avoid lumps or weak spots in the repair.
Choosing the Right Mixture
Selecting the right mixture is essential for a durable repair. You’ll want to assess the crack size, location, and expected stress before choosing mixture types. For narrow cracks, epoxy mixtures offer excellent adhesion and flexibility, making them ideal for structural repair techniques. Larger gaps or surface-level damage call for concrete patch mixtures, which provide strength and compatibility with existing concrete. Consider environmental factors too—epoxies cure faster and resist moisture, while concrete patches handle temperature variations better. Your choice directly impacts repair longevity and performance, so match the mixture to specific repair techniques and conditions. By understanding these options, you gain control over the repair outcome, ensuring your concrete floor remains solid and crack-free for the long haul.
Mixing Techniques and Tips
Two key factors guarantee a successful repair: proper mixing ratios and thorough blending. When preparing your concrete patch or epoxy, always follow the manufacturer’s specified mixing ratios precisely. Too much water or hardener can weaken the mixture, compromising durability. Use a clean container and a mechanical mixer or sturdy mixing tool to secure consistency. Mix slowly to avoid air bubbles, which can reduce strength. Once mixed, apply the material immediately using appropriate application techniques—such as troweling or injecting—to ensure adhesion and fill the crack fully. Work efficiently but carefully; improper mixing or rushed application can lead to weak spots or poor bonding. Mastering these steps grants you the freedom to restore your floor confidently and effectively.
Fill the Crack With the Repair Material
Begin by applying the repair material directly into the crack, ensuring it penetrates deeply for a strong bond. Different crack types—hairline, structural, or expansion—require specific repair materials like epoxy, polyurethane, or cementitious fillers. Choose a product compatible with your crack’s size and movement potential to maintain durability. Use a putty knife or trowel to force the material into voids, eliminating air pockets. For wider cracks, layering the repair material may be necessary. Avoid overfilling; focus on complete infiltration to prevent future deterioration. This step is essential because the effectiveness of the repair depends on how well the material adheres inside the crack. Following these guidelines gives you control over the repair’s longevity, preserving your concrete floor’s integrity and your freedom from recurring maintenance.
Smooth and Level the Surface
Once you’ve filled the crack with repair material, you’ll need to smooth and level the surface to confirm a seamless finish. Begin by using a trowel or putty knife to spread the material evenly, making sure it’s flush with the surrounding concrete. This surface preparation step is critical to avoid unevenness that could cause future damage or tripping hazards. Work quickly but carefully, applying gentle pressure to eliminate air pockets and excess filler. After achieving a level fill, lightly feather the edges to blend the repair into the existing floor, providing a uniform look. These finishing touches not only enhance aesthetics but also improve durability. Proper smoothing confirms the repaired area can withstand daily wear, preserving your concrete floor’s integrity and freedom of movement.
Allow the Repair to Cure Properly
You need to let the repair cure for the recommended time to guarantee proper strength and durability. Keep the area protected from extreme temperatures and moisture changes, as environmental conditions affect curing. Avoid walking on or disturbing the repair until it’s fully set to prevent cracks or weakening.
Optimal Curing Time
Although it might be tempting to speed up the process, allowing the repair to cure properly is vital for achieving peak strength and durability. You should aim for an ideal curing time of at least 7 days to guarantee the concrete fully hydrates. Maintaining ideal moisture during this period is essential—use curing methods like damp burlap, plastic sheeting, or misting to prevent the repair from drying out too quickly. Skipping or shortening this phase compromises the repair’s integrity, leading to weakness and potential re-cracking. Remember, curing isn’t just a waiting game; it’s an active step where you control moisture and temperature to enhance concrete performance. By respecting the ideal curing time and methods, you secure a lasting repair that withstands stress and environmental challenges.
Environmental Conditions Impact
Proper curing hinges not only on time but also on the surrounding environmental conditions. When repairing cracks in concrete floors, you must consider weather effects such as humidity, wind, and direct sunlight, which can accelerate or hinder hydration. Temperature fluctuations pose additional challenges—extreme heat might cause rapid drying and shrinkage, while cold slows the chemical reaction, delaying strength gain. To guarantee your repair cures properly, maintain stable conditions: protect the area from direct sun and wind, and avoid repairs during freezing or excessively hot weather. Using curing compounds or moisture-retentive covers can help regulate moisture loss. By managing these environmental factors, you’ll maximize the repair’s durability and avoid premature cracking or weakening caused by improper curing.
Avoid Early Disturbance
Because the strength and durability of your concrete repair depend heavily on the curing process, avoiding early disturbance is essential. Early intervention strategies aim to protect the repair zone from premature stress, which can compromise bonding and lead to failure. Disturbance consequences include cracking, surface scaling, and weakened structural integrity. To guarantee proper curing, follow these steps:
- Restrict foot and vehicle traffic on the repaired area for at least 24-48 hours.
- Keep the repair moist by misting or covering with plastic sheeting to prevent drying.
- Avoid exposure to extreme temperatures or direct sunlight during curing.
- Use protective barriers or signage to prevent accidental contact.
Seal the Repaired Area for Protection
Once the crack repair has fully cured, you’ll need to seal the area to protect it from moisture, dirt, and further damage. Selecting the right sealant type is vital—options include acrylic, epoxy, and polyurethane, each offering different levels of durability and flexibility. Acrylic sealants are easy to apply and provide basic protection, while epoxy sealants offer superior resistance to chemicals and abrasion. Polyurethane sealants excel in flexibility, accommodating slight floor movements without cracking. After applying the sealant, consider adding a protective coating for enhanced longevity. These coatings shield against wear and environmental exposure, extending the repair’s lifespan. Apply sealants and coatings evenly, following manufacturer instructions, and guarantee adequate drying times. By properly sealing the repaired area, you maintain the concrete floor’s integrity and enjoy lasting freedom from recurring cracks.


