To paint your concrete basement floor, first assess moisture and repair cracks. Thoroughly clean and etch the surface for better paint adhesion. Gather concrete primer and floor paint designed for your conditions, then apply primer evenly with a roller, allowing it to dry fully. Use thin, multiple paint coats for a smooth finish, then seal the floor with a protective coat. Let it cure properly before use. Following these steps guarantees a durable, attractive floor, and you’ll find more detailed guidance to perfect the process.
Assessing the Condition of Your Basement Floor
Before you begin painting, you’ll need to thoroughly evaluate the condition of your basement floor. Start by gauging moisture levels, as any dampness can prevent paint from adhering properly. Use a moisture meter or tape a plastic sheet to the floor for 24 hours to check for condensation. Next, focus on checking for damage such as cracks, chips, or uneven surfaces. These imperfections must be repaired to guarantee a smooth, durable finish. Inspect the floor for oil stains or dirt, which can interfere with paint adhesion. By methodically evaluating these factors, you’ll avoid common pitfalls that compromise your project. Taking time now means greater freedom to enjoy a painted basement floor that lasts, resisting peeling and wear over time.
Gathering Necessary Tools and Materials
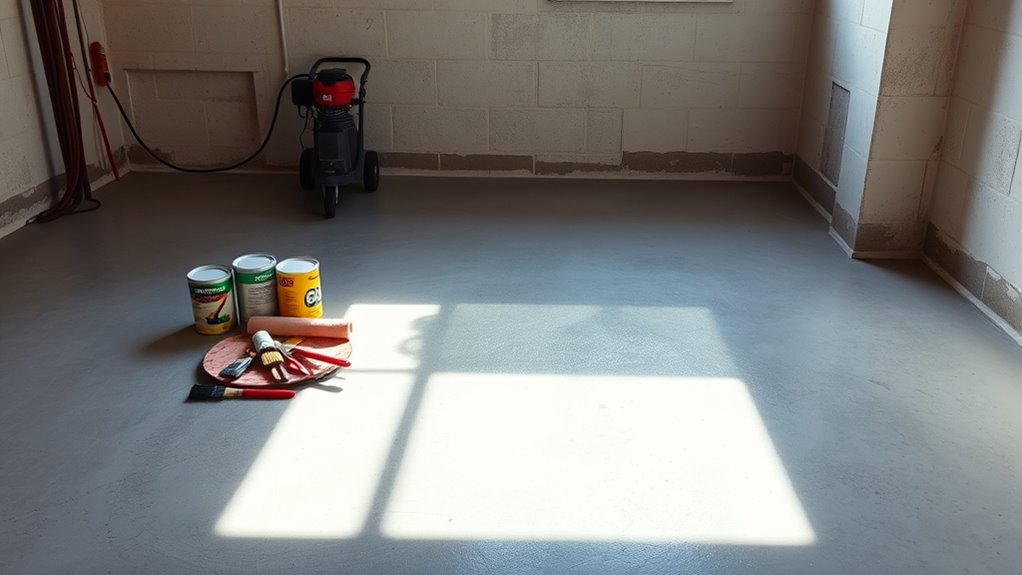
Once you’ve confirmed your basement floor is dry, clean, and repaired, you can focus on gathering the tools and materials needed for painting. Effective tool selection and material sourcing are essential to guarantee a smooth application and lasting finish. You’ll want to have everything ready before you start, so the process stays efficient and enjoyable.
Here’s a checklist to guide your gathering:
- Concrete primer and paint designed for floors
- Paint rollers with extension poles and brushes for edges
- Protective gear such as gloves and a mask
- Painter’s tape and drop cloths to protect surrounding areas
Cleaning and Preparing the Concrete Surface
Before you start painting, make certain to thoroughly remove all dirt and debris from the concrete surface. Inspect the floor carefully and repair any cracks or holes with an appropriate patching compound. Proper cleaning and repairs guarantee the paint adheres well and lasts longer.
Remove Dirt and Debris
Although it might seem straightforward, thoroughly removing dirt and debris is essential to guarantee the paint adheres properly to your concrete basement floor. Effective cleaning techniques form the foundation of proper surface preparation, ensuring a smooth, long-lasting finish. Start by sweeping the entire floor to clear loose dirt and dust. Next, use a stiff-bristle brush with a mild detergent solution to scrub stubborn grime. Rinse thoroughly with water, then let the floor dry completely. Don’t forget these steps for ideal cleaning:
- Sweep to remove loose debris
- Scrub with detergent and stiff brush
- Rinse thoroughly to wash away residue
- Allow full drying before painting
This methodical approach gives you a clean, receptive surface, making your painting project more successful and durable.
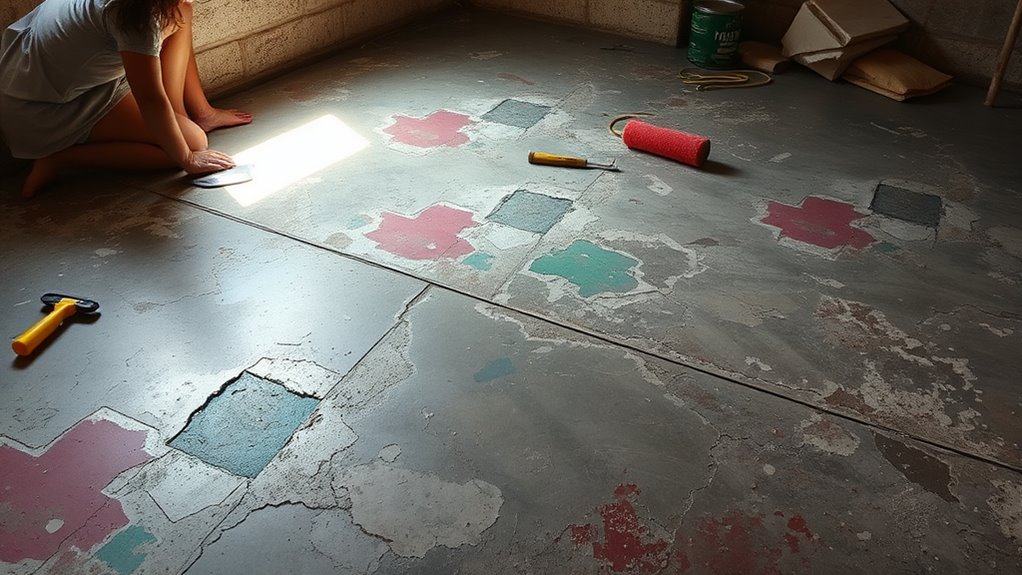
Repair Cracks and Holes
Since cracks and holes can compromise the durability and appearance of your concrete floor, you’ll want to address them thoroughly before painting. First, identify the crack types—hairline, structural, or surface—and choose the right repair techniques accordingly. For hairline cracks, use a concrete crack filler applied with a putty knife. Larger or structural cracks require a patching compound or epoxy injection for strength. For holes, clean out loose debris, then fill with a concrete patching mix, smoothing it flush with the surface. Allow repairs to cure fully as per product instructions. Properly fixing these imperfections guarantees a smooth, stable base, helping your paint adhere better and last longer. Taking this step gives you freedom from future peeling or damage, keeping your basement floor looking sharp.
Repairing Cracks and Imperfections
Before painting, you need to identify all cracks and imperfections on your basement floor. Select appropriate repair materials, such as concrete patch or epoxy filler, based on the size and depth of the damage. Then, carefully fill and smooth the cracks to create an even surface ready for painting.
Identifying Floor Cracks
A crucial step in preparing your concrete basement floor for painting is identifying any cracks or imperfections that need repair. Understanding crack types helps you decide on proper repair methods. Inspect the floor thoroughly, noting locations and sizes of damage. Common crack types include hairline, structural, shrinking, and settlement cracks. Each requires a specific approach to fix effectively.
Look for:
- Narrow hairline cracks that may only need sealing
- Wider structural cracks indicating possible foundational issues
- Shrinking cracks caused by drying concrete
- Settlement cracks from soil movement beneath the slab
Choosing Repair Materials
Once you’ve identified the types and locations of cracks on your basement floor, selecting the right repair materials becomes your next step. You’ll find various repair material types, including epoxy, polyurethane, and hydraulic cement, each suited for different crack sizes and conditions. It’s essential to take into account surface compatibility; for instance, epoxy works well on dry, clean concrete, providing a strong bond, while hydraulic cement is ideal for wet or actively leaking cracks. Polyurethane offers flexibility, adapting to slight movements in the concrete. Choosing materials that match your floor’s condition guarantees durability and a smooth finish when painting. Taking this methodical approach to repair material selection gives you the freedom to achieve a flawless, long-lasting basement floor surface.
Filling and Smoothing Cracks
Although selecting the right repair materials is essential, effectively filling and smoothing cracks guarantees a seamless surface for painting. First, identify the crack types—hairline, structural, or surface—to choose the best repair methods. You’ll want to:
- Clean the cracks thoroughly to remove debris and loose particles.
- Use a concrete patching compound or epoxy for wider or structural cracks.
- Apply a flexible filler for hairline or minor surface cracks to accommodate slight movement.
- Smooth the patched areas with a putty knife or trowel, feathering edges for a flush finish.
Etching the Concrete for Better Paint Adhesion
Three key steps are involved in etching your concrete basement floor to guarantee paint adheres properly. First, thoroughly clean the surface to remove dirt and grease. Next, apply an etching solution—commonly a mixture of muriatic acid and water or a commercial etcher—following the manufacturer’s instructions carefully. This step opens the concrete’s pores, enhancing adhesion improvement by creating a rougher texture for the paint to grip. After letting the etching solution sit for the recommended time, rinse the floor thoroughly with water to neutralize the acid and remove residue. Finally, allow the floor to dry completely before painting. Proper etching techniques ascertain your paint bonds firmly, preventing peeling and extending the life of your finished basement floor.
Choosing the Right Paint for Basement Floors
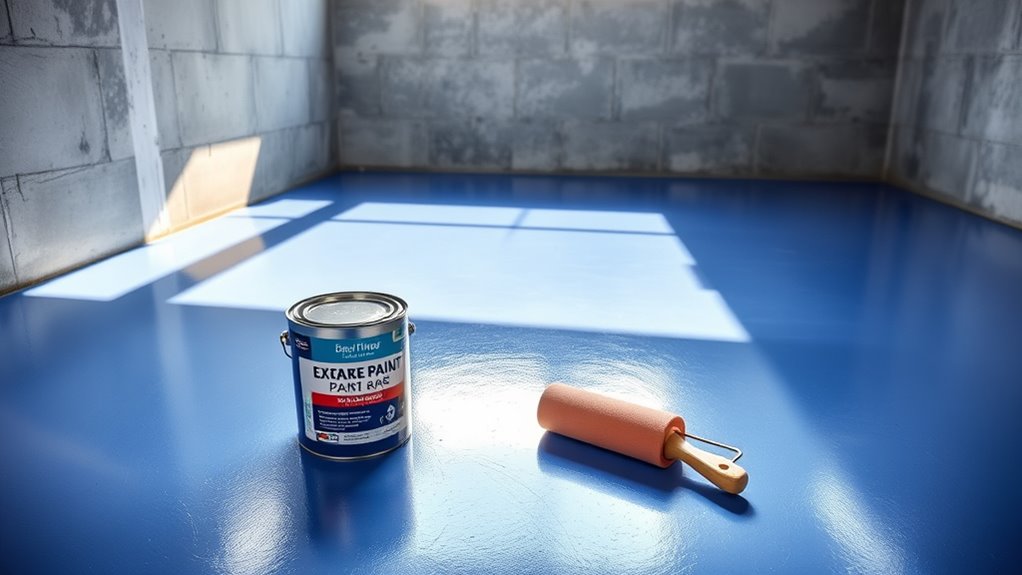
Selecting the right paint for your basement floor is essential to guarantee durability and a professional finish. You want a coating that resists moisture, wear, and stains while offering a look you enjoy. Epoxy coatings are a top choice because they create a tough, long-lasting surface ideal for concrete. Plus, they come in various color options, allowing you to customize your space easily.
Consider these factors when choosing paint:
- Durability and resistance to moisture
- Ease of application and drying time
- Available color options to match your style
- Compatibility with concrete surfaces and previous sealers
Applying Primer to the Concrete Floor
Before painting, you need to choose a primer designed specifically for concrete floors to guarantee proper adhesion. Apply the primer evenly using a roller, working in small sections to avoid drying before smoothing. Make sure the surface is clean and dry to achieve the best results.
Choosing the Right Primer
Why does choosing the right primer matter when painting your concrete basement floor? Selecting the appropriate primer guarantees strong adhesion, durability, and a flawless finish. Different primer types suit various concrete conditions and paint types, so knowing the options is key. Primer benefits include sealing porous surfaces, preventing moisture issues, and enhancing paint longevity.
Consider these points when choosing your primer:
- Concrete moisture level: Use moisture-blocking primers if dampness is present.
- Primer compatibility: Match primer types with your chosen paint (epoxy, latex, etc.).
- Surface condition: Rough or previously painted floors may need specific primers.
- Durability needs: High-traffic areas require primers designed for extra wear resistance.
Primer Application Techniques
Applying primer to your concrete basement floor involves a few key steps to guarantee even coverage and strong adhesion. Start by choosing the correct primer type for your floor—epoxy or acrylic primers are common choices due to their durability and moisture resistance. Pour the primer into a paint tray, then use a roller with a medium nap to apply it evenly, working in small sections. Begin at the farthest corner and move toward the exit to avoid stepping on wet areas. Use a brush to reach corners and edges. The primer benefits include sealing the porous concrete and enhancing the topcoat’s durability. Allow the primer to dry fully, usually 24 hours, before applying paint. Following these steps assures a smooth, long-lasting finish you can rely on.
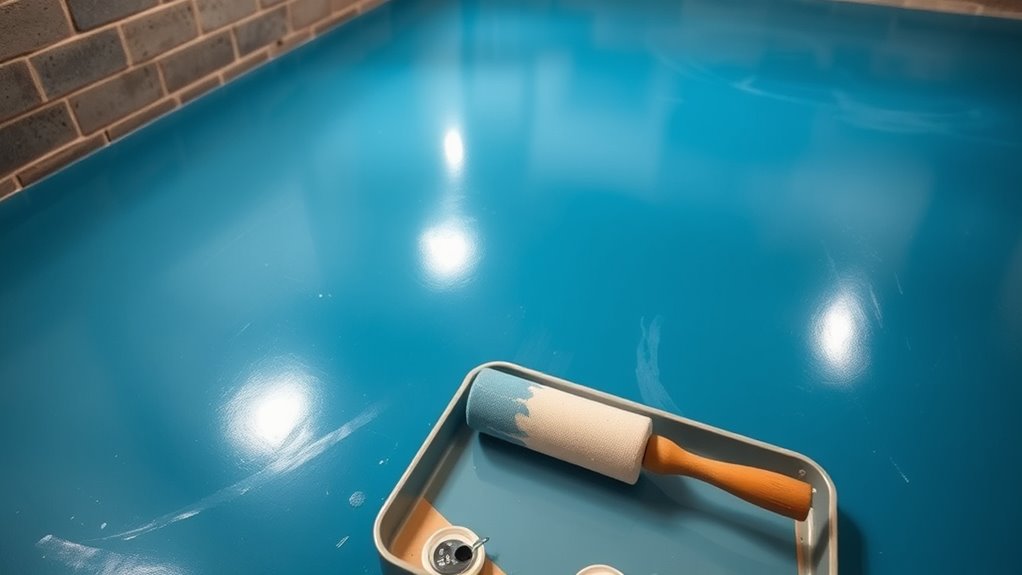
Painting Techniques for a Smooth Finish
Achieving a smooth finish on your concrete basement floor requires careful attention to technique and the right tools. Start by using precise brush techniques to cut in edges and corners where rollers can’t reach. Then, employ a quality roller application with a thick nap to spread paint evenly across the surface. Keep your strokes consistent and avoid overloading the roller to prevent drips and uneven texture. Remember to paint in sections, maintaining a wet edge to avoid lap marks.
Use precise brushes for edges and a thick-nap roller for even, drip-free coverage on concrete floors.
- Use angled brushes for clean edges and detail work
- Roll paint in a “W” or “M” pattern for even coverage
- Apply thin, multiple coats rather than one thick coat
- Allow adequate drying time between coats for smooth layering
These methods help you achieve a professional, smooth finish that enhances your basement’s look.
Adding a Protective Sealer for Durability
Once you’ve secured a smooth, even coat of paint on your basement floor, protecting that finish becomes the next step. Selecting the right sealer type guarantees durability and resistance against wear. You’ll find that application techniques vary by sealer; some require a roller, others a sprayer. Applying evenly prevents peeling and extends the floor’s lifespan. Here’s a quick guide:
| Sealer Type | Application Technique |
|---|---|
| Acrylic | Roller or brush |
| Epoxy | Roller, brush, sprayer |
| Polyurethane | Sprayer or roller |
| Penetrating Sealer | Brush or spray |
Choosing the right combination lets you confidently enjoy a durable, protected floor that stands up to daily use, granting you freedom from frequent repairs.
Allowing Proper Drying and Curing Time
Although it might be tempting to use the basement floor soon after painting, you’ll need to allow sufficient drying and curing time to confirm the finish fully hardens and bonds properly. Proper drying techniques and respecting curing times are essential to achieve a durable, long-lasting surface. To assure success, keep these points in mind:
Allow ample drying and curing time after painting to ensure a durable, well-bonded basement floor finish.
- Maintain consistent room temperature and low humidity to speed up drying.
- Avoid walking on or placing objects on the floor for at least 24-48 hours.
- Allow the sealer and paint to cure for 5-7 days before heavy use.
- Use fans or dehumidifiers to enhance air circulation and drying efficiency.