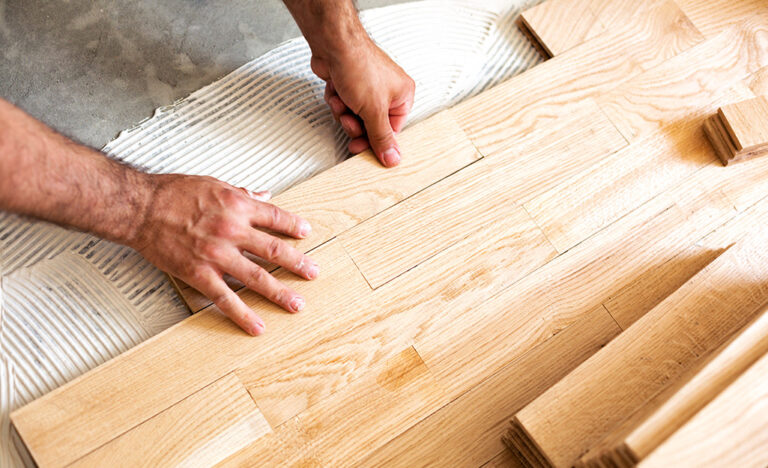
To demo a tile floor, first clear and protect your workspace, ensuring ventilation and safety. Gather tools like a crowbar, hammer, grout saw, and wear gloves, goggles, and a dust mask. Begin by removing grout carefully to avoid damaging adjacent tiles. Then, lift tiles using a scraper or chisel attachment, working methodically. Collect debris for proper disposal following local regulations and recycle where possible. Proper prep and technique speed your project—you’ll find detailed steps and tips to streamline the process ahead.
Preparing Your Work Area

Before you begin demoing tile floors, you need to prepare your work area thoroughly. Start by planning your work area layout to maximize efficiency and safety. Clear all furniture and obstacles to provide an unobstructed space. Next, implement surface protection measures—cover adjacent walls, baseboards, and any exposed cabinetry with durable plastic sheeting or drop cloths to prevent damage from debris or tools. Secure these coverings firmly using painter’s tape to avoid shifting during the demolition. Establish a designated disposal zone for tile fragments and dust containment. Guarantee adequate ventilation and easy access to exits. Keeping your work area organized minimizes hazards and allows you the freedom to move quickly and confidently, streamlining the entire tile removal process. Proper preparation is essential for a successful, injury-free demolition.
Gathering the Necessary Tools
Once your work area is fully prepped and protected, you’ll need to gather the specific tools required to efficiently remove tile 床材. Start with tool selection: essential items include a heavy-duty crowbar or pry bar, a hammer, a floor scraper, and a rotary hammer with a chisel attachment for stubborn tiles. Additionally, a utility knife and a dust mask are crucial for precision and cleanliness. Organize these tools systematically in a tool belt or on a nearby workbench, ensuring quick access and minimizing downtime. Proper tool organization not only speeds up the demo process but also enhances your freedom to work fluidly without interruption. Having the right tools at hand with clear organization sets a foundation for a controlled, efficient tile removal project.
Safety Precautions to Follow
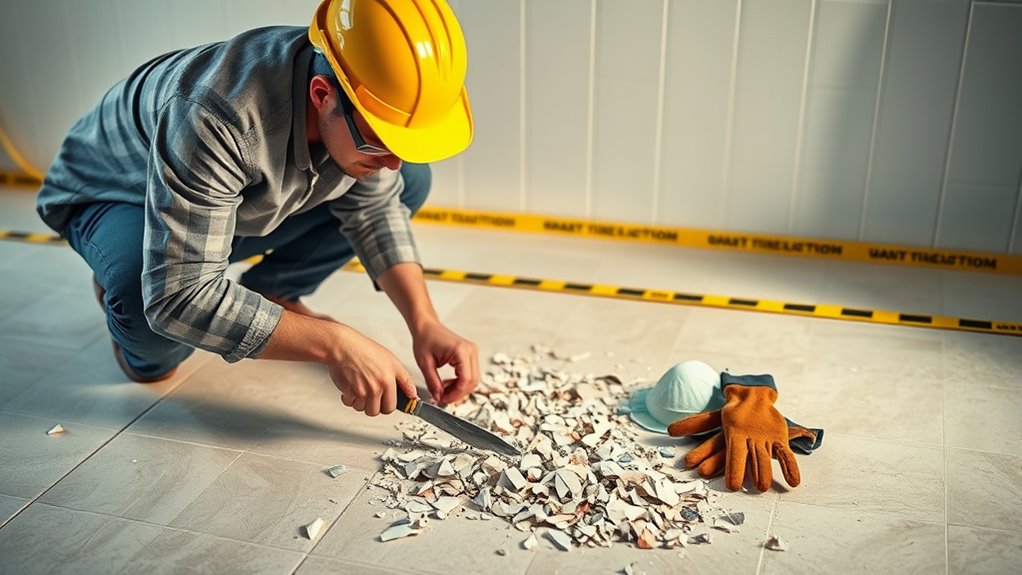
Before you start demoing the tile floor, make sure you wear essential protective gear like gloves, safety goggles, and a dust mask. Be aware of hazards such as sharp tile shards and dust inhalation, and take steps to prevent injuries. Proper preparation will keep you safe throughout the demolition process.
Essential Protective Gear
Anyone tackling tile floor demolition should prioritize wearing essential protective gear to minimize risks. Start with protective goggles to shield your eyes from flying debris and dust, ensuring clear vision throughout the process. Next, equip yourself with heavy gloves that offer both dexterity and robust protection against sharp tile edges and splinters. Additionally, consider sturdy knee pads to reduce strain during prolonged work on hard surfaces. Wear a durable dust mask to prevent inhalation of fine particles, preserving your respiratory health. Choose footwear with reinforced toes and slip-resistant soles to maintain stability and prevent injury from dropped tools or uneven surfaces. By donning this gear, you maintain freedom of movement while safeguarding your body, allowing you to work efficiently and confidently in your tile floor demolition project.
Hazard Awareness and Prevention
Although protective gear is essential, understanding and preventing hazards during tile floor demolition is equally important to guarantee safety. Start by conducting thorough hazard identification to spot potential risks such as sharp debris, dust inhalation, and electrical wiring beneath tiles. Perform a risk assessment to prioritize hazards based on severity and likelihood, enabling you to implement targeted controls. Before starting, clear the work area of unnecessary items to prevent trips and falls. Use proper ventilation or dust extraction to minimize airborne particles. Always verify the location of hidden utilities to avoid accidental damage. Maintain situational awareness throughout the process, adapting your approach if new hazards emerge. By systematically identifying and managing risks, you maintain control and freedom to work safely and efficiently during tile floor demolition.
Removing Grout Between Tiles
To efficiently remove grout between tiles, you’ll need the right tools and a steady hand. Start by selecting a grout removal technique that suits your tile type and workspace. Manual grout saws or oscillating multi-tools provide precision, minimizing tile damage. Remember, proper grout removal paves the way for effective grout replacement options later.
| 道具 | 最適な使用方法 |
|---|---|
| Grout Saw | Small areas, detailed control |
| Oscillating Tool | Larger areas, faster removal |
| Rotary Tool | Tough grout, intricate spaces |
| 真空アタッチメント | Dust control during removal |
Work steadily along grout lines, holding tools at a shallow angle. Keep grout dust contained for safety. Mastering these grout removal techniques frees you to proceed confidently with tile demolition or refinishing.
Techniques for Lifting Tiles
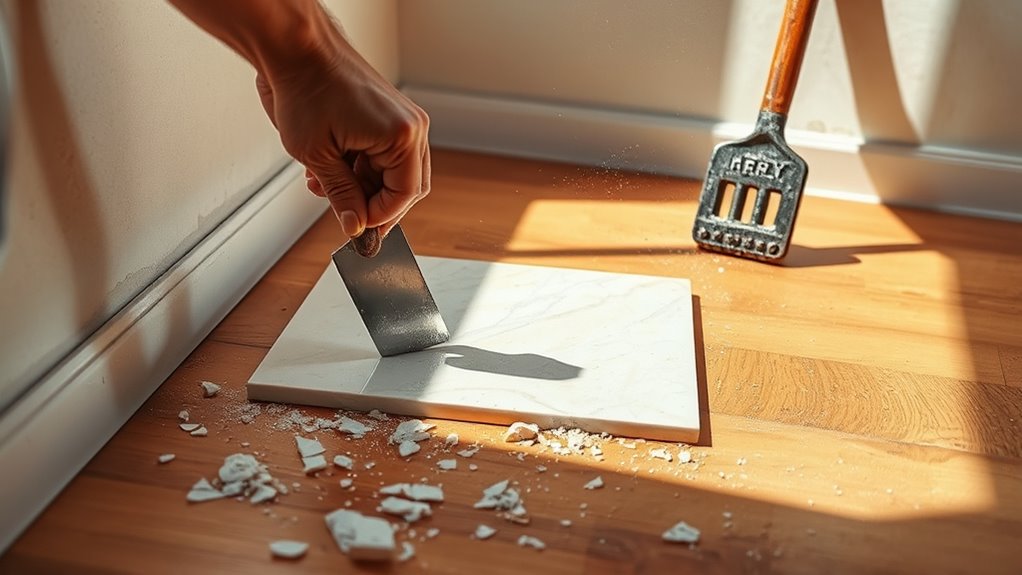
Begin by loosening tiles carefully using a flat pry bar or putty knife inserted under the tile edge. Apply gentle, steady pressure to avoid cracking. If tiles resist, tap the tool handle lightly with a hammer to increase leverage. Once loosened, lift tiles individually to preserve the subfloor integrity. Explore tile lifting techniques that minimize damage, such as starting from a broken tile or an edge. After removal, focus on adhesive removal methods by scraping remaining mortar or thinset with a stiff scraper or chisel. For stubborn adhesive, apply a commercial adhesive remover or a heat gun to soften the material before scraping. These precise actions guarantee a clean surface ready for your next flooring project, giving you the freedom to control the demo process efficiently.
Cleaning Up After Tile Removal
After removing tiles and scraping off adhesive, you’ll need to thoroughly clean the area to prepare it for the next steps. Begin by sweeping the floor to collect loose debris and dust. Use a vacuum with a HEPA filter to capture fine particles that brooms might miss. For residual adhesive, apply a recommended adhesive remover and scrub with a stiff brush, making sure you follow safety guidelines. Wipe the surface with a damp cloth to remove any chemical residues. Proper debris management is essential to maintain a safe workspace and prevent contamination. Organize collected debris into designated containers or bags for easier handling. Employing these cleaning techniques guarantees the floor is clean and smooth, providing an ideal base for your next flooring installation or treatment.
Disposing of Tile Debris Properly
You’ll need to sort tile debris by material type to comply with local disposal regulations and reduce environmental impact. Check your area’s specific rules for construction waste to guarantee proper handling and avoid fines. Additionally, consider recycling options for tile materials to minimize landfill use and recover valuable resources.
Sorting Tile Waste
Properly sorting tile waste is essential for efficient disposal and environmental compliance. Begin by identifying the tile types—ceramic, porcelain, or natural stone—as each requires distinct handling. Separate intact tiles from broken debris to streamline recycling efforts. Use designated containers for each tile category to prevent cross-contamination. Remove any adhesive or grout residue before sorting, as these materials can complicate waste processing. Implementing a clear labeling system for containers helps maintain order and facilitates waste management. By adhering to these sorting protocols, you reduce landfill contributions and enable potential reuse or recycling opportunities. This approach not only aligns with responsible waste management practices but also grants you the freedom to manage tile debris effectively and sustainably during your demo project.
Local Disposal Regulations
While handling tile debris, it’s crucial to understand and comply with local disposal regulations to avoid fines and environmental harm. Different areas enforce specific rules on disposal methods, so you must verify your municipality’s guidelines before discarding tile waste. Improper disposal can lead to penalties or environmental damage.
| Disposal Method | Allowed Materials | 注記 |
|---|---|---|
| Landfill Disposal | Non-hazardous tile | Check landfill acceptance rules |
| Construction Waste Facility | Tile and mortar debris | Segregate from other waste |
| Special Pick-up Services | Large volumes | Schedule in advance |
Always contact your local waste authority to confirm approved disposal methods. Following local regulations guarantees you’re free from legal issues and promotes responsible waste management.
Recycling Tile Materials
Recycling tile materials involves separating reusable components from debris to reduce landfill waste and conserve resources. Start by collecting intact tiles and setting them aside for reuse or donation. For broken tiles and grout, sort materials based on composition—ceramic, porcelain, or natural stone—as this facilitates efficient tile recycling. Use designated containers to prevent cross-contamination. Research local facilities offering eco friendly options such as crushing tiles for aggregate or incorporating them into construction materials. Avoid disposing of tile debris in regular trash to comply with local disposal regulations and minimize environmental impact. By following these steps, you’ll not only free yourself from unnecessary waste but also contribute to sustainable renovation practices that respect both your freedom and the planet.