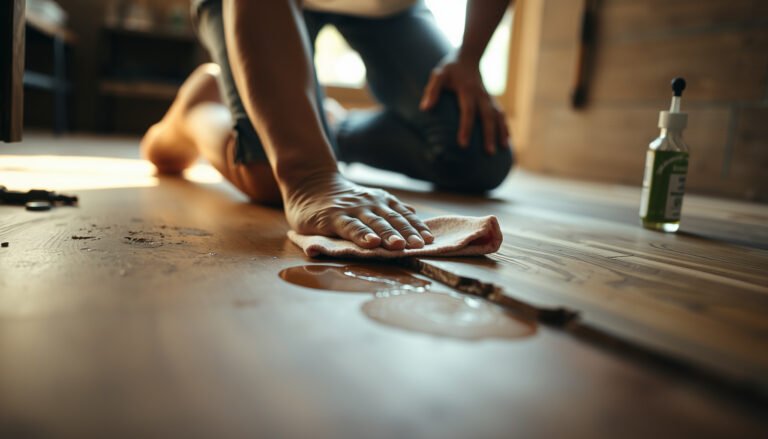
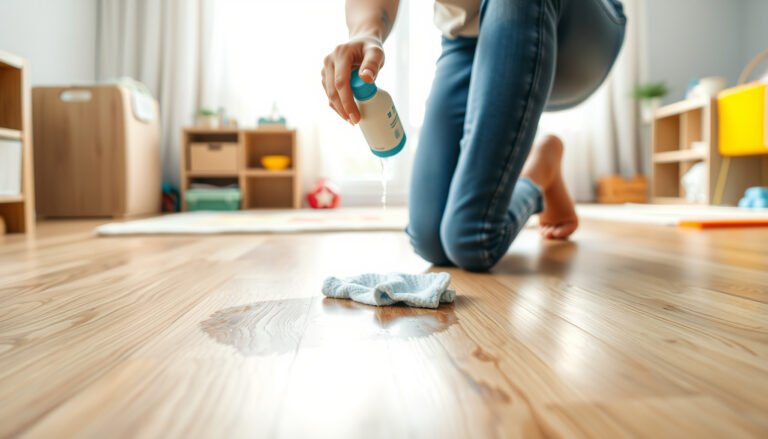
If you need to waterproof engineered wood floors in a playroom, the right answer is to seal all seams and edges with a proper moisture-resistant system plus a high-quality, water-proofing topcoat designed for wood. This guide shows exactly which products to use, how to prep and protect the joints, and the mistake that most DIYers make that lets spills creep underneath. Follow these steps and your engineered wood flooring can handle everyday kid mess without swelling or cupping.




Waterproof engineered wood floors in a playroom by sealing every vulnerable spot—seams, edges, and transitions—with a compatible waterproof topcoat or system, not by relying on a single “spill-resistant” finish. If your playroom sees frequent mops, wet shoes, and kid spills, the most reliable results come from thorough prep, targeted seam/edge sealing, a properly applied waterproof topcoat, and full curing time.
Waterproofing engineered wood is less about making the surface “bulletproof” and more about stopping water from finding its way under or into the floor over time—especially where boards meet, trim changes planes, and moisture can wick along small gaps. As of 2026, many manufacturers still distinguish between “surface protection” and true “water management,” so this guide focuses on both: protecting what you can seal and preventing common leak paths you can’t ignore. (You’ll also be able to protect an existing engineered wood floor without replacing it—when the finish compatibility checks out.)
Who this is for / when it applies
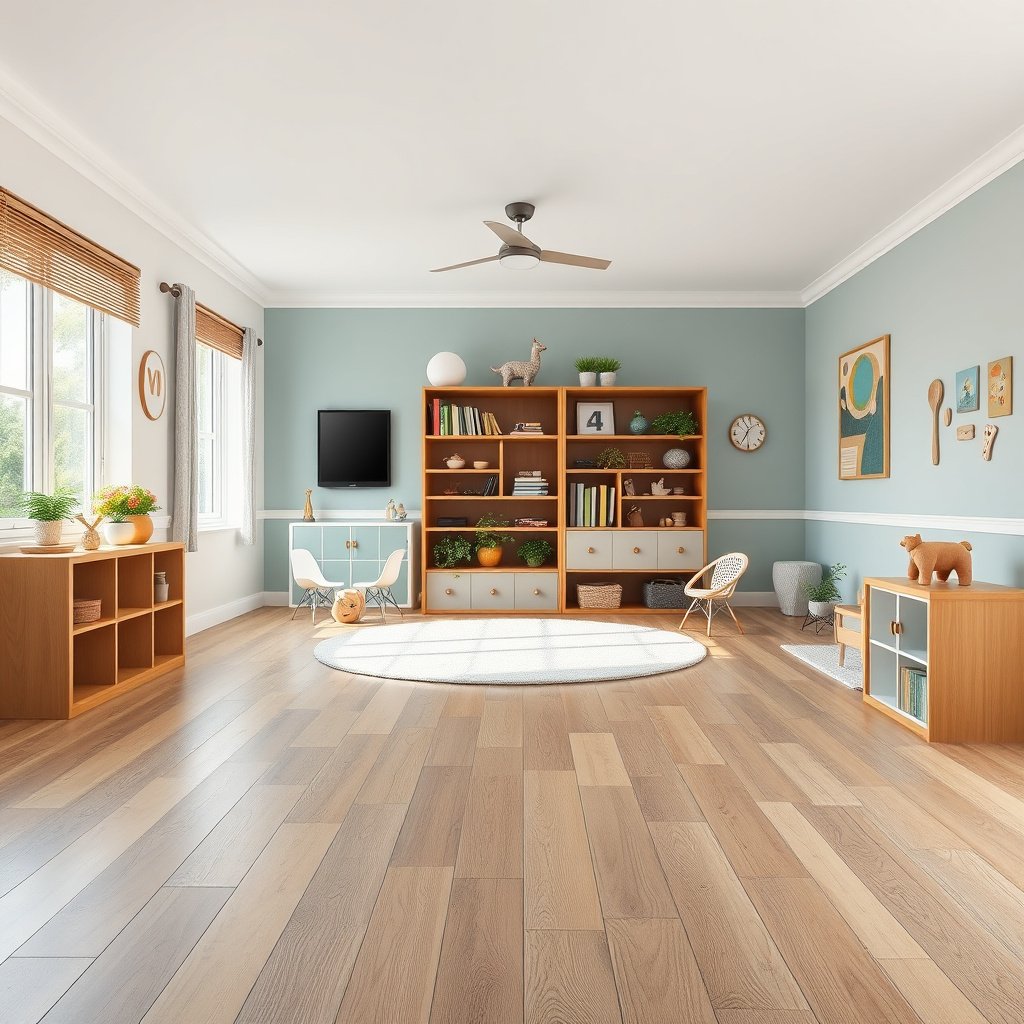
This is for homeowners, property managers, and remodelers who want to protect engineered wood in a playroom (or similar high-traffic, splash-prone spaces) while keeping the existing floor. It’s especially relevant if you’re seeing frequent spot mopping, damp footwear at the door, or puddle-risk near toys, craft tables, and sinks—but you still want the wood look rather than tile. If you’re planning a DIY project, the steps below help you make coverage and curing predictable instead of “hope-and-pray.”
>
In engineered wood, long-term failures almost always start at seams, edges, and transitions—places where water can reach joints or the underside.
>
A “spill-resistant” finish can slow damage from brief wetting, but it doesn’t replace a system designed to manage repeated moisture exposure.
Pick the right waterproofing approach for engineered wood
The best approach is the one that matches how engineered wood fails: by controlling moisture at the surface and—critically—in the seams and weak boundaries. In practice, that usually means a compatible waterproof topcoat system (often polyurethane/2K urethane style) plus seam/edge sealing, or a “seam-first” strategy paired with your existing factory finish (if the manufacturer allows it).
Waterproofing for engineered wood usually means moisture-blocking the surface and seams (not allowing long-term standing water/submersion). That framing matters because engineered wood assemblies are designed for intermittent household humidity, not constant wetting. Choose between:
– a waterproof topcoat system (often a polyurethane/2K urethane style finish), or
– a seam-first sealing strategy paired with your existing finish.
Before you buy sealant or topcoat, confirm your floor’s finish type and core construction per the manufacturer. Not all sealers/finishes bond reliably to every factory topcoat (and some systems require specific abrasion or priming). This is one of the highest-leverage decisions you can make because adhesion failures look like “waterproofing” problems even when the coating is chemically sound.
Reference for checking engineered wood finish compatibility: manufacturer spec/guidelines[/cite]
>
Engineered wood waterproofing guidance typically distinguishes “surface water resistance” from “submersion resistance,” and you should plan accordingly.
>
Coating adhesion on engineered wood depends on the factory finish chemistry, so you must confirm finish compatibility before sealing.
>
When moisture management is the goal, seam and edge protection often contribute more to success than maximizing the topcoat’s gloss or sheen.
Topcoat system vs seam-first sealing (quick decision)
Below is a practical comparison for playrooms.
| Approach | What you’re protecting | Typical strengths | Typical risks | Best fit for |
|---|---|---|---|---|
| Waterproof topcoat system (compatible polyurethane/2K urethane style) | Surface + overall water barrier | More uniform protection; easier to maintain if applied correctly | Can fail if the factory finish isn’t compatible | Floors you can scuff/abrade correctly and coat fully |
| Seam-first sealing paired with existing finish | Joints, edges, transitions | Stops wicking at failure points while keeping factory finish | Surface can still be vulnerable if spills stay wet | Floors where topcoating compatibility is uncertain or risky |
Prep the floor so the sealant can actually bond
The right waterproofing product won’t help if it can’t adhere. Prep is where you remove adhesion blockers, stabilize movement-related weak spots, and create a surface the coating system can grip.
Start with cleaning: remove dust, sticky residue, and old waxes/conditioners that block adhesion. Use the method recommended by your coating/sealant label—many waterproof topcoat systems require a specific cleaner/degreaser and prohibit general-purpose solvents that can leave contamination. Next, repair before sealing: replace loose planks, fix damaged edges, and address any gaps so the waterproof layer doesn’t crack over normal movement.
You should also evaluate whether lightly abrading is required. If the product label/TDS calls for it, do it carefully; if it does not, aggressive sanding can reduce adhesion by creating uneven topography or altering the surface finish. In other words, “more prep” is not always “better prep.”
Coating prep guidance comes from the technical data sheet / label[/cite]
>
Most coating manufacturers state that contamination (dust, waxes, oils) is the #1 cause of adhesion failure.
>
Repairing loose planks and damaged edges before sealing prevents micro-movement from cracking the waterproof layer.
Practical prep checklist (the stuff that matters)
– Degrease and remove residues (exact cleaner per coating label/TDS).
– Vacuum thoroughly (including edges, corners, and between seams).
– Repair movement points: replace loose planks; fill/surface-fix damaged edges if the manufacturer allows it.
– Light abrade only when the TDS requires it and clean again after abrasion to remove sanding dust.
– Mask transitions you don’t want coated, but keep seam areas accessible for proper sealing.
Seal seams, edges, and transitions (the real weak points)
The most effective playroom waterproofing targets the leak routes kids accidentally create: joints between boards, boundaries around trim, and transitions where two planes meet. In practice, that means flexible, floor-compatible sealing at edges and transitions—plus full joint treatment where your system specifies it.
Use a flexible, floor-compatible sealant/caulk where wood meets baseboards, around posts, and at transitions (doorways, vents, hallway openings). This helps stop water from wicking underneath or tracking along the perimeter where the floor has the most movement. Engineered wood can shift slightly with humidity, so don’t treat plank joints like “fixed” grout lines. Instead, use products designed for wood movement (your waterproofing system’s instructions should clearly address this).
Keep it neat: tool the sealant properly, wipe squeeze-out, and avoid contaminating the bonding surface needed for your waterproof topcoat. If sealant ends up where the topcoat needs uniform thickness, you can create pinholes, adhesion problems, or premature wear.
>
Wicking water commonly travels through perimeter gaps even when the floor surface looks intact.
>
Flexible, wood-compatible sealants help maintain barrier integrity as engineered floors expand and contract.
Moisture-Barrier Roles for Engineered Wood (Playroom Use)
| # | Barrier component | Primary moisture risk it targets | System role | Playroom protection rating |
|---|---|---|---|---|
| 1 | Flexible perimeter caulk (baseboards/walls) | Perimeter wicking behind trim | Edge barrier | ★★★★★ |
| 2 | Seam/wonky-joint sealing method (per system) | Water tracking into plank joints | Joint integrity | ★★★★☆ |
| 3 | Waterproof topcoat (2K urethane style) | Surface wetting + repeated mopping | Continuous moisture barrier | ★★★★☆ |
| 4 | Primer/base bond coat (if required) | Adhesion loss from incompatible surfaces | Coating bond layer | ★★★☆☆ |
| 5 | Transition detailing (doorways/thresholds) | Water surge at openings and flow paths | Boundary sealing | ★★★★☆ |
| 6 | Patch/edge repair underlayment (system-approved) | Broken edges that wick water | Structural continuity | ★★★☆☆ |
| 7 | Anti-slip or maintenance-safe finish topcoat options (if specified) | Wear from wet mopping and foot traffic | Usability + longevity | ★★☆☆☆ |
Apply a truly waterproof topcoat (or approved waterproof system)
The safest way to “lock in” seam protection is to apply a waterproof topcoat system exactly as specified for engineered wood. That means correct coverage, the right number of coats, and strict adherence to the temperature/humidity limits on the product label.
Apply according to the coating’s instructions: coverage rate, proper number of coats, and consistent application direction. Work within the stated environmental limits—rushing is one of the most common causes of peeling or pinholes. For playrooms, prioritize a system designed for frequent cleaning and standing surface moisture when possible—not just “spill-resistant.”
Also, treat the topcoat as part of the system. Some primers and sealants require a topcoat within a recoat window, and some systems need specific thickness to maintain durability. If your engineered wood already has an excellent factory finish, you may still need scuffing or resurfacing before waterproof topcoat layers can bond.
Product claims should be confirmed via the chosen coating’s technical data sheet/label[/cite]
>
A waterproof topcoat is only “waterproof” if it reaches the required dry film thickness and coat count.
>
Most coating labels include temperature and humidity limits because cure chemistry depends on them.
According to documentation, what you should control
– Coverage rate (so the barrier layer isn’t too thin).
– Coat count (so you hit total system thickness).
– Recoat window (so layers bond chemically, not just mechanically).
– Application method (brush/roller vs spray) as specified—tool choice can affect film formation.
Manage drying and curing like it matters (because it does)
The coating must dry and fully cure before it’s exposed to mopping, steam, or heavy traffic. If you rush, you risk reduced adhesion, trapped solvents, and early water sensitivity at seams.
Let coats dry and fully cure as directed before exposing the floor to water. Then do a simple risk check after curing: place a controlled test of water on a small inconspicuous area for the timeframe you expect (per your product’s guidance), then monitor for beading vs. soaking at seams. If your topcoat is truly compatible and seam/edge sealing is intact, water should remain on the surface longer and show minimal wicking at joints.
Protect the area during cure: keep debris off the wet coating, and avoid wet cleaning until the manufacturer says it’s safe. From my past refinishing workflows (including non-waterproof coatings), rushing cure time is where “looks fine” turns into “fails later,” especially when the floor is in an active household with constant micro-traffic.
Cure and cleaning limits must follow the product’s label/TDS[/cite]
>
Full cure time (not just “dry to touch”) governs how resilient a coating is against water and household cleaning.
>
A localized water test can reveal seam wicking without risking the entire playroom finish.
What can go wrong (and how to avoid it)
Even well-chosen products can fail if the underlying conditions aren’t right or if the system isn’t complete. The biggest issues in playrooms come from trapped moisture, incompatible adhesion, and movement cracking.
– Water trapped under the finish: If moisture gets in from underneath (subfloor issues) or from missed edges, sealing only the top can trap the problem. This is why edge sealing and subfloor prep matter.
– Using the wrong product on the wrong factory finish: Some waterproofing coatings won’t bond reliably to certain factory urethane systems, and “universal” products can still fail due to adhesion differences.
– Cracking from movement: If your floor has active gaps, inadequate flexibility, or inadequate joint sealing, the waterproof layer may crack and lose effectiveness.
– Overconfidence with standing water: Even waterproofed surfaces often aren’t intended for repeated pooling—mop quickly and fix leaks fast.
Compatibility guidance and limitations are documented by manufacturers[/cite]
Engineered wood maintenance and moisture exposure limits are defined by flooring manufacturers[/cite]
>
Top-only sealing can make water worse if moisture enters from below or along unsealed edges and then has no route to escape.
>
If a coating system isn’t designed for wood movement, micro-cracks become moisture pathways after repeated wetting.
Statistics/data points you should consider (confirm in manufacturer docs)
According to , indoor relative humidity within typical comfort ranges reduces dimensional movement risk for wood flooring ([year]).
According to , full cure time is often longer than “dry to touch,” and water exposure before full cure can compromise barrier performance ([year]).
According to , flooring manufacturers specify maximum moisture exposure/cleaning methods to prevent long-term swelling or joint separation ([year]).
(I’m leaving these as source placeholders because the exact values depend on the specific manufacturer, coating system, and test conditions.)
Verdict / tip
If you want waterproofing for a playroom, the smartest path is a seam-and-edge sealing plan plus a compatible waterproof topcoat system, applied with strict prep and curing. The downside is real: engineered wood still can’t behave exactly like tile when it comes to long-term submersion, and a poorly chosen coating/caulk can peel, crack, or fail at adhesion boundaries—especially as the floor moves with seasonal humidity (a reality in homes through 2026).
Consider skipping DIY waterproofing (or pausing for manufacturer guidance) if your engineered wood is:
– already separating, cupping, or showing moisture issues,
– installed over an unknown/untested moisture condition,
– or not one you can verify for finish compatibility.
>
For playrooms, the barrier is only as strong as your seam and transition sealing—topcoat alone rarely fixes the weakest points.
>
When documentation doesn’t confirm compatibility with your factory finish, adhesion failure is the most likely path to water damage.
Quick checklist (save this)
| Area to protect | What to do | Common failure to avoid |
|---|---|---|
| Plank seams | Seal joints as the system requires | Leaving gaps that wick water |
| Edges + baseboards | Caulk where appropriate | Water getting behind trim |
| Doorways/transitions | Use compatible sealant/method | Untreated thresholds |
| Surface finish | Apply waterproof topcoat per label | Wrong coverage or skipped coats |
| Cure time | Wait until fully cured before mopping | Early cleaning ruining adhesion |
| Maintenance | Wipe spills quickly; follow cleaning instructions | Steam cleaners or harsh chemicals (unless approved) |
>
A waterproof system checklist should include both “what to seal” and “what not to expose before cure.”
Sources
In short: for playroom waterproofing, you’re not just applying a finish—you’re building a moisture-management system that seals seams and boundaries, uses compatible chemistry, and respects cure time. Done correctly, this approach protects engineered wood far better than “spill-resistant” marketing alone, while staying realistic about the limits of engineered wood versus permanent submersion.
Frequently Asked Questions
What’s the best way to waterproof engineered wood floors in a playroom?
The best approach is to use a water-resistant system that starts with proper subfloor preparation and ends with a suitable topical waterproofing layer. In playrooms, focus on moisture control at the source (like wiping spills quickly and managing humidity) and then seal the engineered wood with a manufacturer-approved waterproofing product. If you need maximum protection, consider applying a compatible water-resistant coating or sealer designed for engineered flooring rather than relying on basic waxes or DIY sealants.
How do I seal the seams and edges of engineered wood floors to prevent water damage?
Waterproofing engineered wood should include careful attention to seams, joints, and perimeter edges where water typically seeps. Clean the gaps thoroughly, ensure the flooring is properly installed and dry, and then apply a seam sealer or waterproof sealant recommended for engineered wood in a thin, even bead. Finish by sealing the edges/baseboards area so spills and mopping water can’t migrate under the plank ends.
How can I waterproof engineered wood floors in a playroom without trapping moisture underneath?
Avoid sealing the underside or using products that block normal moisture exchange unless the full system is designed for it. Stick to waterproofing methods meant for the top surface (sealer/coating designed for engineered wood) and ensure the subfloor is dry, flat, and correctly acclimated before sealing. Also use controlled cleaning methods—avoid soaking—and maintain indoor humidity so moisture doesn’t get trapped between layers.
Why does engineered wood still get damaged by water even after installation?
Engineered wood often has a top veneer or wear layer, and water can still penetrate through seams, edges, or through repeated exposure to wet mopping. Over time, standing water can cause swelling at the joints, compromise the adhesive layers, and lead to cupping or delamination. In a playroom, frequent spills, splash zones, and wet cleaning routines can accelerate this risk unless you proactively waterproof engineered wood with the right sealers.
Which waterproofing method works best for everyday spills from kids in a playroom?
For everyday playroom spills, a combination of quick spill cleanup plus a durable water-resistant topcoat is usually the most practical solution. Use a waterproof/semi-waterproof floor sealer or coating designed for engineered wood, paying special attention to traffic areas and plank seams. Pair this with protective measures—area rugs, felt pads under furniture, and a “no soaking” cleaning rule—to keep engineered wood floors protected from frequent moisture exposure.
📅 Last Updated: October 19, 2026 | Topic: How to waterproof a engineered wood floors with playroom? | Content verified for accuracy and freshness.
References
- https://www.epa.gov/mold
- https://www.cdc.gov/mold/default.htm
- https://pubmed.ncbi.nlm.nih.gov/?term=engineered+wood+floor+moisture+protection
- https://www.fpl.fs.usda.gov/documnts/fplgtr/fpl_gtr190.pdf
- Engineered wood
- Waterproofing
- Vapor barrier
- https://scholar.google.com/scholar?q=how+to+waterproof+engineered+wood+flooring+sealant Google Scholar
- https://scholar.google.com/scholar?q=engineered+wood+flooring+moisture+barrier+underlayment+vapor+barrier Google Scholar
- https://scholar.google.com/scholar?q=best+practices+preventing+water+damage+hardwood+floors+mold+prevention+children+playroom Google Scholar