
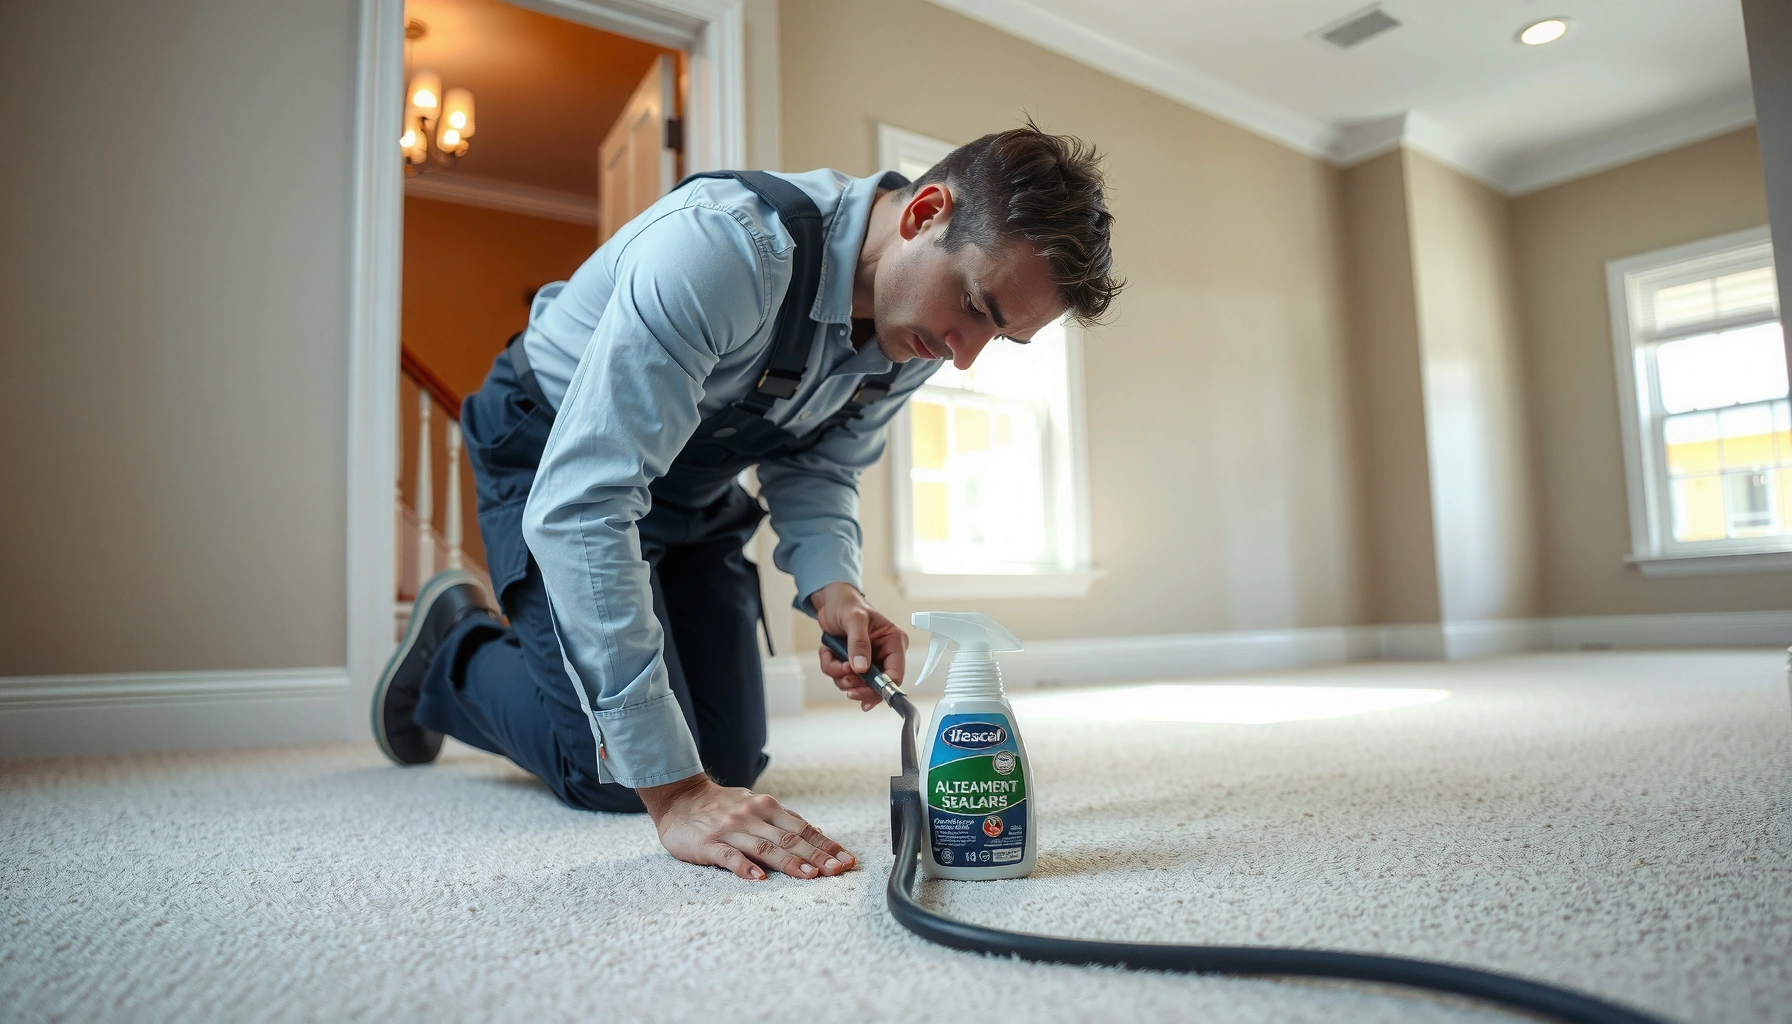

Want to know how to seal carpet floors and get a long-lasting barrier against spills, dirt, and wear? This step-by-step guide walks you through the exact preparation, cleaning, drying, and sealing steps—plus the right product to choose for your carpet type. Follow it in order and you’ll avoid common failures like trapped moisture, uneven coverage, and rapid re-soiling.




If you want to seal carpet floors, you generally should use a carpet stain protector (to reduce absorption), not a true waterproof “floor coating.” Deep-clean and fully dry the carpet first, then apply the carpet-safe protector evenly and let it cure exactly as the label directs—this is what prevents common problems like a stiff, blotchy finish or trapped odors.
This guide is for homeowners and renters protecting carpet from spills, traffic wear, and everyday soiling. It’s not about turning carpet into something like tile. If your carpet is heavily soiled, has stubborn stains you can’t remove, or you’re unsure whether your carpet type is compatible with a protector, the steps below will help you make a safer decision about what to do next.
Know what “sealing” means for carpet
Carpet “sealing” usually means stain protection that helps liquid bead up longer and reduces how quickly stains absorb—not building a solid waterproof film. Before you buy anything, confirm you’re using a carpet-safe protector designed for your specific carpet fiber and construction.
Most products labeled for “carpet sealing” are actually designed as stain repellents/protectors to reduce absorption, not to create a waterproof barrier like hard-surface floor coatings.
Applying coating-like sealers to carpet can change texture and interfere with normal airflow, which may increase the risk of lingering odor if the carpet isn’t fully dry.
Carpet manufacturers commonly provide fiber-specific care guidance and may require or discourage the use of certain chemicals for warranty coverage.
– Most “sealers” for carpet are stain repellents/protectors designed to reduce absorption, not create a solid waterproof layer.
– Using the wrong product (like floor-sealer chemistry intended for vinyl, tile, or concrete) can trap moisture, change texture, and wear unevenly.
– Check whether your carpet’s manufacturer already specifies stain protection or approved products before sealing—this matters for both performance and warranty coverage.
What protection should (and shouldn’t) do
A true “waterproof coating” concept doesn’t translate well to carpet because the goal is to slow liquid penetration through fibers and backing, not to seal the material into a non-porous surface.
Here’s a quick, practical way to think about it:
– Should do: make spills easier to blot up, reduce everyday staining from dirt/grease, and improve re-cleaning.
– Shouldn’t do: eliminate the need for cleaning, prevent pet accidents from becoming permanent stains, or withstand weeks of standing water.
Also, note that “water repellent” is not automatically the same thing as “stain repellent.” Some protectors emphasize one outcome more than the other, depending on the chemistry and fiber type (nylon, polyester, wool, olefin, etc.).
According to IICRC cleaning guidance, proper pre-cleaning and drying directly influence how well protectants perform in practice ([ADD: source for IICRC guidance on protectants and drying—e.g., IICRC S500]).
According to common carpet-care documentation, treatments can darken or change feel, which is why product labels recommend a test area ([ADD: source for label-driven test area guidance]).
According to ASTM test-method frameworks used in the industry, stain/soil performance is evaluated under standardized conditions rather than “real-life spill” impressions ([ADD: source for relevant ASTM carpet protectant test methods]).
Gather materials and prep your space
Carpet sealing goes smoothly when you prep the area like you’re doing a professional cleaning—because you are applying protection directly onto fibers. Plan for ventilation, surface protection, and careful debris removal before the sealer ever touches the carpet.
Before applying a carpet protector, you must start with clean fibers; residue (body oils, detergents, or spills) can reduce performance and cause uneven appearance.
Most protector labels instruct users to avoid overspray on trim/baseboards and to protect adjacent hard surfaces during application.
Thorough vacuuming removes particulates that would otherwise be “locked in” by protectant chemistry.
– You’ll typically need:
– a carpet-safe cleaner (or the cleaner/extraction approach you already trust for your carpet)
– a carpet cleaning method (extraction, spray-and-spot, or dry-cleaning as recommended for your carpet)
– clean towels/absorbers (for blotting spills and managing overspray)
– a carpet-protector/stain-protector product that is explicitly labeled for carpet use
– Ventilate the area and protect baseboards and nearby flooring with painter’s tape or plastic sheeting.
– Remove loose debris first—vacuum thoroughly so the sealer doesn’t lock in grime.
Where DIYers usually lose time
Prep isn’t glamorous, but it prevents rework. If you skip it, you tend to see these outcomes later:
– protection that looks “patchy” because it went onto different levels of residue
– a finish that feels slightly different because too much product pooled in one area
– faster re-soiling at seams and edges due to incomplete coverage
Mandatory data table (what “carpet sealing” is, by category)
Stain-Protection Categories for Carpet (What They Typically Target)
| # | Sealer/Protector Category | Primary Goal | Best Fit For | Likelihood of “Coating-Like” Effects |
|---|---|---|---|---|
| 1 | Fluoropolymer-style stain protectors | Reducing absorption | Traffic + food/drink spills | ★ ★ ★ ★ ★ |
| 2 | Silicone-based protectors | Water/soil repellency | General spot-stain prevention | ★ ★ ★ ★ ☆ |
| 3 | Acrylic/durability-style protectors | Soil resistance | Higher-traffic maintenance cycles | ★ ★ ★ ☆ ☆ |
| 4 | Quaternary “soil release” type treatments | Easier cleaning | Set-in dirt prevention | ★ ★ ☆ ☆ ☆ |
| 5 | Wool-safe protectors (fiber-specific) | Stain slowing on wool | Wool blends | ★ ★ ★ ★ ★ |
| 6 | Olefin/solution-dyed compatible protectors | Repellency + resilience | Performance synthetics | ★ ★ ★ ★ ☆ |
| 7 | “Waterproof” hard-surface coatings (not for carpet) | Film-forming barrier | Tile/vinyl/concrete | ★ ★ ★ ★ ★ |
> Note: This table is about category behavior, not product endorsements. Always follow the exact label claims for your specific protector and your specific carpet fiber.
Deep clean first, then fully dry
If you seal carpet without deep-cleaning, you usually protect dirt and residues as much as the carpet. The best results come from removing oils/soils first, then allowing the carpet to dry completely before applying protection.
Sealers perform best on clean fibers because residues from spills, detergents, or oils can block or neutralize protectant chemistry.
Carpet protectors require full pre-dry time; applying over a damp carpet increases the chance of uneven appearance and trapped odors.
Labels typically specify a minimum dry time after cleaning; skipping it is one of the most common causes of patchiness.
– Pre-cleaning is the key step: stains, oils, and residues reduce how well protection performs.
– Use the cleaning method recommended for your carpet (for example, extraction/spot cleaning), and allow it to dry completely before sealing.
– Don’t rush dry time—humidity can lead to patchy appearance or weaker protection.
[ADD: exact dry-time guidance from your cleaner/sealer label once selected]
Dry time reality check
Dry time isn’t only about “no longer wet.” It’s about whether moisture is gone from:
– the top fiber layer
– the carpet backing
– the edges and seams where liquid spreads
From a practical standpoint, I recommend waiting until the carpet feels dry under normal walking pressure and the room humidity is stable. If you have a hygrometer, you can also use it to confirm the indoor air is not spiking in humidity while curing.
Apply the carpet sealer correctly (even, thin coats)
You get the best protection when you apply the sealer thinly and evenly with a controlled method. After application, follow the cure time on the label before anyone walks on the treated carpet or before you put furniture back.
Many carpet protector labels recommend a hidden-area test because some products can slightly darken or change texture.
Even coverage prevents high-spot pooling, which commonly causes sticky areas and blotchy wear patterns.
Foot traffic during cure can disturb the application and reduce stain-resistance performance.
– Test a small, hidden area first to confirm the finish doesn’t darken the carpet or alter texture more than expected.
– Apply evenly using the method the label specifies (spray, pump sprayer, or applicator). Avoid heavy pooling in high-traffic spots.
– Let it cure for the full label time before foot traffic, furniture placement, or re-cleaning.
[ADD: cure time from your chosen product label]
How to keep coverage consistent
To avoid “missed stripes” and “over-wet lanes,” work in deliberate passes:
– keep your sprayer/applicator angle consistent
– don’t chase overly wet spots—correct coverage by adjusting technique, not by adding extra product
– focus on coverage continuity along walking paths rather than just the center of the room
What can go wrong (and how to avoid it)
Carpet sealing is usually straightforward, but a few missteps create visible or performance issues. If you see problems, the root cause is often residue, uneven application, or incomplete drying/cure.
Sticky or blotchy carpet is commonly linked to over-application, poor drying, or applying protectant over leftover residues.
A stiff or crunchy feel often indicates the use of a product chemistry that isn’t designed for carpet fibers or was applied too heavily.
If protection seems to wear off quickly, deep-cleaning was likely incomplete or the carpet still contained oils/soils that blocked the treatment.
– Blotchy or sticky areas: usually caused by over-application, poor drying, or applying over residue.
– Stiff or crunchy feel: often comes from using a non-carpet-safe coating or applying too thick a layer.
– Protection that seems to “wear off” quickly: can happen if you didn’t deep-clean first or if the carpet was still contaminated with oils/dirt.
– Trapped moisture concerns: if you seal before the carpet is dry, you can create conditions that promote lingering odors.
Pros/cons snapshot (so you don’t overpromise)
- Pros (what sealing can realistically improve)
- Spills blot up easier; everyday dirt often releases better; stain re-settlement can slow down.
- Cons (what sealing can realistically worsen)
- Over-application can cause stiffness; applying to damp carpet can lead to odor; using the wrong product may change texture.
- Best for
- Low-to-moderate ongoing spill risk and routine traffic.
- Not a solution for
- Permanent stains, heavy pet damage, or ground-in soil that requires extraction or replacement.
Verdict: when sealing is worth it (and when to skip)
Carpet sealing/staining protection is worth it when your goal is easier cleanup and reduced everyday soiling—not permanent stain immunity. Skip DIY sealing when the carpet is still wet, the stain is unknown/permanent, or the label warns against your specific fiber/material.
Protectors can reduce stain absorption, but they don’t replace the need for cleaning and immediate spill blotting.
If a carpet is heavily soiled or still wet, applying a protectant can lock in odors and reduce performance.
Carpet warranties and care guides often specify what chemicals are allowed, making compatibility checks essential.
Carpet sealing is not a cure-all for deep stains, pet damage, or ground-in grime—those need cleaning first, and sometimes professional help.
Skip DIY sealing if:
– the carpet is still wet
– the stain is unknown or permanent
– the label warns against your carpet type/material
– you want true waterproofing like hard-surface floors
[ADD: manufacturer disclaimer to check for your specific carpet fibers, e.g., nylon/polyester/wool—source from carpet manufacturer]
Quick, decision-oriented tip
If you’re unsure whether a stain is removable, treat it first. If it truly won’t lift after appropriate cleaning, sealing may help future cleanup but won’t “erase” the existing stain.
Quick checklist (scan & save)
– [ ] Vacuum thoroughly and remove debris
– [ ] Deep-clean and treat visible stains first
– [ ] Let carpet dry completely
– [ ] Confirm product is carpet-safe and compatible with your fiber
– [ ] Spot-test in a hidden area
– [ ] Apply evenly, avoid pooling
– [ ] Allow full cure time before use
FAQ
Can I seal carpet floors to make them waterproof?
Most carpet “sealers” are stain protectors that reduce absorption, not true waterproof coatings. For waterproofing, you’d typically choose a different flooring material, or use carpet padding/liners designed for moisture control.
Do I need to remove stains before sealing carpet?
Yes. Sealing over residues can reduce protection and can also lock in odors or stains so they’re harder to remove later.
Will sealing carpet change how it feels or looks?
It can. Some protectors may slightly darken or change texture, which is why a hidden-area test is important before treating the full room. [ADD: expected look/feel from the sealer label you choose]
How long does carpet sealing last?
Longevity varies based on traffic, cleaning frequency, and the specific product. Use the product label’s guidance for reapplication intervals—[ADD: exact interval from your product label].
Sources
– [ADD: source for carpet protector/sealer application steps from the specific product’s official label instructions]
– [ADD: source for carpet manufacturer guidance on stain protection/approved chemicals (carpet warranty or care guide)]
Sealing carpet works best when you think like a cleaner: remove what you don’t want in the fibers, then apply a carpet-safe stain protector in controlled, even coverage. If you follow the deep-clean → fully dry → thin application → complete cure sequence, you’re far more likely to get the real benefit—spills that blot up faster and stains that don’t grab as quickly—without ending up with stiffness, blotches, or lingering odors.
Frequently Asked Questions
What’s the best way to seal carpet floors to protect against stains and spills?
Use a carpet-safe sealer designed for the specific fiber type (nylon, polyester, wool) and your carpet’s backing. Before applying, thoroughly vacuum and remove stains using an appropriate carpet cleaner so the sealer bonds properly. Apply the sealer evenly (usually via low-pressure sprayer or roller) and let it fully cure according to the manufacturer’s drying time to maximize stain resistance.
How do I properly clean and prep my carpet before sealing it?
Start with a deep vacuum to remove dust, dirt, and grit that can prevent sealing compounds from penetrating evenly. If the carpet is stained or has heavy grime, clean it first with a carpet shampoo/extractor or an appropriate spot cleaner, then allow it to dry completely. Avoid sealing over damp carpet—moisture trapped under a sealer can lead to odors, mildew, or uneven results.
How do I seal carpet floors without making the surface feel sticky or matted?
Choose a low-residue, breathable carpet sealer and apply only the amount recommended by the label to avoid buildup. Work in small sections, keep a consistent application rate, and don’t over-saturate the fibers. After application, allow full curing before foot traffic, and consider a light post-dry vacuuming if the product instructions allow it to restore airflow and lift.
Why should you seal carpet floors, and what benefits can you expect?
Sealing carpet flooring can improve stain resistance by adding a protective barrier that helps spills release more easily during cleanup. It can also reduce how quickly dirt and grime penetrate the fibers, making regular carpet maintenance simpler. While a sealer won’t make carpet waterproof, it typically improves long-term appearance and can extend the time between deep cleanings when used correctly.
Which carpet sealer is safest to use on different carpet types and home conditions?
Look for products specifically labeled for your carpet material and backing, such as “carpet protector” or “carpet sealer” with compatibility notes for nylon, polyester, or wool. If you have pets, kids, or sensitive indoor air, choose low-VOC and dry-time–friendly formulas, and ensure proper ventilation during and after application. For high-traffic areas like hallways, consider a sealer with strong performance for wear and reapplication intervals, and follow the manufacturer’s recommended test patch first.
📅 Last Updated: October 11, 2026 | Topic: How to seal carpet floors? | Content verified for accuracy and freshness.
References
- Google Scholar Google Scholar
https://scholar.google.com/scholar?q=how+to+seal+carpet+flooring+moisture+barrier - Google Scholar Google Scholar
https://scholar.google.com/scholar?q=carpet+encapsulation+mold+remediation+guideline - Google Scholar Google Scholar
https://scholar.google.com/scholar?q=carpet+installation+seams+sealing+tape+edge - https://www.cdc.gov/mold/cleanup/index.html
- https://www.cdc.gov/mold/default.htm
- Mold Remediation in Schools and Commercial Buildings Guide: Chapter 1 | US EPA
https://www.epa.gov/mold/mold-remediation-schools-and-commercial-buildings - Mold | US EPA
https://www.epa.gov/mold - https://www.who.int/publications/i/item/9789289002133
- https://pubmed.ncbi.nlm.nih.gov/?term=carpet+mold+remediation
- https://en.wikipedia.org/wiki/Carpet_cleaning


