First, inspect the scratches under good lighting to gauge their depth. Next, clean the area thoroughly using a soft cloth and mild detergent to remove dirt without causing more damage. Then, apply a targeted vinyl repair kit or patch that matches your floor’s texture and color, following drying times carefully. Finally, smooth and polish the area for a seamless finish. If you’re interested in a detailed process with preventative advice, there’s more to explore.
Assessing and Cleaning the Scratched Area
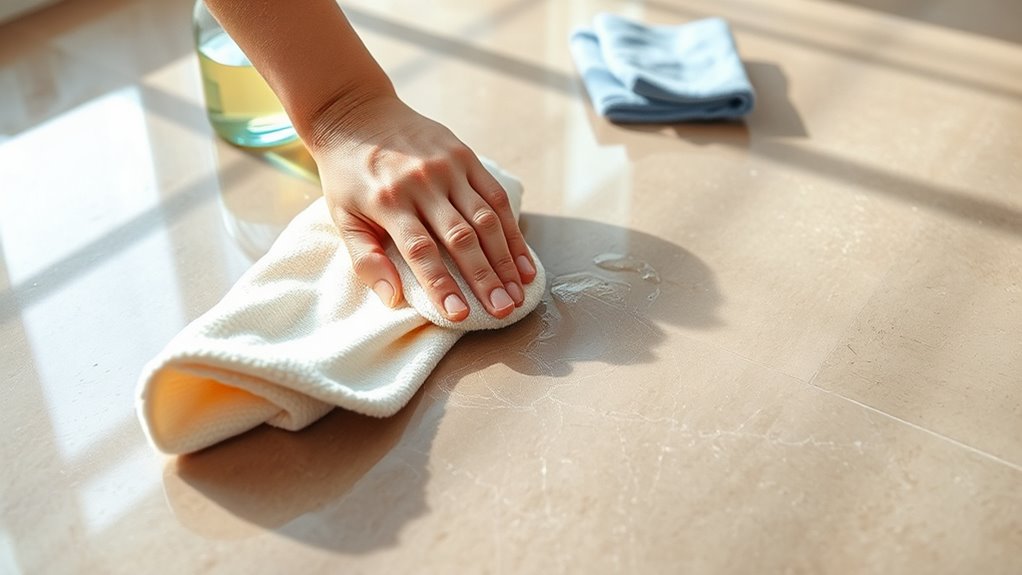
Before you begin repairing vinyl floor scratches, you need to carefully evaluate the damage to determine the appropriate repair method. Start your scratches evaluation by inspecting the depth and length of each scratch under good lighting. Light surface scratches may only require cleaning, while deeper gouges might need specialized repair. Next, employ effective cleaning techniques to prepare the area: use a soft cloth with a mild detergent solution to remove dirt, dust, and debris without damaging the vinyl. Avoid abrasive tools that could worsen scratches. Thorough cleaning guarantees accurate evaluation and promotes better adhesion of repair materials later. By precisely evaluating and cleaning the scratched zone, you maintain control over the repair process, guaranteeing your floor’s restoration is both effective and lasting.
Applying Vinyl Floor Repair Solutions
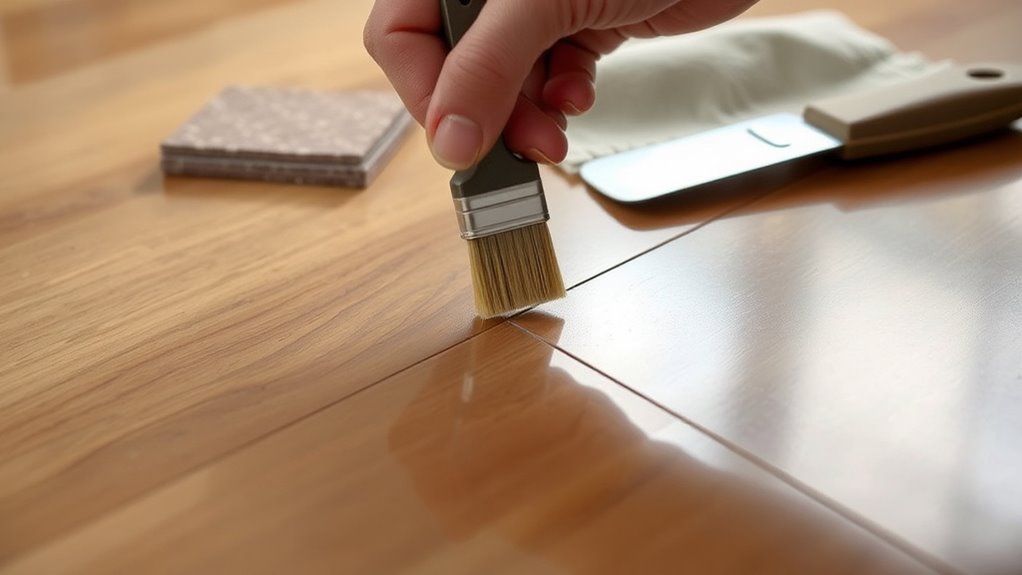
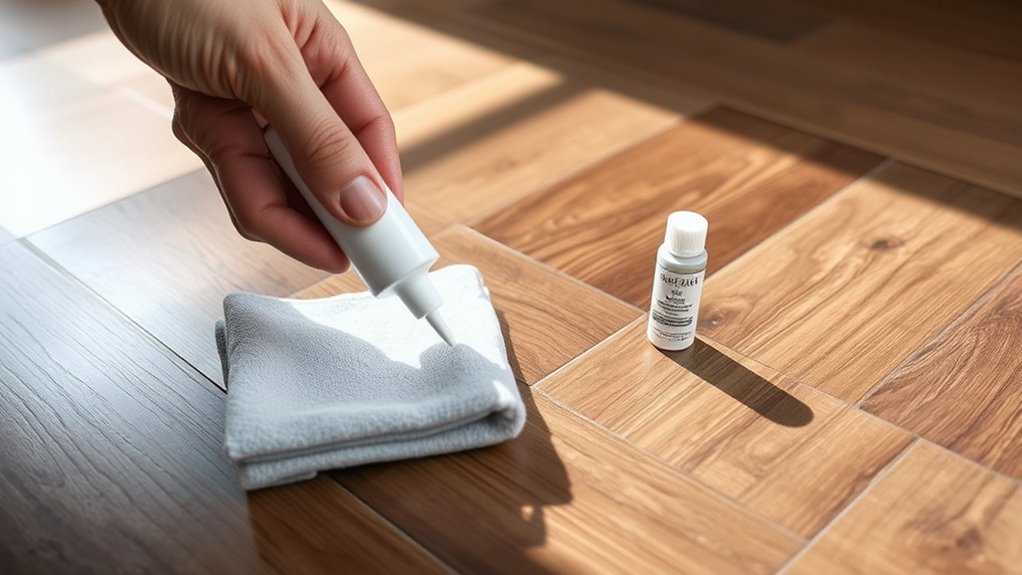
Once you’ve thoroughly cleaned and assessed the scratches, you can apply the appropriate vinyl floor repair solution to restore the surface. Start by selecting a scratch repair kit designed for your floor’s color and texture. These kits typically include compounds and tools tailored for precise application. For deeper damage, use vinyl patching techniques: cut a vinyl piece matching the damaged area’s shape, then secure it with an adhesive from the kit. Carefully press it to eliminate air bubbles for a seamless bond. For minor scratches, apply the repair compound directly, spreading evenly with the provided applicator. Allow sufficient drying time as per kit instructions to guarantee durability. By following these steps, you maintain your floor’s integrity and free yourself from costly replacements.
Finishing Touches and Preventative Care
After applying the repair solution and ensuring it’s fully cured, you’ll want to focus on finishing touches that blend the repair seamlessly with the rest of your floor. Use a fine-grit sandpaper to smooth the area, then apply a matching vinyl polish for surface protection. To maintain your floor’s integrity, embrace preventative maintenance: clean regularly with gentle solutions, use felt pads under furniture, and avoid harsh chemicals. This approach extends your freedom to enjoy a flawless floor without constant repairs.
| Action | Benefit | Emotional Impact |
|---|---|---|
| Sand and Polish | Smooth, invisible repair | Confidence in appearance |
| Regular Cleaning | Removes abrasive dirt | Peace of mind |
| Furniture Pads | Prevents new scratches | Freedom to move furniture |
| Avoid Harsh Chemicals | Maintains surface finish | Assurance in durability |
| Scheduled Inspections | Early issue detection | Control over upkeep |


