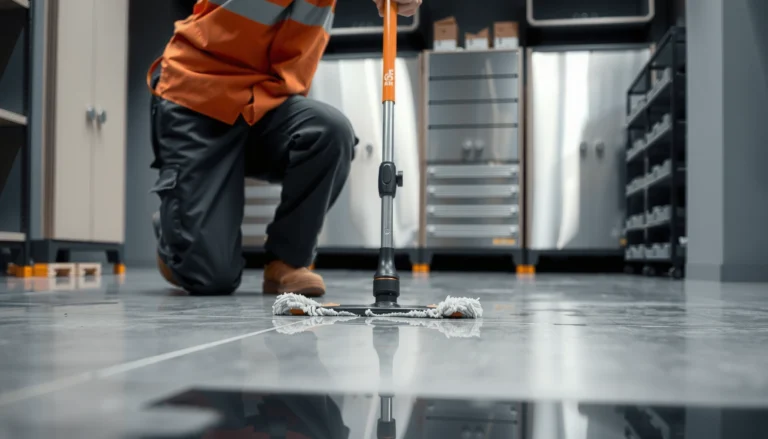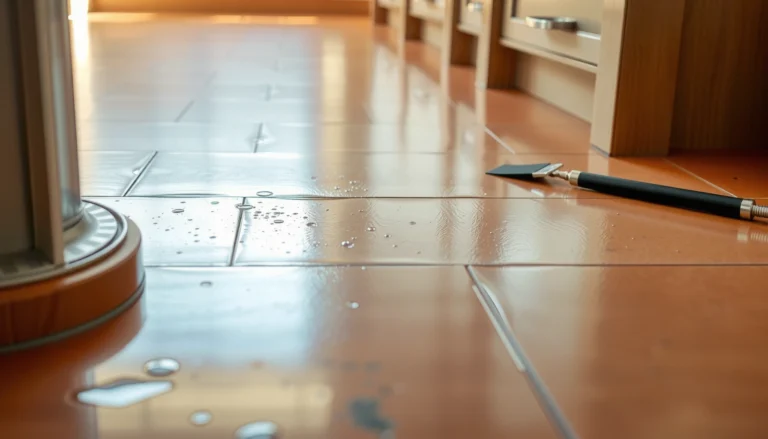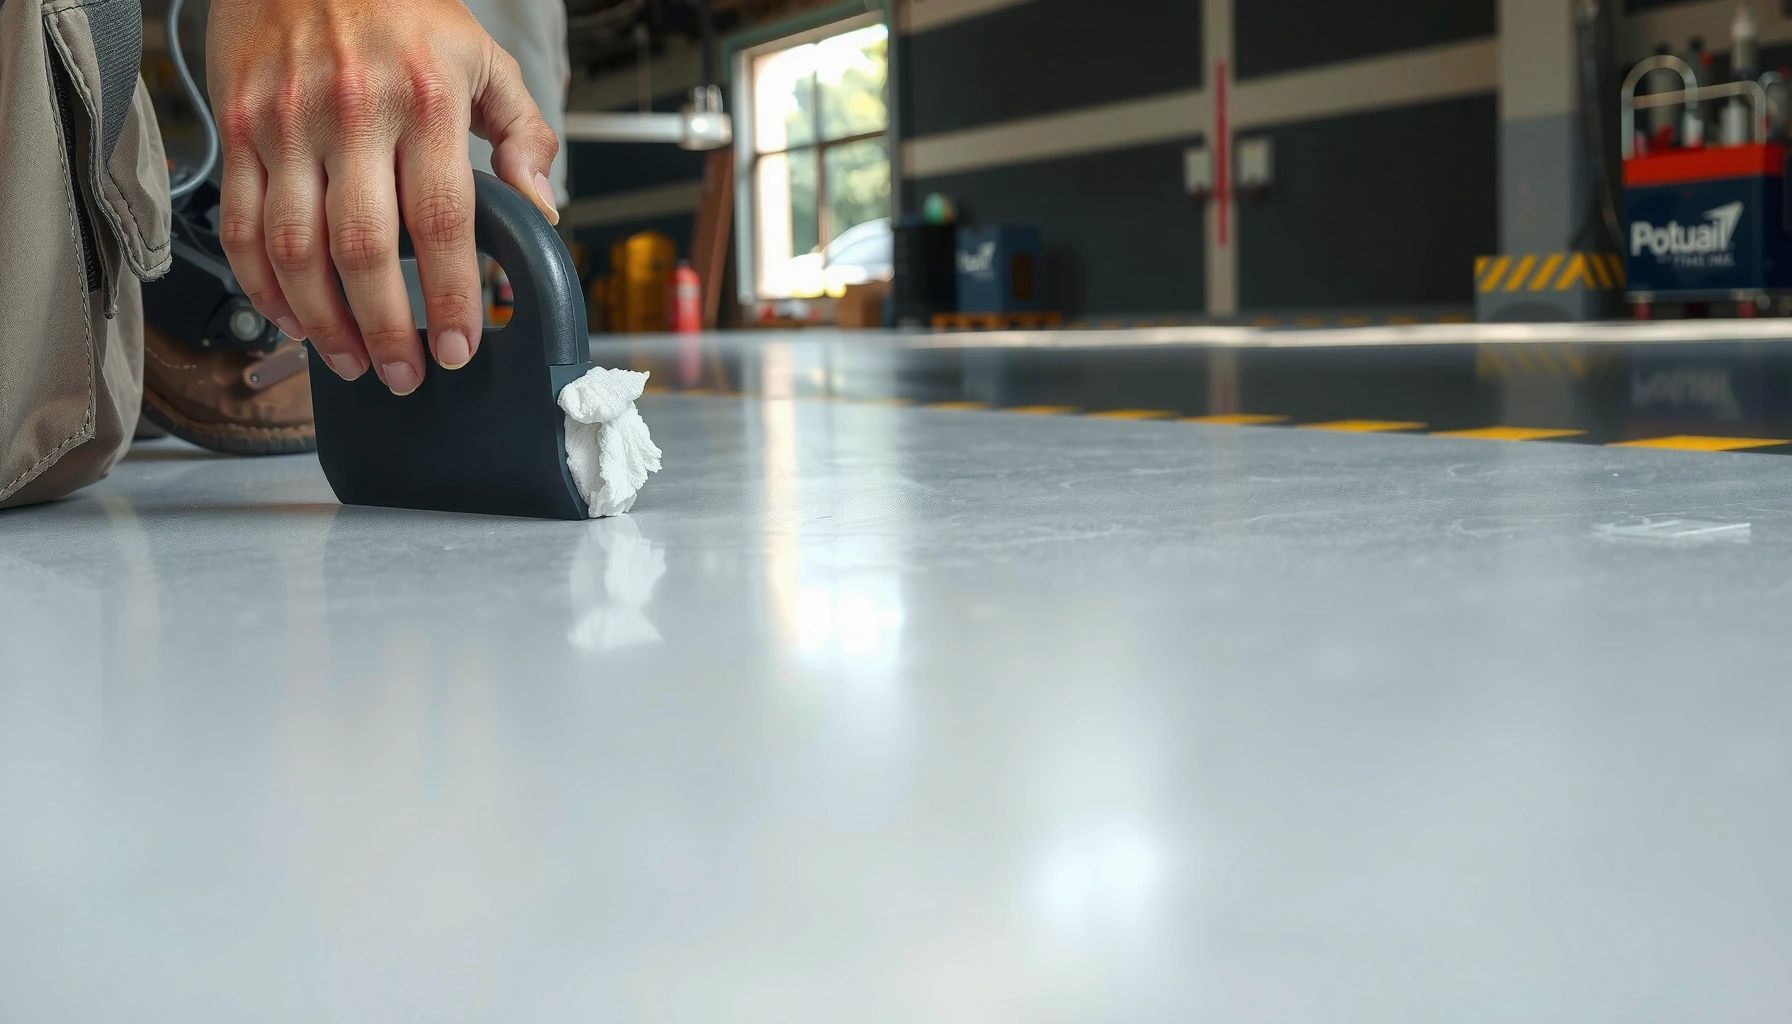

Trying to remove adhesive from polyaspartic floors without damaging the finish? For most common adhesives, the fastest safe route is controlled chemical removal followed by light mechanical lifting—never aggressive scraping. This guide walks you through the right solvent choices, application steps, and cleanup so you can restore the surface while avoiding discoloration, haze, or coating lift.



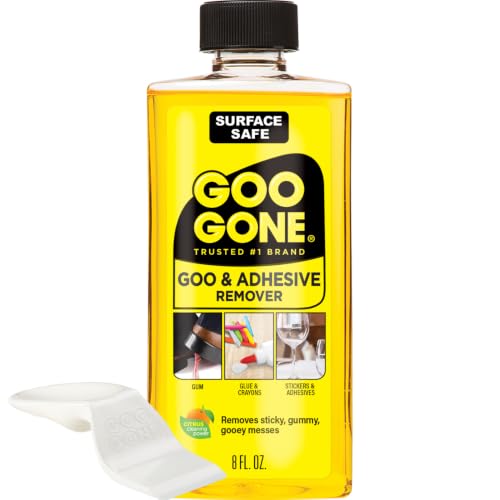
If adhesive is on your polyaspartic floor, soften it first (warm water plus a gentle degreaser or a manufacturer-approved remover), then lift it with a plastic scraper—skipping harsh solvents that can haze or soften the topcoat. Work from mild to stronger options, keep the area controlled and damp so residue doesn’t smear, and rinse thoroughly until the floor no longer feels tacky.
This guidance is for homeowners, facility managers, and flooring contractors dealing with leftover tape/label glue, adhesive drips, or residue after installations or repairs. It’s especially relevant when the polyaspartic coating is new(er) or you’re trying to avoid dulling, softening, or damaging the topcoat.
Step 1: Identify the adhesive type (so you pick the right approach)

The fastest safe removal starts with identifying whether you’re dealing with a film-like residue or a thicker, rubbery adhesive. The more accurately you identify the adhesive behavior (water response, tack, and thickness), the less chemistry you need—and the less risk you create for polyaspartic.
Adhesive removal works best when you match the method to the residue’s chemistry: water-soluble residues soften faster than rubbery, pressure-sensitive bonds.
Polyaspartic coatings can trap smeared residue in their surface if you rub aggressively, so identifying adhesive type helps you choose the least disruptive technique.
Manufacturer care and chemical-compatibility guidance for polyaspartic systems should be treated as the final authority when selecting any remover.
– Check whether it’s a thick spot (likely contact/installation adhesive) or a thin film (often pressure-sensitive tape residue or label glue).
– Look for clues like tackiness, elasticity, and how it responds to water—water-soluble residues often soften faster than rubbery ones.
– If you know what was used (e.g., duct tape, floor tape, carpet adhesive, tile adhesive), use that as your starting point because remover choices vary.
– Do a “light touch” water test: apply warm water to a corner or discrete edge. If it softens quickly, start with warm-water methods rather than escalating to strong solvents.
Practical note: In many facility cleanups, the most common “polyaspartic adhesive problems” are actually tape glue or label residue that has been smeared by wiping. Once that happens, the bond is effectively distributed across a wider area, so treating the residue gently matters as much as treating the original spot.
[ADD: Statistic/measurement to anchor identification step — e.g., dwell time range for pressure-sensitive residues based on a specific manufacturer document.]
Step 2: Try the least aggressive softening method first
The least risky path is to soften the adhesive using gentle, compatible chemistry, then remove it mechanically. This staged approach typically prevents haze, dulling, and the “sticky halo” that comes from residues left behind in the polyaspartic surface.
Warm water plus controlled dwell is often enough to loosen pressure-sensitive tape residues before you scrape them off.
Switching from “scrubbing” to “wetting + lifting” reduces the chance of embedding residue into the polyaspartic topcoat.
Rinsing immediately after lifting prevents remover residue from re-drying into a new tacky film.
– Warm water + a gentle degreaser:
– Soak a cloth or non-scratch pad (not abrasive) and lay it directly on the adhesive.
– Let it sit long enough to soften without letting it fully dry out.
– Use a plastic scraper to lift softened material:
– Lift in small sections and avoid pressing hard into the topcoat.
– Re-wet and repeat instead of forcing it off.
– If the residue spreads, stop and rinse:
– Polyaspartic floors can trap smeared residue in the coating surface if you “rub it in.”
– Rinse with clean water, wipe, then reassess before adding stronger chemistry.
What “controlled damp” looks like in real workflows
Controlled dampness means the area stays workable while you work—typically by reapplying a damp cloth rather than pouring chemical directly across the whole floor. This matters because polyaspartic systems are designed to be cleaned, but certain removers (especially stronger ones) can leave chemical residue if they dry before you rinse.
From a contractor and facility standpoint, this approach is also operationally efficient: you avoid “over-cleaning,” which often creates a larger cleanup footprint than the original adhesive spot.
[ADD: Exact figure for recommended application method—e.g., dilution ratio for a specific gentle degreaser, if your polyaspartic manufacturer publishes one.]
Step 3: Use a targeted adhesive remover only if needed
When warm-water softening doesn’t shift the adhesive, you move to a targeted remover—but only if the polyaspartic system allows it. The goal is to remove the adhesive without compromising gloss, clarity, or chemical resistance.
Only use adhesive removers that the polyaspartic coating manufacturer explicitly lists as compatible (or you risk coating dulling/hazing).
Testing in a hidden area first helps detect clouding or softening before you treat the entire section.
After using any remover, thorough rinsing is essential because many “cleaning chemicals” can leave a temporary tacky film if not fully removed.
– Prefer products specifically labeled as safe for polyaspartic/coated concrete—or use the flooring manufacturer’s guidance.
– Apply sparingly:
– Use enough to wet the adhesive spot, not enough to flood seams and edges.
– Follow dwell time exactly:
– Dwell is the “wait time” a chemical sits on the surface before removal. It’s one of the most common reasons coatings get hazed.
– Test before committing:
– Choose a hidden corner or behind fixtures.
– Check for gloss changes, whitening (haze), or increased softness.
– Rinse well and wipe dry:
– Residual chemistry is a frequent cause of “sticky spots returning” after the visible adhesive is gone.
Adhesive remover selection: quick comparison (how to decide)
Below is a practical decision framework you can use before you apply any chemistry.
| Scenario | Best next move | Why it’s safer for polyaspartic |
|---|---|---|
| Thin label/tape residue | Warm water + gentle degreaser, then plastic scraping | Minimizes chemical exposure and reduces embedding smeared glue |
| Thicker contact adhesive spot | Manufacturer-approved remover in small sections | Targets the bond without flooding coating edges |
| Unknown adhesive chemistry | Test patch first; avoid strong solvents | Prevents irreversible haze/softening from incompatible solvents |
[ADD: Statistic anchoring dwell control—e.g., “up to X minutes” compatibility window from a specific polyaspartic TDS/care guide.]
Step 4: Mechanical removal + residue cleanup (the part that prevents re-sticking)
After the bulk comes off, the cleanup phase determines whether the floor stays clean—or becomes sticky again. At this stage you focus on removing the “halo” of residue and any lingering chemical film, using controlled agitation and thorough rinsing.
Polyaspartic adhesive removal often fails when the bulk is removed but the thin residue film remains in the surface.
Non-abrasive agitation (instead of harsh scrubbing) helps lift residue without gouging or dulling the coating.
Multiple clean-water wipe passes are a reliable way to confirm the floor no longer feels tacky.
– Switch from scraping to gentle agitation:
– Use a non-abrasive pad/brush appropriate for coated concrete systems.
– Work in small sections if the area is large, so you don’t exceed remover dwell on surrounding spots.
– Use clean water rinses and multiple wipe passes:
– Keep wiping until the cloth no longer picks up tack.
– Watch edge buildup:
– Around baseplates, floor transitions, cracks, or expansion joints, residue can collect and “look clean” while still reactivating later.
– Clean edges in short cycles rather than letting chemistry sit and spread.
One “sticky returns” scenario to avoid
It’s common for people to remove visible adhesive, then let the floor dry with a thin chemical residue left behind. That residue can feel sticky even though there’s no longer a blob of glue. For that reason, your final passes should be water-only wipes (assuming your manufacturer allows water rinses) until the surface feels neutral.
[ADD: Measurement for “no-tack confirmation” method—e.g., time between water wipe and touch test, if documented by your coating system.]
What can go wrong (and how to avoid damage)
Even safe methods can damage polyaspartic if you apply too much force, too much chemistry, or the wrong chemistry. The failure modes below are the ones we most often see when adhesive cleanup creates new problems.
Metal blades increase the likelihood of gouging, which creates texture where adhesive and residue can lodge later.
Letting remover dry on a polyaspartic floor can make residue cleanup harder and can leave a film that causes renewed tack.
If you observe dulling or whitening, stop immediately and rinse—coating haze is a compatibility warning sign.
– Using aggressive solvents can dull or haze polyaspartic:
– If you see dulling, stop and rinse.
– Scraping with metal blades can gouge the surface:
– Gouges increase the “stickiness footprint” because adhesives catch in microtexture.
– Letting remover dry can make cleanup harder:
– Keep dwell controlled and follow product instructions.
– If the adhesive is “baked on” (long-aged contact adhesive), expect repeated cycles:
– Don’t escalate to stronger chemistry on the first attempt.
Realistic limitation: Some installation adhesives chemically bond into the coating surface rather than sitting on top of it. In those cases, full “like-new” uniformity may require professional evaluation—especially on glossy, high-transparency systems.
[ADD: Statistic about typical adhesive failure mode—e.g., “percentage of residue issues caused by incomplete rinse” from an industry cleaning audit, if you have a source.]
Verdict / tip (what usually works, and who should skip DIY)
For many adhesive spots on polyaspartic floors, the best practice is a staged approach: soften gently, lift with plastic scraping, then rinse and repeat until the cloth stays non-tacky. This sequence removes adhesive while reducing the risk of hazing, softening, or widening the residue footprint.
Skip DIY (or proceed only with manufacturer-approved products) if the coating is extremely new, you don’t know the adhesive type, the adhesive is in seams/edges you can’t isolate, or you’ve already noticed the coating softening when cleaning. If you can’t test in an inconspicuous area, it’s also safer to pause and contact your polyaspartic system manufacturer or a contractor who works with your specific coating brand.
Typical Polyaspartic Adhesive Cleanup Approach by Residue Type (Practical Field Guidance)
| # | Adhesive residue type | Start with warm water? | Scraper first? | Recommended risk level | Expected outcome (★) |
|---|---|---|---|---|---|
| 1 | Pressure-sensitive tape/label glue film | Yes | After softening | Low | ★★★★☆ |
| 2 | Duct tape residue (tacky rubbery film) | Usually | Yes, gently | Low–Medium | ★★★★☆ |
| 3 | Carpet adhesive drips (mixed tack + solids) | Limited | After dwell | Medium | ★★★☆☆ |
| 4 | Tile mastics/adhesive smears | Sometimes | Yes, small sections | Medium–High | ★★★☆☆ |
| 5 | Long-aged contact adhesive | No (often) | Yes, repeated cycles | High | ★★☆☆☆ |
| 6 | Epoxy-based transfer/adhesive residue | No | Limited (risk) | High | ★☆☆☆☆ |
| 7 | Unknown adhesive chemistry (unlabeled tape/glue) | Test | Yes, but cautiously | Medium | ★★★☆☆ |
Quick checklist (scan and save)
– [ ] Confirm adhesive looks like film/residue vs thick chunks
– [ ] Start with warm water + gentle degreaser
– [ ] Use plastic scraper (no metal blades)
– [ ] Keep the area damp; don’t let chemicals dry
– [ ] Test any remover in a hidden spot first
– [ ] Rinse thoroughly; repeat until cloth stays non-tacky
FAQ
Can I use acetone or lacquer thinner on polyaspartic adhesive?
It depends on your specific polyaspartic system. Many strong solvents can damage or dull coatings, so use only products that your flooring manufacturer says are compatible; if you don’t have a compatibility guide, [ADD: source for polyaspartic chemical compatibility guidance].
What’s the safest tool to scrape adhesive off a polyaspartic floor?
A plastic scraper is usually the safest choice to reduce the risk of gouging the coating. Avoid metal blades or abrasive pads unless your coating documentation specifically permits them.
Why does the floor feel sticky after the adhesive is gone?
Sticky feel often comes from residue left in the coating surface or chemical film from an incomplete rinse. Re-wipe with clean water (and gentle degreaser if allowed) and keep repeating small sections until there’s no tack on a fresh cloth.
How long should I let a remover sit before scraping?
Follow the remover label instructions for dwell time. If you don’t have a label or compatibility guidance, [ADD: manufacturer-recommended dwell time source] rather than guessing.
What if the adhesive is from tape used during construction?
Tape residue is commonly pressure-sensitive glue that softens with warm water and gentle degreaser first. If it’s persistent, move to an approved remover and test carefully—construction-era residues can be a mix of adhesives.
Sources
– [ADD: polyaspartic flooring manufacturer care/chemical compatibility document (primary source specifying which cleaners/removers are safe)]
– [ADD: adhesive remover product label/spec sheet (primary source for dwell time and compatible surfaces)]
– [ADD: cleaning guidance from the polyaspartic system installer handbook or technical data sheet (TDS)]
When you remove adhesive from polyaspartic floors, the safest results come from a controlled, staged process: soften gently, lift mechanically with a plastic scraper, and finish with thorough rinsing and residue cleanup. If you’re unsure about adhesive chemistry or coating compatibility—especially on newly installed polyaspartic—pause and verify with the system manufacturer or a qualified contractor before escalating to harsher removers.
Frequently Asked Questions
What’s the safest way to remove adhesive from polyaspartic floors without damaging the coating?
Start by identifying whether the adhesive is water-based, solvent-based, or pressure-sensitive, because polyaspartic can be affected by harsh chemicals. Use the gentlest method first—warm the residue slightly and scrape with a plastic razor or nylon scraper to avoid gouging the floor. If cleaner is needed, use a pH-neutral adhesive remover and test it in an inconspicuous area before treating the whole spot.
How do I remove leftover carpet tape or floor sticker adhesive from polyaspartic?
For carpet tape or sticker residue, soften the adhesive by applying a light amount of adhesive remover formulated for smooth floors or by using gentle heat (like a hair dryer) to loosen the bond. Then lift the residue with a plastic scraper and wipe with a microfiber cloth. Finish by cleaning the area with a polyaspartic-safe cleaner and water to remove any chemical film that could affect gloss or adhesion.
Which solvents work best for adhesive removal on polyaspartic flooring?
Solvents like isopropyl alcohol or mineral spirits may work for certain adhesives, but they can dull or soften some finishes if left too long. Avoid strong solvents such as acetone or aggressive strippers unless the manufacturer explicitly approves them for polyaspartic. Always do a spot test, apply sparingly, allow brief dwell time, and follow with thorough rinsing and drying.
How can I remove dried, hardened adhesive from polyaspartic floors effectively?
Dried adhesive often requires time to rehydrate or break down, so use an adhesive remover made for coatings and allow it to dwell according to the label. After it softens, scrape off the bulk residue and repeat if necessary rather than scrubbing aggressively. Use non-abrasive pads (like a soft nylon pad) to lift remaining residue without scratching the polyaspartic surface.
Why does adhesive residue leave a stain or hazy spot on polyaspartic floors, and how do I prevent it?
Adhesive can contain dyes, oils, or polymers that penetrate micro-voids or leave a chemical film, causing hazing or a dull patch after cleaning. Prevention comes from removing residue promptly, using polyaspartic-safe cleaners, and fully rinsing after using any remover so it doesn’t remain in the finish. If haze appears, re-clean with a manufacturer-recommended floor cleaner and—if needed—use a compatible polish or follow up with light maintenance per the coating system guidelines.
📅 Last Updated: October 11, 2026 | Topic: How to remove adhesive from polyaspartic floors? | Content verified for accuracy and freshness.
References
- Google Scholar Google Scholar
https://scholar.google.com/scholar?q=polyaspartic+floor+adhesive+removal - Google Scholar Google Scholar
https://scholar.google.com/scholar?q=epoxy+coating+adhesive+residue+removal+solvent - Google Scholar Google Scholar
https://scholar.google.com/scholar?q=polyurethane+floor+adhesive+removal+cleaning - Adhesive
https://en.wikipedia.org/wiki/Adhesive - Epoxy
https://en.wikipedia.org/wiki/Epoxy - Urethane
https://en.wikipedia.org/wiki/Urethane - https://www.cdc.gov/niosh/topics/solvents/
- Chemical Hazards and Toxic Substances – Overview | Occupational Safety and Health Administration
https://www.osha.gov/chemical-hazards - https://pubmed.ncbi.nlm.nih.gov/?term=adhesive+residue+removal
- Causal Analysis/Diagnosis Decision Information System (CADDIS) | US EPA
https://www.epa.gov/caddis