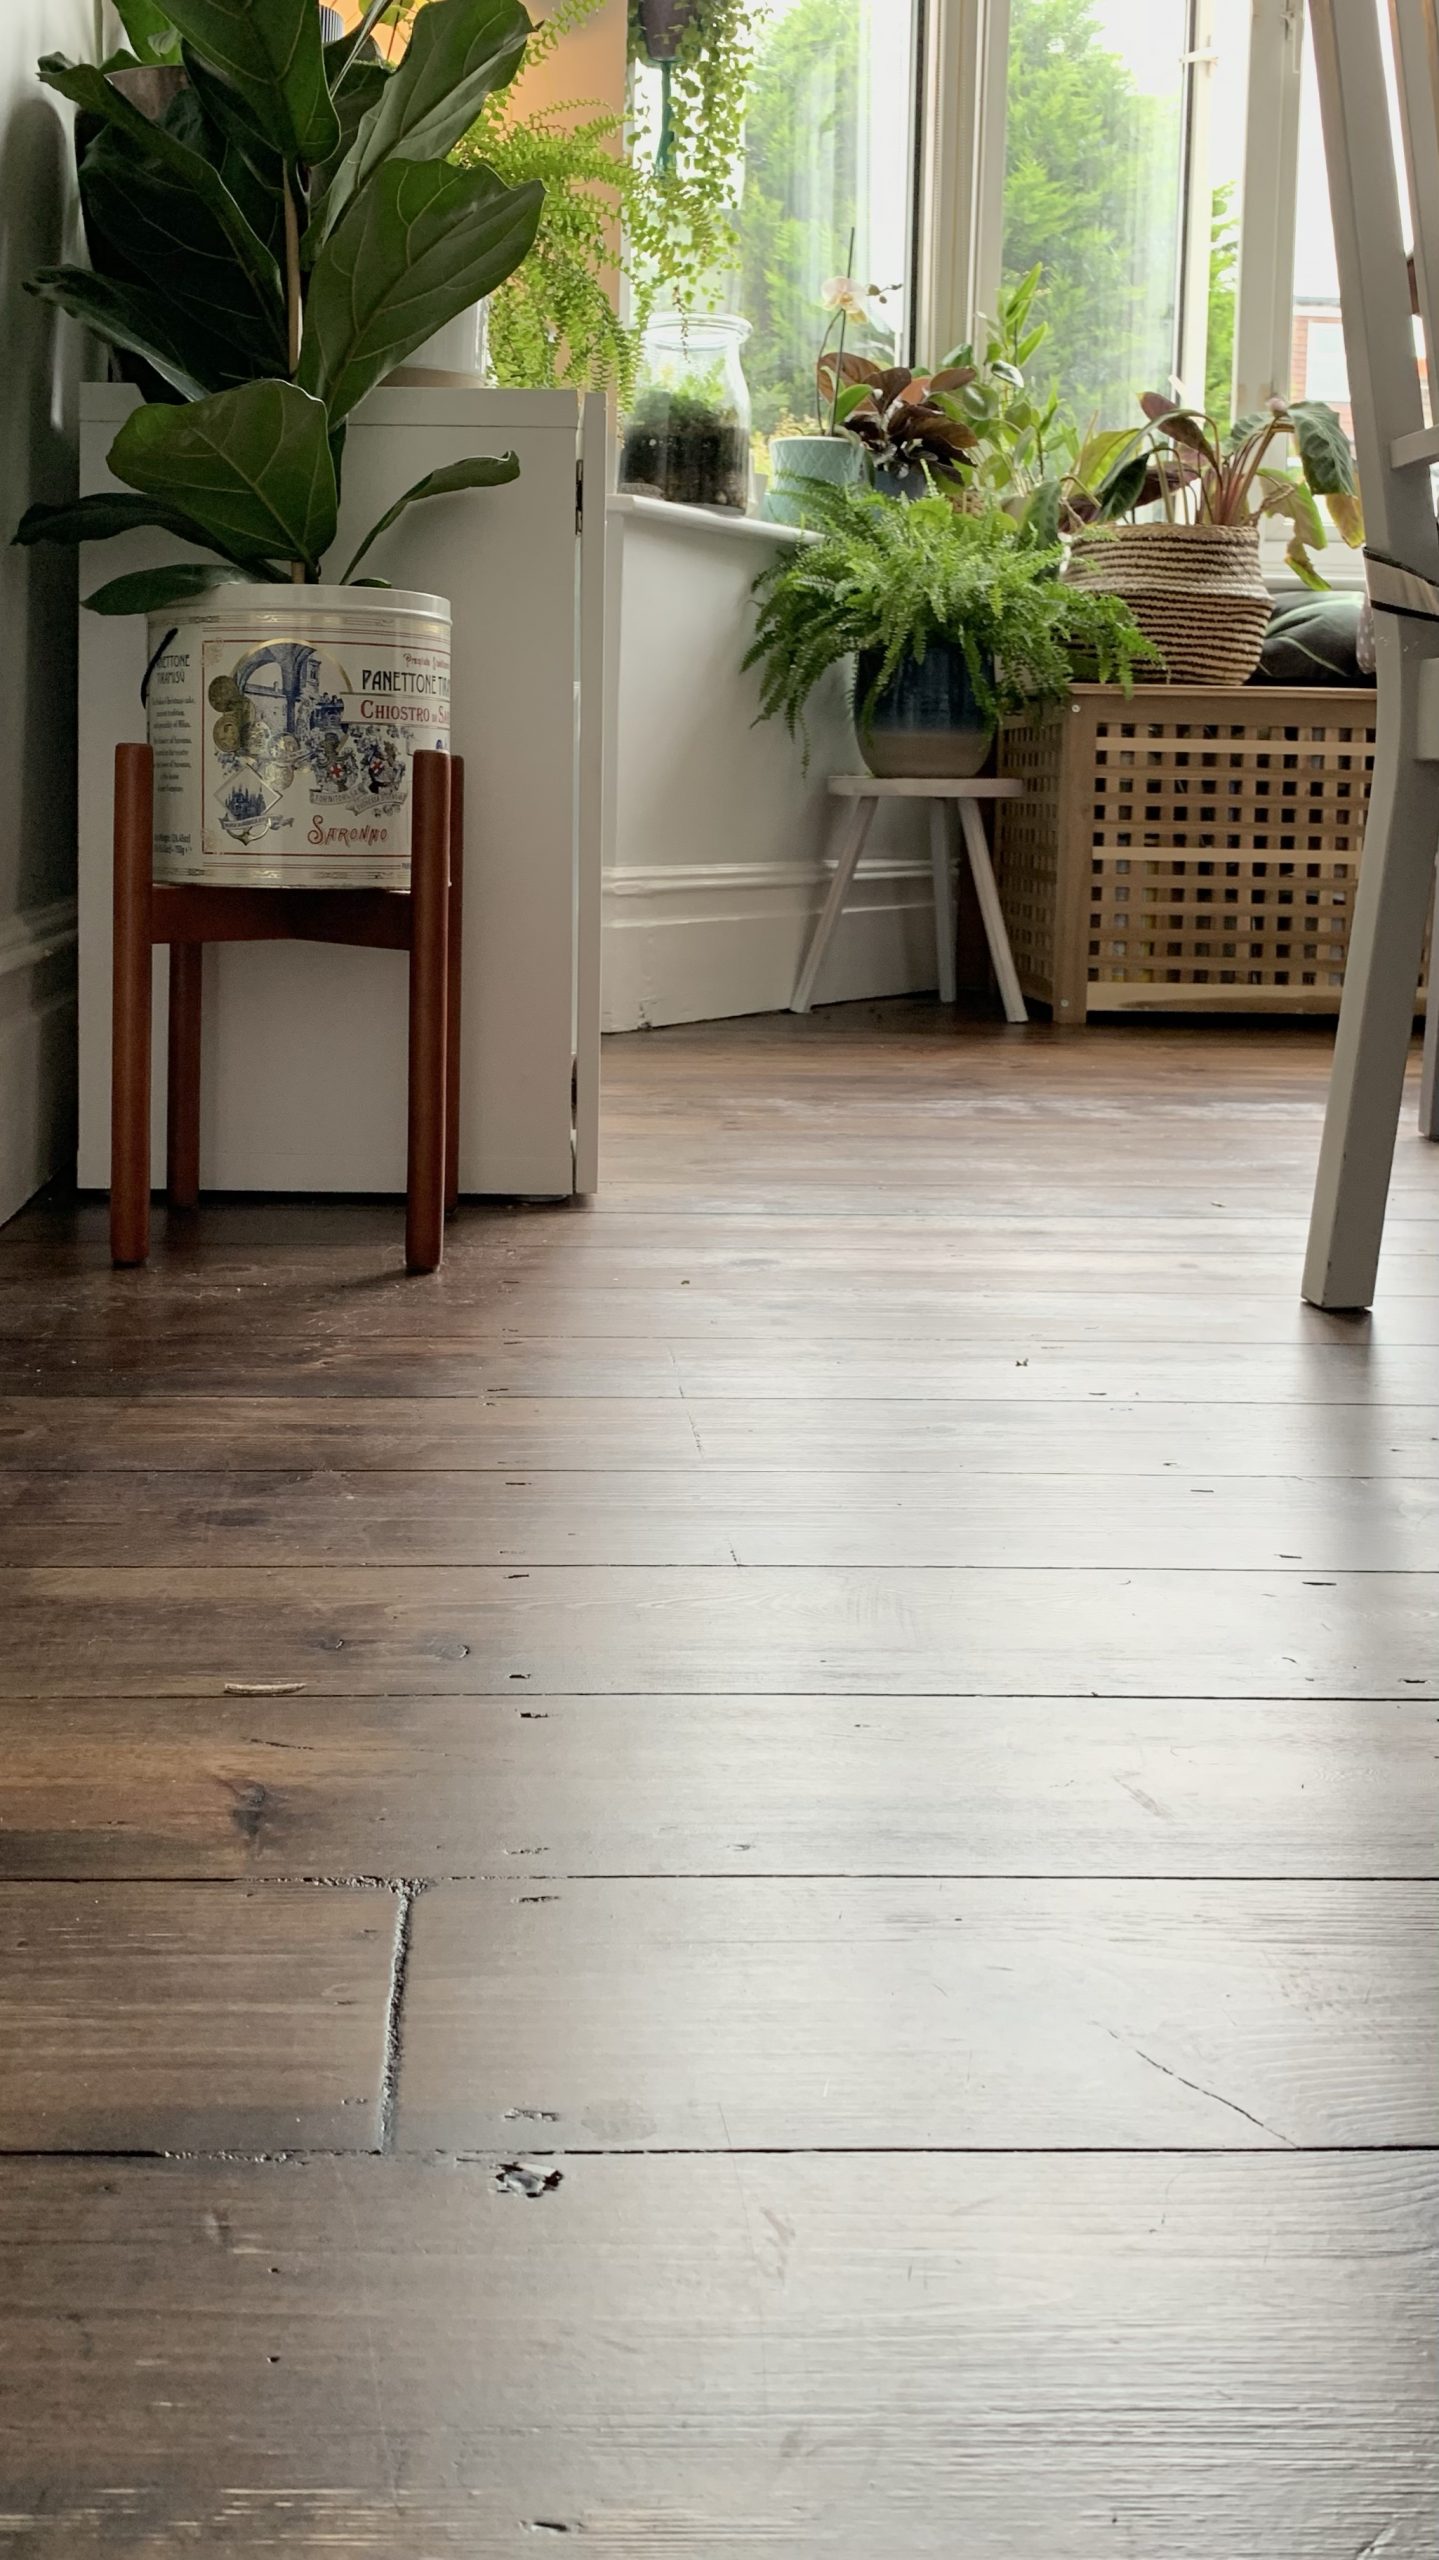
To refinish pine floors, start by sanding them down to remove the existing finish and level the surface. Then, apply a wood stain or finish of your choice and allow it to dry before adding a protective coating such as polyurethane.
Refinishing pine floors can be a cost-effective way to restore the natural beauty of your flooring while also adding protection against wear and tear. With the right tools and techniques, you can transform worn-out pine floors into stunning features that enhance the overall aesthetic of your space.
We will provide a step-by-step guide on how to refinish pine floors, enabling you to achieve professional-quality results. Whether your pine floors are hiding beneath several layers of carpet or have simply lost their luster, this article will equip you with the knowledge and skills needed to bring them back to life. So, let’s dive into the process of refinishing pine floors and unveil their hidden potential.
Understanding The Process
Refinishing pine floors is a great way to restore their beauty and extend their lifespan. Before getting started, it is important to properly prepare for the project. Here are the necessary tools and materials you will need:
| Tools | Materials |
|---|---|
| Sandpaper | Stain |
| Electric Sander | Sealant |
| Vacuum Cleaner | Wood Filler |
| Dust Mask | Paintbrushes |
| Protective Eyewear | Paint Roller |
To refinish pine floors, follow this step-by-step guide:
- Ensure the floor is clean and free of any debris.
- Start by sanding the entire floor with the electric sander and sandpaper to remove the old finish.
- Clean up the dust using a vacuum cleaner and wear protective gear.
- Apply wood filler to any cracks or gaps in the floor and let it dry.
- Sand the floor again to smooth out the wood filler and prepare for staining.
- Apply the stain evenly across the floor using paintbrushes or a paint roller.
- Allow the stain to dry completely before applying the sealant.
- Apply the sealant to protect the newly refinished floor.
- Let the sealant dry, and your pine floors will be beautifully refinished.
By following these steps and using the right tools and materials, you can easily refinish your pine floors and enhance the overall look of your space.
Steps For Preparation
To refinish pine floors, the first step is to prepare the room. Start by clearing the room and removing all furniture. This will ensure that you have ample space to work and prevent any damage to the furniture during the refinishing process.
Next, assess the floors for any damaged areas. If you come across any scratches, dents, or loose boards, make the necessary repairs before proceeding. This will help ensure a smooth and even surface for refinishing.
Before you can begin sanding, it’s crucial to thoroughly clean the surface of the pine floors. Remove any dirt, dust, or debris, and use a mild cleaner if necessary. This will help achieve a better result and prevent any particles from getting trapped in the finish.
The final step in the preparation process is sanding the pine floors. Use a floor sander with progressively finer grits to remove the existing finish and create a smooth surface. Always sand in the direction of the wood grain for optimal results.
Applying The Refinishing Products
Choosing the Right Stain or Finish: When refinishing pine floors, it is important to choose the right stain or finish that suits your preferences. Keep in mind that different stains and finishes will provide different looks and levels of protection. Consider the desired color and sheen, as well as the durability and maintenance requirements of each product. It is recommended to test the stain or finish on a small area of the floor before applying it to the entire surface.
Applying the Stain: Once you have chosen the stain, start by preparing the floor by sanding it down to remove any previous finish and ensure a smooth surface. Apply the stain using a brush, roller, or cloth, following the manufacturer’s instructions. Make sure to work in small sections and apply an even coat. Allow the stain to penetrate the wood for the recommended amount of time and then remove any excess with a clean cloth.
Adding Multiple Coats: Depending on the desired color intensity, you may need to apply multiple coats of the stain. Allow each coat to dry completely before applying the next one. This will help achieve a more even and consistent color. Remember to lightly sand the floor between coats to smooth out any imperfections and ensure better adhesion.
Protecting the Floors with a Protective Finish: After the final coat of stain has dried, it is essential to protect the pine floors with a protective finish. Choose a finish that is suitable for your lifestyle and the level of foot traffic in the area. Apply the protective finish following the manufacturer’s instructions, and make sure to allow each coat to dry before adding another. This will help enhance the durability and longevity of the refinished pine floors.
Sanding Techniques For Pine Floors
Refinishing pine floors is a great way to revitalize the look of your home. When it comes to sanding techniques for pine floors, there are a few important factors to consider. One of the primary considerations is the type of sandpaper to use. Choosing the right sandpaper grit can make a significant difference in achieving the desired results.
For pine floors with minor damage, a fine sandpaper grit between 100 and 120 can be used. This will help to smooth out any imperfections without removing too much of the wood’s natural beauty. In cases where the damage is more significant, a medium grit sandpaper between 60 and 80 may be necessary. This coarser sandpaper will effectively remove deeper scratches and stains.
When sanding pine floors, it’s essential to follow proper techniques to ensure a smooth and even finish. Start with a rough sandpaper grit and gradually work your way up to a finer grit. Be sure to sand in the direction of the wood grain to avoid causing any damage. Additionally, keeping the sandpaper clean throughout the process will help to prevent clogging and ensure consistent results.
Dealing With Common Issues
Dealing with common issues is an essential step when refinishing pine floors. One common issue is filling gaps and cracks, which can be done using wood filler. Apply the filler to the gaps and cracks, making sure to level it with a putty knife. Sand the area smooth once the filler has dried.
Removing old paint or stain is another common issue. Start by sanding the floor with coarse sandpaper to remove the surface layer. Then, apply a chemical paint stripper or stain remover and scrape off the loosened paint or stain with a putty knife.
Fixing scratches and dents is also important. Begin by sanding the area around the scratch or dent to smooth it out. Apply wood filler to the damaged area and level it with a putty knife. After it has dried, sand the filled area until it is flush with the surrounding floor.
Addressing water damage is crucial to ensure a successful refinishing process. Start by identifying and repairing the source of the water damage to prevent further issues. Then, assess the extent of the damage and decide whether sanding, wood filler, or replacement is necessary.
Maintaining And Caring For Refinished Pine Floors
Regular cleaning and maintenance are essential for maintaining and caring for refinished pine floors. It is important to sweep or vacuum the floors on a regular basis to remove dirt, dust, and debris. Avoid using harsh cleaning agents or abrasive materials that can damage the floor’s finish. Instead, use a mild, pH-neutral cleaner and a damp mop to gently clean the surface.
To keep refinished pine floors looking their best, applying touch-ups and maintenance coats periodically is recommended. This involves lightly sanding the area, cleaning it thoroughly, and applying a fresh coat of polyurethane or other suitable finish to protect the surface and enhance its appearance.
Preventative measures can help preserve the refinished floors for longer. It is important to place doormats at entrances to prevent dirt and grit from being tracked onto the floor. Felt pads should be attached to furniture legs to prevent scratching. Refrain from using high-heeled shoes, as they can cause dents and damage. Additionally, avoid exposing the floors to excessive moisture or direct sunlight, as these can lead to warping and fading.
By following these maintenance and care practices, refinished pine floors can retain their beauty and durability for years to come.
Final Thoughts
Refinishing pine floors can do wonders for your home. By restoring their natural beauty, you can enhance the overall aesthetic appeal of your living spaces. The benefits of refinishing pine floors are numerous. Firstly, it breathes new life into worn-out or damaged floors, making them look brand new. Restored pine floors also add value to your property, making it more desirable to potential buyers. Secondly, refinishing pine floors allows you to showcase the unique wood grain and natural characteristics of pine, creating a warm and inviting atmosphere. Lastly, the power of restoration lies in its ability to rejuvenate your space and transform it into a cozy and welcoming environment. Whether you are refinishing pine floors in your own home or preparing it for sale, the end result is sure to impress.
:max_bytes(150000):strip_icc()/before-refinishing-old-hardwood-floors-4065469-hero-a4b6cc14f14e4b59a833515bd9d70f33.jpg)
Frequently Asked Questions For How To Refinish Pine Floors
How Do I Prepare Pine Floors For Refinishing?
To prepare pine floors for refinishing, start by removing all furniture and rugs from the room. Clean the floor thoroughly, removing any dust or debris. Fill in any cracks or gaps with wood filler and sand the floor to create a smooth surface.
Finally, apply a primer and then the desired finish coat.
What Tools Do I Need To Refinish Pine Floors?
To refinish pine floors, you will need a few essential tools. These include a drum sander, edge sander, and a buffer for sanding the floor. Additionally, you will need a vacuum for cleaning up the dust, paint brushes or rollers for applying the finish, and safety equipment such as goggles and a respirator.
How Long Does It Take To Refinish Pine Floors?
The time it takes to refinish pine floors can vary depending on the size of the area and the condition of the floors. Typically, it takes about 3-5 days to complete the refinishing process. This includes the time for cleaning, sanding, applying the finish, and allowing it to dry between coats.
Can I Refinish Pine Floors Myself Or Should I Hire A Professional?
Refinishing pine floors can be done as a DIY project, but it requires some skill and knowledge. If you have experience with similar projects and access to the necessary tools, you can do it yourself. However, if you are unsure or don’t have the time and expertise, it is recommended to hire a professional to ensure a high-quality finish.
Conclusion
To wrap up, refinishing pine floors can be a rewarding DIY project that adds beauty and value to your space. By following the steps outlined in this guide, you can achieve professional-looking results. Remember to prepare the floors properly, choose the right stain and finish, and take care of them regularly to maintain their pristine appearance.
With a little time and effort, you can transform your dull pine floors into stunning, rejuvenated ones that will be the envy of all. Happy refinishing!


