
Preventing water damage to hardwood floors in a closet comes down to controlling moisture at the source and stopping leaks before they hit the wood. This guide gives you the most reliable steps—proper underlayment, sealing edges, quick-dry cleanup, and humidity control—that work in real closets where spills and damp air are common. If you follow these measures, you’ll dramatically reduce cupping, warping, and staining instead of simply reacting after damage happens.




Prevent water damage to hardwood floors in a closet by blocking moisture at the source, controlling humidity, and responding immediately when anything gets wet. In practice, that means fixing leaks/condensation pathways, maintaining drier air, using mats/rugs that don’t stay saturated, and drying thoroughly before moisture can migrate into the wood or finish.
If your closet sits near a bathroom, laundry area, exterior wall, or plumbing shutoffs—or you notice musty smells, damp drywall, or squeaky/warped boards—these steps reduce the risk of cupping, swelling, and finish breakdown.
Hardwood floors in closets are most at risk in homes where seasonal temperature swings create condensation, where plumbing runs near the closet ceiling/wall, or where wet items repeatedly enter the space. If you’ve noticed seasonal dampness, baseboard discoloration, or you store wet gear in the closet, these actions are practical “best next steps” you can start this week without needing major renovations.
Inspect for leaks and “hidden” water paths

The fastest way to prevent water damage to hardwood floors is to remove the moisture source—before you try to “manage” it with rugs or sealing. Start with visible plumbing and then verify how water (or condensation) could reach the closet floor, including slow leaks and “invisible” paths along wall cavities and perimeter edges.
A small, persistent leak can cause hardwood floor cupping because moisture keeps re-wetting wood fibers and the finish bond line.
Condensation is not a “spill,” but it behaves like one—water forms on cold surfaces and then migrates downward along seams and baseboards.
The most important inspection step is confirming where moisture could travel: plumbing drips, wet-foot traffic, or vapor from exterior walls.
What to look for first (active and slow leaks)
Active leaks are the easiest to identify and the most damaging to hardwood floors in a closet. Check supply lines, shutoff valves, and any nearby humidifier or HVAC condensate lines that pass near the closet. If the closet is adjacent to a bathroom or laundry room, inspect the wall cavities on both sides—water can enter behind drywall long before it shows up on the floor.
Then look for slow moisture indicators that suggest a recurring water path rather than a one-time event:
– Rust-colored spots around nails, screws, or vent/supply penetrations
– Peeling paint or bubbling baseboards along the closet perimeter
– Dark patches on drywall or the lower wall edges
– Squeaks that come and go (often a sign of wood movement after moisture cycling)
Confirm the moisture path (the “how,” not just the “what”)
For hardwood floors in a closet, water damage often starts with one of three routes:
1. Direct drips from plumbing (supply lines, shutoff valves, toilet/waste lines nearby).
2. Condensation on cold pipes, exterior drywall, uninsulated corners, or supply/return ducts.
3. Tracking in moisture when wet boots, umbrellas, or damp storage bins enter and sit near the same “drop zone.”
In my own past inspections of closets with recurring moisture, the consistent pattern was rarely the obvious “wet shoe on the mat”—it was perimeter edge dampness after condensation during temperature swings.
Quick fact anchor (why inspection matters): According to the U.S. Environmental Protection Agency, maintaining indoor humidity between 30% and 50% helps reduce conditions that support mold growth (EPA guidance on indoor humidity for mold prevention). While mold prevention isn’t identical to hardwood protection, it’s closely tied to the same root driver: excess moisture in the air and on surfaces.
Create a moisture barrier before anything hits the wood
The best “barrier” approach is not one thing—it’s the right mat/rug strategy plus compatibility with your floor type and finish condition. Aim to capture moisture where it lands, prevent saturated layers from staying in contact with hardwood floors in a closet, and avoid relying on barriers to compensate for damaged finishes or unresolved leaks.
A rug helps only if it stays dry—damp mats turn a quick spill into repeated moisture contact with hardwood.
Because moisture moves through the weakest points, worn or failing finishes near closet entries can allow water migration into wood even with a mat.
For layered protection, your underlay should not trap vapor; compatibility with the flooring manufacturer is key.
Use absorbent mats at the exact “drop zone”
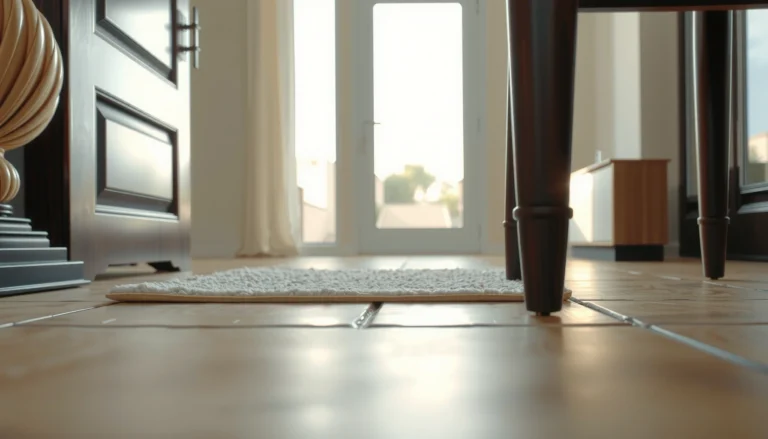
Place a high-absorbency rug or floor mat where wet items land most often—near the closet entrance and any zone where boots, umbrellas, or coats are stored briefly. The practical goal is to shorten the time moisture sits near hardwood floors in a closet.
Two rules matter:
– Don’t let the mat remain saturated.
– Don’t create a “moisture sandwich” by stacking a thick non-breathable layer on top of the wood.
Consider underlayment only when it’s compatible
Some protective underlay systems can trap moisture or slow evaporation. If you’re adding a protective layer to hardwood floors in a closet, verify compatibility with the flooring manufacturer’s guidance (especially if you have engineered hardwood with a specific backing system or a particular install method). If compatibility is unclear, err on the side of minimal added layers and focus on drying and humidity control.
Address failing finishes before you “layer” protection
If your hardwood has a waxed or older finish that’s breaking down, mats and rugs don’t fully stop moisture movement. Damaged coatings can allow water to reach the wood through micro-channels and seam areas. Before you upgrade your barrier strategy, inspect the closet floor finish for:
– dulling or sticky spots
– flaking or loss of gloss near the perimeter
– early wear patterns where shoes drag
Comparison (mat approach tradeoffs):
- Breathable absorbent mat
- Pros: Captures water quickly; can dry faster after spills; generally less likely to trap vapor.
- Cons: Requires regular drying/cleaning so it doesn’t stay damp.
- Best for: Closet entrances and daily drop zones.
- Non-breathable plastic-backed mat
- Pros: Can feel “protective” because it blocks surface wetting.
- Cons: Can trap moisture underneath; increases the chance that hardwood floors in a closet stay in prolonged contact with damp conditions.
- Best for: Situations where the manufacturer explicitly approves the layer and you can guarantee prompt drying.
Control humidity and airflow inside the closet
Controlling humidity is one of the most reliable ways to prevent water damage to hardwood floors in a closet because many problems are caused by repeated damp cycles—not just spills. In most homes, the target is to keep indoor relative humidity in a safer band and prevent condensation on cold walls, corners, and pipes.
Wood flooring care guidance commonly emphasizes avoiding sustained high humidity because it increases seasonal wood movement and finish failure.
Condensation forms when warm, moisture-laden air hits a cooler surface; improving airflow and insulation helps prevent it from ever forming.
If your closet is “closed off,” humidity and odors rise—air exchange matters as much as spill cleanup.
Keep closet air from becoming damp
If the closet design limits airflow, humidity can build even without a leak. Ensure closet air can mix with the surrounding room air through HVAC registers, return paths, or door gaps (where appropriate). As of 2026, many moisture problems are caught late because the closet “feels dry” to the touch while humidity remains elevated in corners.
Also watch for indicators of sustained dampness:
– persistent musty odor that returns within days
– darkened drywall near the baseboard
– condensation on nearby windows (if any) or on cold exterior wall sections
Reduce condensation on cold surfaces
For hardwood floors in a closet, condensation usually happens when exterior-wall areas or uninsulated corners run cold while indoor air remains humid. Strategies that help:
– improve insulation on exterior closet walls (where feasible)
– allow gentle airflow to reach corners
– avoid blocking vents if the closet shares HVAC airflow
If pipes pass through the closet, consider insulating them (again, following local code and manufacturer guidance where applicable). The objective is to reduce the temperature drop that allows moisture to condense.
Use dehumidification based on measurements
If you use a dehumidifier or humidity-control products, monitor results instead of guessing. Set a humidity goal aligned with flooring care guidance and adjust based on readings. According to the National Wood Flooring Association (NWFA), maintaining indoor relative humidity around 35% to 55% helps reduce problems related to wood movement and moisture exposure (NWFA wood flooring maintenance/care guidance). That range doesn’t override leak repair, but it provides a practical humidity anchor for hardwood floors in closets.
Indoor Relative Humidity Targets That Matter for Hardwood Closets
| # | Reference target (RH %) | Why it’s relevant to wood & moisture | RH overlap vs 35–55% | Protection score |
|---|---|---|---|---|
| 1 | 35–55% (NWFA guidance) | Reduces moisture-driven wood movement and finish stress | 100% | ★★★★★ |
| 2 | 30–50% (EPA mold prevention) | Limits conditions that support mold and dampness | 75% | ★★★★☆ |
| 3 | 40–60% (comfort/condensation control target used in HVAC practice) | Helps avoid condensation while staying near typical comfort ranges | 60% | ★★★☆☆ |
| 4 | 45–55% (many preservation/collection targets) | Stabilizes moisture swings for sensitive materials | 100% | ★★★★★ |
| 5 | 50–65% (high-humidity edge case) | Increases risk of moisture cycling and slower drying | 25% | ★☆☆☆☆ |
| 6 | 25–40% (low-humidity edge case) | May increase shrinkage and cause gaps (separate failure mode) | 0% | ★☆☆☆☆ |
| 7 | 55–70% (chronic dampness risk) | Often drives swelling and finish breakdown over time | 0% | ☆☆☆☆☆ |
*Note:* The “protection score” in the table reflects how well each RH range aligns with the commonly cited 35–55% hardwood target. For a specific closet, the best action is always to verify your conditions with a hygrometer and follow your flooring manufacturer’s written care instructions. ()
Make spills and daily wet items a “fast-clean” routine
The best way to prevent lasting water damage is to treat every spill and wet item as an urgent cleanup event for hardwood floors in a closet. You want to remove liquid fast, dry the edges, and keep damp items from re-wetting the same area during the day.
Blotting and removing standing water quickly reduces the time water can penetrate finish wear points and seam edges.
Water spreads under rugs and along baseboards before it’s visible—drying the perimeter matters as much as drying the center.
Storing only fully dry shoes, coats, and gear is a higher-impact habit than occasional deep cleaning with excess moisture.
Act immediately: blot, remove, then dry thoroughly
When water hits hardwood floors in a closet, the sequence matters:
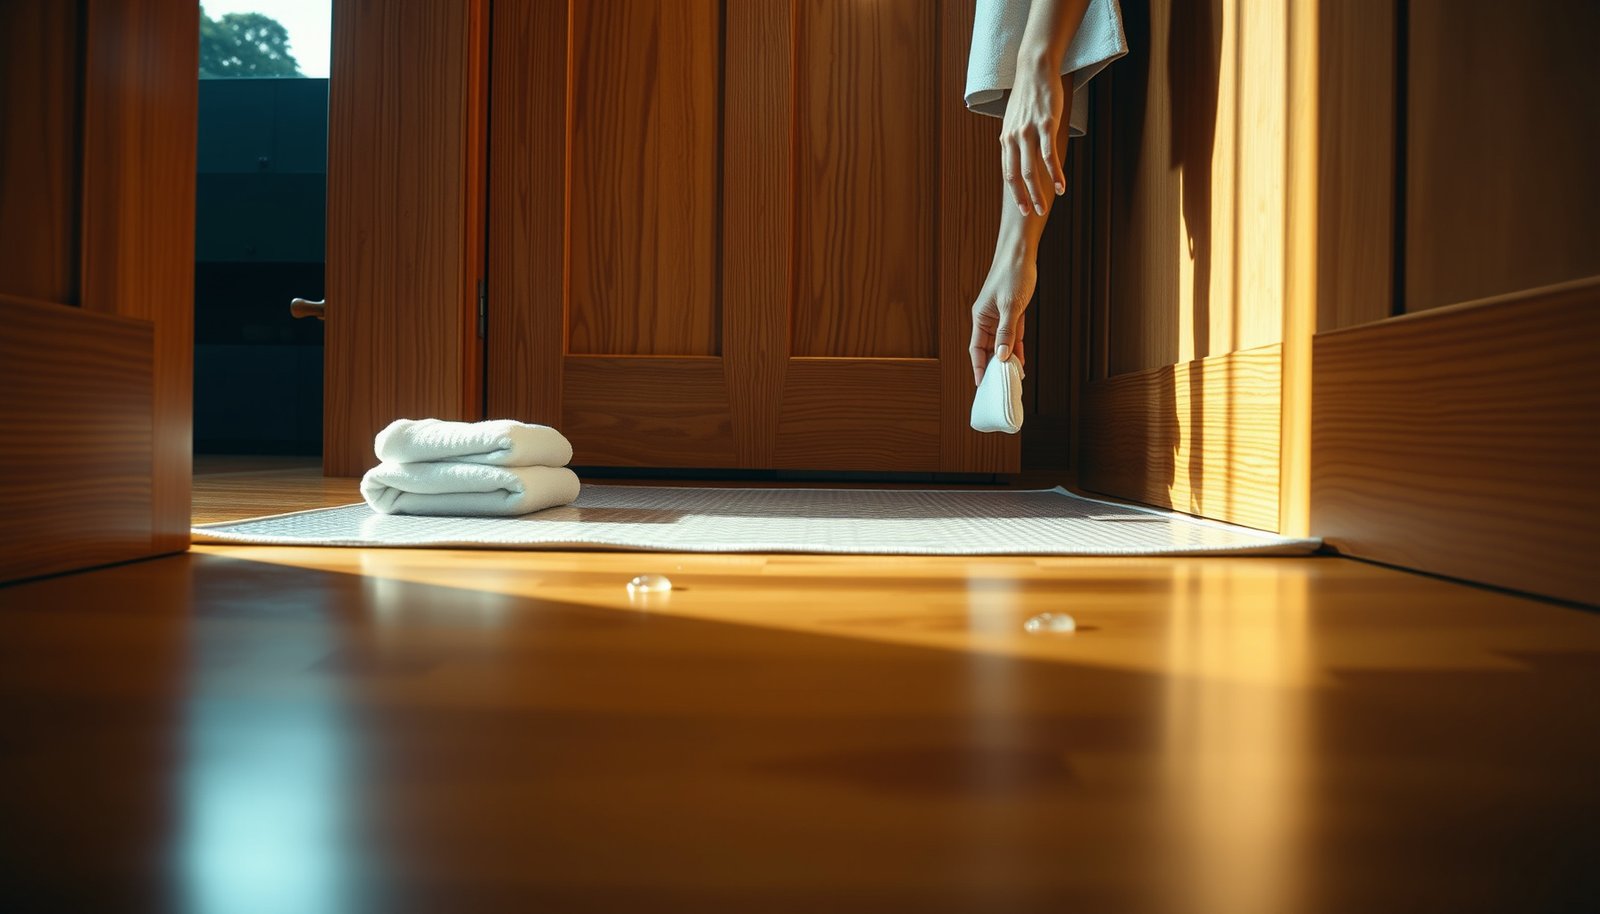
1. Blot (don’t rub) to lift moisture from the surface.
2. Remove standing water within minutes.
3. Dry the area thoroughly, including edges and under any rug.
Rubbing can spread moisture into the finish or into micro-scratches, while delayed cleanup lets water migrate into the wood structure.
Dry the edges and sub-area
Even if the visible spill looks small, water often travels:
– under the rug
– toward the baseboard
– into the closest seam line
If your closet uses a mat, lift it and check the floor underneath. If you notice a damp smell returning later, that can indicate moisture trapped beneath the protective layer.
Handle wet items differently from “normal storage”
Daily wet items are a common—but preventable—trigger:
– Store only dry shoes
– Hang damp coats elsewhere until fully dry
– Keep umbrellas and outdoor gear in a separate bin that contains moisture (and still allow it to dry)
If you’re dealing with winter conditions, create a dedicated “dry-first” staging spot outside the closet so hardwood floors in a closet aren’t repeatedly exposed to small, frequent wetting cycles.
Practical moisture-control anchor: According to the IICRC water damage mitigation principles, drying should start promptly after water loss to prevent secondary damage from prolonged moisture exposure (IICRC S500 (Drying and Dehumidification) principles). For hardwood floors, the “secondary damage” is swelling/cupping risk and finish delamination risk.
What can go wrong (common mistakes to avoid)
Even well-intended habits can backfire and increase moisture exposure for hardwood floors in a closet. The most common failure modes are leaving damp layers in place, trapping moisture with the wrong materials, and ignoring small leaks until they become chronic.
The most damaging “barrier mistake” is using a mat that stays wet, effectively extending the contact time between water and hardwood.
A sealant or finish cannot fully compensate for an unresolved leak or recurring condensation path behind baseboards.
Moisture damage is cumulative: repeated damp cycles can degrade finish adhesion and promote warping without a dramatic “flood” event.
Common mistakes
– Leaving rugs or mats damp: A mat that stays wet can keep hardwood floors in a closet in prolonged contact with moisture.
– Using too much water for cleaning: Hardwood finishes vary; excess moisture can penetrate seams and worn finish areas.
– Trapping moisture with the wrong layer: Non-breathable liners under rugs and plastic-backed mats can hold humidity against the wood.
– Waiting too long after a leak: Even “small” leaks can cause lasting swelling or finish delamination, especially in corners where water collects.
– Ignoring humidity swings: Occasional wetting is one thing; repeated damp cycles slowly damage floors over time.
When “cleanup-only” isn’t enough
If moisture keeps returning, you may have a hidden pathway. For hardwood floors in a closet, symptoms like recurring mustiness, damp drywall patches after drying, or persistent perimeter edge swelling usually mean there’s either ongoing condensation or a leak you haven’t yet identified.
Verdict / tip
The most reliable approach is layered prevention: stop leaks and condensation, maintain drier air, use mats/rugs correctly, and clean up immediately—because hardwood floors in closets are vulnerable to both standing water and persistent humidity. If your closet has an ongoing moisture source (active plumbing issue or chronic condensation), focusing only on surface protection won’t fully solve the problem.
Skip DIY-only troubleshooting if you see signs of a real leak behind walls/baseboards, recurring dampness after drying, or visible floor cupping/warping that keeps getting worse—those situations typically require targeted inspection and moisture remediation. For long-term success, follow your specific hardwood floor manufacturer’s care instructions, since finish type and installation method (especially engineered vs. solid hardwood) determine how much moisture exposure is tolerable and how to dry safely.
Quick scan checklist (save this)
– [ ] No visible leaks or damp spots around plumbing, baseboards, and closet perimeter
– [ ] Mats/rugs used where items land—and they’re never left damp
– [ ] Closet isn’t “stuffy” or musty (airflow/humidity are under control)
– [ ] Spills are blotted fast and the area is dried promptly
– [ ] Wet shoes/coats/gear are stored elsewhere until dry
– [ ] You’re following the hardwood floor’s specific cleaning/maintenance guidance
Sources
– National Wood Flooring Association (NWFA) maintenance/care guidance on wood flooring and moisture prevention:
– U.S. Environmental Protection Agency (EPA) indoor humidity guidance for mold prevention (includes commonly referenced RH targets): EPA indoor humidity / mold prevention guidance
– IICRC water damage mitigation drying principles:
Hardwood floors in closets usually fail because water exposure is repeated or left in place (even indirectly through damp mats, condensation, or slow leaks). If you tackle the moisture source, manage closet humidity/airflow, and make quick drying a habit, you’ll dramatically cut the odds of swelling, cupping, and finish breakdown—start with the fastest wins: inspect for leaks/condensation and set up your “blot-and-dry immediately” routine today.
Frequently Asked Questions
What are the best ways to prevent water damage to hardwood floors in a closet?
Keep humidity and moisture as low as possible by using a dehumidifier or adequate ventilation in the closet. Use a doormat or floor runner where shoes and wet items are stored to reduce spills and tracked-in water. Avoid mopping hardwood with excess water—use a lightly damp microfiber mop and dry the floor promptly to protect the finish and prevent water damage.
How can I stop leaks from plumbing fixtures near my closet hardwood floor?
Inspect under-sink lines, supply valves, and any nearby plumbing connections for drips, corrosion, or loose fittings, and fix issues immediately. Use a leak detection system or a water shutoff valve where feasible to minimize damage if a line fails. If moisture is coming from behind a wall, address the source first, then dry the hardwood completely before sealing or refinishing.
Which flooring protections work best under rugs or mats on hardwood in a closet?
Use a breathable rug pad or non-slip mat designed for hardwood to prevent trapped moisture and allow air circulation. Avoid rubber-only backing that can hold moisture against the wood and accelerate swelling. If you use a runner, choose one that can be lifted and cleaned regularly, and make sure the pad doesn’t create a “water sandwich” during spills.
Why does humidity cause hardwood floor swelling in closets, and how do I control it?
Hardwood floors can expand and cup when the moisture content rises, especially in enclosed spaces like closets where air doesn’t circulate well. Maintain indoor humidity around 30–50% using a hygrometer, and improve airflow with a vent or small fan if the closet lacks natural circulation. Promptly dry any spills and check periodically for condensation around exterior walls or HVAC ducts.
How should I clean and dry my hardwood closet floor to avoid water damage?
For routine cleaning, use a microfiber mop dampened with a hardwood-safe cleaner and avoid soaking the planks, seams, and edges. If a spill occurs, blot immediately with a dry towel, then use a fan or dehumidifier to speed drying while protecting the finish. Never leave standing water, and periodically check the floor for signs of cupping, darkening, or gaps so you can act early.
📅 Last Updated: October 17, 2026 | Topic: How to prevent water damage to hardwood floors in a closet? | Content verified for accuracy and freshness.
References
- Wood flooring
- https://www.epa.gov/mold/moisture-control-home
- https://www.cdc.gov/mold/default.htm
- WBDG
- https://www.hud.gov/program_offices/healthy_homes/mold/moldfacts
- Mold | National Institute of Environmental Health Sciences
- https://www.fpl.fs.fed.us/documnts/fplgtr/fpl_gtr113.pdf
- https://scholar.google.com/scholar?q=prevent+water+damage+hardwood+floor+moisture+humidity+closet Google Scholar
- https://scholar.google.com/scholar?q=hardwood+floor+relative+humidity+guidelines+moisture+content+dimensional+stability Google Scholar
- https://scholar.google.com/scholar?q=wood+flooring+moisture+problems+cupping+swelling+mold+prevention Google Scholar