To paint tile flooring in 7 easy steps, first gather your tools: paintbrush, roller, primer, paint, sandpaper, cleaning supplies, and sealer. Clean and dry tiles thoroughly, then sand them lightly for adhesion. Apply a tile-specific primer, letting it dry before painting with epoxy or enamel paint in thin coats. Finish with a protective sealer for durability. Allow ample drying and curing time to prevent damage. Keep following for detailed tips that guarantee a professional finish.
Gather Your Materials and Tools
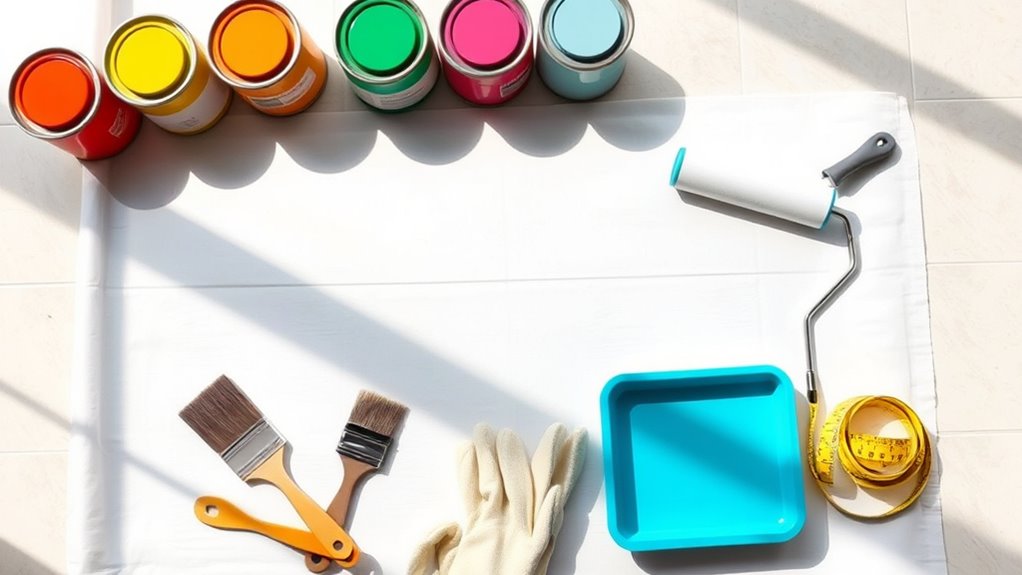
Before you begin painting tile flooring, you’ll need to gather all the necessary materials and tools to guarantee a smooth process. Start with essential tools like a high-quality paintbrush, a roller with a smooth nap, painter’s tape, and a bucket for mixing. You’ll also need a primer specifically designed for tiles and a durable epoxy or latex tile paint. Don’t forget sandpaper or a sanding block to lightly roughen the tile surface for better adhesion. Tile painting tips recommend wearing gloves and having drop cloths handy to protect surrounding areas. Collect cleaning supplies like degreaser and sponges to prep tiles before painting. Having everything ready assures you work efficiently and achieve a lasting finish, freeing you from frustrating interruptions during your tile painting project.
Clean and Prepare the Tile Surface
Before you start painting, make certain to thoroughly clean the tile surface by removing all dirt, grease, and grime using a strong degreaser and scrub brush. Inspect the tiles carefully and repair any cracks or chips with a suitable filler, allowing it to dry completely. Proper preparation guarantees the paint adheres well and creates a smooth, durable finish.
Remove Dirt and Grease
Since paint adheres best to a clean surface, you’ll need to thoroughly remove all dirt, grease, and grime from your tile flooring before starting. Begin with a deep cleaning using a mixture of warm water and a heavy-duty degreaser or dish soap. Scrub the tiles and grout with a stiff brush or sponge, focusing on areas with visible grease buildup. For stubborn grease, apply a specialized grease removal product, letting it sit for several minutes before scrubbing again. Rinse the floor thoroughly with clean water to remove all residues and prevent paint adhesion issues. Allow the surface to dry completely. This careful removal of dirt and grease guarantees your tile paint job will bond strongly, lasting longer and giving you the freedom to enjoy a fresh, durable finish.
Repair Cracks and Chips
Inspect your tile flooring carefully to identify any cracks or chips that need repair. Start by cleaning the damaged areas thoroughly, removing any loose debris or dust. For cracks, apply a high-quality crack filler using a putty knife, pressing it firmly into each crevice to guarantee complete coverage. Smooth the surface evenly, removing any excess filler to maintain a level finish. For chip repair, fill the gaps with an appropriate epoxy or tile repair compound, shaping it to match the tile’s contour. Allow the filler or repair compound to dry completely according to the manufacturer’s instructions. Once dry, lightly sand the repaired spots until smooth and flush with the surrounding tile. This preparation step is vital to achieve a flawless paint application and lasting results.
Sand the Tiles for Better Adhesion
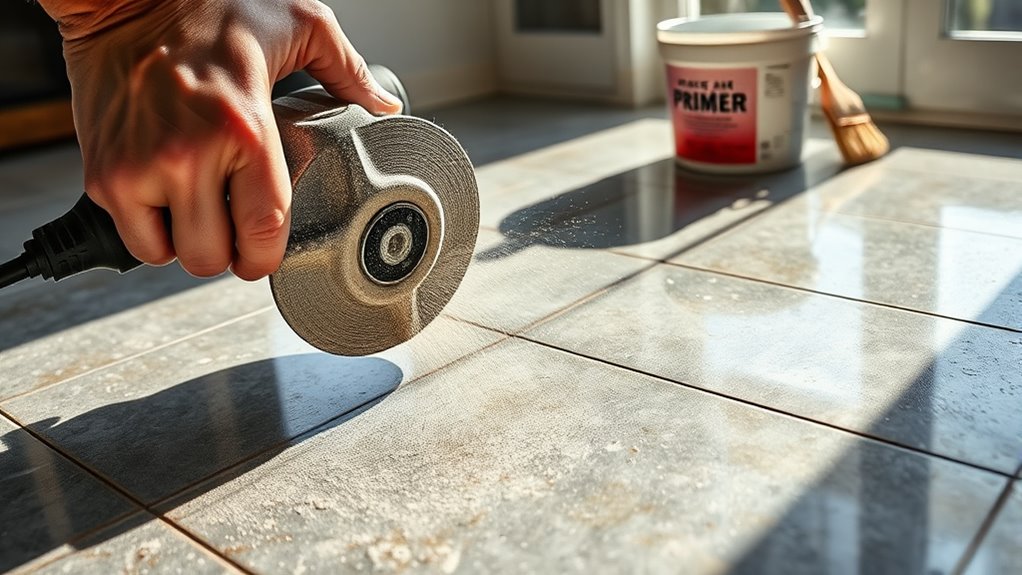
Although tile surfaces are generally smooth, sanding them is essential to create a rough texture that helps paint adhere effectively. By mastering proper sanding techniques, you make certain the paint bonds firmly, enhancing durability and avoiding peeling. Use medium-grit sandpaper (around 120-150 grit) and apply consistent pressure, focusing on each tile’s surface evenly.
| Sanding Techniques | Tools Needed | Adhesion Benefits |
|---|---|---|
| Circular motion sanding | Medium-grit sandpaper | Creates texture for paint grip |
| Edge and corner focus | Sanding block | Guarantees paint adherence in corners |
| Light, even pressure | Dust mask | Prevents damage, improves safety |
Take your time sanding; this step assures your painted floor lasts longer and withstands daily wear.
Apply a Primer Suitable for Tiles
Before you start painting, you’ll need to apply a primer that’s specifically designed for tile surfaces. This step is essential for ensuring strong tile adhesion and a smooth finish. When choosing primer types, opt for those labeled as bonding or adhesion primers made for glossy or ceramic tiles. Here’s how to apply it:
- Clean the tiles thoroughly to remove dust and grease.
- Use a high-quality brush or roller to apply a thin, even coat of primer.
- Allow it to dry completely—usually 1-2 hours—before painting.
This primer acts as a bridge between the tile’s slick surface and your paint, giving you the freedom to transform your flooring confidently and durably. Skip this, and your paint might peel prematurely.
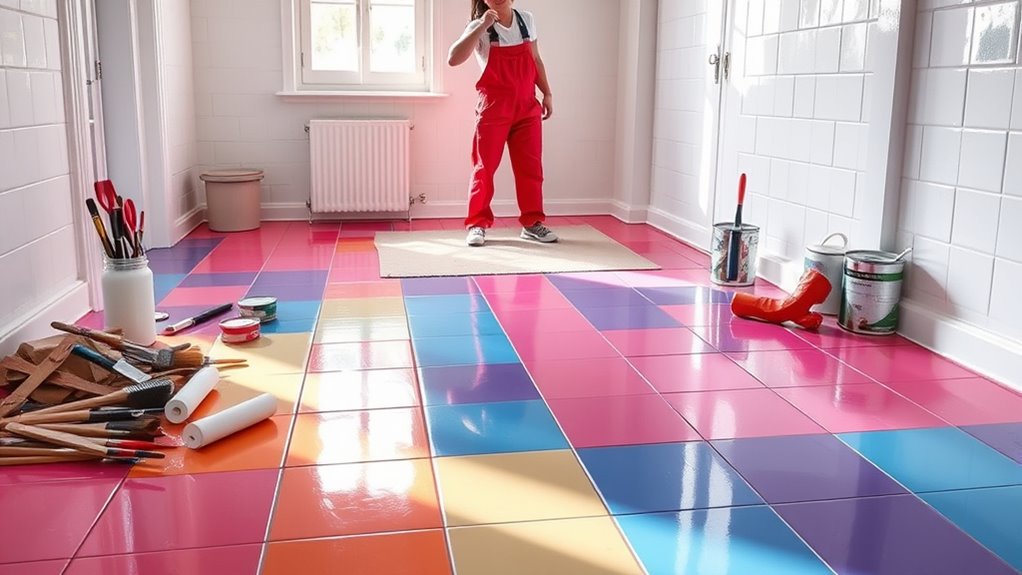
Paint the Tiles With Your Chosen Color
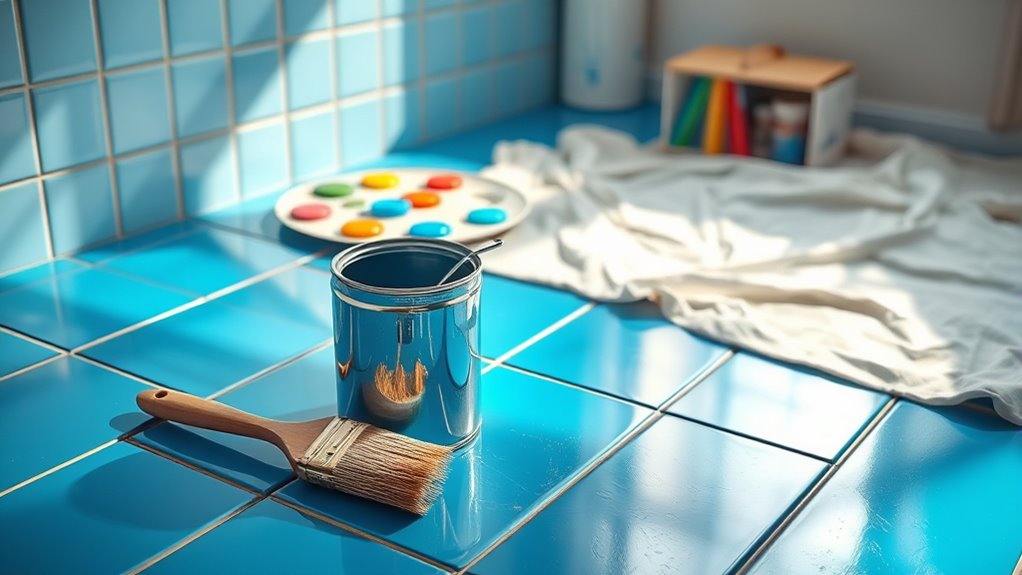
Choose a paint specifically designed for tile to guarantee durability and adhesion. Before you start painting, make sure the tile surface is clean, dry, and free of dust or grease. Apply the paint in thin, even coats using a high-quality brush or roller for a smooth, professional finish.
Selecting the Right Paint
When painting tile flooring, selecting the right paint is essential to guarantee durability and adhesion. You want paint types that are specifically formulated for tile or high-traffic areas, ensuring it won’t chip or peel easily. Consider these steps to make the best color selection:
- Choose epoxy or enamel-based paints for a tough, long-lasting finish that resists moisture and wear.
- Pick a color that complements your room’s style while hiding dirt and imperfections over time.
- Test your color on a small tile area to see how it looks under natural and artificial light.
Preparing Tile Surface
Although it might seem straightforward, properly preparing your tile surface is essential to confirm the paint adheres well and lasts. First, identify your tile types and assess the surface texture—smooth tiles need light sanding to roughen the surface, while textured tiles require thorough cleaning. Removing grease, dirt, and any sealants confirms better paint bonding. Use a degreaser and then rinse with water, letting it dry completely.
| Step | Detail |
|---|---|
| Identify Tile Types | Ceramic, porcelain, vinyl, etc. |
| Clean Surface | Use degreaser and water rinse |
| Sanding | Light sanding for smooth tiles |
| Remove Residue | Wipe away dust after sanding |
| Dry Completely | Wait until fully dry before painting |
Following these steps sets you free to paint confidently and achieve a durable finish.
Applying Even Coats
Two to three thin coats are usually best for painting tile flooring to guarantee even coverage and durability. Start by ensuring your brush or roller holds just enough paint to avoid thick buildup. Focus on achieving an even application by moving steadily across each tile.
- Apply a thin coat, maintaining consistent coat thickness to prevent drips.
- Allow the first coat to dry completely before lightly sanding any rough spots.
- Repeat the process with second and third coats, aiming for smooth, uniform coverage.
Add a Protective Sealer for Durability
Apply a high-quality protective sealer to your painted tile flooring to secure long-lasting durability and resistance to wear. Choose from sealer types such as polyurethane, epoxy, or acrylic, each offering different levels of protection and finish. For high-traffic areas, epoxy sealers provide robust defense, while acrylic sealers suit lighter use with easier application. Before sealing, confirm the paint is fully dry. Use a clean, high-density foam roller or a synthetic brush for smooth, even application. Apply thin coats, working in small sections to avoid pooling or streaks. Maintain consistent pressure, moving in one direction to create a uniform layer. Multiple thin coats enhance protection better than a single thick one. Proper application techniques will maximize your floor’s durability and preserve the fresh look you’ve worked hard to achieve.
Allow Proper Drying and Curing Time
Once you’ve carefully sealed your painted tile floor, the next step is to let it dry and cure completely before subjecting it to foot traffic or placing furniture. Proper drying techniques and curing methods guarantee your work lasts and resists wear. Follow these steps:
- Keep the area well-ventilated—open windows or use fans to accelerate evaporation without causing dust or debris to settle on the floor.
- Maintain a consistent temperature between 60-75°F (15-24°C) to optimize curing, avoiding high humidity or direct sunlight that can disrupt the process.
- Allow at least 72 hours for drying and an additional 5-7 days for full curing before heavy use.
Patience here assures freedom from premature damage and preserves the floor’s fresh, durable finish.