
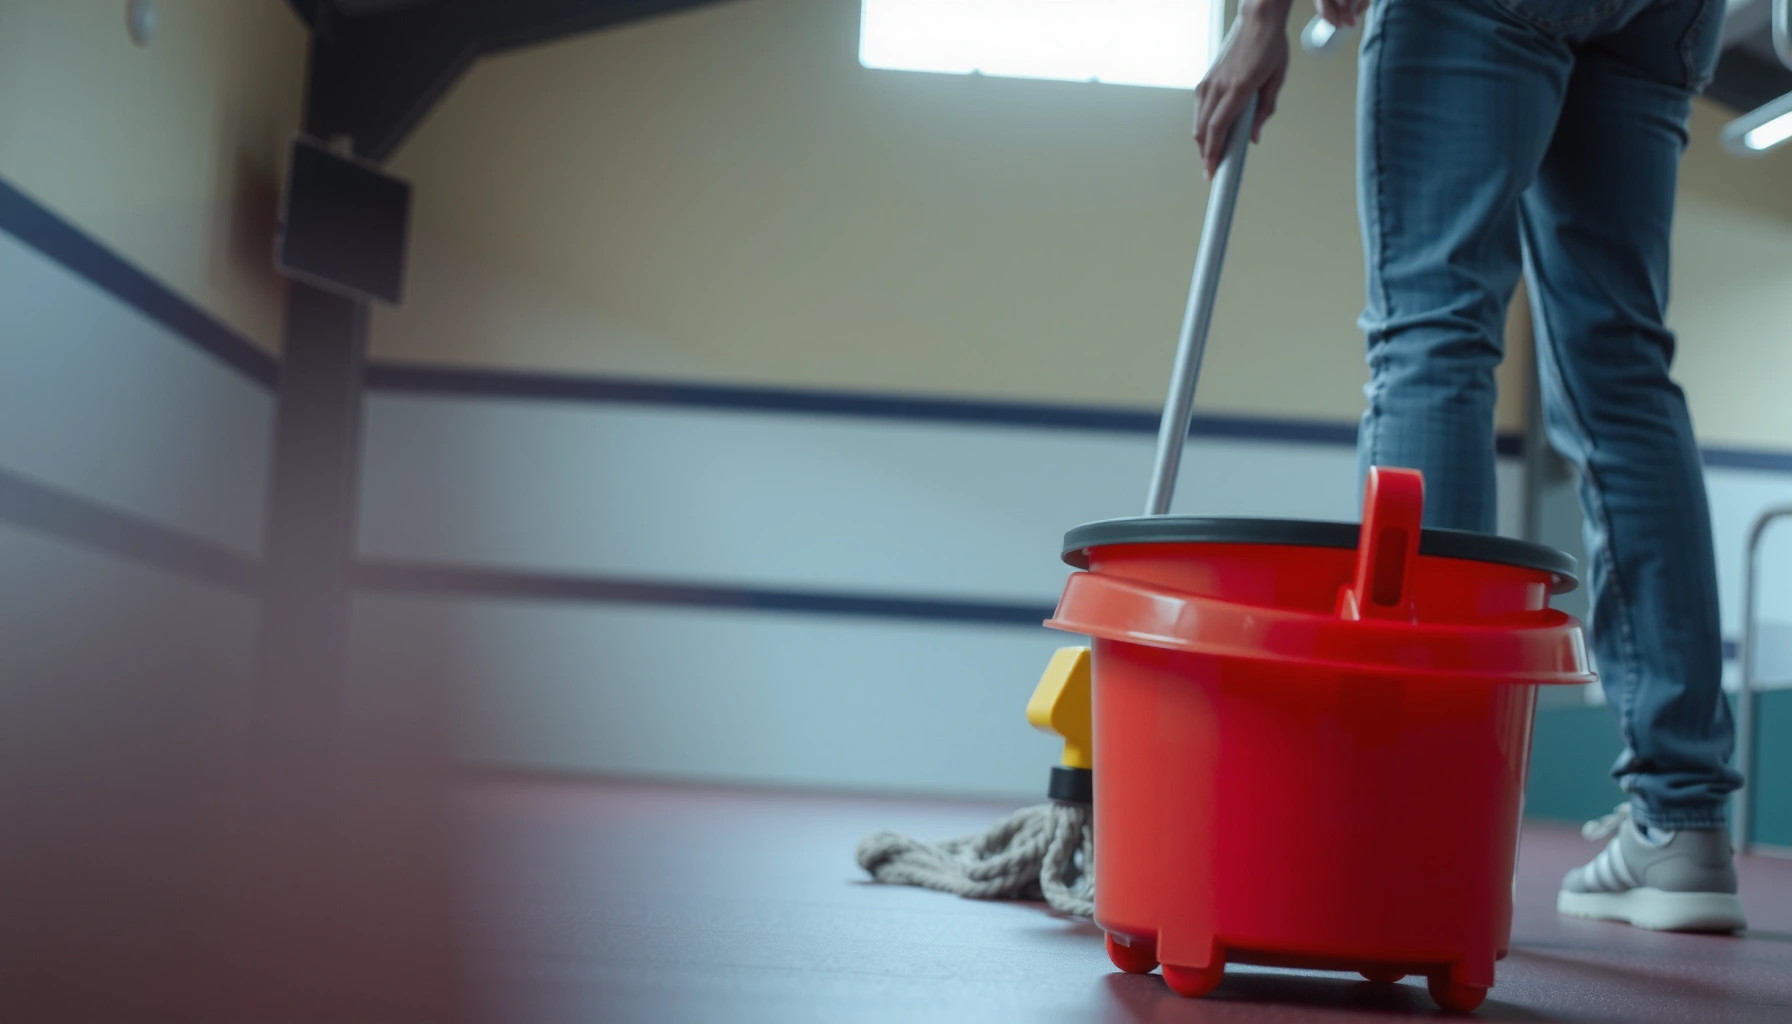

Learn how to mop gym floors with a step-by-step cleaning guide that actually restores shine without spreading grime. This walkthrough tells you exactly what to remove first, how to mix the right solution, and the correct mopping technique for stubborn sweat and scuff marks. If you want the fastest, most hygienic results, follow this proven order from start to finish.




Mop gym floors effectively by clearing debris first, using the correct cleaner dilution, and removing excess moisture (with a dry mop or squeegee) to prevent slips and lingering odors. Start with dust control, then mop in straight passes with damp—not soaking—water so grime lifts without leaving streaks or a slick film.
If you manage a gym, studio, or training space—or you’re cleaning at home where people track in chalk, sweat, and dirt—this will help you keep floors clean without turning them into a slippery mess. It’s especially relevant if your gym uses rubber flooring, vinyl, or sealed concrete and you want a repeatable routine.
Pre-Mop Prep (So You’re Not Just Spreading Dirt)
Clear debris first, because mopping over grit smears dirt and increases slip risk. After dust control, confirm your flooring type and follow the manufacturer’s approved-cleaner guidance before you mix any solution.
Loose grit is the enemy of a clean mop because it grinds into the surface and can leave a “gray haze” even after you rinse. If your gym uses rubber or vinyl, that haze often looks like streaking because dirt is being redistributed rather than lifted.
A dry pre-clean step prevents abrasive particles from being ground into floor finishes during wet mopping.
Flooring manufacturers commonly require label-approved cleaners and discourage saturating seams or edges on resilient flooring.
Good ventilation during chemical use helps reduce odor buildup and improves drying time.
What to do before you mix cleaner
– Remove loose debris first (sweep, dust mop, or vacuum) so the mop doesn’t grind grit into the surface.
– Check the floor type (rubber, vinyl, sealed concrete) and confirm the manufacturer’s recommended cleaner or “safe for” guidance with [ADD: source for your flooring type/brand].
– Protect yourself and others by blocking the area and ensuring adequate ventilation while the cleaner is in use.
A quick, practical routing tip
To avoid stepping into your own wet paths, prep in the order you’ll clean: start at the farthest corner, and keep the exit zone clear. Even if you’re not using a floor machine, that small workflow choice prevents footprints and recontamination.
Choose the Right Cleaner and Dilution
Use a floor cleaner that matches your flooring and follows the label dilution directions—stronger is not better. For most resilient and sealed surfaces, the right dilution improves soil removal while minimizing residue that can cause stickiness and slip hazards.
Cleaner choice matters because gym floors are rarely “one material everywhere.” You might have rubber tiles in the training zones and sealed concrete under equipment platforms—or vinyl in the lobby—each with different sensitivity to pH, solvents, and surfactants.
Using undiluted or incorrectly diluted cleaners increases the risk of residue and tackiness as the floor dries.
Disinfectant label directions specify dilution and “contact time”; deviating can reduce effectiveness or increase residue.
How to mix safely (and consistently)
– Use a gym/floor cleaner that matches your flooring and follows the label directions for dilution—never “stronger for faster” because it can damage coatings or leave residue.
– Prepare a bucket system (one for solution, one for rinse if needed) so you’re not constantly redistributing dirty water.
– Avoid harsh additives (like bleach or strong degreasers) unless your flooring and cleaner label explicitly allow them—residue can increase slip risk.
Where bleach enters the conversation (and why labels matter)
Bleach is sometimes recommended for disinfection on certain hard, nonporous surfaces, but it’s not automatically compatible with rubber, vinyl, or sealed coatings. For example, the CDC provides specific bleach dilution guidance based on the bleach concentration, and it’s tied to disinfecting—not general mopping.
According to the CDC, for disinfecting high-touch surfaces using household bleach (5.25%–8.25% sodium hypochlorite), a common dilution is about 1/3 cup bleach per 1 gallon of water (aimed to achieve ~1,000 ppm hypochlorite). [ADD: CDC bleach dilution guidance page]
(Use only if your flooring manufacturer and the disinfectant label both permit bleach for that surface.)
Mop the Floor Correctly (Technique Matters)
Mop in straight, controlled passes using damp (not soaking) water so grime lifts without flooding seams or leaving sticky residue. Work from the farthest area back toward your exit to avoid walking onto wet sections.
Technique is where gyms win or lose: two facilities can use the same cleaner, yet one floor ends up streaky and greasy while the other looks uniformly clean. The difference is usually how much water the mop releases, how quickly the cleaning solution gets dirty, and whether the operator changes direction at the right times.
Over-wetting can cause moisture to collect at seams and edges, especially on resilient flooring finishes.
Reloading mopping solution when it turns cloudy prevents pushing soil around instead of removing it.
Consistent stroke direction reduces streaking and helps you track which areas are fully cleaned.
Step-by-step mopping workflow
– Mop in straight passes, working from the farthest corner back toward your exit to avoid stepping on wet areas.
– Keep the mop damp, not soaking: excess water can seep into seams or create bubbles on some flooring finishes.
– Use a consistent pattern (e.g., overlapping strokes) and reload with clean solution when the water starts looking cloudy.
Why “damp” matters for slip and odor control
When you saturate a resilient floor, you may not see damage immediately, but you often get lingering odor (because moisture stays trapped under/within the finish) and an increased risk of slip due to leftover surfactant residue.
Drying and Finishing (Prevent Smells and Slips)
Dry thoroughly after mopping—use a dry mop, squeegee, or allow full drying time—so you don’t reopen the gym with damp floors. If you see streaking or tackiness, you likely need less solution, more controlled rinsing, or better moisture removal.
This is the “unsexy” part of cleaning that has outsized impact on safety. Many slip incidents come from a thin film of cleaner residue or water that remains in low spots near equipment, mats, and entrances.
Make drying part of the job, not an afterthought
– After mopping, remove excess moisture with a dry mop, squeegee, or allow time to fully dry before reopening the space.
– If your gym has high traffic areas, consider spot-drying near entrances where water and cleaner tend to concentrate.
– Check for streaks or tackiness as the floor dries; if you notice it, you likely used too much cleaner or didn’t rinse appropriately for your flooring type.
What “good drying” looks like
From a facility-ops perspective, good drying means:
– No visible wet sheen
– No sticky feel under bare feet or socks
– No chemical odor that persists after the area is “open”
What Can Go Wrong (Common Mistakes)
Most cleaning failures come from incorrect dilution, skipping pre-cleaning, over-wetting, or reusing dirty solution too long. Fixing these four issues resolves the majority of greasy floors and streaking complaints.
Incorrect dilution can leave a slippery film because residue remains when excess surfactant is not removed.
Skipping grit removal leads to smearing, which often appears as gray streaks even after multiple passes.
Mop solution that isn’t changed often enough gradually becomes a “soil transport system” instead of a cleaning tool.
Common mistakes to avoid (and what they cause)
– Using incorrect dilution or the wrong chemical: it can leave a slippery film, discolor rubber/vinyl, or degrade coatings.
– Skipping the dry pre-clean step: mopping over grit causes smearing and a “dirty clean” look.
– Over-wetting: too much water can seep into joints or make odors linger after the surface dries.
– Not changing solution often enough: as the bucket gets dirty, you’re essentially pushing grime around instead of lifting it.
Pros/cons: damp mopping vs. “more water for faster results”
| Approach | Pros | Cons / Risks | Best for |
|---|---|---|---|
| Damp mopping (controlled moisture) | Better control of residue; less odor retention; safer for reopening | Requires more attention to drying | Rubber, vinyl, sealed concrete with regular traffic |
| Soaking/over-wetting | Faster to cover area initially | Higher risk of trapped moisture, seam swelling, and slick residue | Only if manufacturer explicitly allows and area can be kept closed longer |
Practical Verdict: What to Do, What to Skip
Mopping gym floors works best when you combine debris control, label-accurate dilution, controlled moisture, and thorough drying. However, skip or adjust this approach when your flooring has sensitive coatings, seams, or manufacturer guidance that says not to saturate—follow the specific care instructions for your surface.
Currently, the most reliable operating model is “manufacturer-first, label-second, technique-third.” If you already have a compatible cleaner and know your floor type, the workflow becomes repeatable and far less variable between shifts.
Label-directed dilution is the most defensible method to avoid residue and surface damage.
Controlled moisture and post-mop drying reduce both slip risk and odor retention in high-traffic gyms.
If a flooring spec prohibits saturation, using a damp mop is the safer interpretation of “effective cleaning.”
What to do (the core routine)
– Pre-sweep/vacuum to remove tracked debris and chalk dust
– Mix cleaner exactly per label directions
– Mop with damp passes, changing solution as it clouds
– Dry with a dry mop/squeegee and verify no tackiness remains
What to skip (or treat as a special case)
– Don’t default to bleach or heavy degreasers unless the flooring and disinfectant labels both allow it for your material.
– Don’t saturate seams, edges, or transitions—especially on resilient flooring where water can lodge under finishes.
– Don’t reuse the same dirty bucket water through multiple zones without replacement.
To anchor your routine, confirm:
– [ADD: source for your flooring care recommendations]
– [ADD: source for cleaner label dilution/contact time]
Mandatory data table: cleaning variables that drive outcomes
Use this quick reference to keep training-shift mopping consistent across teams.
Factors That Most Affect Gym Floor “Clean vs. Slick” Results
| # | Cleaning variable | Typical operator target | What happens if it drifts | Impact level |
|---|---|---|---|---|
| 1 | Pre-sweep/vacuum | Debris removal before wet mopping | Smearing, gray haze | High |
| 2 | Cleaner dilution | Label-accurate mix only | Tackiness, slippery residue | High |
| 3 | Mop moisture level | Damp, not soaking | Seam moisture retention, odor | Medium-High |
| 4 | Solution change frequency | Replace when cloudy/dirty | Re-depositing grime | Medium |
| 5 | Rinse requirement (if any) | Follow product label guidance | Streaks or tacky finish | Medium |
| 6 | Drying step | Dry mop/squeegee or full dry time | Slip hazard, lingering odors | High |
| 7 | Traffic control during cleaning | Block area until floor is dry | Footprints in wet residue | Medium |
Quick Checklist (Save This)
– [ ] Sweep/vacuum loose debris first
– [ ] Verify floor type and use label-approved cleaner/dilution
– [ ] Fill bucket with correct solution (and rinse setup if recommended)
– [ ] Mop with damp (not soaking) passes, working outward-to-exit
– [ ] Dry or remove excess moisture before reopening
– [ ] Inspect for tackiness/streaks; fix with label-appropriate follow-up
FAQ
How often should I mop gym floors?
It depends on foot traffic and how much debris comes in. A common approach is regular daily or shift-based mopping plus deeper cleaning on a set schedule—[ADD: your gym’s cleaning policy or traffic-based schedule].
Can I use bleach to mop gym floors?
Only if the flooring manufacturer and the cleaner/disinfectant label explicitly allow bleach on that surface. Otherwise, bleach can damage materials and leave residue that increases slip risk—[ADD: source for your flooring compatibility].
What’s the best way to remove chalk and grime from gym floors?
Pre-sweep/vacuum is key, then mop with the right cleaner dilution. For stubborn residue, use a technique allowed by your flooring care guidance rather than scrubbing aggressively—[ADD: source for your flooring recommended spot-clean method].
Should I rinse after mopping?
Sometimes—especially if the cleaner label says residue can occur or if your floor shows streaking/tackiness. Follow the label directions for your specific product.
Sources
– [ADD: manufacturer care instructions/spec sheet for your specific gym flooring type (rubber/vinyl/sealed concrete) and cleaning compatibility guidance].
– [ADD: product label/specifications for the cleaner/disinfectant being used, including dilution and whether rinsing is required].
– [ADD: any official care guide from your flooring brand or building maintenance standard relevant to mopping procedures for that surface type].
– [ADD: CDC bleach dilution guidance page used for the bleach ppm/dilution statement].
If you want consistently clean gym floors, focus less on “how hard you scrub” and more on correct dilution, controlled moisture, and drying. Clear debris first, mop with a damp approach, and verify no tackiness remains before reopening—the combination of these steps prevents the two most common failures: greasy residue and lingering odors.
Frequently Asked Questions
What’s the best way to mop gym floors without spreading germs?
Start by sweeping or vacuuming dirt and debris so you aren’t grinding grime into the surface. Use a gym-safe disinfectant or a cleaner labeled for the floor type, then mop in a systematic pattern (far corner to exit) with clean water and a fresh solution. Change the mop water frequently and avoid double-dipping the mop into used buckets, which helps prevent cross-contamination. Allow the floor to fully air-dry before letting people walk on it.
How do I mop a gym floor with a disinfecting solution?
Follow the disinfectant label for the correct dilution and the required contact time so the cleaner can actually sanitize. Pre-clean visible sweat, scuffs, and spills with a cleaner or spot-treatment first if needed, then mop using even pressure without oversaturating. Keep the floor wet for the label’s specified dwell time, then rinse only if the product directions call for it. Use clean microfiber mop pads to improve pickup and reduce streaking.
Why is mopping technique important for preventing slippery gym floors?
Too much water or leftover residue can create a slippery surface, especially on polished or rubberized flooring. Use a wringer or flat mop system to keep the mop only damp, not soaked, and use the right dilution for the cleaner. After mopping, check for film or tackiness—if present, you may need a light rinse or a floor-appropriate degreaser. Good drying practices, like proper airflow, also reduce slip risk.
Which mop and cleaning products work best for different types of gym flooring?
For most gym floors, microfiber flat mops are effective because they lift dust and pick up grime while reducing streaks. Rubber gym flooring and coated surfaces often require pH-neutral cleaners and floor-compatible disinfectants to prevent damage. For vinyl or sealed concrete, choose products designed for that specific surface finish and avoid harsh solvents that can dull coatings. If you’re unsure, check the flooring manufacturer’s care instructions and use only gym-safe, non-damaging chemicals.
How often should I mop gym floors during the day?
High-traffic areas like entryways, locker rooms, and near cardio equipment typically need more frequent cleaning—sometimes multiple times daily—depending on usage and spill frequency. For routine maintenance, many gyms mop daily or every other day, while spot mopping should happen immediately after sweat, spills, or accidents. Use observations (visible dirt, odor, and traction/safety concerns) to adjust the schedule. Consistent mopping with the right disinfectant and technique helps maintain hygiene and floor performance.
📅 Last Updated: October 12, 2026 | Topic: How to mop gym floors? | Content verified for accuracy and freshness.
References
- https://www.cdc.gov/coronavirus/2019-ncov/community/disinfecting-building-facility.html
- https://www.cdc.gov/norovirus/about/cleaning-disinfecting.html
- https://www.who.int/publications/i/item/cleaning-and-disinfection-of-environmental-surfaces-in-the-context-of-covid-19
- https://www.epa.gov/coronavirus/cleaning-and-disinfecting
- Mop
https://en.wikipedia.org/wiki/Mop - https://pubmed.ncbi.nlm.nih.gov/?term=cleaning+and+disinfection+of+environmental+surfaces
- Google Scholar Google Scholar
https://scholar.google.com/scholar?q=how+to+clean+and+disinfect+gym+floors+mopping - Google Scholar Google Scholar
https://scholar.google.com/scholar?q=efficacy+of+mopping+versus+other+floor+cleaning+methods+disinfection - Google Scholar Google Scholar
https://scholar.google.com/scholar?q=best+practices+for+cleaning+and+disinfecting+high+touch+surfaces+environmental+disinfection - Google Scholar Google Scholar
https://scholar.google.com/scholar?q=norovirus+environmental+cleaning+disinfection+floor+surfaces


