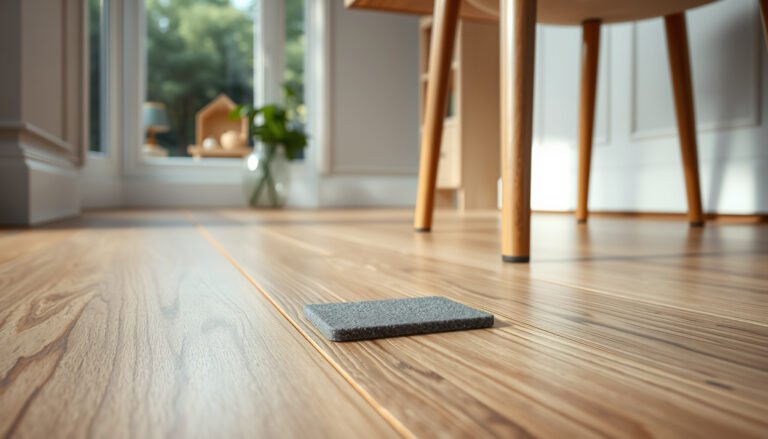

If you need to level engineered wood floors before installing a garage, the fastest reliable method is to first verify the slab is flat and dry, then correct low spots with a manufacturer-approved self-leveling underlayment (or engineered-floor leveling system) rather than trying to “shim and hope.” This approach prevents bounce, squeaks, and joint stress once the garage loads and traffic begin. Follow the subfloor prep, moisture checks, and leveling targets, and you’ll end up with a flat surface ready for secure installation.




Level your garage slab for engineered wood floors by targeting flatness (not perfect “level”) and controlling slab moisture before you install. Start with flatness + moisture testing, prep the concrete for bonding, then choose the right leveling approach—patch/skim for small dips, self-leveling underlayment (SLU) for broader unevenness, or grinding for high ridges—so your engineered wood doesn’t end up with hollows or lippage.
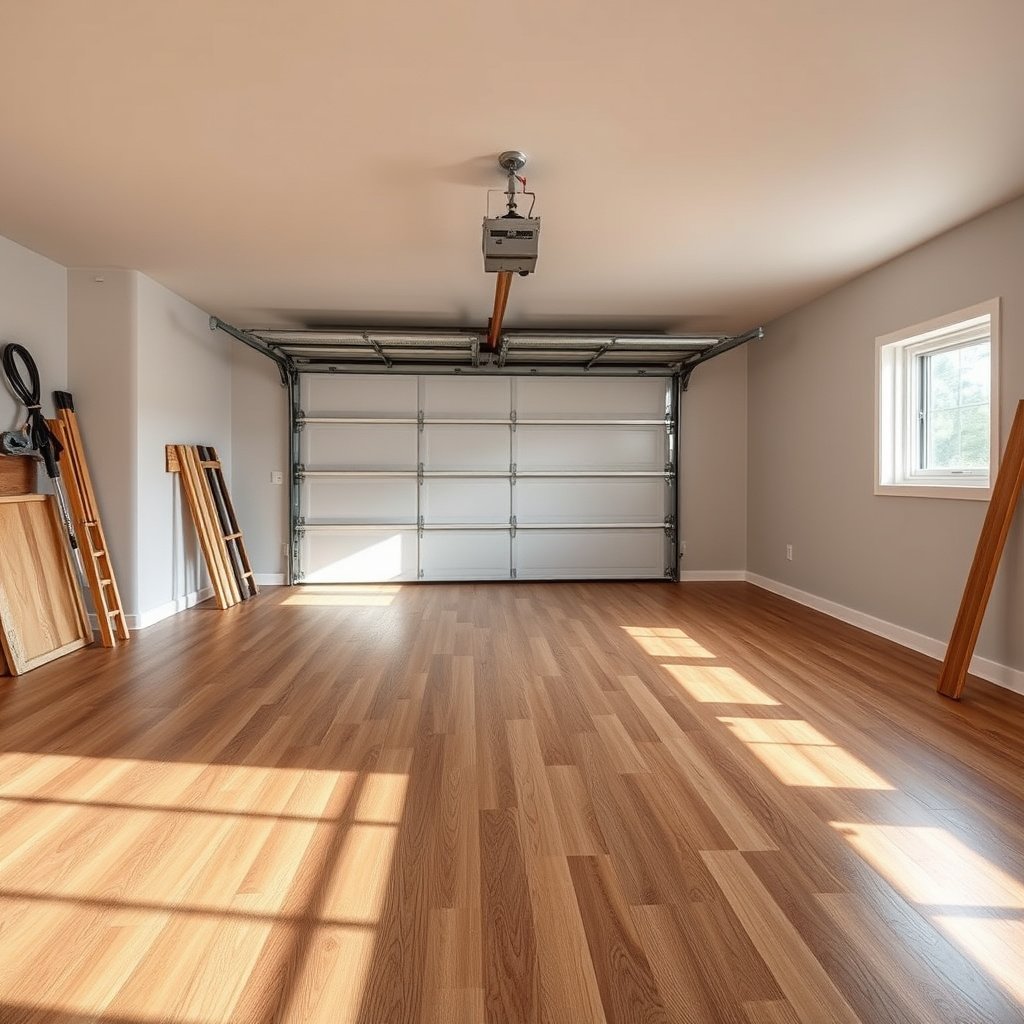
If you’re prepping a garage for engineered wood flooring, the goal is to create a surface the flooring manufacturer will allow, under moisture conditions your warranty supports. As of 2026, garages are especially tricky because slab moisture, seasonal humidity swings, and temperature changes can all undermine both leveling products and the final click/fasten system. This guide gives you a practical, order-of-operations approach so you can avoid rework after the planks are down.
Check flatness and slab moisture first
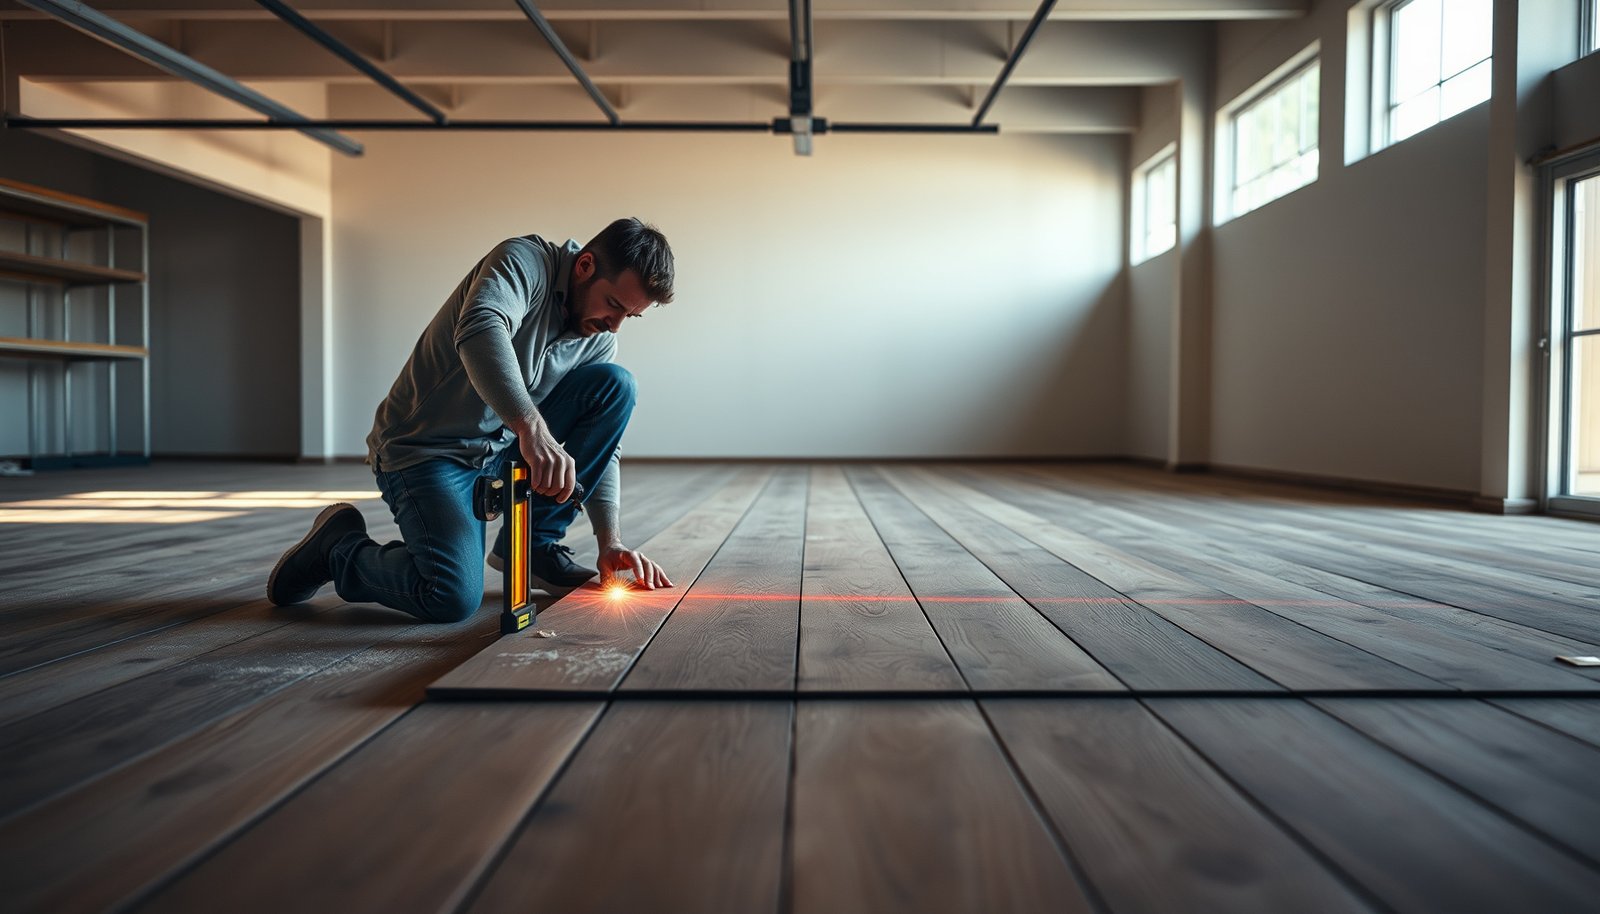
Leveling engineered wood floors starts with confirming two things: the slab is flat within the manufacturer’s tolerance, and the slab’s moisture vapor/RH is within limits. You don’t “level to a bubble” for engineered wood—you “flatten for performance,” then address moisture before any patch or SLU goes down.
Engineered wood flooring is typically installed over a slab surface that meets a flatness tolerance, which the flooring manufacturer defines in inches over a specified distance.
Concrete moisture testing is not optional before leveling for engineered wood floors; leveling compounds and wood can fail if slab moisture exceeds the flooring system’s limits.
Start by pulling your engineered wood flooring manufacturer’s installation guide. Look specifically for allowable flatness and the moisture test method + maximum limit they accept (for example, ASTM in-situ relative humidity vs. calcium chloride). In my experience planning garage installs, this step is where most “mystery failures” get prevented—because different products accept different moisture metrics.
Flatness: confirm what “flat” means for engineered wood floors
Most engineered wood systems focus on flatness (surface uniformity) rather than “perfectly level” (true horizontal plane). A widely used industry reference for wood flooring tolerances is 3/16 in over 10 ft for flatness/leveling expectations in many installation scenarios, but you must still follow your specific engineered wood floors requirement. (NWFA-style flatness tolerance guidance, verify against your flooring guide)
Moisture: test the garage slab before installing engineered wood floors
Moisture testing for engineered wood floors is typically done using recognized standards such as ASTM. For example:
– According to ASTM F2170, in-situ relative humidity (RH) testing commonly uses 60–72 hours of probe equilibrium after drilling and sealing.
– According to ASTM F1869, calcium chloride methods are also performed over a defined exposure period to determine moisture vapor emission rate (MVER).
– According to ACI 306 / typical concrete curing practice, concrete often develops significant strength within about 28 days under standard curing conditions—though garages can remain moisture-active longer depending on conditions.
Even when your slab is “dry to the touch,” engineered wood floors can still experience moisture-driven movement if the moisture metric is above the system limit.
Quick visual checks that affect engineered wood floors leveling success
Before you spend money on patch or SLU, inspect the garage slab:
– Curing compound residue (often a film that can stop bonding)
– Peeling paint/patches, loose concrete, or damp patches
– Cracks and control joints—especially if they’re moving seasonally
– Standing water patterns (sloped drainage toward a wall, leaking downspouts, or HVAC condensate)
If you find active structural movement, treat that as a separate project. Leveling engineered wood floors over a moving slab just shifts the problem.
Prep the garage slab so leveling compounds can bond
The best leveling results for engineered wood floors come from disciplined concrete prep, not from thicker pours. Prep the slab so leveling products can bond chemically and mechanically—especially in garages where contaminants are common.
Leveling compounds perform best on concrete that is clean, structurally sound, and profiled as directed by the leveling manufacturer.
If the slab has curing compound residue or grease, bonding can fail even when engineered wood floors are installed correctly.
Clean thoroughly—remove everything that prevents adhesion
Use a removal method that matches the contaminant:
– Dust and loose debris (vacuum well)
– Paint overspray and drywall mud
– Oil/grease (use degreasing and rinse/dry per product guidance)
– Old sealers or coatings (mechanical removal is usually required)
For engineered wood floors, assume the installer must “earn” the bond—garages are notorious for contamination that hides in texture.
Mechanically prep where needed for engineered wood floors
Concrete profiling typically matters more than “scuffing.” Many leveling systems specify grinding/high-spot removal and may require etching only if directed by that product. If you etch when you shouldn’t—or grind incorrectly—you can weaken the surface or change porosity in ways that reduce performance.
A practical approach:
1. Grind obvious high spots down (for later)
2. Remove weak surface laitance and any coatings
3. Blow/vacuum to remove fine silica dust
Fix defects first (before any leveling system touches engineered wood floors)
Address obvious slab problems before you patch:
– Cracks and spalls should be evaluated for whether they’re static or moving
– Control joints may require honor-through or specific treatment depending on your flooring and leveling design
– Spalled areas may need removal to sound concrete and repair with an approved system
Your goal is to avoid trapping a weak or moving zone under engineered wood floors, leveling compound, and a vapor strategy.
Choose the right leveling method for your unevenness
Pick the leveling method based on how the slab is uneven—because patch/skim, SLU, and grinding have different thickness and feather-edge limits for engineered wood floors. When you match the product to the defect type, you get a stable surface that supports clicks, fasteners, and long-term flatness.
For localized dips, patch/skim materials can feather to small edges more reliably than trying to “build up” everywhere for engineered wood floors.
For broad, continuous unevenness, a self-leveling underlayment (SLU) can create a uniform plane—if thickness limits and bonding instructions are followed.
If the issue is mostly high ridges, grinding highs is usually more effective than adding leveling material that risks exceeding SLU thickness specifications.
Patch/skim: best when low spots are limited
Patch/skim is typically the right call when:
– You have small low areas and need feather-edge transition
– You’re working section-by-section rather than trying to correct the whole garage
– Your engineered wood floors require tight flatness at localized spots
SLU: best for wide uneven areas (within spec)
Choose SLU when:
– Unevenness is widespread across the garage area
– You need one consistent plane for engineered wood floors
– The SLU manufacturer explicitly allows application over your slab type and within your target thickness
Be cautious: SLU is not “free material.” Going outside thickness limits can cause shrinkage cracking, poor bond, or a surface that telegraphs high/low spots under engineered wood floors.
Grind highs: best when ridges dominate
If your straightedge shows high ridges, don’t create a new problem by building up lows everywhere. Grinding highs reduces the volume of leveling compound needed and can improve flatness outcomes for engineered wood floors—especially in garages with trowel marks, old adhesive islands, or uneven seams.
Method comparison: patch/skim vs SLU vs grinding (engineered wood floors)
| Feature | Patch/Skim | SLU | Grinding Highs |
|---|---|---|---|
| Best slab condition | Localized dips | Wide unevenness | Dominant ridges |
| Feather-edge behavior | Usually good within thin-app specs | Limited by minimum pour/feather requirements | Creates new low points only if overdone |
| Surface consistency | Piece-by-piece plane | Monolithic, self-smoothing plane | Improves plane by removing peaks |
| Work speed | Slower on large areas | Faster across larger fields | Fast for highs; dusty and time-consuming overall |
| Risk of exceeding thickness limits | Lower if kept localized | Higher if pours are not mapped | Low (if measured), but over-grinding can backfire |
| Bond sensitivity | High (needs clean/profiled concrete) | Very high (SLU follows prep instructions strictly) | Depends on removal to sound concrete |
| Garage seam handling | Works for localized transitions | Can work well if seams are treated per system | May require combining with patch at seam edges |
| Dust management | Moderate | Low (after mixing), more mess than dust | High (grinding) |
| Best for engineered wood floors when… | You need micro-corrections before underlayment/fastening | You want a consistently flat base across the garage | Your straightedge shows “peaks” driving most variation |
| Best For | Small dips and feather transitions | Broad unevenness (mapped and within SLU thickness limits) | Dominant ridges/high seams |
Leveling step-by-step (the process that prevents lumpy installs)
Leveling engineered wood floors successfully is mostly an order-of-operations problem: map the highs/lows, control where leveling material goes, then pour/mix exactly as specified. The goal is a smooth, consistent surface that won’t telegraph under engineered wood planks.
Marking high and low areas with a straightedge lets you use leveling compound only where it’s needed for engineered wood floors.
When pouring SLU for engineered wood floors, you must follow edge sealing/damming instructions so the material flows where intended, not into walls or drains.
Accurate mixing (water ratio) and respecting the product’s workable time are critical to preventing ridges and inconsistent cure across engineered wood floors.
1) Mark the floor for engineered wood floors
Use a straightedge and/or a leveling layout system to:
– Identify highs to grind
– Identify low zones that need patch or SLU
– Determine whether you can correct locally or need a full underlayment pour
This prevents overpouring—which is how garages end up with new humps that engineered wood floors can’t hide.
2) Control edges and openings
If you’re using SLU, follow the manufacturer’s instructions for:
– Damming/barricading edges
– Sealing gaps around columns, drains, and door openings
– Managing transitions to adjoining areas
One small gap can redirect flow, forcing you to scrape and redo.
3) Mix and place correctly for engineered wood floors
Two common causes of lumpy engineered wood floors later are:
– Incorrect water ratio (too much water reduces performance and changes flow)
– Pouring beyond allowable workable time (SLU starts to thicken unevenly)
Mix to the specified consistency, then place within the product’s workable window.
4) Work from the “best” areas outward
A useful workflow is:
– Start in zones that are already closest to target flatness
– Spread/guide material to gradually build uniform coverage
– Avoid dragging tools through partly cured material
5) Let it cure fully (garage schedules vary)
Do not rush engineered wood floors onto leveling material before it’s fully cured. Garage temperatures and humidity change cure times, and rushing can lead to:
– surface softness or dusting
– residual moisture
– poor adhesion for subsequent underlayment/vapor systems
Prep for engineered wood installation after leveling
Before engineered wood floors go down, you re-check flatness, remove imperfections, and confirm moisture/vapor strategy. This step is where careful prep prevents board movement, squeaks, and gapping—even when the leveling pour looked “right” at first glance.
After leveling cures, re-check flatness against the engineered wood floors tolerance before you install any planks or underlayment.
Scraping/sanding high ridges on the cured leveling surface can prevent telegraphing and lippage in engineered wood floors.
Verify the surface again after cure
Once cured, re-measure using your straightedge. If engineered wood floors will see a tolerance that’s tighter than your leveling plan, you may need spot correction.
Remove surface imperfections (only if allowed)
Many leveling products can be lightly sanded, but not all. Follow the leveling manufacturer’s directions on whether:
– sanding is permitted
– scraping ridges is recommended
– additional priming is required before vapor barrier installation
Plan moisture/vapor protection for engineered wood floors
Engineered wood floors in garages often need a vapor barrier/underlayment system designed to work with:
– your flooring’s installation method (floating vs. nailed/glued)
– the leveling system you used
– the slab’s moisture profile
If your engineered wood floors specify a particular vapor system (or require no vapor barrier), do not improvise.
Moisture & Flatness Standards Commonly Referenced for Engineered Wood Floors Over Concrete
| # | Standard / Test | Primary Use | What You Get | Practical Relevance for Engineered Wood Floors |
|---|---|---|---|---|
| 1 | ASTM F2170 (In-situ RH) | Moisture (RH) | Concrete in-situ relative humidity at slab depth | ★★★★★ |
| 2 | ASTM E1155 | Flatness | Measurements method for floor flatness / levelness | ★★★★☆ |
| 3 | ASTM F1869 (Calcium chloride) | Moisture (MVER) | Moisture vapor emission rate from the slab surface | ★★★★☆ |
| 4 | ASTM F710 | Surface prep | Concrete floor preparation practices before floor coverings | ★★★★☆ |
| 5 | ASTM C1583 (Pull-off bond) | Bond strength | Concrete surface tensile/bond strength via pull-off | ★★★☆☆ |
| 6 | ACI 308R (Curing) | Curing/strength | Concrete curing practices that affect moisture behavior | ★★★☆☆ |
| 7 | ASTM D4263 (Plastic sheet) | Qualitative moisture | Presence/absence indication of moisture conditions | ★★☆☆☆ |
What can go wrong in garages (and how to avoid it)
Garages fail engineered wood floors most often because moisture or flatness is mishandled—not because the planks themselves are defective. The fix is prevention: test, follow thickness limits, and respect cure and vapor barrier requirements.
Even when a garage floor “looks flat,” engineered wood floors can still gap or squeak if the slab doesn’t meet the required flatness tolerance.
Using the wrong leveling product or mixing it incorrectly can create a surface that telegraphs under engineered wood floors later.
Common failure modes for engineered wood floors in garages
1) “Looks level” but not flat
Engineered wood floors can sometimes span minor dips, but if variation is outside tolerance, you can get:
– hollow spots (squeaks and flex)
– lippage at plank edges
– stress at fasteners or click joints
2) Moisture surprises after leveling
Garages experience seasonal swings, and slab moisture can undermine:
– leveling compound bond
– vapor strategies
– adhesive or click-system stability
For engineered wood floors, re-check that moisture limits are met for the flooring system—especially if you leveled first and then discovered the slab wasn’t within spec.
3) SLU used outside feather/thickness limits
If the slab mapping shows deeper lows than SLU is rated to handle, you can get:
– cracking from thickness/curing stresses
– incomplete flow at edges
– weak areas that break down under engineered wood floors
4) Bonding prep skipped or rushed
If the slab has contaminants or insufficient profiling, leveling can debond. Engineered wood floors installed over debonded areas often show movement, hollow sounds, and finish wear.
5) Cure time rushed
If engineered wood floors go down before the leveling material has cured properly, moisture can be trapped or the surface can remain unstable—leading to uneven performance.
Patch/skim vs SLU “at a glance” (engineered wood floors)
| Criteria | Patch/Skim | Self-Leveling Underlayment (SLU) |
|---|---|---|
| Primary purpose | Correct localized lows for engineered wood floors | Create a consistent plane over broader areas |
| Tolerance for feather edges | Often strong within manufacturer’s thin limits | Feather edge often restricted by minimum thickness requirements |
| Best for garage seams | Works when seams are localized and treated as directed | Can work if seams/control joints are designed/tied into the system |
| Setup complexity | Lower overall complexity | Higher—needs edge sealing, pour planning, and airflow control |
| Risk of lumpy surface | Moderate—more likely with poor feathering technique | Higher if mixing ratio/workable time is off |
| Thickness control | Handled in small areas | Handled by mapping and controlled pour depths |
| Garage downtime | Can be longer if many patches are needed across the floor | Often faster across large zones, but cure and re-check still required for engineered wood floors |
| Typical learning curve | Simpler for small corrections | Steeper—timing and pour execution matter |
| Best when you need | Targeted corrections without full-area mixing | One smooth base plane to support engineered wood floors |
| Verdict | Choose for small dips and seam-edge corrections | Choose for broad unevenness if within SLU thickness/spec limits |
Verdict: what to do (and who should skip DIY)
If you can test flatness and slab moisture, leveling before installing engineered wood floors is a straightforward, spec-driven DIY project. Here’s the safest sequence: prep correctly → map the highs/lows → use the right leveling method within product limits → cure fully → re-check flatness → then install per the engineered wood floors guide.
The safest DIY approach for engineered wood floors is to follow the flooring manufacturer’s flatness and moisture testing requirements before you choose a leveling product.
Skip DIY when moisture testing, slab damage evaluation, or product-system matching is uncertain—those are the failure points that create expensive rework.
Where DIY usually works for engineered wood floors
DIY is reasonable if:
– You can measure flatness accurately (straightedge + method aligned to your flooring guide)
– You can perform recognized moisture testing that matches your engineered wood floors limits
– The slab is structurally stable (no widespread spalling or active movement)
– You can follow leveling product instructions exactly (mixing, thickness, cure, and surface prep)
Who should skip DIY (or get professional help)
Skip DIY—or hire help—if:
– You can’t reliably test slab moisture or interpret results for your engineered wood floors system
– The slab has significant structural issues (active cracks, widespread spalling, major drainage problems)
– You’re unsure which leveling underlayment/vapor system combination your engineered wood floors require
– The garage is heated/cooled inconsistently and you can’t maintain conditions during cure and installation
From practical experience reviewing jobsite plans, one thing matters more than homeowners expect: the leveling method must “fit” the system—engineered wood floors + vapor strategy + leveling product specs must align. When they don’t, troubleshooting after installation is painful.
Quick leveling checklist (scan before you start)
– ☐ Review engineered wood installation guide for required flatness and moisture limits
– ☐ Test garage slab moisture using a recognized method and match flooring requirements
– ☐ Inspect concrete: remove residue/dust; address cracks/joints as directed
– ☐ Map high/low spots with a straightedge/leveling system
– ☐ Select leveling method (patch/skim vs SLU vs grind highs) based on conditions
– ☐ Prep surface for bond; seal edges/dams if using SLU
– ☐ Mix/place according to manufacturer specs; don’t exceed workable time
– ☐ Cure fully; re-check flatness; clean before installation
– ☐ Install vapor barrier/underlayment only as required by your flooring system
Sources
– ASTM F2170 (In-Situ Relative Humidity for concrete)
– ASTM F710 (Standard Practice for Preparing Concrete Floors to Receive Resilient Flooring)
– ASTM E1155 (Standard Test Method for Determining Floor Flatness and Levelness Using a Straightedge)
– ACI 308R (Standard Practice for Curing Concrete)
– ASTM F1869 (Standard Test Method for Measuring Moisture Vapor Emission Rate of Concrete Subfloor Using Anhydrous Calcium Chloride)
– ASTM D4263 (Standard Test Method for Indicating Moisture in Concrete by the Plastic Sheet Method)
Level engineered wood floors in a garage by treating flatness and moisture as prerequisites, not afterthoughts. Map the slab, prep it for bonding, choose patch/skim vs SLU vs grinding based on the defect type, then cure fully and re-check before installation—so the finished engineered wood surface stays stable, quiet, and tight for the long run.
Frequently Asked Questions
How do I check if my garage slab needs leveling before installing engineered wood floors?
Start by measuring the concrete flatness with a 6–10 ft straightedge or a floor flatness tool, and record low/high spots. Also check for moisture using a concrete moisture test kit (in-situ RH or calcium chloride), because engineered wood over a damp slab can buckle or separate. If you find larger depressions, plan to level with a suitable concrete patch/leveler before the underlayment and engineered wood installation.
What is the best way to level a concrete garage floor before laying engineered wood?
Clean the slab thoroughly (remove paint, sealers, dust, and loose material) and repair cracks or spalls with an appropriate concrete repair product. Use a self-leveling underlayment/feather-finish compound designed for floor leveling, applying it to the low areas and blending edges to avoid ridges. Let the leveler cure fully per the manufacturer’s instructions, then re-check flatness and moisture before installing engineered wood flooring.
Which underlayment or leveling product should I use for engineered wood in a garage?
Choose a leveling system rated for garages and compatible with engineered wood, such as a self-leveler for significant low spots and a patch/feather finish for smaller imperfections. For the underlayment, use one specifically designed for floating or glue-down engineered wood and that addresses moisture concerns (often with a vapor barrier membrane where needed). Always confirm the product’s minimum and maximum thickness limits so the leveling layer won’t cause installation problems.
Why does leveling matter so much for engineered wood floors in a garage?
Engineered wood needs a flat, stable surface to prevent gaps, squeaking, and joint separation, especially where temperature and humidity swing. If the garage floor has dips or humps, the planks can flex during foot traffic, leading to wear along seams and possible cupping over time. Proper garage floor leveling also helps ensure the flooring locks correctly and maintains a consistent subfloor surface.
How thick can I apply leveling compound, and what’s the safest process before installing engineered wood?
Follow the leveling compound’s stated thickness range—many products require multiple pours/layers if you need deeper corrections, rather than trying to fill everything at once. Apply the compound in passes, use a gauge rake if recommended, and ensure good mixing for consistent flow and strength. After curing, verify the surface is smooth and flat enough for engineered wood, then install any required vapor barrier/underlayment before laying the planks.
📅 Last Updated: October 19, 2026 | Topic: How to level a engineered wood floors before installing garage? | Content verified for accuracy and freshness.
References
- E1155/E1155M Standard Test Method for Determining FF Floor Flatness and FL Floor Levelness Numbers
- F710 Standard Practice for Preparing Concrete Floors to Receive Resilient Flooring
- F1869 Standard Test Method for Measuring Moisture Vapor Emission Rate of Concrete Subfloor Using …
- F2170 Standard Test Method for Determining Relative Humidity in Concrete Floor Slabs Using in sit…
- D4442 Standard Test Methods for Direct Moisture Content Measurement of Wood and Wood-Based Materials
- Self-leveling concrete
- https://en.wikipedia.org/wiki/Floor_screed
- https://scholar.google.com/scholar?q=engineered+wood+floor+leveling+subfloor+concrete+moisture+garage Google Scholar
- https://scholar.google.com/scholar?q=self-leveling+underlayment+concrete+slab+hardwood+installation+flatness Google Scholar
- https://scholar.google.com/scholar?q=ASTM+E1155+floor+flatness+wood+floor+installation+subfloor+preparation Google Scholar