To lay tile on a shower floor, start by thoroughly evaluating the floor’s condition for damage and levelness, then guarantee a clean, dry, and waterproofed surface. Choose durable, slip-resistant tiles like porcelain, and gather precise tools including a tile cutter and trowel. Plan your layout with marked center lines, apply thinset evenly, set tiles carefully, then grout and seal the joints for moisture protection. Following these steps guarantees a lasting, water-tight finish—there’s more to master in the process ahead.
Assessing the Shower Floor Condition
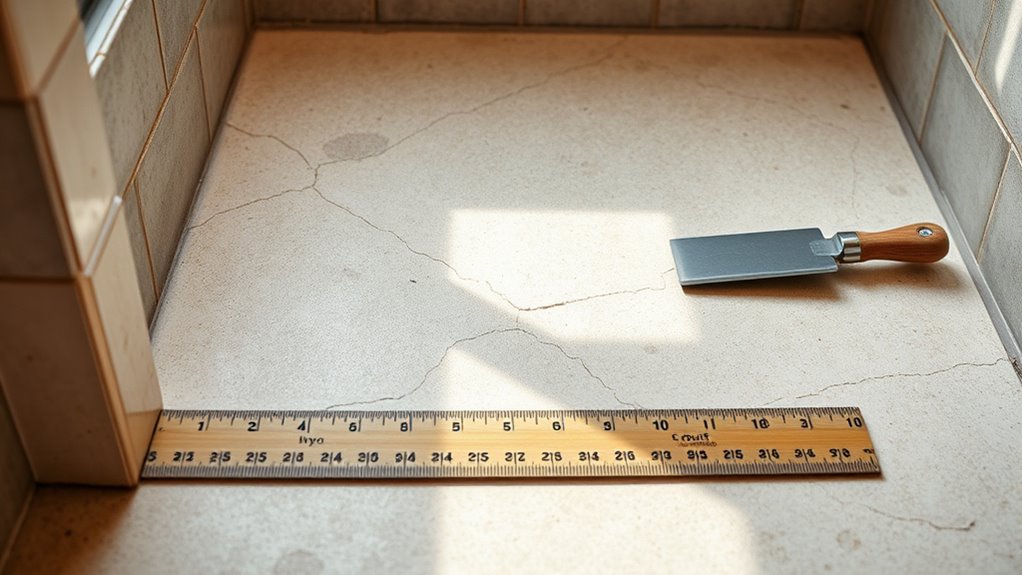
Before you begin laying tile, you need to thoroughly assess the shower floor condition to guarantee a stable and waterproof base. Start your shower floor inspection by checking for surface damage such as cracks, chips, or soft spots that may compromise tile adhesion. Use a straightedge to verify the floor is level; any unevenness should be addressed with a suitable leveling compound. Confirm that the existing substrate is structurally sound and free from mold or moisture infiltration. Remove any loose debris, old mortar, or paint residues to create an ideal bonding surface. This methodical evaluation prevents future tile failure and water damage, granting you the freedom to proceed confidently with your tiling project. Accurate shower floor inspection is essential for durable, long-lasting results.
Selecting the Right Tile and Materials
When selecting tile and materials for your shower floor, you must prioritize durability, slip resistance, and water resistance to guarantee safety and longevity. Choose tile types with proven material durability suitable for wet environments. Porcelain and natural stone are excellent for their robustness and water repellency. Avoid tiles prone to cracking or excessive absorption.
| Tile Type | Material Durability | Slip Resistance |
|---|---|---|
| Porcelain | Very High | Moderate to High |
| Natural Stone | High | Variable |
| Ceramic | Moderate | Low to Moderate |
Make sure the grout and waterproofing materials complement your tile choice. Opt for epoxy grout, which offers superior water resistance and durability, ensuring your shower floor remains secure and free from water damage.
Gathering Tools and Supplies
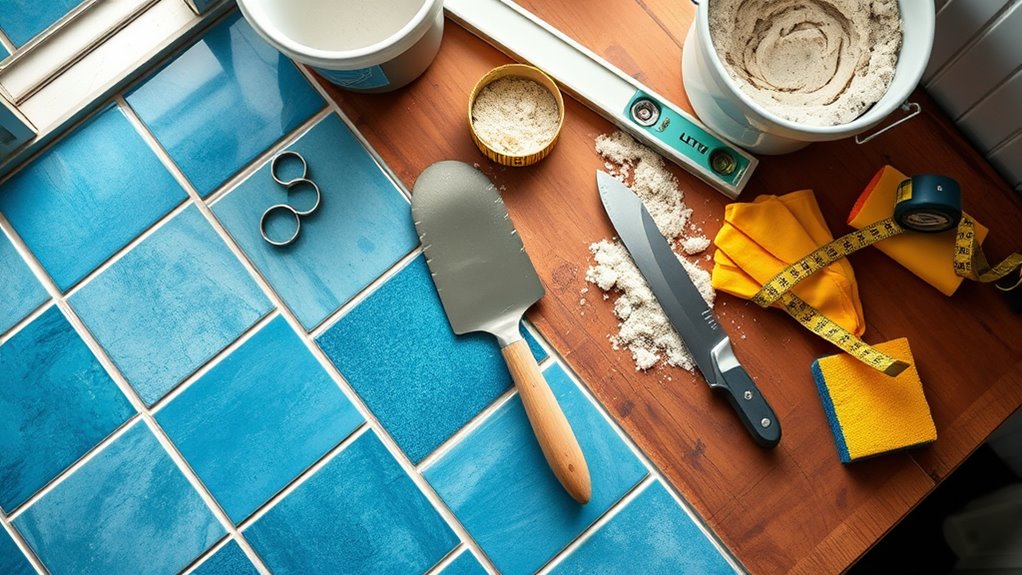
To successfully lay tile on your shower floor, you’ll need a specific set of tools and supplies that guarantee accuracy and durability throughout the installation process. Begin by assembling a reliable tile cutter or wet saw for precise tile cutting, ensuring clean edges and proper fit. Select from adhesive options such as thin-set mortar or epoxy-based adhesives, depending on your waterproofing needs and tile type. Equip yourself with a notched trowel for even adhesive application, a rubber grout float for smooth grout placement, and spacers to maintain consistent gaps. Additional essentials include a tape measure, level, bucket for mixing adhesive, sponge for cleanup, and a utility knife. Having these tools on hand empowers you to work efficiently and achieve a professional-quality shower floor tile installation.
Preparing the Shower Floor Surface
Before you start tiling, verify the shower floor is thoroughly cleaned and completely dry to promote adhesion. Check the surface for any uneven areas and apply leveling compounds as needed to create a flat, stable base. Finally, install a waterproof membrane to prevent moisture penetration and protect the subfloor.
Cleaning and Drying
Three essential steps guarantee the shower floor surface is properly cleaned and dried: removing debris, eliminating residue, and verifying complete dryness. Start by gathering proper cleaning supplies—broom, vacuum, and mild detergent—to clear loose particles. Use a sponge and warm water to remove residues that interfere with adhesion. Employ drying techniques such as air circulation or a towel to ascertain no moisture remains.
| Step | Tool/Method | Purpose |
|---|---|---|
| Remove Debris | Broom or Vacuum | Clear particles and dust |
| Eliminate Residue | Sponge and Detergent | Remove soap scum and oils |
| Verify Dryness | Visual Inspection | Confirm no visible moisture |
| Drying Techniques | Airflow or Towel | Accelerate evaporation |
Following this precise routine guarantees tile adhesion freedom without compromise.
Surface Leveling Techniques
Although cleaning and drying set the foundation, guaranteeing the shower floor is perfectly level is essential for proper tile installation. Start by applying slope measurement techniques—use a level and a slope gauge to verify the floor’s gradient, ideally 1/4 inch per foot toward the drain. This prevents water pooling and promotes drainage freedom. For surface preparation methods, address any uneven spots with a suitable self-leveling compound. Mix it according to manufacturer instructions, pour it over low areas, and smooth it out. Allow it to cure fully before proceeding. Confirm the surface is smooth, free of debris, and uniformly sloped. By precisely measuring slopes and preparing the surface, you create a reliable base that guarantees tile adhesion and long-term durability without compromising your shower’s functionality.
Waterproof Membrane Installation
Installing a waterproof membrane is a critical step that protects your shower floor from moisture infiltration and structural damage. Before installation, make certain the surface is clean, dry, and level. Choose a high-quality waterproof membrane compatible with your substrate.
During waterproof membranes installation, apply these techniques:
- Cut the membrane precisely to fit corners and edges without gaps.
- Use a waterproofing adhesive or primer to bond the membrane securely.
- Overlap seams by at least 2 inches and seal with waterproof tape or sealant.
Planning the Tile Layout
Every tile layout begins with careful measurement and marking to guarantee even spacing and balanced cuts. Start by determining the center point of your shower floor, using a chalk line to create perpendicular reference lines. This methodical approach guarantees symmetry and prevents awkward tile cuts along edges. Next, explore various tile patterns—straight lay, diagonal, or staggered—to find one that suits your aesthetic and space constraints. Apply layout techniques such as dry-fitting tiles along these lines to visualize the final appearance and adjust as needed. Precise planning at this stage frees you from guesswork later, guaranteeing consistent grout lines and ideal tile placement. By mastering these steps, you maintain control over your project’s flow while achieving a professional, balanced shower floor tile installation.
Applying Thinset Mortar
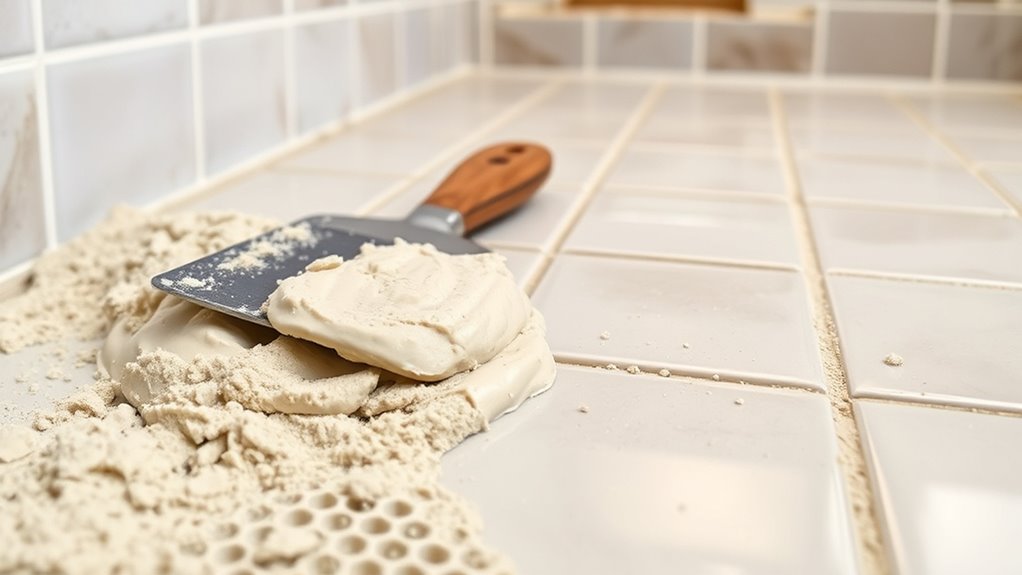
Begin by mixing the thinset mortar to a smooth, peanut butter-like consistency, ensuring it’s free of lumps for ideal adhesion. Achieving the correct thinset consistency is vital; too wet, and it won’t hold tiles firmly; too dry, and it won’t bond properly. Use a notched trowel to spread the mortar evenly, employing a consistent trowel technique. Hold the trowel at a 45-degree angle, pressing firmly to create uniform ridges that enhance grip. Work in small sections to prevent drying before you set tiles.
Visualize the process:
- Smooth, creamy mortar spread evenly
- Distinct, parallel ridges formed by the trowel
- Clean edges where thinset meets existing surfaces
This precise method maximizes adhesion and supports your freedom to customize confidently.
Setting the Tiles
Carefully press each tile into the thinset mortar, guaranteeing full contact without gaps or air pockets. Begin at the lowest point, working outward to maintain proper drainage slope. Maintain consistent tile spacing using spacers to achieve uniform grout lines, critical for both aesthetics and structural integrity. Follow your chosen tile patterns meticulously, whether grid, diagonal, or custom layouts, to keep alignment precise. Regularly check tiles with a level to avoid uneven surfaces that can trap water. Adjust tiles promptly before the mortar sets, as repositioning afterward is difficult. Keep tile edges clean of excess mortar to guarantee neat joints. By controlling tile spacing and pattern alignment, you’ll create a durable, visually appealing shower floor that balances freedom in design with technical accuracy.
Grouting the Tile Joints
Now that the tiles are set, you’ll need to select the appropriate grout type based on your tile and shower conditions. Mix the grout to the manufacturer’s specifications, then apply it evenly into the joints using a rubber float at a 45-degree angle. Finally, clean the excess grout promptly and apply a sealant once cured to protect against moisture and staining.
Choosing Grout Type
Although selecting the right grout type might seem straightforward, it’s vital to take into account the specific demands of a shower floor, such as moisture exposure and joint width. You’ll want a grout that resists water, inhibits mold, and withstands foot traffic. Epoxy grout is highly durable and waterproof, ideal for narrow joints under 1/8 inch, but it’s more challenging to work with. Sanded grout suits wider joints above 1/8 inch, providing strength and preventing shrinkage, though it requires sealing to resist moisture effectively.
Visualize your choices:
- Smooth, glossy epoxy grout filling tight seams seamlessly
- Coarser sanded grout locking wider joints firmly
- Uniform grout lines, resistant to mold and cracks
Choosing appropriately guarantees your shower floor stays functional and free.
Mixing and Applying Grout
Once you’ve selected the appropriate grout type, you’ll need to mix it to the correct consistency, ensuring it’s neither too dry nor too runny for proper adhesion and ease of application. Start by combining grout powder with water in a clean container, stirring thoroughly until you achieve a smooth, peanut-butter-like texture. Avoid lumps and excessive water, as poor grout consistency compromises durability and finish. For grout application, use a rubber float held at a 45-degree angle to press grout firmly into the tile joints, working diagonally to avoid dislodging grout from gaps. Remove excess grout promptly by scraping the float across tiles. Allow the grout to set briefly before light cleaning to maintain joint integrity. Mastering this step guarantees a robust, uniform tile floor that stands up to shower moisture.
Cleaning and Sealing Grout
After grout has partially set, you’ll need to clean the tile surface carefully to remove any haze or residue without disturbing the joints. Use a damp sponge with clean water, wiping diagonally across tiles to avoid pulling grout from joints. Once dry, inspect the grout color for consistency, ensuring it matches your intended design. Proper grout maintenance begins here to prevent discoloration and deterioration. After 48-72 hours, apply a grout sealer evenly with a small brush or applicator, focusing on joints. This seals pores and enhances durability.
- Smooth, haze-free tile surfaces with crisp grout lines
- Consistent, rich grout color that complements your tile
- Evenly sealed grout joints providing long-term protection
Following these steps secures your shower floor’s integrity and freedom from costly repairs.
Sealing and Finishing the Shower Floor
Even though the tiles are securely set, sealing and finishing the shower floor is essential to protect against water damage and guarantee durability. You’ll apply sealing techniques to grout lines and tile surfaces, preventing moisture penetration. After sealing, a proper floor finishing step enhances slip resistance and aesthetic appeal.
| Step | Purpose |
|---|---|
| Clean Surface | Remove debris for adhesion |
| Apply Sealer | Waterproof grout and tile |
| Inspect Coverage | Ascertain no spots missed |
| Finish Surface | Add texture for safety and look |


