To install WeatherTech floor mats in seven easy steps, first clean and dry your vehicle’s floor thoroughly. Remove any existing mats carefully, then unpack and inspect your new mats for defects. Position the mats in the front footwells and rear seating areas, aligning them with contours. Use retention clips or hooks to secure them firmly without obstructing pedals or vents. Guarantee a flat, gap-free fit for maximum protection and appearance. Keep following to uncover detailed tips for perfect installation.
Prepare Your Vehicle Interior
Before you install your WeatherTech floor mats, you’ll need to prepare your vehicle interior thoroughly. Begin by removing any debris, dirt, and loose particles from the floor surfaces using a vacuum cleaner with a crevice tool for hard-to-reach areas. Employ specific cleaning tips like using a damp microfiber cloth to wipe down plastic and metal surfaces, ensuring no residue remains. Focus on drying the floor completely to prevent moisture from being trapped under the mats, which can cause odor or mold. Interior preparation is critical to guarantee a secure fit and long-lasting performance of your floor mats. By maintaining a clean, dry environment, you’ll maximize both the mats’ protective function and your freedom to enjoy a pristine, comfortable vehicle interior every time you hit the road.
Remove Existing Floor Mats
Once your vehicle interior is clean and dry, the next step is to remove any existing floor mats. Employ efficient mat removal techniques by firmly grasping the edges and pulling straight up to avoid damaging clips or fasteners. If your mats are secured with retention hooks, carefully release them to prevent wear or breakage. Removing old mats allows you to inspect and clean the floor surface thoroughly. Use floor cleaning tips such as vacuuming debris and wiping down with a damp cloth to eliminate dirt and moisture. This guarantees ideal adhesion and fit for your new WeatherTech mats, enhancing their performance and longevity. By mastering precise mat removal techniques, you gain freedom from mess and prepare your vehicle for a seamless mat installation experience.
Unpack and Inspect WeatherTech Mats
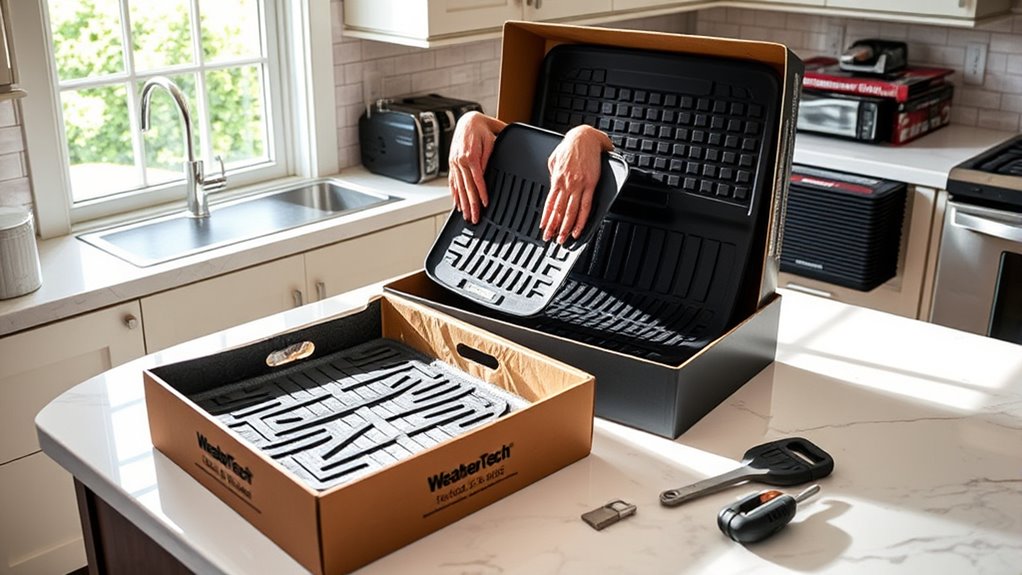
Once you’ve unpacked the WeatherTech mats, carefully check each one for any signs of damage or manufacturing defects. Make certain the model numbers match your vehicle’s specifications to guarantee proper fit. Verifying these details now will save time and prevent installation issues later.
Check for Damage
How can you assure your WeatherTech floor mats are ready for installation? Begin with a thorough damage assessment immediately after unpacking. Carefully remove each mat from its packaging, then conduct a detailed interior inspection to identify any manufacturing defects, tears, warping, or surface irregularities. Pay close attention to edges and raised sections designed to trap debris. Any visible damage could compromise fitment and performance, so document and report defects promptly. This step guarantees you receive the expected quality and functionality. By executing a precise damage assessment before proceeding, you maintain control over your vehicle’s interior protection and uphold your freedom to drive without concern. Remember, a meticulous interior inspection now saves time and effort during installation and assures ideal mat longevity.
Verify Mat Model
Where should you begin when verifying your WeatherTech floor mats? Start by unpacking each mat carefully and inspecting them for the specific model number printed on their underside. This model verification is essential to guarantee mat compatibility with your vehicle’s make and year. Cross-reference these numbers with your original order or the WeatherTech catalog. Confirm that each mat corresponds to its designated position—driver, passenger, or rear seating areas—as improper placement can compromise fit and function. Also, check surface contours and retention device locations to match your vehicle’s floor design precisely. Performing this thorough check assures that your mats will provide maximum protection and secure fit, granting you the freedom to drive without worrying about shifting mats or improper coverage.
Position the Mats in the Front Seats
You’ll need to align the mats precisely with the contours of the front footwells to guarantee ideal fit and coverage. Once positioned correctly, secure the mats firmly using the vehicle’s retention system to prevent shifting during use. Proper alignment and attachment are essential for safety and maximum protection.
Align Mats Precisely
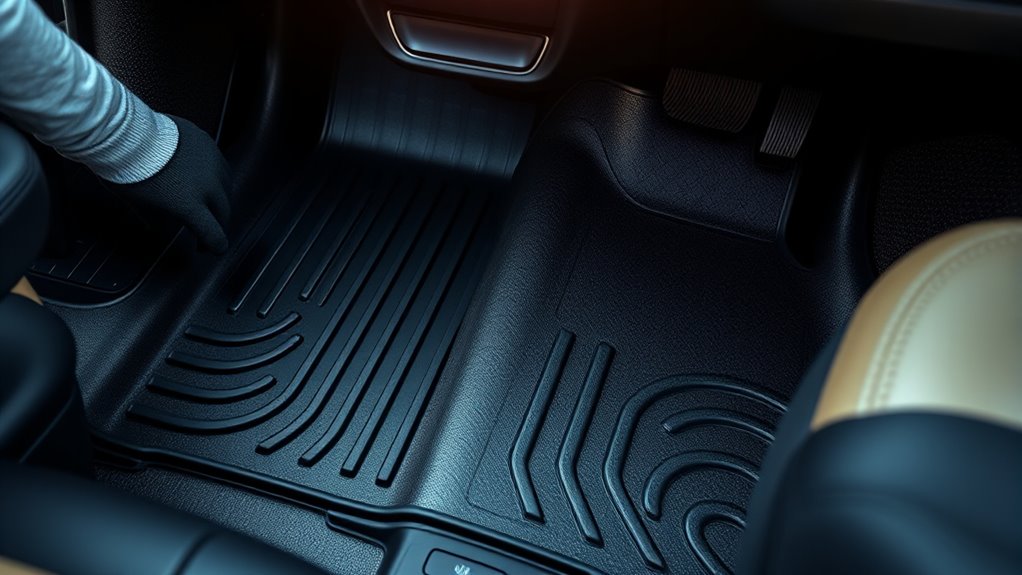
Although it may seem straightforward, aligning the WeatherTech floor mats precisely in the front seats is essential for ideal fit and safety. Begin by laying each mat flat, ensuring it contours to the footwell without any folds or creases. Use alignment techniques such as matching the mat’s edges with the vehicle’s interior lines and confirming clearance around pedals and seat rails. Pay close attention to mat placement; the mat should fully cover the floor area without overlapping or leaving gaps. Proper alignment prevents interference with pedal operation, ensuring your driving experience remains unrestricted. Take your time adjusting the mats to achieve a snug fit, providing excellent protection while maintaining freedom of movement within the vehicle. Precision here sets the foundation for secure installation and long-lasting performance.
Secure Mats Firmly
Secure the WeatherTech floor mats firmly to prevent any movement that could compromise safety or coverage. Start by positioning the mats precisely in the front seats, ensuring their edges align with the vehicle’s contours. Use the factory-installed retention hooks or clips to lock the mats in place; this prevents slippage that might interfere with pedal operation. Proper securing enhances mats durability by reducing wear caused by shifting and friction. After installation, regularly follow cleaning tips such as wiping with a damp cloth or rinsing with water to maintain their protective qualities and fit. By firmly securing the mats, you maintain full control, ensuring safety and preserving your vehicle’s interior while enjoying the freedom of a clean, secure driving environment.
Secure the Mats Using Retention Systems
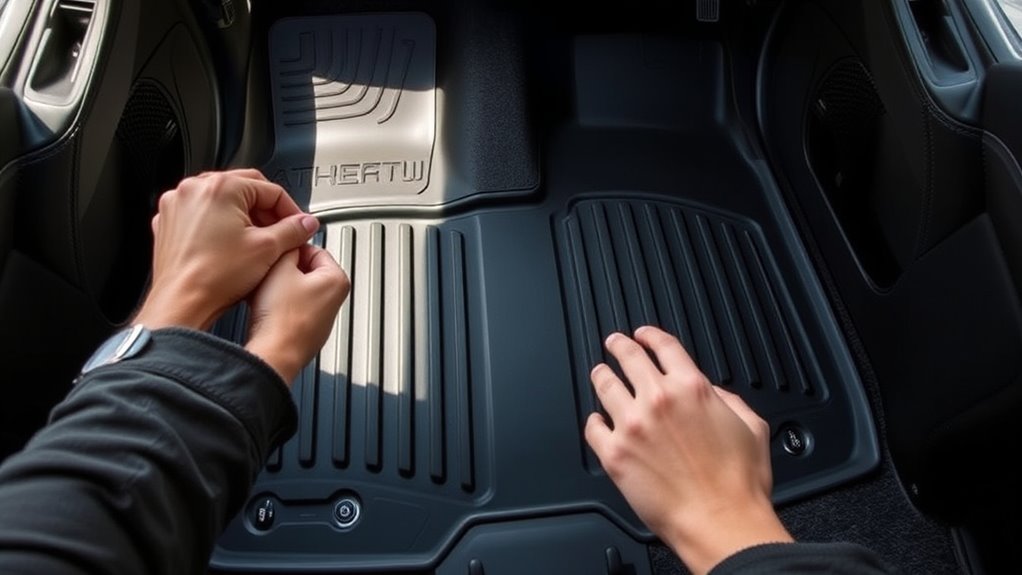
Before driving, make certain the WeatherTech floor mats are properly anchored using the vehicle’s retention system to prevent shifting. Locate the built-in retention mechanisms—these are designed to lock your mats securely in place, enhancing mat stability and preventing interference with pedals. Align the mat’s retention holes with the vehicle’s retention posts or hooks. Press down firmly until you hear or feel a click, confirming the mat is engaged. This connection guarantees the mats won’t slide underfoot, maintaining safety and freedom of movement. If your vehicle lacks retention posts, consider using compatible aftermarket clips to achieve the same secure fit. Proper use of retention systems not only protects your flooring but also assures the mats remain steadfast during every drive.
Install Mats in the Rear Seating Area
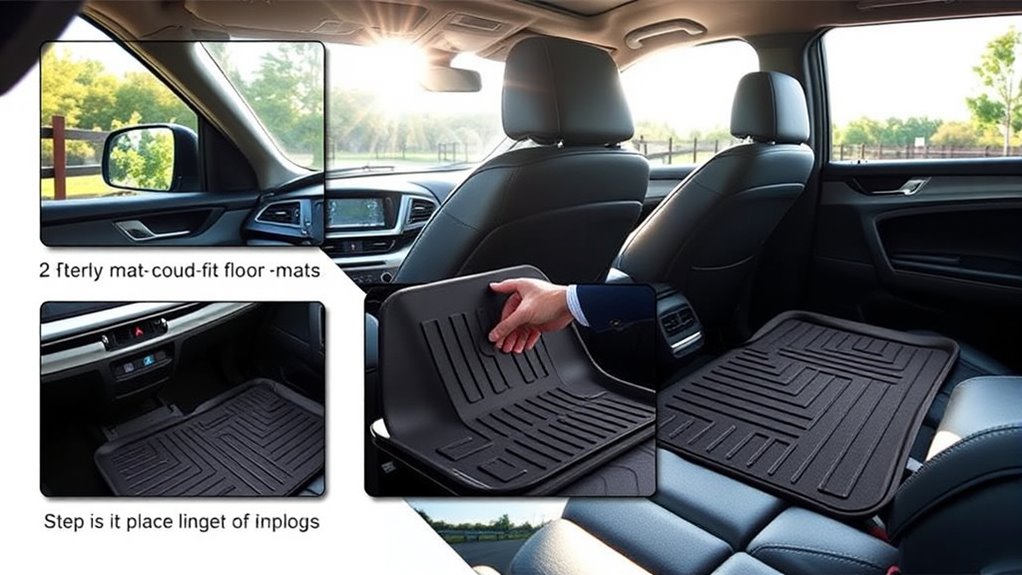
For the rear seating area, you’ll need to carefully position the WeatherTech floor mats to guarantee full coverage and a snug fit. Begin by aligning the mats with the contours of the rear area floor, making sure they cover all footwell surfaces without obstructing seat rails or vents. Pay close attention to the edges, confirming they lie flat against the carpet to prevent shifting during use. During mat installation, make certain any retention clips or hooks are engaged if your vehicle supports them, as this adds stability. Since the rear area often has less space, precise placement is essential to maintain comfort and safety for passengers. This meticulous approach assures your mats perform at their best, providing durable protection without compromising freedom of movement or vehicle functionality.
Check Fit and Adjust as Needed
Once you’ve positioned the mats, take the time to carefully check their fit across all areas. Make certain that the mats lay flush against the vehicle floor without gaps or overlaps, confirming mat compatibility with your specific make and model. Pay close attention to edges near pedals, seat tracks, and door sills to prevent interference with vehicle operation. If you notice any misalignment, perform precise fit adjustments by repositioning or gently molding the mats to contour surfaces. Proper fit adjustments not only enhance aesthetics but also guarantee maximum protection and safety. Verify that all retention clips or anchors engage securely to keep the mats stable. Taking these steps assures your WeatherTech mats function effectively, providing freedom from floor debris and maintaining vehicle safety standards.