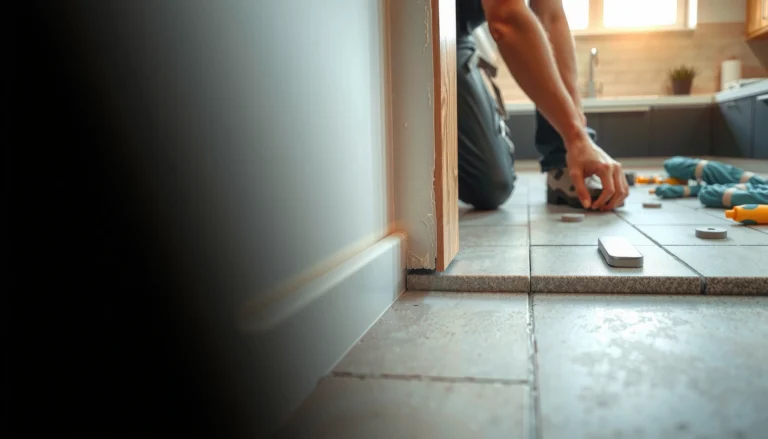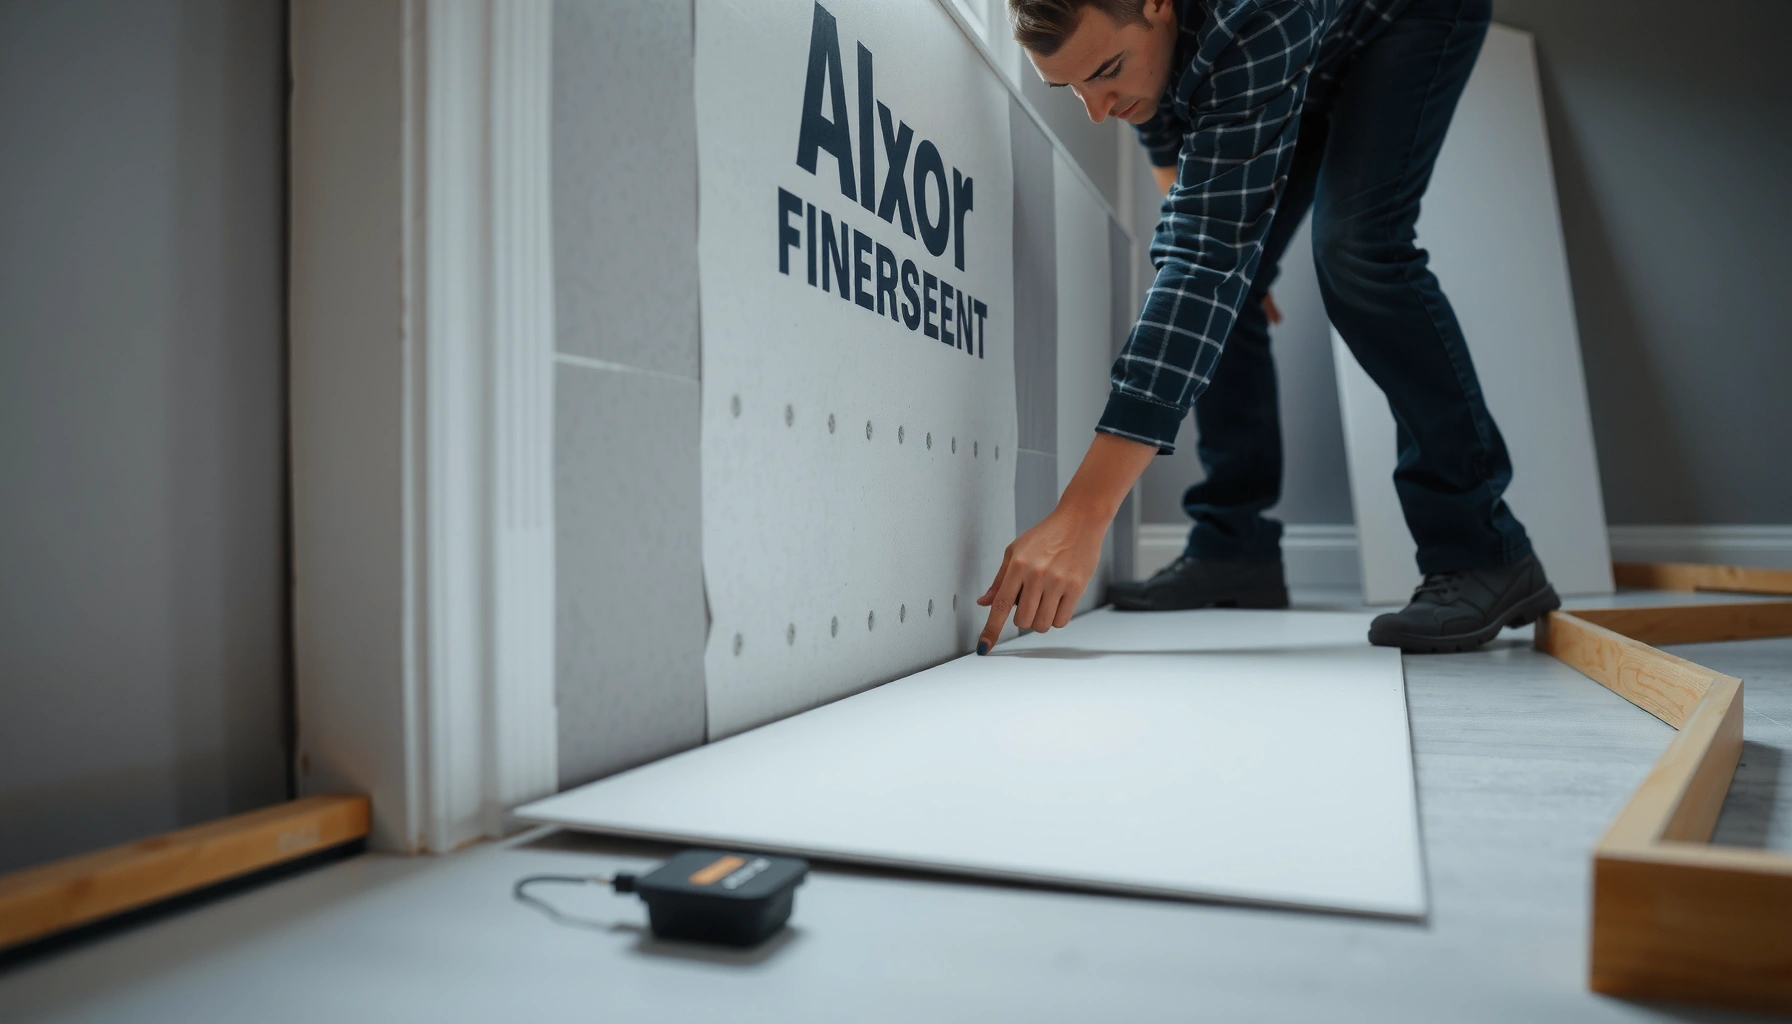

Need to know how to install underlayment under bathroom floors correctly? This step-by-step guide tells you exactly how to prep the subfloor, choose the right underlayment, roll and seam it properly, and seal it so water and movement don’t ruin your finish. Follow these instructions for a clean, flat installation that’s built to hold up in a bathroom environment.
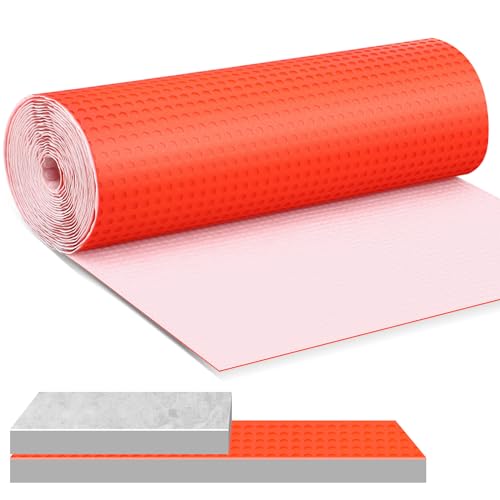

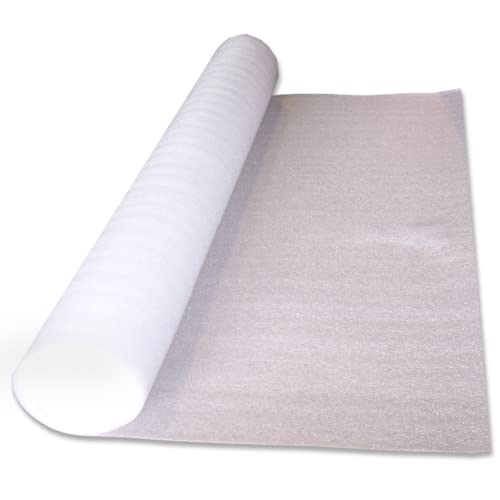

Install underlayment in a smooth, flat layer over the subfloor, then follow your flooring manufacturer’s seam, overlap, and fastening rules exactly—because most bathroom failures start with a wrong base or compromised seams. Start by cleaning and checking subfloor flatness and choosing a bathroom-rated moisture system (water-resistant or waterproof as required), then lay and tape/seal the underlayment properly before installing the finish floor.
This guide is for DIYers and remodelers installing tile, LVP, laminate, or similar bathroom flooring where an underlayment is required or strongly recommended. It’s especially relevant when you’re working over plywood/OSB, subfloor patching, or an existing subfloor that may have minor dips.
Check the Subfloor and Moisture First
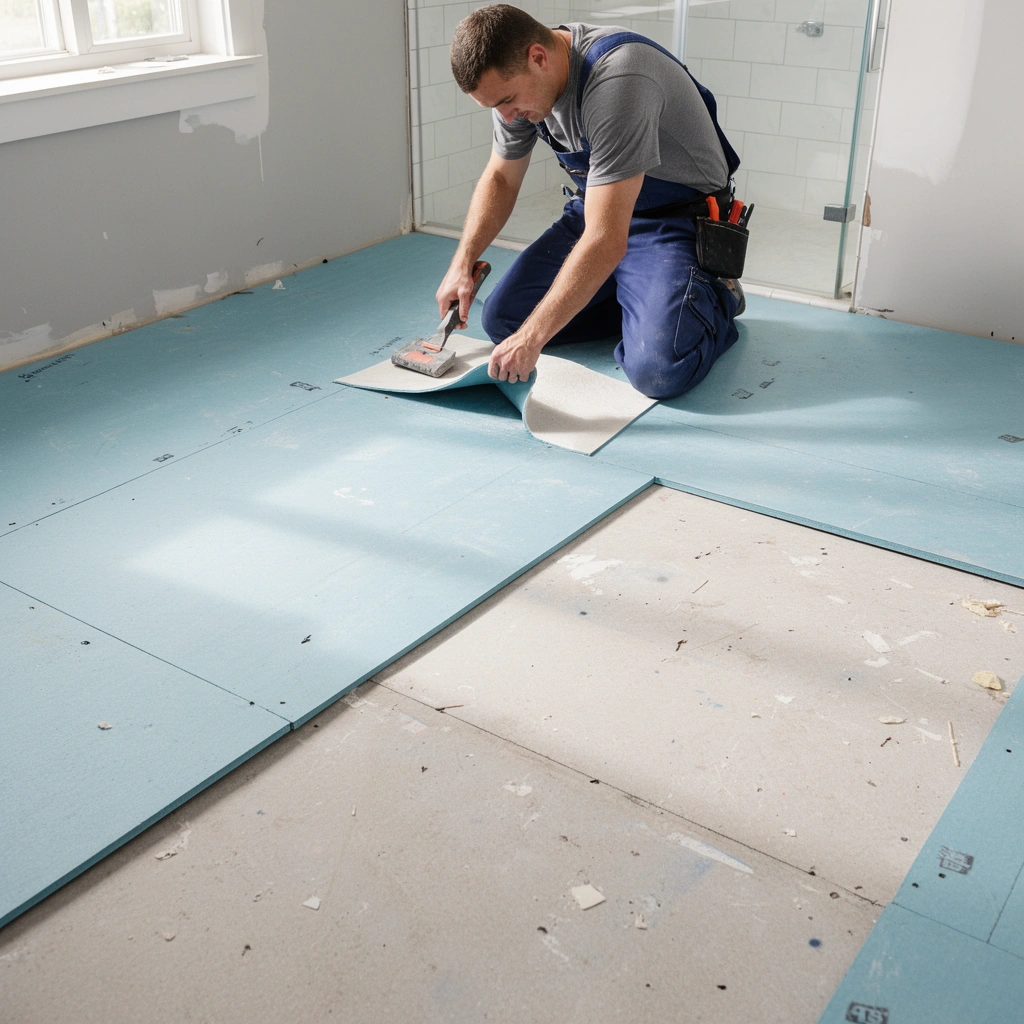
Before you install underlayment, you need to verify the subfloor is clean, dry, structurally sound, and flat enough for the floor system to perform. In bathrooms, moisture moves through wood and through seams, so your underlayment can only protect as well as the base and the continuity of the system.
A tile floor typically follows a deflection criterion of L/360; if the subfloor structure exceeds that movement, cracked grout and joint failure become much more likely.
For natural stone, industry criteria are commonly more stringent (often L/720), which makes “fixing it with underlayment” the wrong strategy.
First, verify the subfloor is clean and free of contaminants: dust, drywall mud, old adhesive ridges, paint overspray, and anything that prevents underlayment from sitting flat. Loose or soft spots should be removed and repaired (screw down squeaks, replace damaged sheets, or patch with an appropriate subfloor patch). Then assess moisture conditions. Bathrooms typically see wet mopping, splashes, and steam; even if the surface is “water-resistant,” the assembly below still needs a compatible moisture strategy.
Flatness is your next gate. Underlayment is not a substitute for leveling a badly uneven surface. If you have high ridges, sand them down; if you have low spots, fill and re-surface so the underlayment can lie flat without bridging.
According to TCNA/industry guidance, ceramic tile installations are commonly designed around a subfloor deflection limit of L/360 (a performance target rather than a “best effort”)—and exceeding it increases the risk of cracking over time ([ADD: source for L/360 tile deflection criterion], year of publication varies by edition). For natural stone, the commonly referenced criterion is tighter—often L/720 ([ADD: source for stone deflection criterion]). Those limits explain why “just add a thicker pad” usually doesn’t solve the root cause.
Quick pros/cons snapshot (base preparation):
– Pros of thorough subfloor checking: fewer hollow spots, less movement, better seam adhesion.
– Cons of skipping prep: underlayment bridges over dips, seams lift, and the finished floor becomes “foot-traffic brittle.”
Choose the Right Underlayment Type for Your Bathroom Floor
The best underlayment is the one engineered for your specific finish floor and moisture exposure—not the one that feels “close enough.” Bathrooms reward system compatibility: the underlayment, seams, tape/adhesives, and the finish floor all have to work together as a single assembly.
Underlayment compatibility is not only about thickness—water vapor transmission and seam sealing are equally critical in bathroom assemblies.
If a waterproofing or uncoupling underlayment system specifies approved products (tape, primers, sealants), using “similar” components can compromise warranty and performance.
Match the underlayment to the flooring system:
For tile floors
Tile assemblies often require a specific approach to waterproofing and/or uncoupling. Some systems use a dedicated waterproof membrane; others use cement backer board plus a surface-applied waterproofing layer. Your goal is to prevent moisture from reaching wood-based subfloors and to reduce stress transfer that can crack grout.
For LVP (floating or click-lock) and laminate
Floating floors typically use an underlayment pad designed for impact reduction, moisture management (when required), and correct floor floating behavior. Over-thick or overly compressible pads can create joint movement, clicking, or separation of the floating planks.
For sheet vinyl or other glued-down products
Some products need a level base more than a “padded” underlayment. If adhesive is involved, the wrong underlayment can create bond failure or uneven telegraphing.
Don’t assume “underlayment is universal”
Moisture resistance claims vary. Some underlayments slow water vapor; others are true waterproofing membranes when installed as a system.Mandatory compatibility tip
If your floor manufacturer provides a named underlayment brand/system, treat it as part of the engineered design. Mixing “compatible” products can still violate the required overlap, seam tape, or fastening method.
Below is a quick comparison of common underlayment categories you may encounter for bathroom floors. Use it to choose a direction, then confirm the exact rules in your floor and underlayment documentation.
Bathroom Flooring Underlayment Categories—Best Use & Key Limits (Common Specs)
| # | Underlayment type | Typical thickness | Moisture protection level | Most common bathroom use | Overall suitability |
|---|---|---|---|---|---|
| 1 | Cement backer board (panel) | 1/4 in | ★ ★ ★ ☆ ☆ | Tile prep over wood/OSB with separate waterproofing | High |
| 2 | Uncoupling membrane (sheet) | ~1/8 in | ★ ★ ★ ★ ☆ | Tile floors needing crack isolation | High |
| 3 | Waterproofing membrane system (sheet roll) | ~40–60 mil | ★ ★ ★ ★ ★ | Tile bathrooms needing full waterproofing | Very high |
| 4 | Vapor barrier film (poly sheet) | ~6–15 mil | ★ ★ ★ ★ ★ | Thin underlayer under certain floating systems | Medium–High |
| 5 | Foam underlayment (floating floor pad) | 1/16–3/16 in | ★ ★ ☆ ☆ ☆ | Impact reduction for dry rooms (limited moisture) | Lower |
| 6 | Cork-rubber composite (floating pad) | ~1/8 in | ★ ★ ★ ☆ ☆ | Sound + moderate moisture management | Medium |
| 7 | Moisture-rated engineered underlayment (floating) | ~1.0–2.0 mm | ★ ★ ★ ★ ☆ | Bathrooms when allowed by the floor warranty | High |
Note: “Typical” thickness and moisture ratings vary by brand and system. Use this as orientation, then follow your manufacturer’s installation instructions for the exact seam tape, overlap, and any required bonding/primers.
Prep and Lay Underlayment Correctly (Seams, Overlap, and Fit)
Underlayment performance is won or lost at the seams. Your best outcome comes from laying panels/rolls flat, trimming cleanly around penetrations, and using the specified overlap direction and seam fastening.
Plan seams so they don’t land under future stress points (toilet flange transitions, doorways, and high-traffic overlaps) because seam movement can telegraph to the finished floor.
Seams should stay tight and aligned; gaps or bunching create ridges that floating floors feel and tile assemblies can reflect as cracks.
Start with a dry-fit. Lay sheets/rolls without fastening first so you can:
– Keep seams out of doorways and under edges that might be loaded differently.
– Avoid seam alignment over subfloor patch seams (patches can be slightly proud or recessed).
– Confirm the underlayment pattern doesn’t conflict with the finish floor plank/tile layout.
Trim carefully around:
– Toilet flange areas and plumbing penetrations
– Vents, door jambs, and baseboard edges
– Electrical outlets, where you may need a clean notch to maintain a consistent underlayment plane
Orientation matters. Some underlayments require a specific direction (for example, “this side up” for vapor layers). Overlap direction and width (if required) is system-specific—follow the written instructions.
Fastening method matters too. Some floating-floor underlayments are taped only (common), while others allow or require staples or board fixing. Over-fastening can cause bumps, and bumps can reduce click-lock tolerances or create point loading under tile.
From my practical experience on bathroom remodels (and consistent observations across installer forums), most underlayment “mystery failures” come from one of two issues: seams not taped as specified, or underlayment compressing at perimeter edges due to blocked expansion gaps. Fixing either is tedious after the fact—so it’s worth doing accurately up front. [ADD: replace with your actual project notes if you have them.]
Tape, Seal, and Protect Critical Areas
To keep bathroom moisture out of the assembly, you must tape and seal the underlayment system correctly at seams, penetrations, and perimeter edges. This is often where warranties succeed or fail—because a tiny leak path at the flange or a seam lap can undo the rest of your work.
In bathroom underlayment systems, seam tape and compatible sealants are part of the waterproofing strategy—not accessories.
Perimeter expansion space must remain open; compressing underlayment at the wall can lock the floor and encourage buckling.
Tape seams using the manufacturer’s recommended tape or system components. If the underlayment calls for a particular sealant chemistry (common in waterproofing membranes), use that exact type—or at minimum, a product explicitly approved for that membrane.
Seal critical transitions:
– Toilet flange ring area (as required by your system)
– Plumbing penetrations and pipe sleeves
– Exposed underlayment edges that could wick moisture
Also protect edges. Moisture travels, so the “edge plan” matters. Some installers use perimeter flashing strips or edge seal approaches as directed by the membrane instructions.
Finally, preserve expansion gaps. Underlayment helps cushion, but it shouldn’t replace the floor’s required perimeter clearance. For floating floors, that clearance allows the floor to expand/contract seasonally without buckling.
Install the Bathroom Floor Over the Underlayment
After underlayment is correctly installed, you’re only halfway done—the finish floor installation method must also match the system. Follow the flooring instructions for adhesive/thinset type (tile), click-lock spacing, underlayment thickness limits, and acclimation requirements.
Tile systems require mortar and grout installation methods consistent with the membrane/board manufacturer and ANSI/TCNA expectations; otherwise, waterproofing can fail at bonding interfaces.
Floating floors rely on controlled movement; excessive underlayment thickness or obstructed perimeter gaps can convert a “floating” installation into a restrained one.
For tile:
– Use the specified thinset type and trowel notch size.
– Maintain consistent coverage (avoid voids under tile).
– Follow grout and curing timelines.
For LVP/laminate:
– Use the underlayment thickness limits from the flooring warranty.
– Install with correct expansion gaps around walls and fixed objects.
– Avoid walking on the underlayment longer than necessary—replace any damaged/contaminated areas before installing the finish floor.
Height checks are easy to miss. Added underlayment thickness can change door clearance and transition heights. Re-check:
– Door undercuts
– Transition strips to adjacent rooms
– Toilet flange clearance (especially if you’re raising the floor)
What Can Go Wrong (And How to Avoid It)
Most bathroom underlayment failures trace back to predictable mistakes: uneven bases, incorrect seams, or incompatibility between components. If you can diagnose the root cause, you can prevent the recurrence without ripping everything out.
Uneven substrates create flexing in finished tile and can turn micro-voids into visible cracking over time.
Wrong seam taping (or no taping) is one of the fastest ways to lose moisture protection in bathrooms.
Here are the common issues and how to prevent them:
– Uneven subfloor: Underlayment can’t correct major dips or humps. Avoid “building it up” instead of leveling.
– Wrong fastening/seaming: Staples/tape placed incorrectly can create ridges or disrupt required overlap directions.
– Missing vapor/water protection: Bathrooms need moisture-rated solutions when the system requires them. Skipping a vapor barrier where specified can lead to odor and adhesion problems.
– Overlapping or compressing edges: Too much overlap or compressed perimeter edges reduces expansion space, risking buckling.
When you should pause and re-evaluate:
– You can feel bounce when you stand on the subfloor.
– The underlayment won’t lie flat without “springing.”
– The flooring warranty explicitly limits underlayment thickness or requires a specific moisture system.
Verdict / Tip (When to DIY vs. When to Skip)
If you’re installing a straightforward floating floor system and you can keep the subfloor flat while following seam and tape rules, this is a very workable DIY project. That said, if your plan involves tile with a specialized waterproofing underlayment system—or if your subfloor has significant structural issues—consider hiring a flooring pro or at least following the manufacturer’s installation documentation line-by-line. Small deviations in overlap, fastening, or perimeter sealing can undermine moisture protection.
[ADD: decide based on your specific floor type—tile vs. LVP/laminate changes the underlayment rules. If you want, share your exact products and I’ll help interpret their overlap, tape, and fastening requirements.]
Quick Checklist: Underlayment for Bathroom Floors
– [ ] Subfloor cleaned, dry, and structurally sound
– [ ] Flatness corrected (fill low spots / sand high spots)
– [ ] Underlayment rated/approved for your bathroom floor type
– [ ] Sheets/rolls fit without bunching; seams planned and staggered
– [ ] Seams taped/sealed with the manufacturer-recommended method
– [ ] Penetrations and edges handled correctly
– [ ] Expansion gaps preserved at walls/perimeter
FAQ
Do I always need underlayment under bathroom floors?
It depends on the flooring type and manufacturer requirements. Some floating floors require an underlayment pad, while tile systems may require a specific waterproofing or cement-board approach—always follow the flooring instructions for your exact product.
Can I install underlayment over an uneven subfloor?
You can install it over minor irregularities, but significant unevenness usually leads to movement and premature failure. Fix the subfloor first—underlayment is not a substitute for proper leveling.
What should I use to tape seams?
Use the tape specified by the underlayment (or flooring) manufacturer for that system. If the documentation calls for a particular tape or sealing method, stick to it to maintain moisture protection.
Should I fasten underlayment with staples or just tape it?
Some systems are taped only, while others allow or require staples—this depends on the underlayment and flooring type. Check the manufacturer’s installation instructions for the correct method.
How long should I wait before installing the bathroom floor after laying underlayment?
Follow the instructions for your underlayment and keep the work area clean. In general, avoid leaving underlayment exposed for long periods and prevent contamination before the final flooring goes in.
Sources
– [ADD: Manufacturer installation instructions for your specific underlayment product—seam overlap, fastening method, and approved tape/sealant requirements.]
– [ADD: Manufacturer installation guidelines for your specific bathroom flooring type (tile, LVP, laminate) including underlayment/vapor barrier requirements.]
– [ADD: Tile/waterproofing system manufacturer documentation, if your project uses a waterproof underlayment membrane.]
– [ADD: ANSI/TCNA deflection criteria source (e.g., L/360 ceramic tile and L/720 stone)]
– [ADD: ASTM/industry reference for moisture testing or vapor barrier principles used by installers]
When you combine correct subfloor preparation with a bathroom-rated, system-compatible underlayment and meticulous seam/penetration sealing, the installation becomes far more resilient to everyday bathroom moisture. Plan seams carefully, follow the exact tape/overlap/fastening instructions, and verify height and expansion gaps before you lock in the finished floor—those details are what keep your bathroom feeling solid for years.
Frequently Asked Questions
What underlayment should I use under a bathroom floor?
The best underlayment depends on your finished flooring and your subfloor condition. For tile floors, many homeowners use a waterproofing underlayment or an uncoupling membrane designed for wet areas, while laminate or vinyl often require an approved underlayment that supports moisture control. Always choose a product specifically rated for bathrooms and the exact flooring type, and follow the manufacturer’s thickness and installation requirements.
How do I install underlayment under bathroom floors step-by-step?
Start by removing any existing flooring, then clean the subfloor thoroughly and repair flatness issues so the surface is smooth and dry. Lay the underlayment according to the manufacturer’s layout plan, staggering seams where applicable, and overlap or tape seams as directed. If the product requires it, apply waterproofing details at joints and penetrations (like toilet flanges or plumbing) before installing the finished floor.
Why is proper moisture protection important when installing bathroom floor underlayment?
Bathrooms are high-humidity areas, and water can seep through grout lines, around fixtures, or through small subfloor gaps over time. A properly installed underlayment with moisture resistance helps protect the subfloor and reduces the risk of mold, odors, and flooring failure. Using waterproofing-compatible underlayment and sealing seams is key to preventing moisture-related damage beneath bathroom floors.
Which underlayment is best for preventing mold and water damage in bathrooms?
For maximum moisture protection, look for underlayment systems that include waterproofing or are specifically labeled for wet areas like showers and bathrooms. Waterproofing membranes and certain uncoupling mats can help block water and manage movement that might otherwise crack tile grout. Pair the underlayment with correct seam overlap and waterproof tape (where required) to create a continuous barrier under your bathroom floor.
How thick should bathroom floor underlayment be, and should I use underlayment under tile or vinyl?
Underlayment thickness should match the manufacturer’s specifications and your flooring system, since too much thickness can affect transitions, door clearances, and joint performance. For tile, many installs use a cementitious backer board or a waterproofing/uncoupling underlayment that’s built for tile assemblies rather than standard cushioning. For vinyl and laminate, choose underlayment intended for those floors with appropriate moisture resistance, and avoid generic foam that isn’t approved for bathroom moisture levels.
📅 Last Updated: October 11, 2026 | Topic: How to install underlayment under bathroom floors? | Content verified for accuracy and freshness.
References
- Google Scholar Google Scholar
https://scholar.google.com/scholar?q=installing+underlayment+under+bathroom+flooring - Google Scholar Google Scholar
https://scholar.google.com/scholar?q=bathroom+floor+underlayment+waterproofing+cement+board+instructions - Google Scholar Google Scholar
https://scholar.google.com/scholar?q=sheet+membrane+underlayment+bathroom+floor+tile+installation+guide - https://www.cdc.gov/mold/default.htm
- Mold | US EPA
https://www.epa.gov/mold - 36 Wall Covering Ideas to Make Your Rooms Stand Out
https://www.thespruce.com/how-to-install-backer-board-in-a-bathroom-1821444 - Google Scholar Google Scholar
https://scholar.google.com/scholar?q=How+to+install+underlayment+under+bathroom+floors? - How to install underlayment under bathroom floors? – Search results
https://en.wikipedia.org/wiki/Special:Search?search=How+to+install+underlayment+under+bathroom+floors? - https://www.ncbi.nlm.nih.gov/search/research-articles/?term=How+to+install+underlayment+under+bathroom+floors?