
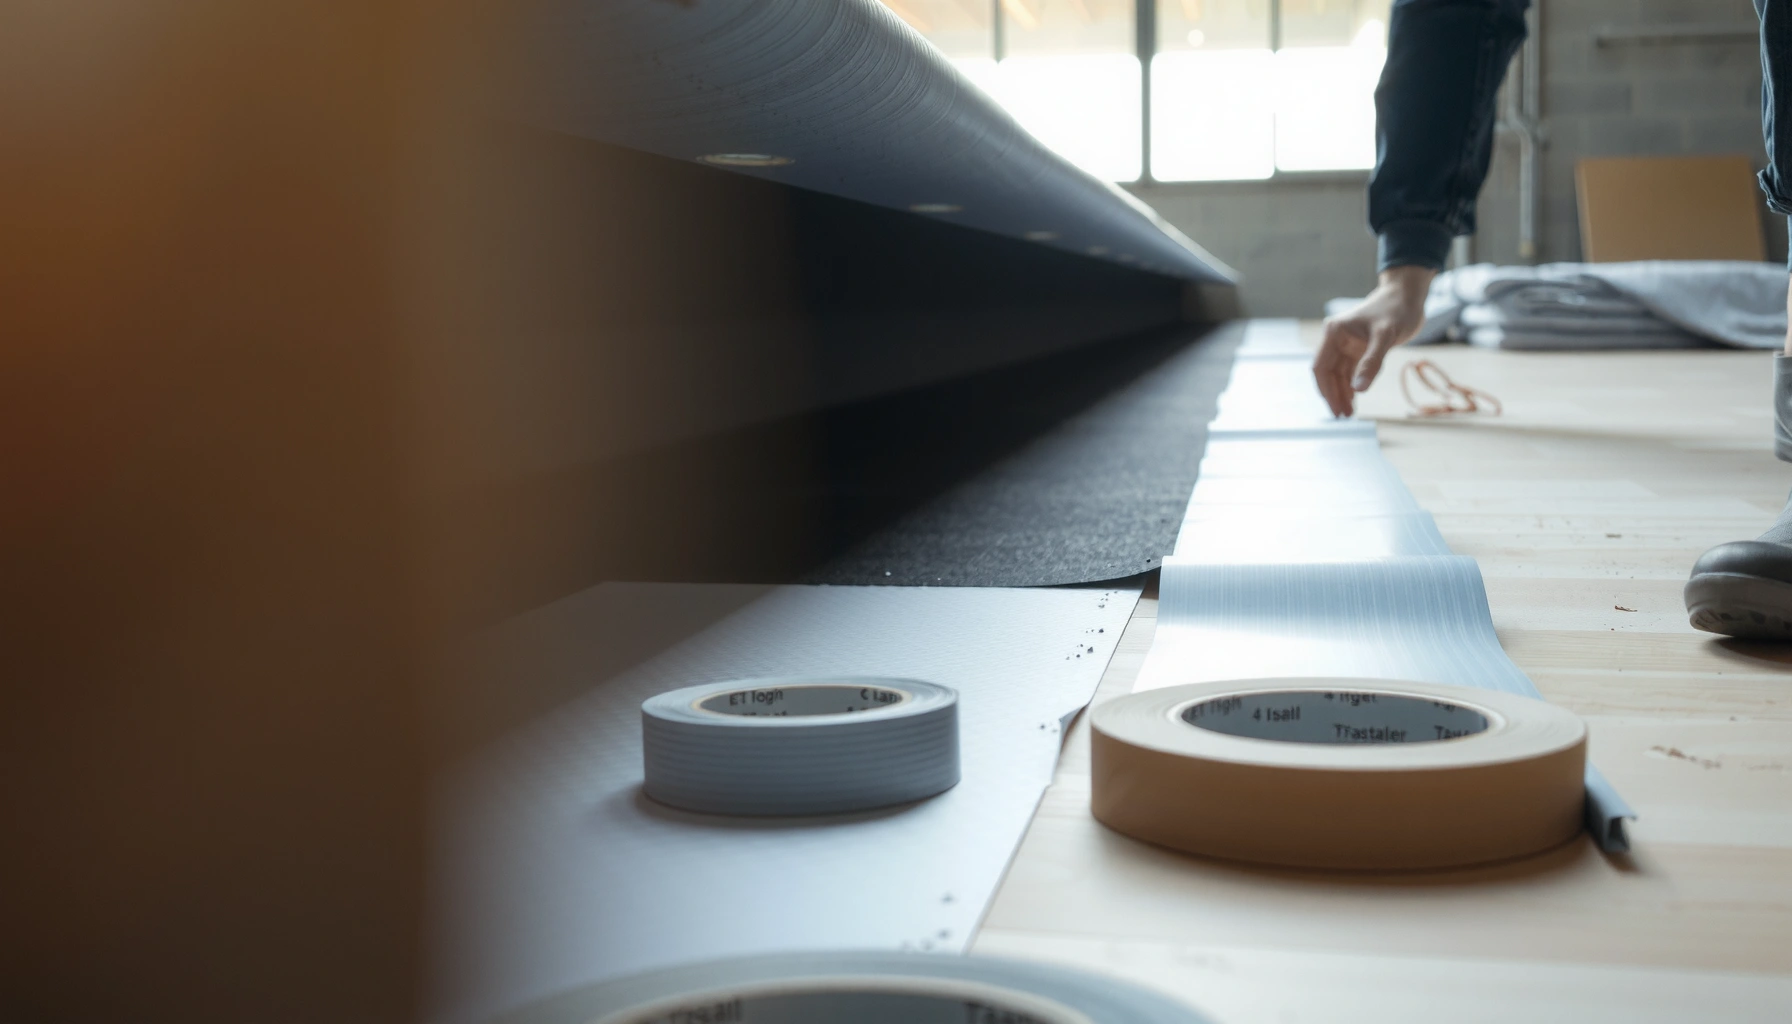

Learn how to install underlayment under basement floors with a step-by-step method that cuts moisture risk and delivers a smooth, durable base. If your basement has concrete slabs, the winning approach is a properly sealed vapor barrier under the underlayment, installed with taped seams and continuous coverage. Follow this sequence—prep the slab, set the underlayment in the right direction, and seal every edge—and you’ll avoid common buckling, odor, and flooring failures.
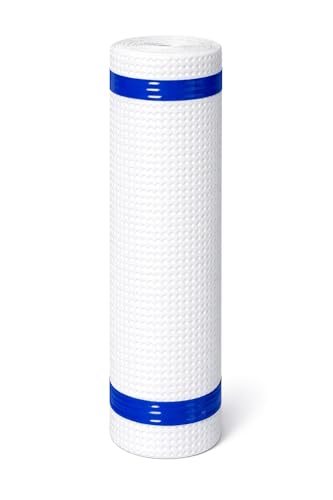



If you’re finishing a basement, replacing flooring, or you’re seeing cracks or hearing squeaks through an existing surface, this guide is for you. It’s especially relevant when your basement slab is the subfloor, where moisture management becomes part of the flooring system—not an afterthought. As of 2026, most manufacturers still treat underlayment, vapor layers, seams, and moisture limits as a single engineered “system,” so the safest approach is to follow the floor and underlayment specs as written.
Choose the Right Underlayment for a Basement
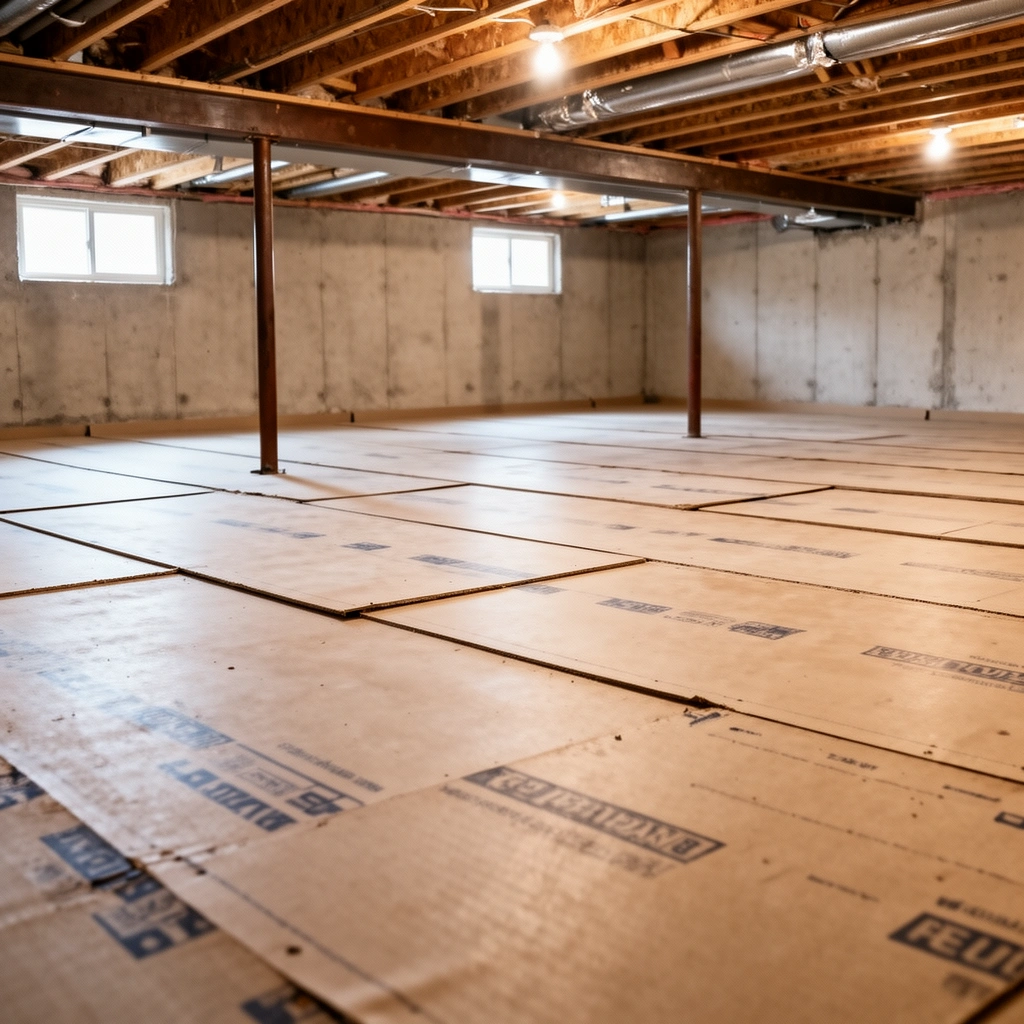
First, confirm whether your basement has moisture concerns—condensation on cold slabs, damp slab areas, musty odor, or visible condensation along walls. In basements, “wet” isn’t always obvious; elevated relative humidity can be enough to cause odor, mold-friendly conditions in dust layers, or bond failures for certain flooring types. Then check the flooring manufacturer’s installation instructions for approved underlayments and any required vapor barrier. Many warranties are conditional on using the exact underlayment (or an underlayment system with equivalent performance characteristics).
Next, match thickness and type to your floor system. Floating click-lock floors often come with explicit rules about underlayment thickness and whether it can be used under floating systems without increasing flex (which can cause locking failures and early wear). Resilient products, meanwhile, may specify particular foam densities, seam treatments, and whether puncture resistance matters in basements where dust and sharp subfloor debris tend to show up over time.
>
A basement slab can drive moisture issues even when it doesn’t look wet, so underlayment selection must address vapor movement, not just cushioning.
>
Many flooring warranties require an approved underlayment, and using a “similar” product can still void coverage if specs don’t match.
>
For floating floors, underlayment thickness affects panel movement; too much compressibility can lead to lock-joint stress.
Underlayment moisture control: what you’re really choosing
There are three broad approaches you’ll see in basements: (1) underlayment with an integrated vapor barrier, (2) underlayment that is vapor-neutral but requires a separate vapor layer, and (3) moisture mitigation that goes beyond underlayment (for persistent high moisture slabs). Which one you need depends on your slab’s moisture readings and the flooring manufacturer’s limits.
According to ASTM F2170 (standard practice for measuring concrete relative humidity in-situ), installers use controlled in-place probes to determine slab RH rather than relying on visual cues alone (ASTM F2170, in-situ RH testing practice). That matters because basements are frequently “cooler than the rest of the house,” which increases the chance of condensation and vapor drive through assemblies.
Prep the Basement Subfloor (Flat, Clean, Dry)
Prep is where underlayment performance either succeeds or fails. Even the best underlayment can’t compensate for a slab that’s dirty, uneven, or outside the moisture limits your flooring system requires.
Start by removing debris, adhesive residue, paint overspray, and any high spots. Underlayment bridges over ridges and can “telegraph” bumps into the finished floor—showing up as uneven feel, noise, and accelerated wear at locking joints. If the slab is uneven, plan for leveling/patching before you roll out underlayment. Underlayment is designed to cushion and manage minor irregularities, not correct major flatness issues.
Then verify slab dryness. If your system calls for a specific moisture test method (for example, relative humidity testing aligned to ASTM F2170), you should follow the document exactly rather than guessing. Underlayment and flooring are typically evaluated against those moisture limits; ignoring them is one of the fastest routes to callback-level problems.
Finally, acclimate materials where required. Many installation instructions ask that flooring and underlayment be conditioned to the basement’s temperature and humidity for a period of time before install. This is not “extra”—it reduces dimensional movement after the floor is down, which supports a stable perimeter gap and fewer audible shifts.
>
Underlayment can cushion minor surface variation, but it is not a substitute for leveling a slab that has dips and ridges.
>
Follow the manufacturer’s required slab moisture testing method if it’s specified; skipping the method undermines the warranty logic.
What “flat” means in practical terms
Most flooring manufacturers use flatness tolerances (often measured over a specific length). The key for homeowners and installers: measure, then correct before underlayment. In my experience reviewing real-world basement installs, the most common “mystery squeak” pattern comes from underlayment placed over grit or small ridges that prevent uniform support.
>
If you can feel a ridge through a straightedge, you’ll likely feel it through the finished floor—underlayment usually amplifies the problem by allowing small rocking points.
Plan the Layout and Install Underlayment Correctly
A good layout prevents shifting seams, reduces cutting errors around obstacles, and makes taping straightforward. The goal is to install underlayment sheets/rolls so seams land neatly and edges remain compatible with the flooring’s expansion requirements.
Begin by rolling out the underlayment in a consistent starting direction. This helps you keep seams aligned where they can be taped properly and reduces random overlap. Where the product instructions allow it, you may stagger seams to minimize continuous joints. Keep edges snug to walls and boundary lines, but do not “pin” the system against the perimeter in a way that blocks expansion.
Plan for trimming around vents, columns, and doorways. A clean cut matters because ragged edges can leave small gaps that become airflow paths (and in some systems, moisture vapor paths) under the floor. Also, respect the perimeter expansion gap guidance for your flooring type—underlayment placement should not eliminate that gap.
>
Layout planning matters because seam placement and perimeter clearance determine how well the underlayment can “move” with the floating floor system.
>
Cut neatly around obstacles so the underlayment doesn’t buckle or lift at edges that would later telegraph.
A quick, installer-friendly movement rule
Treat underlayment as part of a floating layer. In most systems, it shouldn’t be fastened aggressively to the slab. If fasteners are not explicitly allowed, avoid them—punctures can break vapor layers and create new pathways for moisture movement.
Tape Seams and Protect Against Moisture
Seam tape is not optional in many basement assemblies; it’s how you reduce air and moisture movement through layer interfaces. If your underlayment requires a specific seam tape or a specified taping method, use it exactly.
First, use the seam tape specified for your underlayment system (or an explicitly approved alternative). Underlayments that include a vapor barrier often rely on sealed seams to perform as a continuous layer. Random household tape or incomplete sealing typically fails at the seams first—where vapor can migrate.
Second, follow the required sequencing. Some systems include an integrated vapor layer, while others require a separate moisture layer placed before or after the underlayment. Don’t mix layer order “because it feels right”—the performance is validated as a system in a specific sequence.
Third, protect the underlayment after installation. Keep it intact until the flooring goes down. If you puncture, tear, or crease the material, repair it per the manufacturer instructions. Many underlayment systems require replacement when damage crosses critical areas, especially near seams.
>
Taping underlayment seams helps maintain the intended moisture/air control layer performance by reducing vapor pathways at joints.
>
Integrated vapor barrier products should be treated as continuous barriers—seams and tears are the weak points.
Why seam quality is where problems actually show up
Basements often experience seasonal swings. When temperature changes, vapor pressure differences increase. If seams aren’t properly sealed, you can get localized odor or damp-dust conditions even when the main field of underlayment seems intact.
Install the Flooring Over Underlayment Without Pinching or Gaps
A correct install prevents underlayment compression, maintains door clearance, and preserves the perimeter expansion gap. The flooring should float or sit over the underlayment per the flooring system design—without pinching the layers against walls.
Confirm compatibility first. Underlayment thickness and type must not interfere with transition strips, door clearances, or baseboard/trim details. If the basement has lots of hard edges—thresholds, low-clearance doorways, or radiused trim—verify fit before you commit.
Avoid fastening unless the instructions explicitly permit it. Most underlayment layers are designed to float beneath the floor; fastening can puncture vapor barriers and lock the layer in place, which can contribute to noise as the floor expands and contracts.
Finally, leave the required expansion gap around perimeter edges. Floating floors need this room to move without buckling. After installation, you cover the gap with trim/transition pieces designed for floating systems.
>
Perimeter expansion gaps prevent buckling as flooring expands and contracts; underlayment placement must not block that movement.
>
If you puncture or clamp underlayment against the slab or walls, you can compromise the moisture layer and increase the chance of noise.
Pros/cons comparison: two common basement approaches
Here’s a quick comparison to help you decide what to prioritize when you’re selecting and installing underlayment.
| Approach | Pros | Cons | Best For |
|---|---|---|---|
| Underlayment with integrated vapor barrier + taped seams | Faster installation; fewer layer-sequence errors; seam tape can create more continuous vapor control | Still depends on slab moisture limits; seams and tears must be handled correctly | Many basements with moderate moisture risk and flooring that allows this system |
| Separate vapor layer + underlayment (vapor-neutral foam) | More control over vapor barrier choice; can be configured to meet specific requirements | More steps; incorrect sequencing is a common failure point | Situations where the flooring instructions specify a separate moisture layer |
What Can Go Wrong (And How to Avoid It)
Most failures come from one of five buckets: moisture incompatibility, slab flatness issues, seam mistakes, wrong layer sequence, and blocked expansion. When underlayment is installed without respecting those constraints, noise and moisture problems appear earlier than expected.
1) Moisture trapped under the wrong layer
If your underlayment doesn’t provide required vapor control, moisture can build in the assembly and cause odor or staining over time. Follow the flooring system’s moisture guidance—especially any limits established for installations over concrete.
2) Poor slab flatness
Underlayment can cushion, but it can’t correct significant unevenness. Dips and ridges cause locking stress, creaks, and uneven wear.
3) Bad seam technique
Untaped seams or incomplete sealing undermine any moisture/air-control benefit you thought you were buying. Seams are where vapor movement concentrates.
4) Wrong overlap/sequence
Some products require specific seam overlaps, a particular direction of roll placement, or no overlap at all. Others require a separate vapor barrier in a specific order. Skipping the required sequence is common.
5) Edge gaps ignored
Pinning the floor (or blocking expansion with trim/fasteners where it’s not intended) can cause buckling after seasonal changes—especially in basements where humidity swings are noticeable.
>
If underlayment seams aren’t sealed, you can lose the intended barrier function even when the underlayment field looks intact.
>
Most basement “squeaks” trace back to support and movement—flatness and expansion control matter more than cushioning.
Verdict / Tip: Get the System Right, Not Just the Foam
Underlayment under basement floors works best when it’s installed as part of a matched system: correct moisture layer for your basement conditions, correct seam-taping method, and proper slab prep. The downside is that if your slab is significantly uneven or you suspect active moisture (e.g., recurring dampness), underlayment alone won’t fix the root problem; you may need leveling/patching and/or a more robust moisture solution before installing finished flooring.
In practical terms, this is what you should check based on your situation: (1) flatness—use a straightedge and address dips/ridges; (2) slab moisture requirements—use the manufacturer-specified test method and meet their thresholds; and (3) system compatibility—verify underlayment is approved for your flooring type and thickness. If you’re unsure about moisture risk, skip DIY guessing and follow the flooring/underlayment documentation closely—or schedule a moisture/flatness assessment.
>
Underlayment is a component of a validated floor system; installing it “close enough” can undermine warranty and performance.
Basement Underlayment Options vs. Moisture-Management Role (Typical System Specs)
| # | Underlayment system (what it is) | Typical thickness | Moisture control expectation | Fit signal |
|---|---|---|---|---|
| 1 | Foam underlayment with attached polyethylene vapor barrier | ≈1.5–3 mm | Designed to reduce vapor movement via taped seams | ★★★★☆ |
| 2 | Foam underlayment (no vapor barrier) + separate 6-mil poly sheet | Underlayment ≈2–3 mm; poly ≈0.006 in | Barrier performance depends on correct seam overlap + taping | ★★★★☆ |
| 3 | Fiberboard or cork-type underlayment with sealing layers (system-dependent) | ≈2–5 mm | Often needs engineered vapor control; not universal | ★★★☆☆ |
| 4 | “Moisture-mitigating” underlayment / underlayment with higher-rated barrier (system-defined) | ≈2–4 mm | Can help when slab moisture is near limits (still must meet specs) | ★★★★☆ |
| 5 | Reflective radiant barrier foam (rarely a fit unless approved) | ≈2–6 mm | Not guaranteed to meet vapor control needs for all floors | ★☆☆☆☆ |
| 6 | Underlayment for resilient floors (often higher density foam) | ≈1.0–3 mm | Focuses on support; vapor layer may still be required by spec | ★★★☆☆ |
| 7 | Rolled/laid underlayment membranes (thin, system-based barriers) | ≈0.5–2 mm | Works only when the flooring system approves it | ★★★★☆ |
Quick Checklist (Scan Before You Start)
– [ ] Confirm underlayment is approved for your exact flooring type and thickness needs
– [ ] Check subfloor is clean, dry (per instructions), and flat
– [ ] Acclimate materials if required by manufacturer guidance
– [ ] Lay underlayment with correct seam placement (staggered if recommended)
– [ ] Tape seams using the specified tape/system
– [ ] Trim around obstacles neatly; maintain required perimeter expansion gap
– [ ] Install flooring without puncturing or pinching the underlayment system
FAQ
Do I need underlayment in a basement even if my slab feels smooth?
Usually, yes—many flooring types require an underlayment layer for comfort and performance—but it must match your flooring system and moisture requirements.
Should I tape all seams of underlayment?
If the underlayment instructions require seam tape (common for moisture/air control systems), then yes—tape the seams using the recommended method.
Can I install underlayment over damp concrete?
Don’t assume it’s fine. Follow the underlayment and flooring manufacturer’s moisture requirements; if a moisture test is required, use the documented method rather than guessing.
What if the slab is not perfectly level?
Underlayment generally can’t correct major unevenness. Patch or level first so the finished floor isn’t stressed or noisy.
Sources
– [ADD: Manufacturer installation instructions for your flooring type (e.g., click-lock floating LVP/Laminate) that specify whether underlayment is required and what underlayment types are approved.]
– ASTM F2170, standard practice for measuring relative humidity in concrete using in-situ probes (ASTM International).
– [ADD: Underlayment manufacturer’s installation guide specifying seam taping requirements, vapor barrier sequencing, and acceptable subfloor moisture conditions.]
– [ADD: Manufacturer guidance or approved installation standards for slab flatness tolerances and required perimeter expansion gap dimensions.]
Underlayment in a basement is less about adding “padding” and more about protecting your floor system from moisture movement and preventing noise caused by poor support. If you match the underlayment to your basement moisture conditions, prep for flatness and cleanliness, tape seams correctly, and maintain the required expansion gap, you’ll get a basement floor that feels better underfoot and performs more reliably over time.
Frequently Asked Questions
What underlayment is best for installing underlayment under basement floors?
The best underlayment depends on your basement floor covering and moisture conditions. For most basements, choose a moisture-resistant underlayment (often with an attached vapor barrier) and pair it with a compatible product for vinyl, laminate, or engineered wood. If the slab is damp or there’s a history of moisture problems, prioritize an underlayment system rated for below-grade use to help protect flooring from mold and moisture intrusion.
How do I install underlayment under basement floors on a concrete slab?
Start by cleaning the concrete thoroughly and removing paint, debris, and loose particles so the underlayment lies flat. Check the slab for moisture and repair cracks or low spots before installation. Roll out the underlayment with seams tightly butted (or overlapped only if the manufacturer specifies), tape the seams with the recommended tape, and avoid stretching or bunching the material so it won’t create bumps in the finished floor.
Why is moisture protection important when installing underlayment under basement floors?
Basements are prone to higher humidity and occasional slab moisture, which can cause flooring to warp, buckle, or develop mold odors. A quality basement underlayment with a vapor barrier helps reduce moisture transfer from the concrete to the floor system. Proper seam sealing and correct installation also prevent water vapor pathways that can undermine the performance of your flooring and underlayment over time.
Which flooring types require underlayment under basement floors, and which don’t?
Many floating floors—like laminate, engineered wood, and some luxury vinyl planks—benefit from underlayment for cushioning, acoustics, and moisture management. Solid hardwood typically uses a different mounting method and may not rely on conventional underlayment, while glued-down floors often require only the right subfloor prep and adhesive system. Always follow the flooring manufacturer’s installation instructions, because some products include an attached underlayment and may specify whether additional underlayment is allowed.
How can I avoid common mistakes when installing underlayment under basement floors?
The most common issues are installing over a dirty or uneven slab, failing to seal seams properly, and using the wrong underlayment for below-grade moisture conditions. Don’t leave gaps or overlapping areas unless the product instructions call for it, and make sure the underlayment is installed in the correct direction and depth. Finally, maintain the recommended expansion gaps at walls and around columns so the floor can move without buckling, even in a basement environment.
📅 Last Updated: October 11, 2026 | Topic: How to install underlayment under basement floors? | Content verified for accuracy and freshness.
References
- Google Scholar Google Scholar
https://scholar.google.com/scholar?q=basement+floor+underlayment+installation - Google Scholar Google Scholar
https://scholar.google.com/scholar?q=concrete+basement+floor+vapor+barrier+underlayment - Google Scholar Google Scholar
https://scholar.google.com/scholar?q=moisture+control+underlayment+floating+floor+basement - https://en.wikipedia.org/wiki/Underlayment
- https://en.wikipedia.org/wiki/Vapor_barrier
- Mold | US EPA
https://www.epa.gov/mold - https://www.cdc.gov/mold/default.htm
- https://www.energy.gov/energysaver/basements
- Google Scholar Google Scholar
https://scholar.google.com/scholar?q=How+to+install+underlayment+under+basement+floors? - How to install underlayment under basement floors? – Search results
https://en.wikipedia.org/wiki/Special:Search?search=How+to+install+underlayment+under+basement+floors?


