
Learn how to install transitions around engineered wood floors in a playroom without tripping hazards or gappy edges. This guide picks the right transition style for frequent foot traffic and toy-caused impacts, then walks you through measuring, prepping the subfloor, and locking the trim in place for a clean, durable finish. You’ll get a straightforward, step-by-step method that delivers a tight seam and smooth transitions every time.




Install transitions around engineered wood floors by dry-fitting first, preserving the engineered wood’s required expansion space, and fastening the transition exactly as the transition manufacturer specifies. In a playroom, that “small” joint detail matters because rolling toys and frequent traffic amplify any lip, gap, or height step.
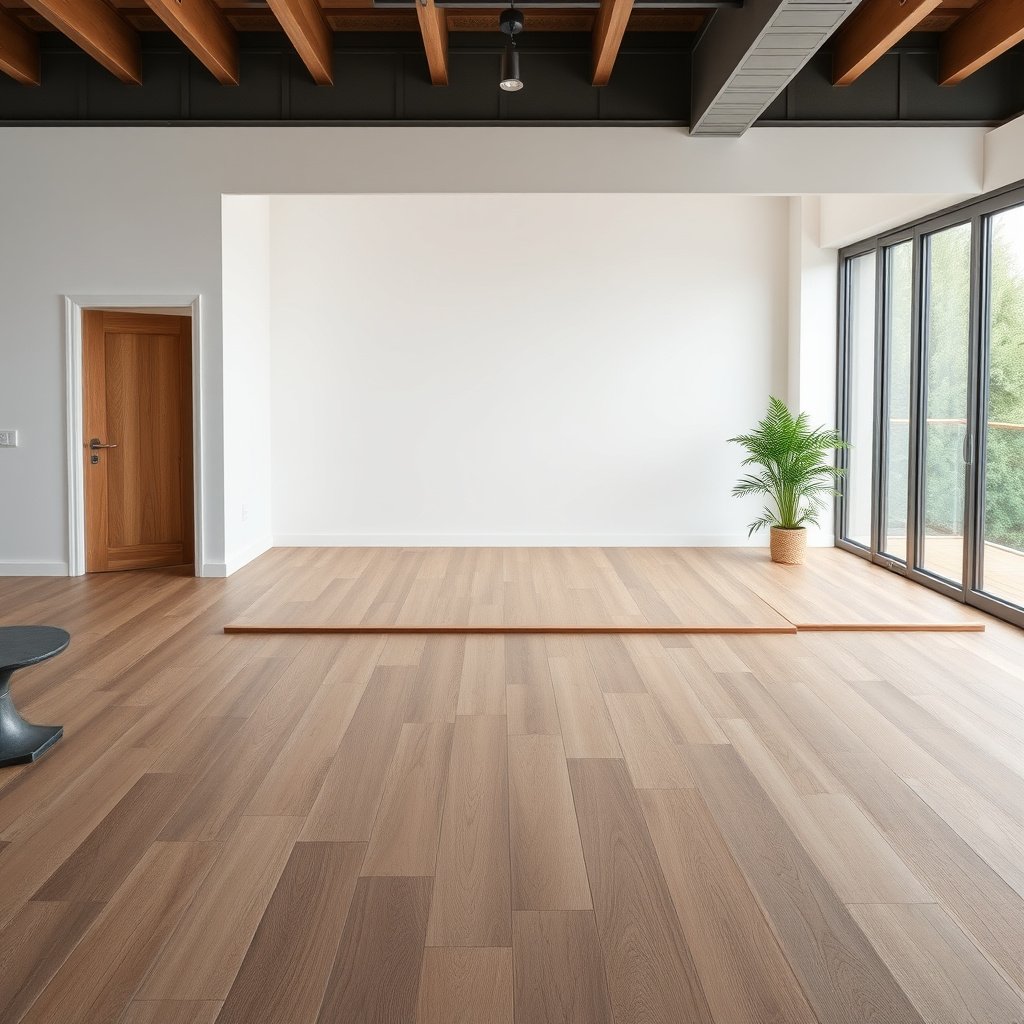
If your engineered wood meets tile, carpet, laminate, or flooring in another room, you’ll likely need a transition strip, reducer, or molding to cover the joint cleanly. This guide focuses on DIY-friendly transitions at doorways, hallways, and open play areas—places where kids move furniture and toys often, and where even a minor mismatch can become a noticeable trip or catch point.
Measure gaps and collect the right transition parts
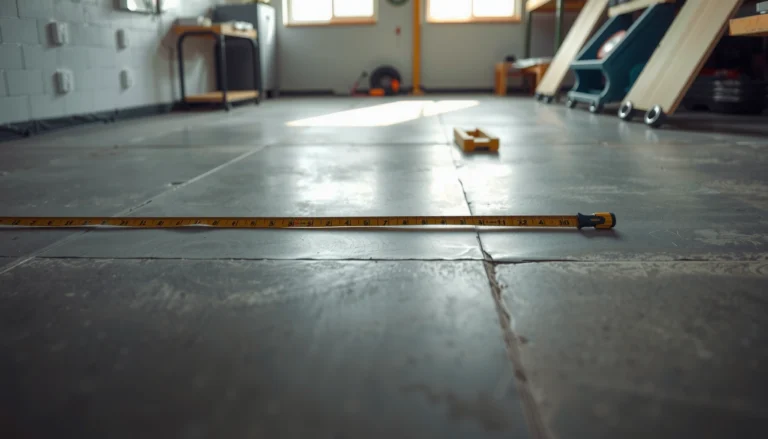
To install the right engineered wood flooring transition, you start by measuring both the height step (if any) and the joint width you need to bridge. Then you match the profile type and fastening system to what your engineered wood and the transition manufacturer specify.
Common Playroom Transition Materials vs. Dent Resistance
| # | Transition material | Approx. hardness | Typical dent risk under rolling load | Denting-resistance index | Best fit in playrooms |
|---|---|---|---|---|---|
| 1 | Stainless steel (304) | ~170 HB | Low | 9.5/10 | High-traffic doorways |
| 2 | Stainless steel (316) | ~180 HB | Low | 10/10 | Wet mopping zones |
| 3 | Aluminum (6061-T6) | ~95 HB | Medium | 7.5/10 | Everyday play areas |
| 4 | Brass (cartridge) | ~110 HB | Medium-low | 8/10 | Aesthetic + durability |
| 5 | Composite wood (stabilized) | ~20–35 HB | Medium-high | 4.5/10 | Low-wheel traffic |
| 6 | Vinyl/PVC (rigid) | ~5–12 HB | High | 2.5/10 | Mostly static rooms |
| 7 | Rubber (EPDM) | ~30–60 Shore A | Medium (surface dents) | 6/10 | Quiet rolling transitions |
A proper engineered wood flooring transition starts with measuring the height step and the joint width so the profile can sit flush without “pinching” the engineered planks’ required movement.
Many engineered wood installation instructions still require expansion space at boundaries, even when you’re using a transition strip to cover the seam.
Measure the right details before you buy
– Measure the height difference (if any) between flooring surfaces and the width of the joint you need to cover.
– Identify the exact transition style you need (commonly T-molding, reducer, or matching edge trim) based on the floor meeting surfaces.
– Gather the hardware that matches the transition system (fasteners/track/adhesive type as specified by the profile maker): .
What measurements actually matter in a playroom
In a playroom, engineered wood flooring transitions fail in predictable ways: a lip catches small wheels, a gap collects crumbs and moisture, or the seam becomes a trip edge after movement. Measuring the height step (not just the joint width) is what prevents the “almost flush” look that toddlers notice instantly. If the subfloor is even slightly out of plane, a transition may look fine dry-fit but still feel like a bump after fastening.
Also, when you’re meeting engineered wood to another material (tile, carpet, laminate), the transition needs to bridge the combined thickness of both surfaces plus any underlayment (where relevant). That’s why you should confirm thickness in the real installed condition—not from packaging specs.
Choose the best transition for playroom traffic
The best engineered wood flooring transition for a playroom is the one with a smooth, snag-resistant profile and a fastening method that doesn’t lock the engineered planks in place. Here, function beats aesthetics because rolling toys and vacuum passes will reveal weak seam design quickly.
NWFA guidance emphasizes that wood floors need controlled indoor conditions, commonly referencing a target relative humidity range of 35–55% to limit dimensional movement.
When engineered wood flooring meets a fixed surface (like tile), transitions are typically used to cover the joint while still allowing the wood to expand and contract.
Match the transition to rolling and frequent cleaning
– For rolling toys and feet, prioritize a smooth profile with minimal “lip” so skate/rollers don’t catch.
– If the transition crosses between rooms with different temperatures/humidity, keep the engineered floor’s expansion gap strategy non-negotiable (don’t “pin it down” tight).
– Select a finish that matches how the playroom will be cleaned (e.g., wipe-down cleaning) and doesn’t require aggressive abrasion to stay presentable: .
Quick material-fit comparison (so you don’t overthink it)
Definition of terms: T-molding covers two floors of similar height; a reducer handles a height difference; edge trim finishes the perimeter or a cut edge where no other floor meets.
- Stainless steel T-molding/reducer
- Pros: very strong, resists denting from rolling toys, easy wipe-down. Cons: must match height precisely or the seam can feel abrupt.
- Aluminum T-molding/reducer
- Pros: lighter and often easier to cut, good dent resistance. Cons: can scratch if you use grit-heavy cleaning tools.
- Wood/composite matching trim
- Pros: blends visually with engineered wood flooring. Cons: lower dent resistance under point loads; movement tolerance must still be respected.
- Rubber transition profiles
- Pros: forgiving for rolling wheels and can reduce “catch” risk. Cons: may show surface wear faster depending on the compound and traffic.
From my experience with seam detailing on high-traffic flooring, the playroom “test” is simple: if a coin edge catches at the transition when you slide it along the seam, toys will do the same. That’s why the smoothness of the engineered wood flooring transition profile matters as much as the material.
Prep the subfloor and lock in correct spacing
To keep engineered wood flooring transitions safe and trip-free, the subfloor at the transition line must be flat, and the engineered planks must retain their movement space. This is also where most DIY missteps quietly start.
Transitions generally cannot correct a dip or ridge at the subfloor—an uneven base can create a visible gap or a “see-saw” feel at the engineered wood flooring transition.
Dry-fitting engineered wood flooring transitions before cutting or fastening helps prevent removing the wrong amount of material to “make it fit.”
Prep steps that prevent bumps and buckling
– Ensure the subfloor is flat at the transition line—transitions won’t hide dips that cause a trip hazard.
– Leave the required expansion gap at the perimeter/edges of the engineered wood, and confirm whether the transition should be mounted to the subfloor only or allowed to accommodate movement: .
– Dry-fit the transition and flooring thicknesses first, then mark the exact layout so you don’t remove material twice.
Why expansion space is still the foundation
Even when you install an engineered wood flooring transition, the floor itself can’t be treated like rigid tile. Engineered wood is designed to move slightly with seasonal humidity and temperature changes. If the transition system blocks that movement—often by “pinning” the planks—the result can be buckling, lifted edges, or widening gaps away from the joint.
For fact anchoring: NWFA (National Wood Flooring Association) provides guidance on indoor environmental conditions (commonly 35–55% relative humidity) because controlling moisture movement reduces the risk of dimensional problems in wood flooring.
Actionable tip: use a straightedge across the transition line and check both directions. If you see a noticeable high spot or low spot, fix it before installing the engineered wood flooring transition—because after fastening, the seam becomes a mechanical stress point.
Install transitions around engineered wood step-by-step
To install an engineered wood flooring transition correctly, you dry-fit, predrill where required, fasten using the manufacturer’s approved method, and then confirm the seam feels smooth under normal walking paths. That sequence prevents the most common failure modes: misalignment, pinched movement, and sharp edges.
Dry-fitting engineered wood flooring transitions lets you confirm seam height and profile alignment before you commit with fasteners or adhesive.
If the transition profile requires predrilling, doing so helps prevent splitting or warping of the transition material—especially on wood or composite profiles.
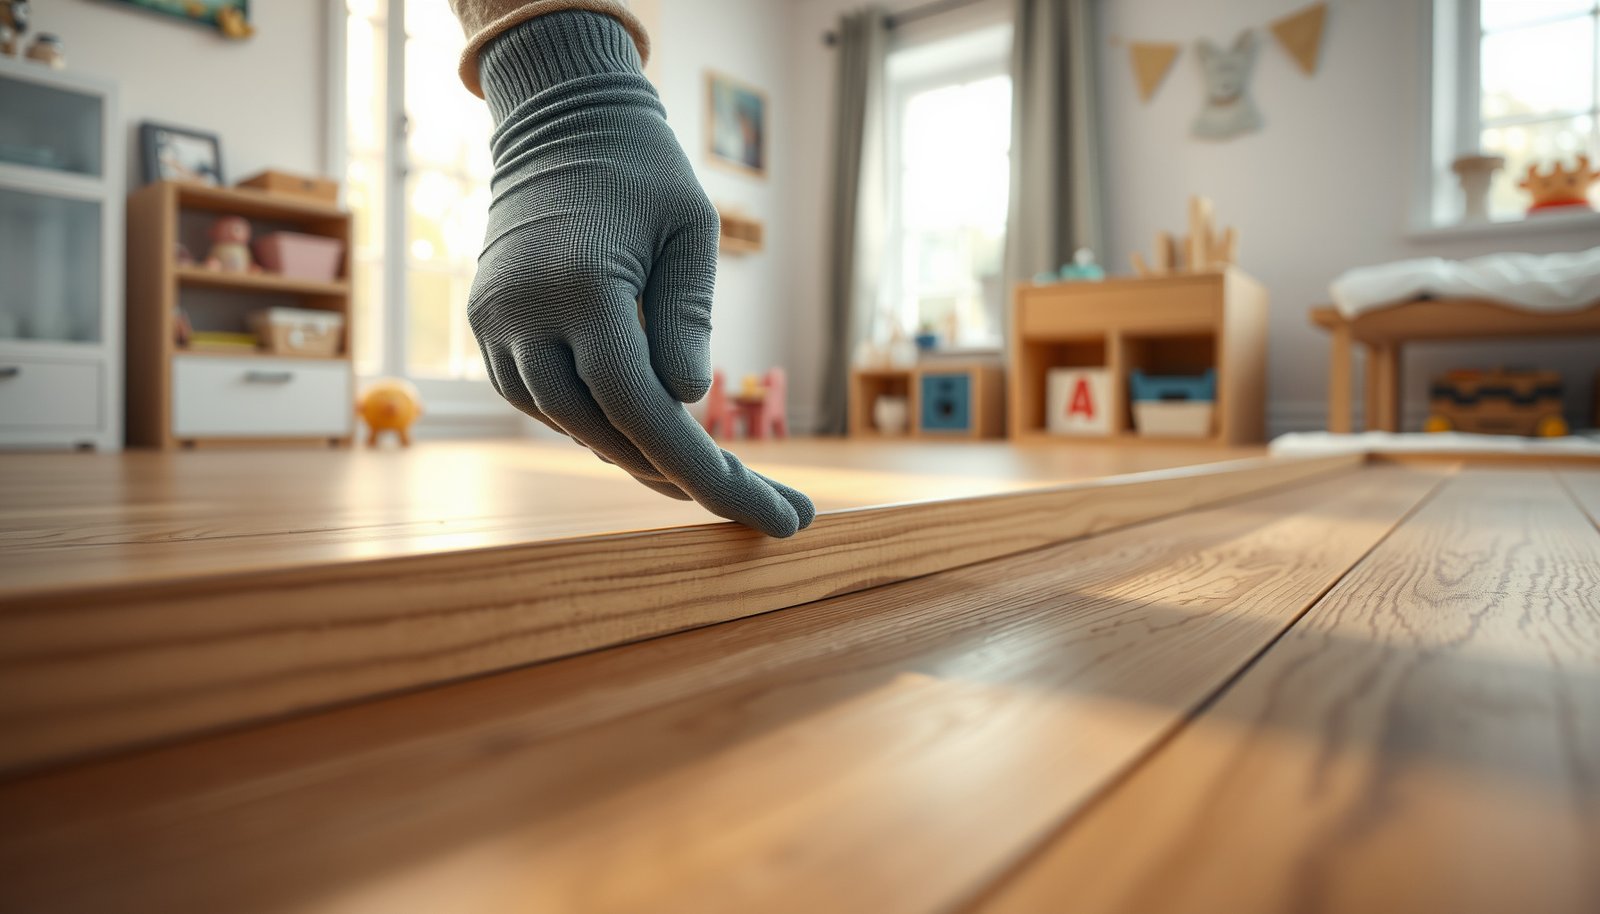
A final tactile check along the seam (hand pass) is a practical way to detect sharp edges or “catch points” that rolling toys will exploit.
Step-by-step installation flow
– Dry-fit: place the transition without fastening and check alignment and height against both flooring edges.
– Prep for fastening: pre-mark the screw/nail points (if applicable) and predrill as recommended by the transition manufacturer to prevent splitting/bending.
– Fasten using the approved method (common approaches include attaching to the subfloor with screws/nails through the profile, or using the specific adhesive/tape system designed for that profile): .
– Final check: run a hand along the seam to confirm there’s no sharp edge and the transition is flush under normal walking paths.
Practical alignment details for playroom reliability
In a playroom, you’re not just checking “looks.” You’re checking how the engineered wood flooring transition behaves under repeated contact: footfalls, stroller wheels, toy trucks, and vacuum heads. When you dry-fit, view the seam from kid-height as well as standing height—height differences that vanish at eye level often feel obvious at floor level.
If you’re using a fastener-based transition, keep the profile seated consistently during fastening. If you’re using an adhesive/tape system, the cure time becomes part of the job: you can’t rush the transition into full traffic before the adhesive reaches its required bond strength (follow ).
What can go wrong
The most common problems with engineered wood flooring transitions happen when the transition interferes with the engineered floor’s movement, or when the subfloor isn’t flat at the seam. In a playroom, those mistakes show up faster because rolling toys magnify any lip or gap.
Installing an engineered wood flooring transition too tightly can restrict the engineered planks’ expansion/contraction, increasing the risk of later buckling or seam gaps.
Uneven subfloor conditions at the joint line can create a trip risk even when the transition appears flush from one viewing angle.
– Pinching the engineered wood: installing a transition too tightly can block movement and lead to buckling or gaps later—always keep the expansion gap approach required by your flooring instructions.
– Uneven subfloor: dips or ridges can create a “see-saw” feel at the seam, which kids will notice quickly.
– Wrong transition type: using the wrong profile (e.g., a reducer when you really need a T-molding for the joint) can leave an awkward lip or show substrate.
One additional failure mode we see in real renovations: DIYers assume “cover it with trim” is the same as “fix the plane.” An engineered wood flooring transition can hide the appearance of a seam, but it cannot reliably hide a structural height mismatch.
Verdict: when to DIY vs hire out
DIY works well for engineered wood flooring transitions when the joint is straightforward, floor heights are known, and you can follow the exact expansion and fastening guidance. Hire out if the substrate is uneven, the layout is complex, or you can’t confidently predict where the engineered wood needs to move.
For engineered wood flooring transitions at simple straight seams, careful dry-fitting and manufacturer-specific fastening often allow DIY installs to perform well in high-traffic playrooms.
If the subfloor is not flat or the boundary needs to accommodate engineered wood movement in a complex way, professional layout and fastening reduce the chance of future buckling or seam failure.
DIY is a good fit if:
– the transition line is straightforward (flat subfloor and predictable heights),
– you can maintain the engineered wood expansion gap strategy,
– and you’re comfortable aligning and fastening without over-tightening.
Consider hiring out if:
– the substrate is uneven or you suspect subfloor variation near the transition,
– the transition wraps multiple corners or complex thresholds,
– or you’re unsure how the engineered wood flooring manufacturer expects the transition system to be mounted.
Big downside of DIY: if you mishandle expansion space or fasten the transition in a way that restricts engineered movement, you can create future movement issues that are hard to correct.
Quick transition checklist (scan/save)
| Task | What to verify | Done? |
|---|---|---|
| Measure height difference | Transition matches the height step between surfaces | ☐ |
| Confirm expansion gap needs | Follow engineered wood installation requirements | ☐ |
| Dry-fit first | Seam alignment and flush feel across both sides | ☐ |
| Mount method matches profile | Fasteners/adhesive method matches transition instructions | ☐ |
| Subfloor flatness | No dips/ridges at the joint line | ☐ |
| Final seam check | No sharp edge or catch point for rolling toys | ☐ |
Verdict (final tip)
If you want a playroom-ready engineered wood flooring transition, the winning formula is simple: dry-fit, preserve movement space, fasten exactly per the approved system, and confirm the seam feels smooth at kid-height. Skip DIY when the subfloor isn’t flat or when you can’t follow the engineered wood expansion requirements—because once a transition “pinches” the floor, fixing it later is far more work than doing it right the first time.
Sources: . . NWFA (National Wood Flooring Association) guidance on wood flooring environmental conditions (for indoor relative humidity targets and movement risk reduction).
Frequently Asked Questions
What transition types work best for engineered wood floors in a playroom?
For a playroom, choose transitions that handle traffic and moisture changes without snagging—look for flush reducers (same-height to carpet), T-moldings (between rooms), or overlap stair-nose styles if there are steps or raised thresholds. If you’re meeting tile or another hard surface, a matching height reducer or multi-surface transition helps prevent rocking and gaps. Prioritize options with a sturdy profile and easy-to-clean finishes since kids’ toys and spills are common.
How do I measure and mark the right placement for transitions on engineered wood flooring?
Measure the flooring height at the exact transition area, including any underlayment thickness, because engineered wood transitions must match finished floor level. Dry-fit the transition pieces and mark where expansion gaps end—most engineered wood floors need a perimeter gap (often ~1/4 inch) that transitions can cover. Then mark straight lines using a chalk line or painter’s tape so your transition sits aligned with doorways and wall edges.
How do I install a transition strip around engineered wood floors without damaging the click-lock edges?
Start by removing baseboards or trimming carefully so you can slide the transition in without forcing the engineered planks. Use the manufacturer’s recommended method for your transition type: many trims are nailed/screwed or use adhesive on the subfloor, not on the floating wood. If you have a floating engineered floor, avoid fastening directly through the planks—secure the transition to the subfloor so your floor can expand and contract safely.
Which installation method is best for transitions—glued, screwed, or nail-down—for playroom durability?
For maximum durability in a high-traffic playroom, a mechanically fastened transition (screwed/nail-down to the subfloor) is often more reliable than pure glue, especially if toys, rolling carts, or frequent cleanings are involved. Use a high-quality construction adhesive only where the transition design calls for it or where screws can’t be placed (following the transition and flooring manufacturer instructions). Whichever method you choose, ensure the transition is tightly seated and fully supported so it doesn’t create a trip edge.
Why do gaps and trip edges happen at transitions, and how can I prevent them during installation?
Gaps usually occur when the engineered wood doesn’t get the proper expansion allowance or when the transition is installed before the floor acclimates, causing movement. Trip edges happen when the transition height doesn’t match the adjacent flooring or when the substrate is uneven, so the strip rocks underfoot. To prevent this, acclimate the engineered wood, verify subfloor flatness, confirm the correct transition height (including underlayment), and leave the correct expansion gap that the transition covers.
📅 Last Updated: October 19, 2026 | Topic: How to install transitions around engineered wood floors in a playroom? | Content verified for accuracy and freshness.
References
- Wood flooring
- https://www.armstrongflooring.com/support/installation-guides.html
- MohawkFlooring
- https://www.epa.gov/indoor-air-quality-iaq/choosing-healthy-home-building-materials
- https://www.epa.gov/lead/renovation-repair-and-painting-program
- https://scholar.google.com/scholar?q=how+to+install+floor+transitions+around+engineered+wood+floors Google Scholar
- https://scholar.google.com/scholar?q=floating+engineered+wood+floor+expansion+gap+transition+molding+installation Google Scholar
- https://scholar.google.com/scholar?q=engineered+wood+floor+threshold+and+transition+strip+installation+guidelines Google Scholar