To install a tile shower floor in seven easy steps, first gather durable tile, thinset mortar, grout, and waterproofing materials. Prepare your shower base by making sure it’s level with a proper slope toward the drain. Next, apply a waterproof membrane for protection. Lay out your tile pattern evenly using spacers. Spread thinset mortar and firmly set each tile. After full curing, grout the joints carefully, then seal the grout to prevent moisture. Following these steps guarantees a durable, waterproof floor—explore the details to master each phase.
Gather Your Materials and Tools
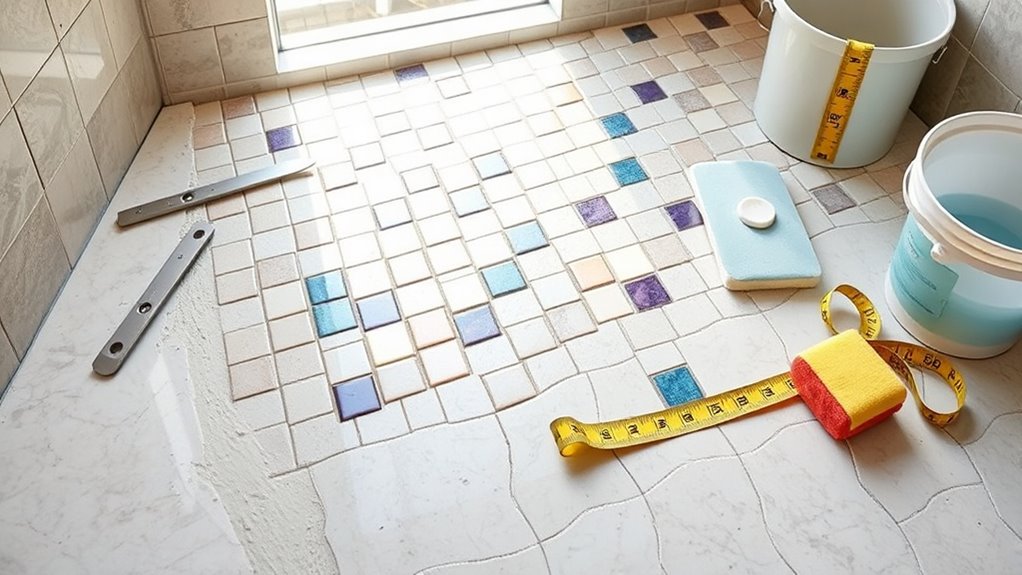
Before you begin installing your tile shower floor, you’ll need to gather all the essential materials and tools to secure a smooth workflow. Start by selecting appropriate tile types—porcelain or natural stone offer durability and water resistance critical for showers. You’ll also need thin-set mortar, grout, a notched trowel, tile spacers, a wet saw for precise cuts, and a rubber float for grout application. Don’t forget waterproofing membrane and a mixing bucket. Installation tips stress the importance of having a level surface and making sure all tools are within reach to maintain momentum. Having everything ready eliminates interruptions, letting you focus on accurate tile placement and alignment, which guarantees a professional finish and long-lasting performance. This preparation phase is key to your freedom in creating a flawless shower floor.
Prepare the Shower Base
Before you begin tiling, carefully assess the existing shower base for any damage or unevenness. Ascertain the surface is fully waterproofed to prevent future leaks, applying a reliable membrane if necessary. Finally, confirm the base has the proper slope—typically a 1/4 inch per foot—directing water toward the drain to guarantee efficient drainage.
Assess Existing Shower Base
Although evaluating the existing shower base may seem straightforward, it requires careful examination of its slope, integrity, and waterproofing to guarantee a proper foundation for your tile installation. Start by inspecting the shower base for any cracks, soft spots, or visible damage that could compromise durability. Verify the existing conditions to verify the base is flat except for the intentional slope toward the drain. Use a level or straightedge to measure slope consistency, aiming for a 1/4 inch per foot gradient. Confirm that the base substrate is stable and securely fastened to avoid future movement. Any signs of water damage or mold indicate compromised waterproofing and necessitate repair before proceeding. This precise assessment prevents costly failures and verifies your tile floor will remain intact and functional.
Waterproofing and Slope Preparation
Since a properly prepared base is essential for tile longevity, you’ll need to guarantee both waterproofing and correct slope before laying any tiles. Start with slope calculation: ascertain the base slopes 1/4 inch per foot toward the drain to prevent water pooling. Next, apply waterproofing techniques such as a liquid membrane or waterproofing sheet over the entire base, sealing all seams and corners meticulously.
| Step | Purpose | Key Detail |
|---|---|---|
| Slope Calculation | Direct water flow | 1/4 inch per foot to drain |
| Waterproofing | Prevent water damage | Apply continuous membrane |
| Sealing | Avoid leaks | Seal corners and seams well |
Mastering these steps frees your shower floor from water issues, ascertaining durability and safety.
Install a Waterproof Membrane
You’ll start by selecting the appropriate waterproof membrane material, such as PVC, CPE, or liquid-applied membranes, based on your shower’s requirements. Next, verify the shower base is clean, dry, and free of debris to promote adhesion. Finally, carefully apply the membrane, overlapping seams and sealing all corners to create a continuous, watertight barrier.
Choosing Membrane Materials
When preparing to install a waterproof membrane for your tile shower floor, selecting the right material is critical to preventing water damage and ensuring long-term durability. You’ll encounter several membrane types: sheet membranes like PVC or CPE offer robust, continuous barriers, while liquid-applied membranes provide seamless coverage adaptable to complex shapes. Your choice hinges on compatibility with your substrate, ease of installation, and maintenance demands. Sheet membranes require precise cutting and overlapping; installation techniques emphasize sealing seams with waterproof tape or adhesives. Liquid membranes demand thorough surface prep and multiple coats for uniform thickness. Opting for a membrane that aligns with your skill level and project complexity empowers you to create a watertight foundation, granting you the freedom to focus on tile placement without worry.
Preparing the Shower Base
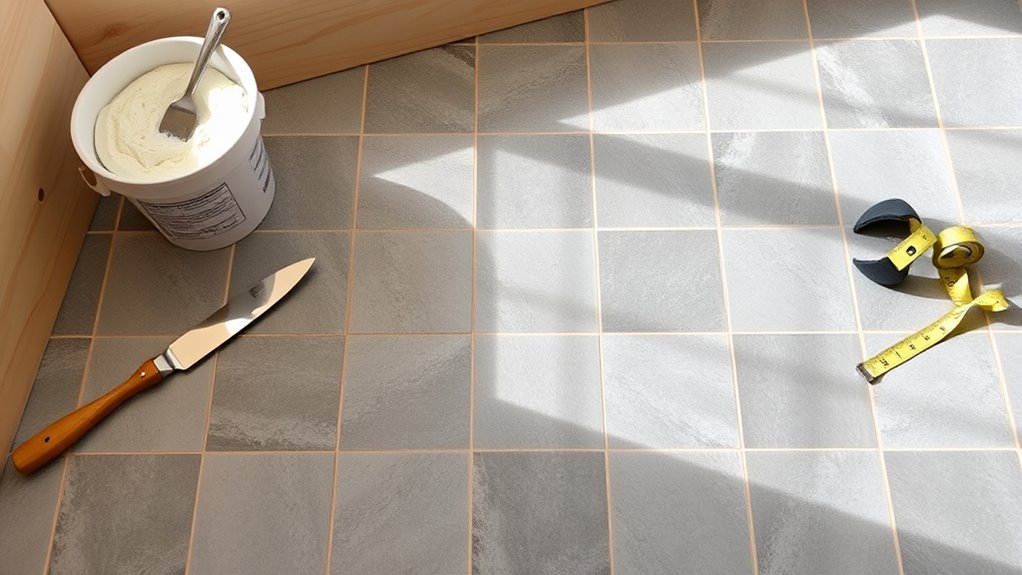
Before installing the waterproof membrane, make certain the shower base is completely clean, dry, and free of debris or dust. Any residual material can compromise membrane adhesion, risking water infiltration. Inspect the shower base for imperfections; smooth out uneven areas with a suitable patching compound, ensuring a flat, uniform surface. This precision supports ideal tile selection and installation, preventing future grout cracking or tile displacement. Confirm the slope directs water toward the drain at a minimum of 1/4 inch per foot, critical for effective drainage. Additionally, verify that the substrate is structurally sound and firmly secured, eliminating movement. Properly preparing the shower base sets the foundation for a durable, leak-proof installation, granting you the freedom to select your preferred tile with confidence in your shower floor’s longevity.
Applying Waterproof Membrane
With the shower base properly prepared and sloped, the next step involves applying the waterproof membrane to create a watertight barrier. You’ll choose from membrane types like sheet membranes—PVC or CPE sheets—or liquid-applied membranes that cure into a seamless layer. For sheet membranes, carefully measure and cut the material to fit the base and corners, ensuring overlap at seams. Use a compatible adhesive or thinset mortar to secure the membrane, pressing firmly to avoid air pockets. Liquid membranes require uniform application with a roller or brush, covering the entire surface and extending up the walls at least 6 inches. Pay close attention to corners and drains, using pre-formed corners or reinforcing fabric for extra protection. Proper installation techniques are essential to prevent leaks and maintain long-term durability.
Lay Out the Tile Pattern

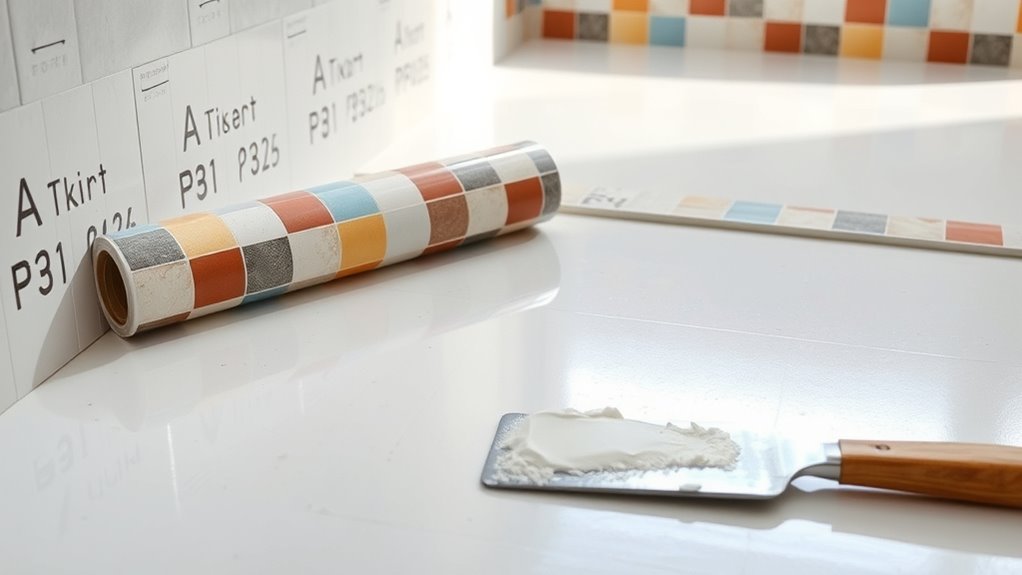
Start by measuring the shower floor to determine the exact center point, as this will serve as your reference for laying out the tile pattern. Using tile layout techniques, snap chalk lines intersecting at this center to create perpendicular axes. This guarantees pattern symmetry, which is essential for a balanced, professional look. Dry-lay several tiles along these lines to visualize how cuts will fall near edges and corners. Adjust the layout if necessary to avoid narrow tile strips that can compromise durability and aesthetics. Keep grout lines consistent by using spacers during the dry layout phase. By meticulously planning your tile placement now, you’ll achieve a harmonious design that maximizes freedom in your tile choices and minimizes corrections during installation.
Apply Thinset Mortar and Set Tiles
Once you’ve finalized your tile layout, you’ll need to prepare and apply thinset mortar evenly across the shower floor using a notched trowel. Select a suitable tile adhesive option based on your tile type and substrate, typically a modified thinset mortar for superior bonding and flexibility. Spread the mortar methodically, holding the trowel at a consistent 45-degree angle to create uniform ridges that guarantee full tile support. Employ precise tile placement techniques by pressing each tile firmly into the mortar, twisting slightly to maximize adhesion and eliminate air pockets. Use spacers to maintain consistent grout lines and verify tiles are level with a spirit level. Work in small sections to prevent the mortar from drying prematurely, assuring your tile floor adheres securely and aligns flawlessly for a durable, professional finish.
Grout the Tiles
Before applying grout, verify the thinset mortar has fully cured—typically 24 to 48 hours—to prevent tile shifting or grout cracking. Select the appropriate grout type based on your tile material and joint width: unsanded grout suits joints under 1/8 inch, while sanded grout is better for wider gaps. Mix the grout to a smooth, peanut butter-like consistency to guarantee easy application and penetration. Apply it diagonally across the tile joints using a rubber float, pressing firmly to fill all voids. Remove excess grout promptly, then allow it to set briefly before wiping tiles with a damp sponge for a clean finish. Choose grout colors that complement or contrast your tiles, enhancing the shower floor’s visual appeal while maintaining its durability and water resistance.
Seal the Grout and Finish the Floor
After grout has been applied and cleaned, protecting it with a high-quality sealer is key to preserving its strength and appearance. Begin grout sealing by selecting a penetrating sealer designed for shower floors. Apply it evenly using a small brush or applicator, ensuring full coverage without pooling. Allow the sealer to penetrate for the manufacturer’s recommended time, then wipe away excess to avoid haze. Proper grout sealing prevents water infiltration and staining, extending the durability of your tile shower floor. For floor finishing, inspect all tile edges and grout lines for uniformity. Remove any residual grout haze with a damp sponge or specialized cleaner. Finally, let the entire floor cure undisturbed for at least 24 hours to guarantee a solid, waterproof finish that supports your freedom to enjoy a lasting, pristine shower space.