First, clean and dry your shower floor thoroughly, repairing any cracks. Next, plan your tile layout carefully, marking the center for balanced placement. Spread thinset mortar evenly and press tiles firmly, using spacers for consistent grout lines. Cut edge tiles precisely with a wet saw to guarantee a snug fit. Finally, apply grout diagonally into joints, wipe off excess, and seal for water protection. Following these steps will set you up for a beautiful, durable shower floor.
Prepare the Shower Floor Surface
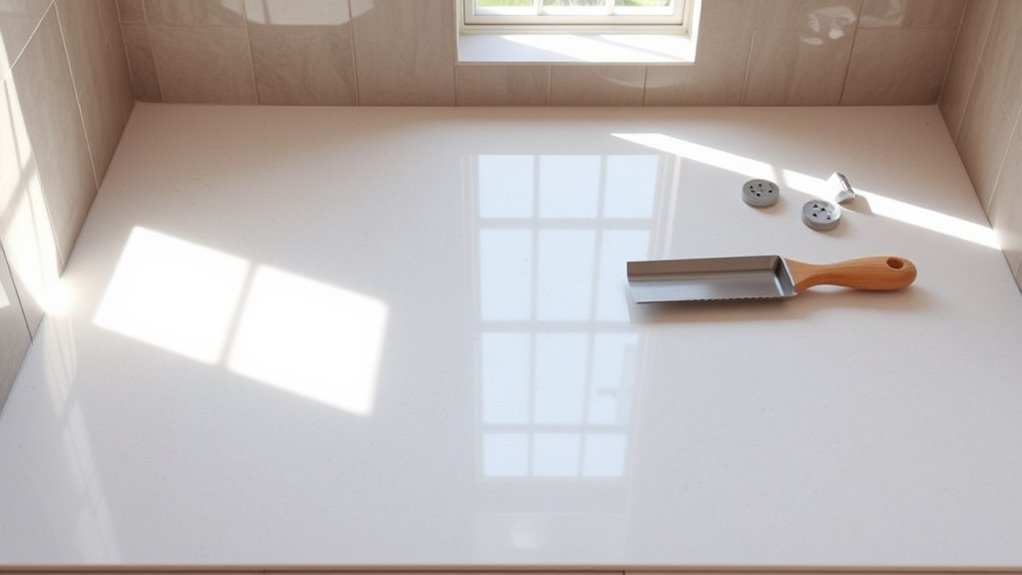
Before you begin tiling, make certain the shower floor is completely clean, dry, and free of any old adhesive, grout, or debris; this guarantees proper adhesion and a smooth surface for your new tile. Start by removing any loose particles with a vacuum or brush, then wipe down the surface with a damp cloth and allow it to dry thoroughly. Inspect the floor for cracks or uneven areas—repair these with a suitable patching compound to guarantee a flat base. Surface preparation is essential because any imperfections can compromise tile adhesion and longevity. Once the floor is fully prepped, apply a waterproof membrane if required to protect against moisture. Taking these precise steps guarantees your new tile will adhere firmly and last, giving you the freedom to enjoy a flawless shower floor.
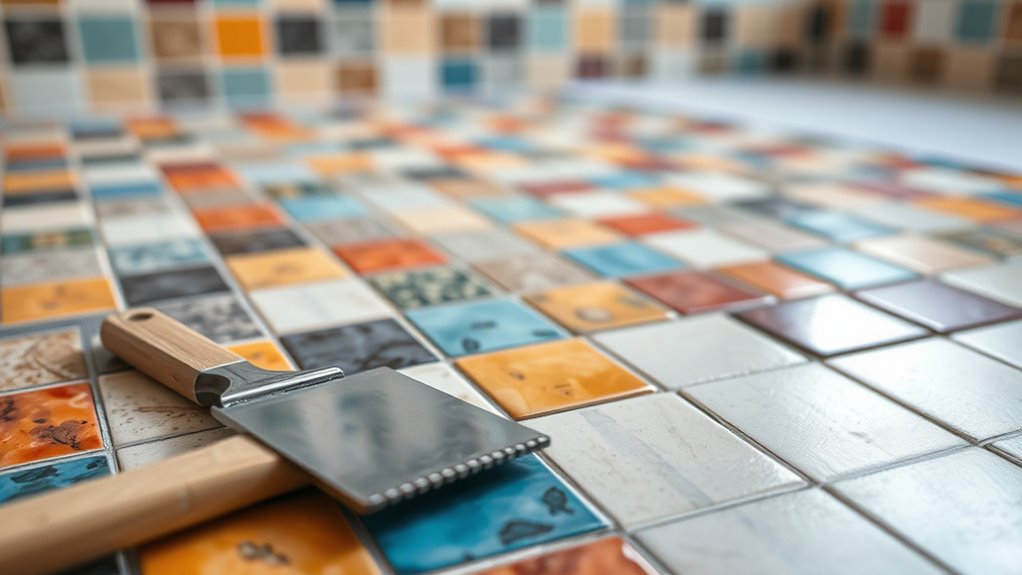
Plan and Lay Out the Tile Design
With the shower floor fully prepared and protected against moisture, the next step is to plan your tile layout carefully. Begin by considering design considerations such as tile size, shape, and color to complement your bathroom’s style. Decide on tile patterns that suit both aesthetics and practicality—straight lay, diagonal, or mosaic can enhance visual appeal while guaranteeing slip resistance. Measure the floor precisely and mark the center point to establish a balanced layout. Dry-lay tiles along the center lines to visualize spacing and alignment, adjusting as needed to avoid narrow cuts at edges. Keep grout lines consistent in width to maintain a clean look. Taking time now to plan guarantees your tile design flows freely and beautifully across the shower floor.
Apply Thinset Mortar and Set the Tiles
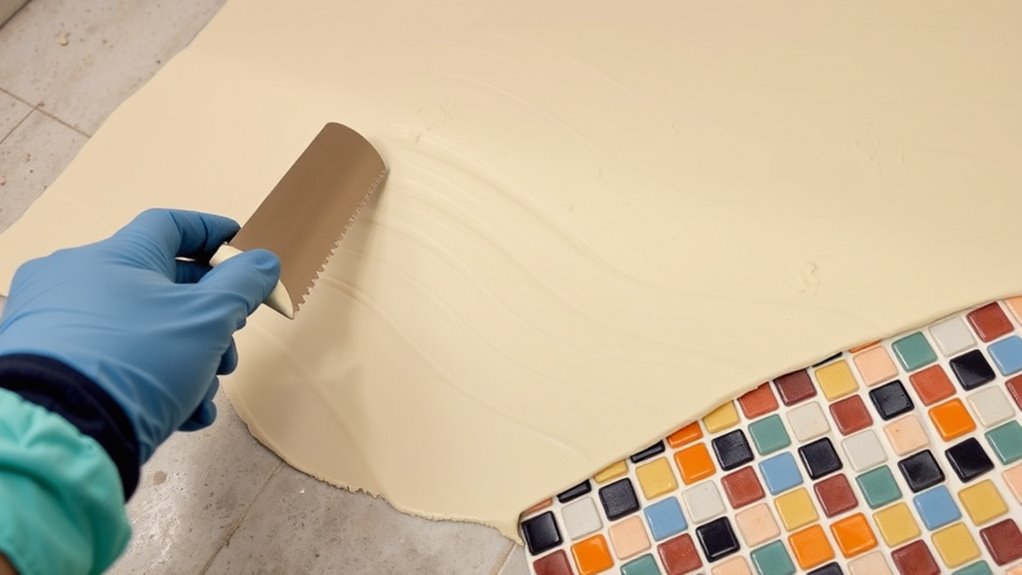
Start by mixing the thinset mortar according to the manufacturer’s instructions until you achieve a smooth, peanut butter-like consistency. Using a notched trowel, spread the thinset evenly over a small section of the shower floor, holding the trowel at a 45-degree angle for consistent ridges. This thinset application guarantees proper adhesion and prevents air pockets. Immediately press each tile firmly into the mortar, twisting slightly to secure it in place. Use tile spacers to maintain even grout lines and keep tiles aligned with your planned layout. Work in small sections to prevent the thinset from drying before tile setting. Check frequently for levelness, adjusting tiles as needed. This methodical approach grants you control and freedom to create a durable, flawless shower floor.
Cut Tiles to Fit Edges and Corners
You’ll need to carefully measure and cut tiles to fit along the edges and corners of your shower floor, where whole tiles won’t fit properly. Start by marking each tile precisely with a pencil, using a square or straightedge to guarantee accuracy. For tile cutting, a wet saw is your best tool—its diamond blade provides clean, straight cuts essential for tight edge fitting. If you don’t have a wet saw, a manual tile cutter or tile nippers can work for small adjustments. Always wear safety goggles when cutting. Place the cut tiles along the edges to check fit before setting them in thinset. Accurate tile cutting and edge fitting here will guarantee a professional-looking, seamless shower floor that maximizes your freedom to customize the space.
Grout and Seal the Tile Floor
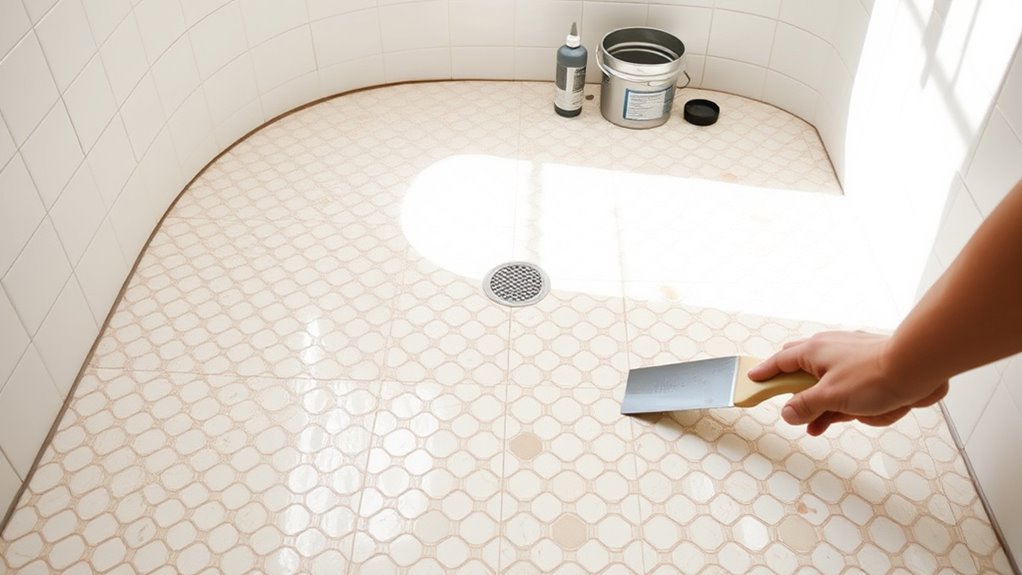
After all your tiles are firmly set and the thinset has cured, it’s time to grout and seal the floor to protect it from moisture and stains. Start by choosing the right grout type—sanded for wider joints or unsanded for narrow spaces. Next, follow these steps:
- Mix the grout according to the manufacturer’s instructions until smooth and creamy.
- Use a rubber float to press grout diagonally into the joints, ensuring complete filling. Wipe excess grout with a damp sponge before it dries.
- Once the grout cures, apply a penetrating sealer using a brush or roller. This sealing technique repels water and prevents staining, extending your floor’s durability.