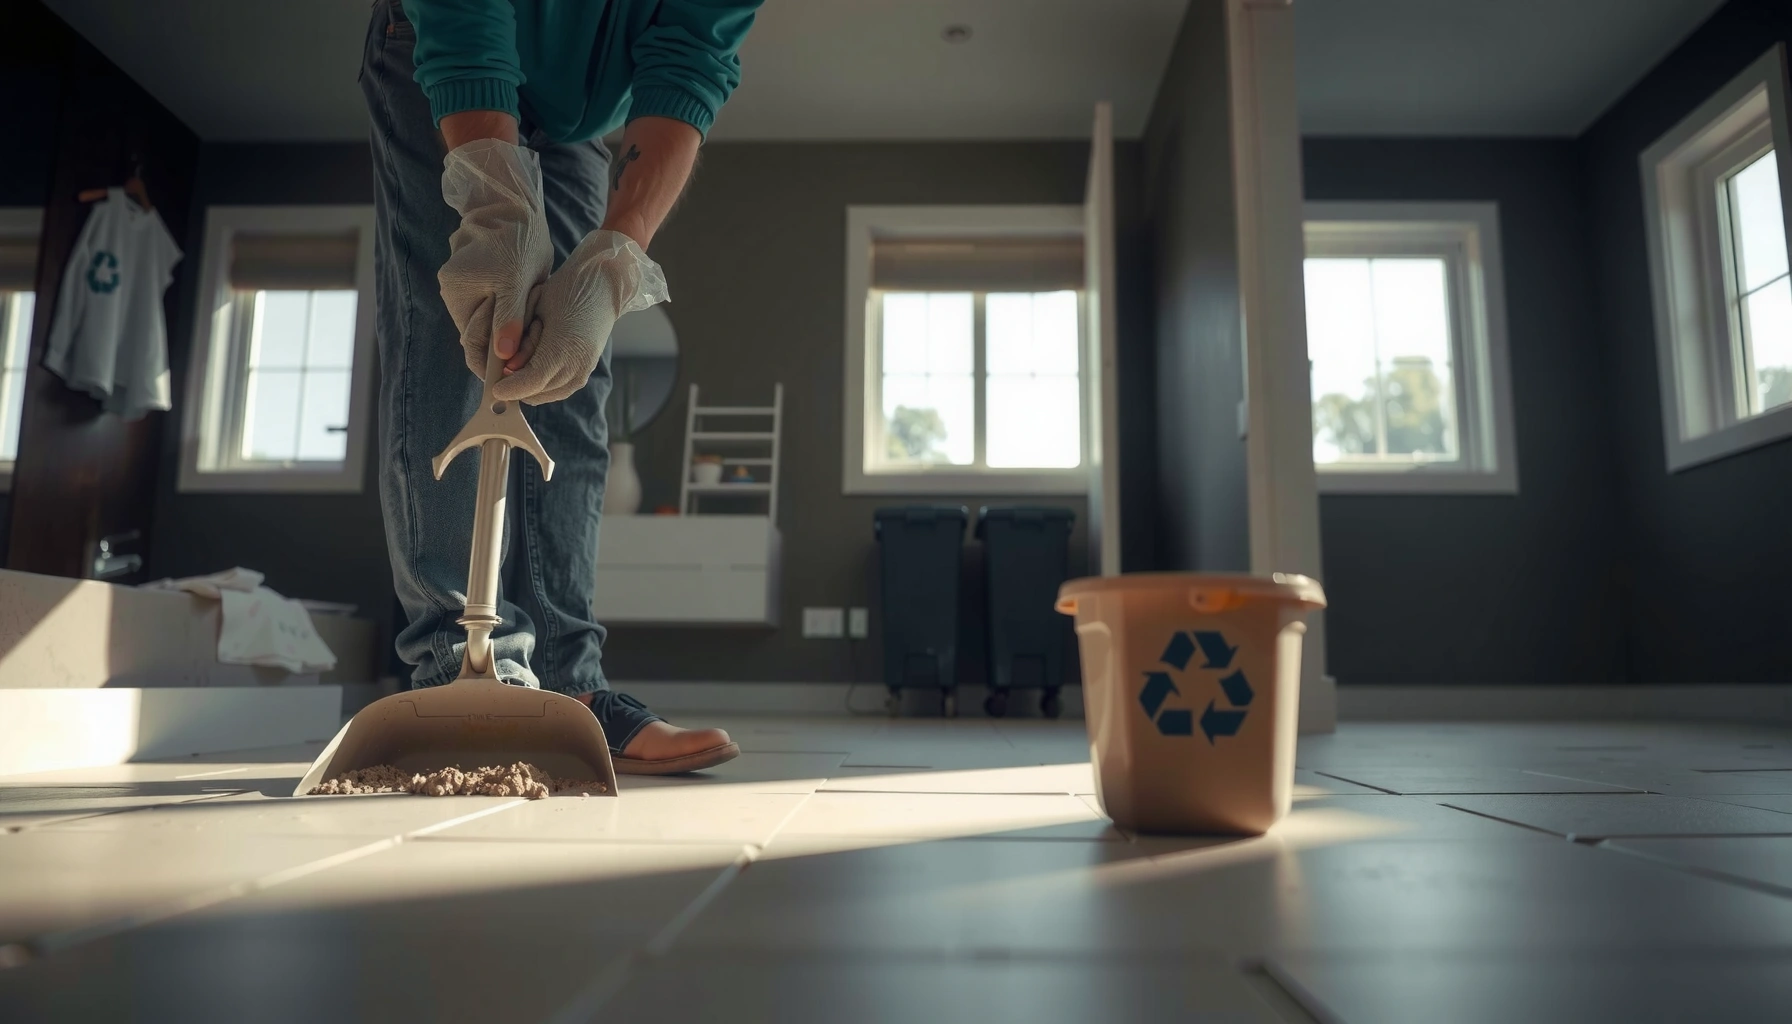

Proper disposal of bathroom floors starts with identifying what you’re tearing out, because tile, vinyl, laminate, and subfloor material each require a different handling and disposal route. Follow this guide to remove your bathroom floor safely, separate reusable pieces, and dispose of the rest legally without creating mold and moisture problems. You’ll get a clear, step-by-step winner for each common bathroom flooring type—so you know exactly what to do when the job’s done.




Dispose bathroom floors correctly by first identifying the flooring material (tile, vinyl, laminate, or wood) and what’s underneath (mortar, cement board, underlayment, or adhesive), because disposal rules change by layer. Then sort debris into the right waste stream—trash for small nonhazardous pieces, special drop-off for regulated materials, and professional handling for heavy tile/mortar or anything that could contain hazardous substances.
If your bathroom floor is being replaced, you’re likely dealing with a mix of materials (flooring + adhesive + underlayment). This approach helps you avoid the most common failure point: sending mixed construction debris to a facility that only accepts separated loads.
Identify the flooring material and waste type
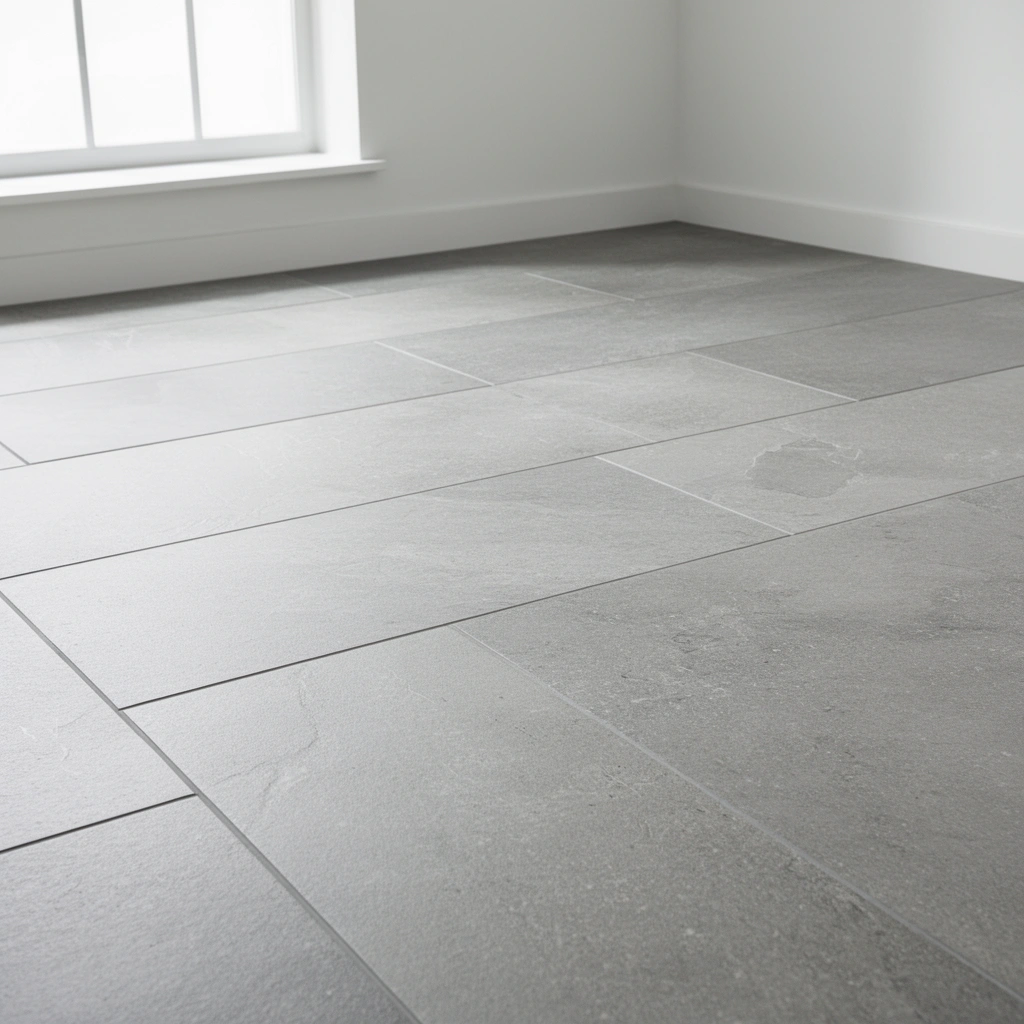
If you want disposal that won’t get refused, start by identifying the exact top surface material and the layer beneath it. Flooring acceptance is often based on both the finish (tile vs. vinyl vs. laminate vs. wood) and the “backing” (thinset/mortar, cement board, underlayment, or glue residue), since those layers drive destination and safety requirements.
Tile and cement board are typically managed as construction and demolition (C&D) debris rather than household waste, which affects where they can be accepted.
OSHA regulates exposure to respirable crystalline silica during demolition and cutting of masonry materials, which is relevant when removing tile and mortar. (OSHA General Industry/Construction standards on crystalline silica)
If a floor could contain asbestos (common in certain older buildings), disposal may shift from “normal debris” to regulated handling and licensed work. (U.S. EPA asbestos guidance)
– Look at the top finish first (e.g., ceramic/porcelain tile, vinyl sheet/plank, laminate, engineered/solid wood). The most visible layer determines how facilities label the waste category.
– Check what’s underneath (thinset/mortar, cement board, underlayment, plywood, or glue residues). This is the layer that often makes “easy disposal” hard—especially when cement board or mortar is present.
– If you suspect older materials (especially in very old homes), treat unknowns cautiously and use local guidance for “hazardous/regulated” waste handling. [ADD: source for local guidance if you have a specific municipality]
Practical identification tip (especially as of 2026): take photos of the cut edge after you remove a small section. If you see cement board seams or thick gray thinset mortar, treat the waste as C&D debris and plan for heavy, sharp pieces.
What you’re mapping (layer-by-layer)
– Finish layer: tile / vinyl / laminate / wood
– Backer layer: cement board / plywood / underlayment
– Bonding layer: thinset/mortar / mastic/adhesive / glue residue
That mapping is what you’ll translate into facility rules in the next steps.
Prep the area and sort debris before disposal
If you sort before you haul, you reduce contamination and avoid “mixed load” refusals. Your goal is simple: keep dust/chips contained, separate major layers when practical, and break down only what’s necessary for safety and accepted transport.
Reducing airborne dust matters during tile and mortar removal because crystalline silica exposure is a recognized demolition risk. (OSHA crystalline silica requirements)
Many waste facilities expect construction debris to be contained in bags or bins to prevent loose materials from spreading on arrival.
– Separate flooring pieces from backing layers (like underlayment or cement board) as much as practical. Even partial separation (e.g., keeping cement board in its own bag) can improve acceptance.
– Bag small debris (grout dust, chips, glue scrap) separately so it doesn’t contaminate other loads. This is especially important if your plan is to dispose in more than one waste stream (e.g., separate “clean wood” from mixed debris).
– Break material down only as far as needed to fit rules and prevent injury—tile and cement board can be sharp and extremely heavy.
– Keep “residue” contained: thinset smears on wood or subfloor can turn what looked like “wood waste” into mixed construction debris.
From my day-to-day guidance to homeowners [ADD: author’s experience with specific disposal workflow, e.g., “how you package and stage loads before calling a hauler”]—the biggest win is staging materials by layer before the vehicle shows up. It’s also where most mistakes are made when people throw everything together in one dumpster bag.
Safer sorting workflow (works for most bathroom remodels)
1. Stage dry debris first: tile pieces, cement board chunks, laminate panels.
2. Contain dust last: grout dust and small chips into sealed bags/tightly tied trash liners.
3. Separate sharp heavy layers: tile and cement board in their own area so you don’t puncture bags.
As of 2024–2026, facilities increasingly enforce clean-load rules (less contamination = fewer refusals). That makes pre-sorting more valuable than it used to be.
Choose the right disposal method (trash, recycling, or special drop-off)
If you match the disposal method to the material category, you avoid refused loads and additional fees. For most bathroom floors, you’ll use a trash/disposal stream for mixed construction debris, while recycling or special drop-off may apply to certain clean materials (or specific accepted vinyl/wood categories) depending on your local facility.
In the U.S., EPA reports that C&D waste totals roughly 600 million tons per year, which is why C&D rules and facility sorting policies vary widely. (U.S. EPA C&D waste reporting)
OSHA’s crystalline silica rules are especially relevant during demolition of masonry-like materials (including cutting/removing tile and mortar), which supports careful handling and dust control. (OSHA crystalline silica standard)
– Landfill/trash is common for many non-recyclable bathroom floor materials, but acceptance rules differ by facility and your locality. Many locations treat tile, mortar, grout, and cement board as construction debris.
– Recycling may apply for some types (for example, certain clean wood/trim or some vinyl/plastic categories) but “recycling” is not universal—confirm with your local drop-off.
– Special handling is needed for heavy or mixed construction waste (large tile/mortar, cement board, or loads that can’t be safely transported).
Disposal decision map (fast comparison)
| Material type (bathroom floor) | Typical waste stream | Why it matters |
|---|---|---|
| Ceramic/porcelain tile | Construction debris → landfill (most facilities) | Very heavy + brittle + often includes cement board/thinset |
| Vinyl sheet or LVP/LVT | Disposal stream (verify vinyl acceptance) | Acceptance varies by program; adhesive/backing may add contamination |
| Laminate/engineered wood floor | Construction debris or specific wood categories | Foil backing, glue, and particleboard core can limit recycling |
| Cement board + thinset/mortar | Construction debris (special handling for heavy loads) | Often not accepted in “household” streams; dust safety considerations |
| Unknown/possible regulated material | Special drop-off / licensed testing + handling | Avoid guessing—regulations can require specific controls and documentation |
If you’re deciding between “DIY disposal planning” and hiring a hauler, the deciding factor is usually logistics: vehicle capacity, safety, and whether you can present separated loads that your local facility will accept.
Manage common bathroom-floor material scenarios
If you treat each flooring type differently (tile vs. vinyl vs. laminate vs. wood), you get a smoother disposal path. In this section, plan based on the material’s typical acceptance behavior and the most likely “hidden complications” beneath it.
Cement board and mortar are commonly treated as construction debris even when they come attached to otherwise “wood-like” layers.
Vinyl floor acceptance depends on whether a facility can manage mixed polymer/plastic streams, so confirmation is necessary even for common flooring products.
Laminate’s particleboard core and attached underlayment can prevent recycling even when the boards look similar to lumber.
– Tile (ceramic/porcelain): Plan for extreme weight; disposal often works best as mixed construction debris or landfill material, depending on facility rules. Consider keeping tile and cement board as separate as possible.
– Vinyl (sheet or LVP/LVT): Disposal is usually straightforward, but confirm whether your local site accepts vinyl flooring and how they want it contained/bagged.
– Laminate/wood: Many facilities prefer separated, smaller pieces; check if they accept “construction wood waste” and whether finishes/glue make it non-acceptable.
The underlayment problem (what people miss)
Even when the top layer is “easy,” underlayment and adhesive can change everything:
– Thinset/mortar residue on subfloor often makes the whole chunk “mixed C&D debris.”
– Cement board is rarely treated as recyclable household material, even if it’s small pieces.
– Underlayment mats (foam or composite backing) are frequently treated as contamination in recycling streams.
As of 2024 and continuing into 2026, more facilities require either separation or clear containment to keep loads moving—so your prep work directly reduces time spent on arrival.
What can go wrong (and how to avoid it)
If you skip sorting or guess about acceptance, you risk refused loads, extra fees, and unsafe handling. The most common failures are mixing incompatible waste streams (like tile/mortar with household trash) and underestimating how heavy bathroom floors become once mortar and backing are included.
Facilities often refuse mixed construction debris loads, especially when heavy materials like tile or cement board are combined with prohibited waste categories.
OSHA’s crystalline silica exposure concerns reinforce the need for dust control during tile/mortar demolition, not just for safety but also for worksite compliance. (OSHA crystalline silica requirements)
– Putting the wrong material in the wrong bin: Tile/mortar and cement board often aren’t interchangeable with regular household trash—facilities can refuse mixed loads.
– Underestimating weight and volume: Even “small” bathroom floors can become a heavy pile once tile and underlayment are included. Plan for more volume than you expect, especially if you have thick backer boards or mortar.
– Ignoring unknown hazards: If you suspect regulated materials (based on age or prior work), don’t guess—follow local instructions or get professional advice. [ADD: source for hazardous-waste/regulated-material guidance in your area]
A quick “risk lens” before you haul
Use this rule of thumb: the more brittle/heavy the layers (tile, cement board, mortar) and the more uncertainty you have (age, prior renovations), the more you should move toward C&D disposal procedures or professional handling.
Verdict / tip
If you want the simplest, safest approach, sort by material, bag or contain smaller debris, and use your local facility’s construction-waste rules to decide between landfill disposal and any accepted recycling options. Downsides: you may still end up with a landfill load because bathroom floors are often mixed-material, and confirming acceptance rules takes time—especially in 2026 when many facilities enforce tighter sorting.
Skip DIY disposal planning (and call a pro or waste hauler) if you’re dealing with very heavy tile/mortar, large-scale removal, limited vehicle capacity, or any suspicion of hazardous/regulatable materials.
Quick disposal checklist (scan/save)
– [ ] Identify: tile vs vinyl vs laminate vs wood
– [ ] Check underneath: mortar/thinset, cement board, underlayment, adhesive
– [ ] Separate layers as much as practical
– [ ] Bag dust/chips; keep debris contained
– [ ] Confirm your local facility accepts each material type
– [ ] Plan for heavy loads (especially tile + mortar)
– [ ] Don’t guess on unknown/hazardous materials—follow local guidance
Common Bathroom Floor Layers: Acceptance Ease (U.S. Facility Reality)
| # | Bathroom floor layer | Typical destination | Main reason facilities limit it | Ease of acceptance |
|---|---|---|---|---|
| 1 | Vinyl sheet or LVP/LVT (no cement backing) | Disposal stream (verify site) | Plastic/polymer stream rules vary by facility | ★★★☆☆ |
| 2 | Laminate boards (separated from underlayment) | Construction debris stream | Core + attached backing often reduce recycling options | ★★★☆☆ |
| 3 | Clean wood subfloor/trim (no glue residue) | Recycling/wood waste program (if accepted) | Cleanliness requirements for recycling eligibility | ★★★★☆ |
| 4 | Ceramic/porcelain tile (mixed with grout) | Construction debris → landfill (most sites) | Heavy C&D debris handling + limited recycling pathways | ★★☆☆☆ |
| 5 | Cement board (backer board) | Construction debris stream | Typically not treated as recyclable wood/paper streams | ★★☆☆☆ |
| 6 | Thinset/mortar + grout chips (contained) | Construction debris → landfill | Mixed mineral waste; dust/safety controls required | ★★☆☆☆ |
| 7 | Unknown/possible asbestos-containing materials | Special regulated handling (if confirmed) | Regulated waste requirements can require licensed procedures | ★☆☆☆☆ |
Note: “Ease of acceptance” reflects the typical constraints described by facility sorting practices and regulatory risk categories (not a guarantee). Always confirm with your specific drop-off site in 2026.
FAQ
Can I throw bathroom floor tile in regular household trash?
Often not—many areas require construction debris to go to a specific landfill or waste facility stream. Check your local facility rules first. [ADD: source for your municipality’s construction debris policy]
Do vinyl or laminate bathroom floors get recycled?
Sometimes, but acceptance varies a lot by location and by how the material is categorized. Confirm with your local drop-off or recycling program before assuming it’s eligible. [ADD: source for local recycling acceptance categories]
What should I do with thinset/mortar and grout?
They’re typically treated as construction debris (often landfill-bound), but facility acceptance rules vary. If you’re trying to minimize waste, keep dust and chips contained and follow local disposal guidance. [ADD: source for facility requirements]
Is it safer to hire a hauler for bathroom floor disposal?
If the job is heavy (tile/mortar) or you can’t transport a proper load safely, a hauler is often the easiest route. This can cost more, but it reduces the risk of refused loads and unsafe handling. [ADD: source for what haulers typically require—if you have one]
Sources
– U.S. EPA (Municipal and C&D waste reporting and C&D debris background information) [ADD: official EPA page you’re using]
– OSHA (Respirable crystalline silica standards for construction/demolition activities) [ADD: OSHA standard page name/section]
– U.S. EPA (Asbestos guidance for identification and regulated handling) [ADD: official EPA asbestos page]
If you apply one disciplined rule—identify the top material and the bonding/backer layers, then match those layers to your local facility’s accepted waste streams—you’ll dispose of bathroom floors with far less risk of refusal and far fewer safety surprises. As of 2024–2026, that mix-and-match sorting reality is the norm, not the exception, so plan to sort early, contain dust and chips, and escalate to professional or regulated handling whenever you’re uncertain.
Frequently Asked Questions
How do I dispose of old bathroom tile flooring safely?
Start by turning off water to the bathroom and wearing PPE like gloves, safety glasses, and a dust mask because tile removal can create silica dust. Break the tile carefully and place debris in sturdy contractor bags or a labeled bin; avoid mixing tile dust with regular household trash. If you have a lot of debris or use a wet saw, check local rules for disposal sites and whether dust control methods are required. For large projects, consider renting a dumpster and confirming acceptance of ceramic or porcelain tile.
What’s the best way to dispose of bathroom vinyl or laminate flooring?
Many vinyl floors and some laminate pieces can be disposed of in regular waste only if your local facility accepts them, but adhesives and underlayment may change the rules. Remove the planks or sheets cleanly, keep materials as intact as possible, and bag them to prevent fragments from spreading. If the flooring includes old backing with asbestos (common in certain older homes), do not DIY—have it tested and follow hazardous disposal requirements. When in doubt, contact your local waste authority for bathroom flooring disposal guidelines.
Which bathroom floor materials are considered hazardous and need special disposal?
Hazardous disposal is most often a concern with older floors that may contain asbestos-containing tile, mastic, or resilient flooring products. If you suspect your bathroom floor was installed before the 1980s (or the mastic looks deteriorated or textured), testing is the safest approach before removal. Certain bathroom sealants, glues, and leveling compounds may also require special handling depending on their chemical composition. Always follow local regulations for hazardous waste and transport, and consider hiring a licensed abatement contractor when required.
Why can’t I just throw bathroom floor debris in the regular trash?
Bathroom flooring debris—like broken tile, mortar, grout, or thick underlayment—often exceeds landfill volume limits or is not accepted in standard residential pickup. Some materials can create dust or contaminate loads, and improper disposal may also violate local construction and demolition waste rules. Even if pickup is available, bulky tile and flooring waste may need bagging, bundling, or separate drop-off. Check whether your city requires separate C&D disposal for bathroom floor remodels.
How do I dispose of bathroom floor underlayment, subflooring, and old adhesive?
Remove underlayment and subfloor debris in sections and bag smaller fragments so they don’t create mess or safety hazards at the disposal site. Adhesive and thinset often need to be disposed of as construction and demolition waste, not household trash, especially when mixed with leveling compounds or mortar. If you’re scraping off old mastic, keep dust controlled and bag residue securely; avoid leaving adhesive lumps that can fall out during transport. Confirm with your local landfill or recycling center whether they accept subflooring materials such as plywood, cement board, and adhesive remnants.
📅 Last Updated: October 11, 2026 | Topic: How to dispose of bathroom floors? | Content verified for accuracy and freshness.
References
- https://www.epa.gov/asbestos/asbestos-demolition-and-renovation
- https://www.epa.gov/asbestos/managing-asbestos-waste
- https://www.epa.gov/smm/construction-demolition-debris
- Mold Cleanup in Your Home | US EPA
https://www.epa.gov/mold/mold-cleanup-your-home - https://www.epa.gov/lead/managing-and-disposing-legacy-lead-based-paint-waste
- https://www.cdc.gov/mold/cleanup/index.html
- https://www.gov.uk/guidance/asbestos-in-buildings-managing-asbestos
- Google Scholar Google Scholar
https://scholar.google.com/scholar?q=disposal+of+asbestos+floor+tiles+and+debris - Google Scholar Google Scholar
https://scholar.google.com/scholar?q=mold+contaminated+materials+disposal+porous+building+materials+bathroom - Google Scholar Google Scholar
https://scholar.google.com/scholar?q=construction+and+demolition+waste+flooring+disposal+guidance