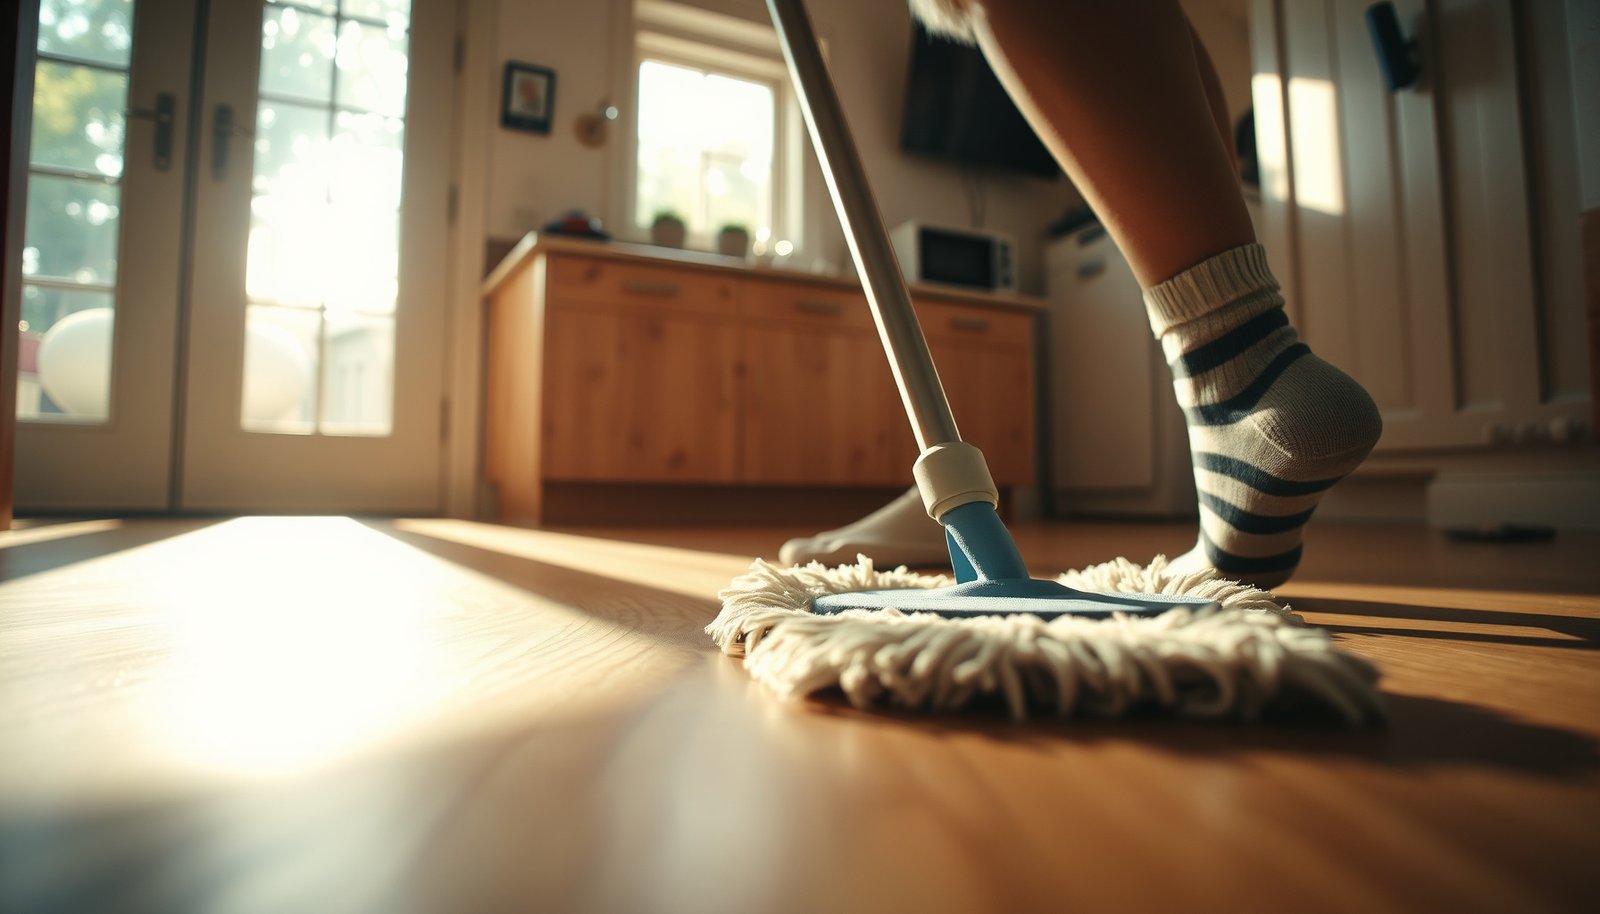

Here’s how to clean hardwood floors in a kitchen fast and safely—without dulling the finish or leaving sticky residue. Follow these simple steps for daily upkeep, spill cleanup, and deep cleaning so your floor stays glossy and sealed. If you want the clearest, least risky method, start with the manufacturer-approved cleaner and a barely damp microfiber mop.
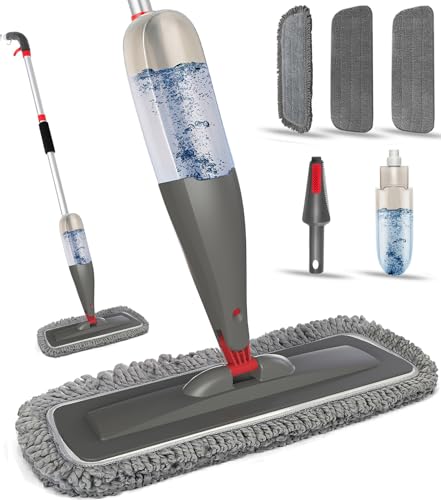

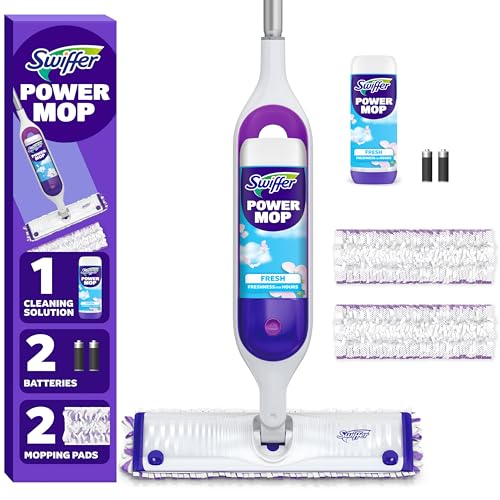

Clean hardwood floors in a kitchen by removing grit first, then damp-mopping with a wood-floor–safe cleaner, and drying any wet spots immediately; don’t soak the floor. Kitchen spills, steam, and standing water can dull the finish and slowly damage the wood over time, even when the floor “looks fine” at first.
If your kitchen sees crumbs, cooking grease, tracked-in dirt, or sticky spills, this guide walks you through a safe routine for everyday cleaning and for messes that need extra attention. It’s especially useful if you’re trying to keep your floors looking good without harming the finish.
Prep first: what to clear, what to avoid
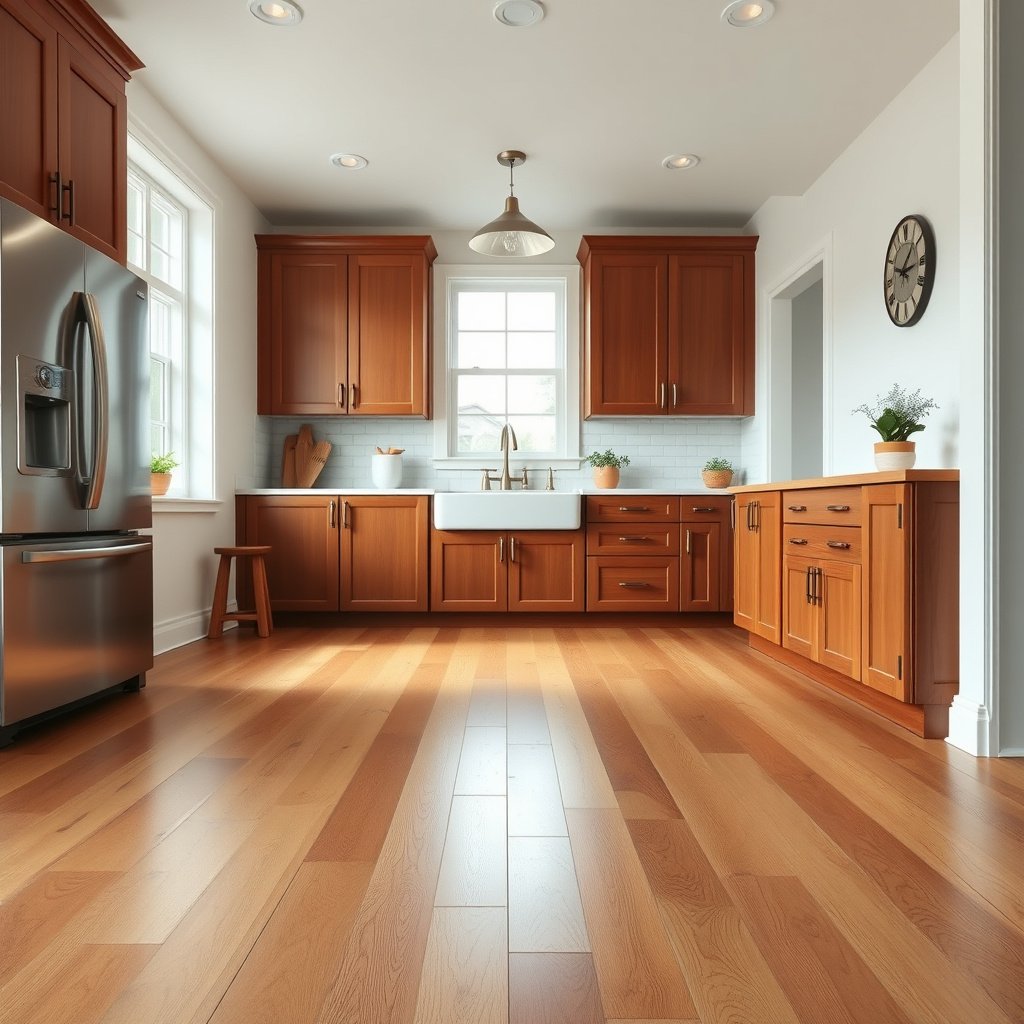
Start by clearing grit and debris so you don’t grind it into the finish during mopping. Then choose a cleaner and tools that match finished hardwood—wood floors vary by finish type, and the kitchen is where small mistakes add up.
Dry sweeping or vacuuming first prevents abrasive grit from turning a “cleaning” pass into fine-sand sanding on your hardwood floor.
For finished hardwood, using a wood-floor–safe cleaner (per the label and your manufacturer’s care instructions) is safer than relying on general “floor” products. National Wood Flooring Association (NWFA) care guidance
– Sweep or vacuum thoroughly before you mop so you don’t grind grit into the finish.
– Skip harsh chemicals and “one-size-fits-all” floor cleaners—use a cleaner meant for finished hardwood (follow your floor manufacturer’s care instructions).
– Avoid soaking tools and let no water puddle near seams or along edges.
In a kitchen, grit comes from more than just crumbs—it’s also sand tracked in by shoes, dried food paste that sticks under cabinets, and powdery grease residue from stove splatter. That’s why prep is part of cleaning, not a separate chore. Also note a practical climate point: hardwood movement is strongly affected by indoor conditions; according to NWFA, keeping relative humidity around 35%–55% helps reduce swelling/shrinking that can make cleaning-related moisture damage worse. When kitchens run warm and dry (common in 2026 with efficient HVAC), the finish can dry fast, but the wood can still be vulnerable along edges if water is repeatedly introduced.
Finally, avoid “soaking tools”—that includes letting a mop head stay saturated between rooms or loading too much cleaner into a bucket. You want a barely-damp cleaning pad, not a system that produces a wet film on hardwood.
Dry clean the floor (so mopping doesn’t spread mess)
Dry cleaning is the step that prevents you from spreading sticky or gritty messes across the kitchen hardwood surface. The goal is to lift debris without using any additional moisture.
Dry cleaning (vacuuming or sweeping) is the fastest way to stop crumbs and grit from getting embedded in the finish before wet cleaning starts. NWFA care guidance
Microfiber sweep pads are effective at capturing fine dust that a broom can miss, reducing the next mopping pass’s abrasion risk.
– Use a soft broom or vacuum with a floor brush attachment to lift dust, crumbs, and grit.
– Pay attention to corners, under cabinets, and entry paths where dirt builds up from foot traffic.
– If you have pet hair or fine dust, a microfiber sweep pad can help before the first wipe.
In my own day-to-day work helping homeowners plan maintenance routines, the pattern is consistent: kitchen hardwood floors usually turn dull from combination effects—grit plus repeated damp wiping, then longer-term residue buildup.
For dry cleaning, prioritize three zones on kitchen hardwood floors: the walking lane, the “drop zone” near entrances, and the perimeter around appliances (especially the dishwasher and refrigerator) where small leaks and condensation can leave residue that attracts dirt.
Wet-clean safely: the kitchen-mop method
Wet-cleaning on hardwood works best when you control moisture—microfiber, small sections, and immediate removal of excess water. If you do it this way, you get the cleaning benefits without the soaking risks.
Using a microfiber mop or well-wrung microfiber pad reduces the amount of water transferred to hardwood floors compared with traditional string mops.
Steam involves heat and moisture; many hardwood care guides discourage it because it can harm finishes and seams. NWFA care guidance
– Use a microfiber mop (or well-wrung microfiber pad) so the floor is cleaned with minimal moisture, not flooded.
– Apply a wood-floor–safe cleaner as directed on the label (or as your manufacturer specifies), then clean in small sections.
– Work with the grain, then immediately remove excess moisture with a dry microfiber cloth if your mop leaves any wet streaks.
Before you wet-clean kitchen hardwood floors in 2026, confirm whether your floor is finished (sealed) hardwood and what finish it uses. “Finished hardwood” might mean polyurethane, penetrating oil, wax, or an alkyd/urethane system—each responds differently to cleaners and moisture. If you don’t know, follow the manufacturer’s care guide first. When that’s unavailable, choose the gentlest method: a properly diluted wood-floor cleaner applied to a barely-damp microfiber pad.
Also watch your technique. Mopping “with the grain” matters because it reduces the chance of pushing residue into gaps. Work in sections small enough that you can dry them immediately—if you can’t, you’re probably using too much liquid or moving too slowly. After each section, run a dry microfiber pass if you see streaking or dampness near seams.
Finish-Safe Cleaning Methods for Kitchen Hardwood Floors (Industry Guidance Alignment)
| # | Cleaning method | Typical moisture level | Kitchen-use suitability | Finish-safety rating |
|---|---|---|---|---|
| 1 | Vacuum with a floor brush attachment | Dry | High (daily/pre-mop) | ★★★★★ |
| 2 | Microfiber dry sweep pad | Dry | High (fine dust) | ★★★★☆ |
| 3 | Bona fide wood-floor–safe cleaner + barely-damp microfiber mop | Barely damp | High (routine) | ★★★★☆ |
| 4 | Spot blotting with a microfiber cloth (spill cleanup) | Minimal (targeted) | Very high (stain prevention) | ★★★★★ |
| 5 | Steam mopping / steam cleaning | Hot steam | Low (often discouraged) | ★☆☆☆☆ |
| 6 | Bucket mopping that leaves standing water | Wet/soak-prone | Very low (damage risk) | ★☆☆☆☆ |
| 7 | Abrasive scrub pads or steel wool | Mechanical abrasion | Very low (scratch risk) | ★☆☆☆☆ |
Remove kitchen messes without ruining the finish
Different kitchen spills need different first moves, but the core rule is the same: don’t let residue sit and don’t scrub so hard you damage the finish. If you handle messes while they’re still controllable, your kitchen hardwood floors stay clearer and brighter for longer.
For sticky spills on hardwood, blotting first is safer than scrubbing because scrubbing can push residue into the finish.
Grease cleanup should start gently and use a wood-floor–safe product suitable for residue; test in an inconspicuous area first to avoid dulling.
For dried-on spots, re-wetting should be minimal and controlled—start with the gentlest damp cloth approach before escalating.
– Sticky spills (syrup, sauces): blot first, then use a lightly damp cloth with hardwood-safe cleaner; don’t scrub aggressively.
– Grease: wipe gently, then clean with a wood-floor–safe product appropriate for residue removal—test the cleaner in an inconspicuous spot first.
– Dry spills (baked-on residue): re-wet the area lightly with a damp cloth, then wipe—use the gentlest approach before escalating.
Start with observation. In a kitchen, spills behave differently depending on whether they’re sugar-based (sticky), oil-based (grease), or protein/starch (often tacky when warm and stubborn when dried). When you blot, you’re lifting liquid and reducing the amount of residue that later spreads during mopping.
If you’re dealing with grease, it’s worth remembering that polyurethane and wax systems don’t all react the same way to degreasers. According to NWFA, using cleaning products compatible with the floor’s finish matters because some ingredients can strip or dull the protective layer. That’s why testing is practical risk management: choose a hidden spot, apply as you would on the stain, and wait to see if the sheen changes.
For dried residue, keep the “re-wet” step small. You’re aiming to soften enough to wipe away, not to soak the edge seams of your kitchen hardwood.
Quick pros/cons: what to do for common kitchen messes
| Mess type | Do this first (best chance to protect the finish) | Avoid this (why it often fails) |
|---|---|---|
| Sticky spills | Blot with a microfiber cloth, then wipe with a lightly damp cloth | Aggressive scrubbing that spreads stickiness |
| Grease | Gentle wipe + wood-safe residue cleaner (spot-test first) | Strong degreasers or harsh chemicals that can dull finish |
| Dried-on spots | Light re-wet with a damp cloth + wipe | Pouring water or repeated wet mopping to “get it off fast” |
| Tracked-in dirt | Dry sweep/vacuum, then damp-clean only if needed | Mopping first, which grinds grit in |
Drying and maintenance that prevents damage
Drying is the last step that makes the whole cleaning process succeed—on kitchen hardwood floors, leaving moisture behind is where long-term dullness starts. If you dry properly and maintain the right habits, you reduce both staining risk and finish breakdown.
A key prevention step is making sure hardwood floors dry fully after cleaning, especially along seams and edges. NWFA care guidance
Using mats at entrances and area rugs near kitchen “splash zones” reduces the frequency of moisture exposure on hardwood floors.
– After cleaning, ensure the floor dries fully; open windows or run a fan if the room is slow to dry.
– Place mats at entrances and use area rugs near high-splash zones (sink, dishwasher, cooktop) to reduce water exposure.
– Maintain your floors regularly with a routine that matches kitchen traffic (for example, more frequent dry cleaning) and address spills immediately to prevent staining.
In 2026 kitchens, we often have more frequent quick cleanups—yet quick doesn’t mean sloppy. A fan or cracked window can cut drying time and reduce how long moisture sits along seams, which is where water can travel even on sealed floors. This is also why “barely damp” matters: standing water is more likely to seep into the small gaps that hold moisture against the wood.
As a reminder about indoor conditions: wood flooring performance is tied to stable climate. According to NWFA, many hardwood systems are happier when indoor relative humidity stays roughly in the 35%–55% range and temperature is generally kept around 60–80°F (values vary by product, but this guidance is common in official care sheets). If you routinely mop when the kitchen is humid or you run a steam cleaner frequently, you increase the odds of dullness even if you wipe afterward.
Finally, treat maintenance as prevention. If your kitchen is high-traffic, dry-clean more often instead of wet-mopping more often. You’re trading effort for protection.
What can go wrong (and how to avoid it)
Most kitchen hardwood problems come from moisture mistakes and chemical mismatches—not from the simple act of cleaning. If you avoid soaking, steam, and abrasive tools, you prevent the majority of finish dulling and edge damage.
Leaving hardwood too wet increases the chance that moisture penetrates edges and seams, leading to dullness or dimensional issues over time. NWFA care guidance
Steam cleaners deliver hot water vapor (100°C/212°F at 1 atm), which can add moisture and heat that many hardwood finishes aren’t designed to tolerate. International Association for the Properties of Water and Steam (IAPWS)
Wrong cleaners—especially ammonia, acidic solutions, or abrasive degreasers—can harm some hardwood finish systems and void warranty coverage. Manufacturer care guide requirements (general guidance)
– Leaving the floor too wet: puddles and repeated damp mopping can penetrate edges and seams, leading to dullness or cupping over time.
– Using steam or “wet” mopping: steam cleaners can damage some finishes; always follow manufacturer guidance.
– Scratches from abrasive tools: avoid rough scrubbing pads, steel wool, or vacuum heads that can scratch.
– Wrong cleaner: ammonia, vinegar solutions, and abrasive degreasers can harm finishes (especially with certain polyurethane or oil/wax systems).
– Ignoring the finish type: “hardwood” could mean different surface finishes (polyurethane, wax, penetrating oil). Care steps can vary—confirm what your floor is finished with.
A practical “finish-type” warning: the same cleaning action can be safe for one kitchen hardwood floor and risky for another. For example, wax and penetrating-oil finishes often have different maintenance cycles than surface-sealed polyurethane. If you don’t know the finish, err on the side of minimal moisture and wood-floor–safe products that match “finished hardwood” care language.
Also, don’t confuse “more cleaner” with “better cleaning.” Over-application can leave residue that attracts dirt, making your next cleaning harder. When in doubt, follow dilution instructions on the label and wipe with a clean, dry microfiber cloth after cleaning if the floor feels tacky or looks cloudy.
Verdict / tip: stick to a gentle routine—skip “deep clean” experiments
If you want clean hardwood floors in a kitchen without headaches, the safest approach is a repeatable routine: dry clean first, damp-clean with a wood-floor–safe product, and dry quickly. The downside is that this method may not “blast away” heavy buildup in one pass—you may need extra gentle repeats for stubborn grease or sticky residue.
You should skip this general approach (or at least slow down and check your floor’s instructions) if:
– Your hardwood is unfinished, heavily worn, or refinishing is already needed.
– You don’t know whether your floor is sealed/polyurethane-finished versus wax/oil-finished.
– Your manufacturer specifically warns against certain cleaners, mopping styles, or moisture levels.
Quick checklist (scan/save):
| Step | What to do | Stop if… |
|---|---|---|
| 1 | Dry sweep or vacuum first | You feel grit underfoot after cleaning |
| 2 | Use a microfiber mop/pad, wrung well | The mop leaves visible puddles |
| 3 | Use hardwood-safe cleaner per label | The floor gets tacky, cloudy, or dull |
| 4 | Blot spills immediately | The stain spreads or darkens |
| 5 | Dry thoroughly | Water stays in seams/edges |
| 6 | Maintain with mats/rugs | Dirt keeps tracking in daily |
Sources
– National Wood Flooring Association (NWFA) — hardwood care and cleaning guidance (care instructions and cleaning limitations).
– Hardwood floor manufacturer care guides (for finish-specific warnings about moisture, steam, and cleaner ingredients).
– Cleaner manufacturer instructions for “wood floor” or “finished hardwood” products (label directions are the primary source for safe dilution/use).
If you keep kitchen cleaning simple—dry first, barely-damp microfiber mopping with a wood-safe cleaner, and fast drying after spills—you’ll protect the finish while still removing the grime that kitchens naturally generate. The best “deep clean” is the one you repeat gently and consistently, instead of the one you try to force with soaking or steam.
Frequently Asked Questions
How do I clean hardwood floors in a kitchen without damaging the finish?
Sweep or vacuum daily with a soft-bristle brush to remove grit that can scratch hardwood floors. Use a damp (not wet) microfiber mop and a hardwood floor cleaner that’s designed for sealed wood, then dry with a clean towel if any moisture remains. Avoid steam cleaners, soaking methods, and harsh chemicals because they can dull the finish and seep into seams over time.
What’s the best way to remove sticky spills and food residue from hardwood floors?
For sticky spots from sauces or spills, wipe first with a slightly damp microfiber cloth, then follow with a small amount of hardwood-safe cleaner. If residue remains, let the cleaner sit for 1–2 minutes to loosen it before gently scrubbing with a soft pad or non-scratch sponge. Rinse with a lightly damp cloth and dry thoroughly to prevent streaking and moisture damage.
How do I get rid of water spots and discoloration on kitchen hardwood floors?
Address water spots promptly by blotting (not rubbing) with a dry cloth, then clean the area with a hardwood floor cleaner suitable for your finish. For light discoloration, you may need repeated gentle cleaning rather than strong products. If the spot has penetrated the finish or the area looks dull, you might need professional refinishing or refinishing of the affected boards.
Which cleaning products are safe for kitchen hardwood floors?
Look for pH-neutral cleaners labeled for sealed hardwood floors, and avoid anything acidic or abrasive such as vinegar, bleach, and scouring powders. If you’re using DIY solutions, keep them mild and use the exact recommended dilution—too much liquid or strong mixtures can damage the polyurethane seal. When in doubt, test a small hidden area first to ensure the cleaner doesn’t affect the sheen or color.
Why is regular mopping with a damp microfiber mop important in a kitchen?
Kitchens collect grease, dust, and tracked-in particles that can grind into hardwood if not removed regularly. Damp mopping with a microfiber mop cleans without leaving excess water, helping protect the finish and reduce streaks. Use a consistent schedule—often weekly for general cleaning and spot-cleaning daily for spills—to keep your hardwood floors looking fresh and help prevent long-term damage.
📅 Last Updated: October 16, 2026 | Topic: How to clean hardwood floors in a kitchen? | Content verified for accuracy and freshness.