To apply a polyaspartic floor coating, start by preparing the surface, mixing the coating properly, and applying it evenly using a roller or sprayer. The coating should be allowed to cure according to the manufacturer’s instructions before use, ensuring a durable and long-lasting finish.
A polyaspartic floor coating offers numerous benefits, such as resistance to chemicals, UV rays, and abrasions. Whether you want to protect your garage floor or enhance the aesthetic appeal of your commercial space, applying a polyaspartic floor coating is a great choice.
We will discuss the step-by-step process of applying a polyaspartic floor coating to help you achieve a professional-looking, high-performance floor. So let’s dive in and learn how to apply polyaspartic floor coating effectively.
Why Choose Polyaspartic Floor Coating?
Polyaspartic floor coating is a popular choice for many homeowners and business owners due to its numerous benefits. One of the primary reasons to choose polyaspartic floor coating is its unparalleled durability and long lifespan. This coating is known for its ability to withstand heavy foot traffic, impact, and extreme temperatures. It can handle even the toughest conditions, making it ideal for high-traffic areas.
Another key benefit of using polyaspartic floor coating is its enhanced resistance to chemicals, stains, and abrasion. This coating creates a protective barrier that prevents chemicals and stains from penetrating the surface, making it easier to clean and maintain. Additionally, polyaspartic floor coating is highly resistant to abrasion, ensuring that the floor remains in pristine condition even with constant use.
When it comes to applying polyaspartic floor coating, it is essential to hire professionals who have experience in the installation process. They will ensure that the coating is applied correctly, delivering exceptional results. So, if you want a durable, long-lasting, and low-maintenance flooring solution, polyaspartic floor coating is the way to go!
Preparing Your Surface For Polyaspartic Coating
Preparing your surface for polyaspartic coating involves a few important steps to ensure optimal adhesion and longevity. First, start by cleaning and degreasing the surface thoroughly. Remove any dirt, dust, and debris using a broom or vacuum cleaner. Next, use a suitable degreaser or cleaner to remove any oils, grease, or other contaminants.
After cleaning, patch and repair any cracks, holes, or defects in the surface. Use a suitable patching compound or epoxy filler to fill in the imperfections. Smooth out the patched areas and allow them to dry and cure properly before moving on.
Ensuring smoothness and uniformity is crucial for the application of the polyaspartic coating. Use a sander or grinder to level any high spots or uneven areas on the surface. Remove any existing coatings or paints that are loose or peeling. The surface should be smooth and even before proceeding with the polyaspartic coating.
By following these steps, you can effectively prepare your surface for the application of polyaspartic floor coating. Taking the time to properly clean, repair, and prepare the surface will ensure a durable and long-lasting finish.
Applying Polyaspartic Floor Coating Step By Step
- Measuring tape
- Broom or vacuum cleaner
- Roller frame and cover
- Paint tray
- Extension pole
- Painter’s tape
- Respirator mask
- Protective goggles
- Gloves
- Stir stick
- Read the manufacturer’s instructions carefully.
- Pour the required amount of Part A and Part B into separate buckets.
- Using a stir stick, mix each component individually for the specified time.
- Combine the two components in one bucket and stir again until thoroughly mixed.
Applying the primer coat evenly on the surface:
- Clean the floor with a broom or vacuum cleaner to remove dust and debris.
- Apply painter’s tape to protect walls and edges.
- Pour the primer into a paint tray.
- Attach the roller frame to an extension pole.
- Dip the roller into the primer and roll it evenly on the floor.
- Work in small sections, ensuring complete coverage.
- Allow the primer coat to dry according to the manufacturer’s instructions.
Achieving A Seamless And Professional Finish
When applying polyaspartic floor coating, it is crucial to follow a systematic approach to ensure a seamless and professional finish. The process begins with the application of the base coat. This coat serves as the foundation and provides the necessary adhesion for the subsequent layers. It is essential to apply the base coat in a systematic manner, ensuring even coverage and avoiding any missed spots. This will ensure a consistent appearance and long-lasting durability.
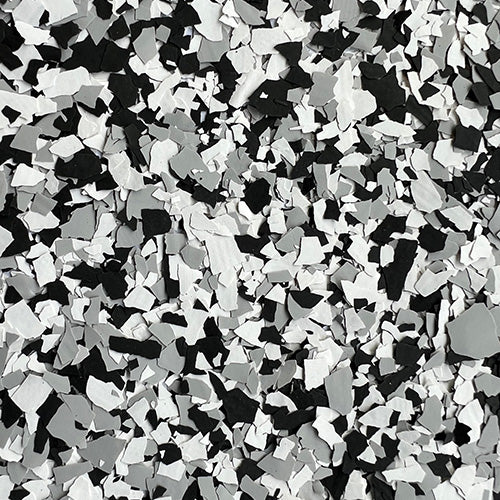
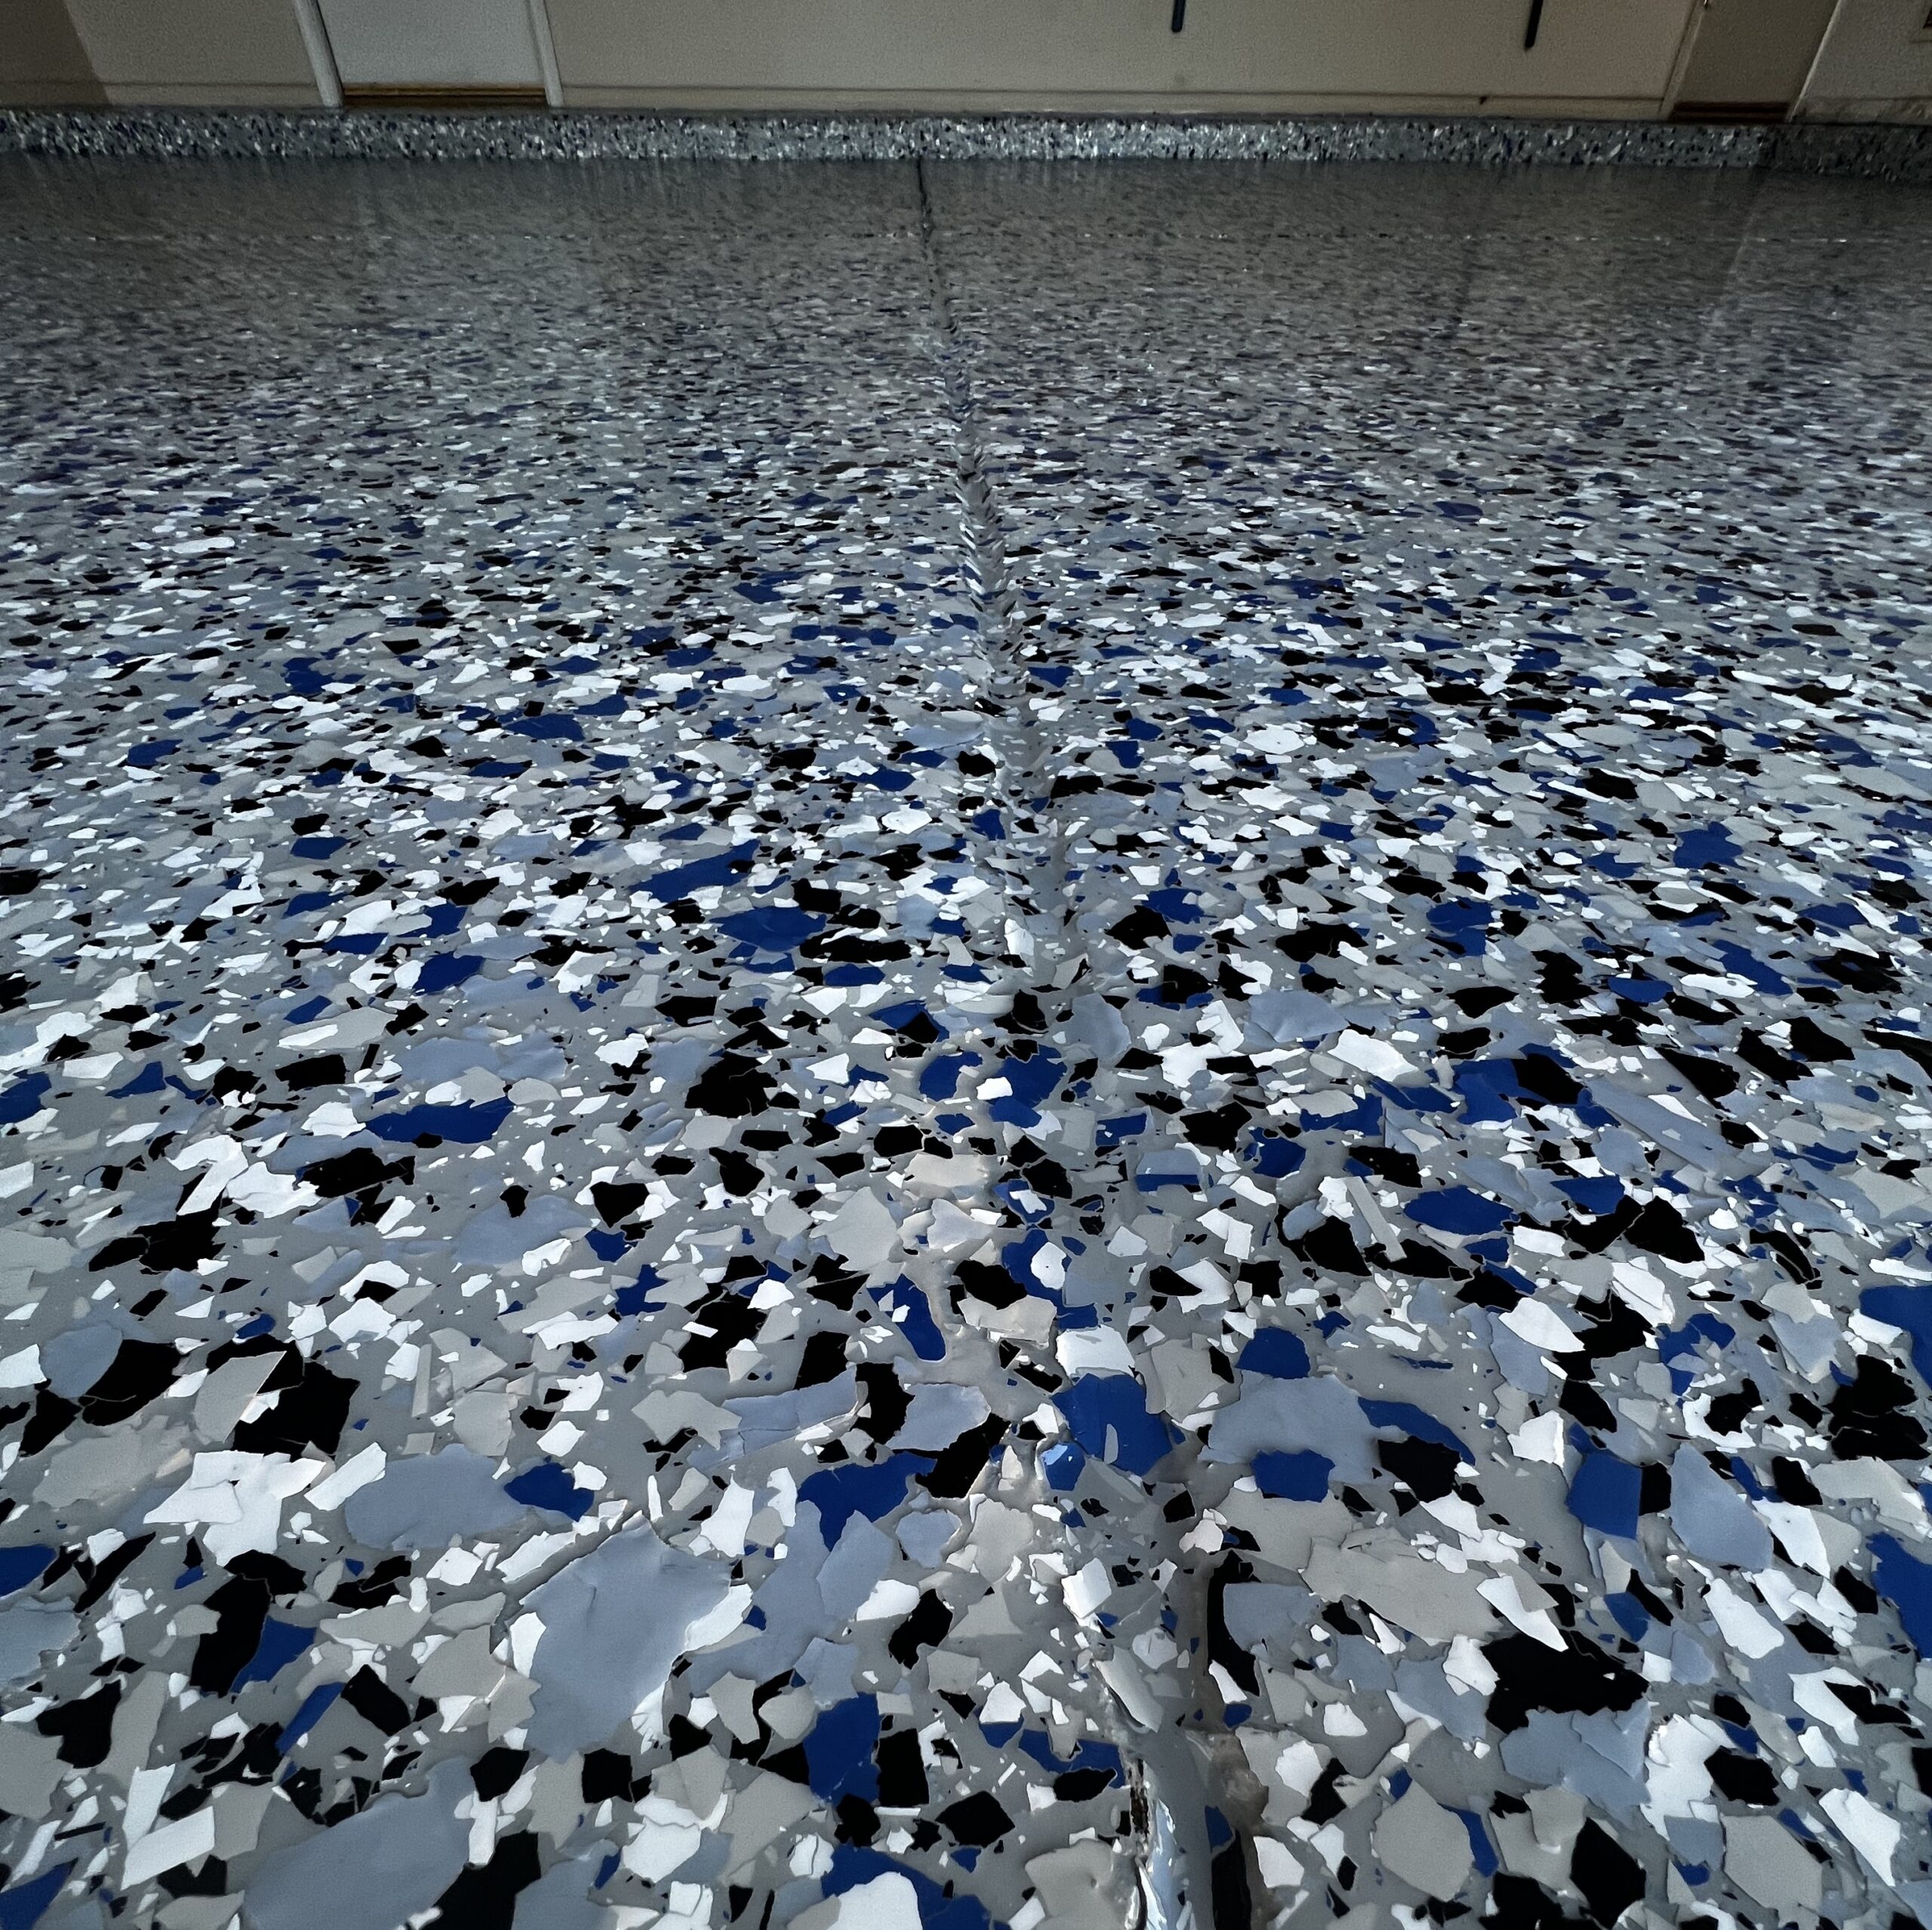
Once the base coat is applied, you can enhance the aesthetic appeal of the floor by adding decorative elements or designs. This could include patterns, logos, or colored flakes. These elements can add a unique touch to the floor and make it visually appealing.
To complete the process and provide additional protection, it is essential to finish with a clear topcoat. The topcoat acts as a protective layer, safeguarding the floor from stains, abrasions, and chemicals. It also enhances the floor’s shine and gloss, giving it a professional and polished appearance.
Curing And Maintaining Your Polyaspartic Coating
Allowing sufficient time for the coating to cure is crucial for long-lasting results. It is recommended to give the coating at least 24 hours to cure before subjecting it to heavy traffic or placing any furniture on it. This will ensure that the coating has fully bonded to the surface and is resilient to wear and tear.
Once the polyaspartic coating is cured, following recommended care and maintenance practices will help preserve its quality and appearance. Regular sweeping or vacuuming will remove dirt and debris that may scratch the surface. Mopping the floor with a mild detergent or cleaner specifically formulated for polyaspartic coatings is also recommended to maintain its shine.
If common issues such as peeling, chipping, or discoloration occur, it is important to address them promptly. Peeling or chipping can be fixed by gently sanding the affected area and applying a new coat of polyaspartic coating. Discoloration may require the use of a specialized stain remover or contacting a professional for advice.

Maximizing The Benefits Of Polyaspartic Coating
Enhancing the appearance of the coating with color options: One of the major advantages of polyaspartic floor coatings is their ability to be customized with various color options. These coatings can be made in a wide range of colors, allowing you to choose the one that best suits your aesthetic preferences. By selecting a color that complements your space, you can greatly enhance its overall visual appeal.
Adding slip-resistant additives for safety: Another benefit of polyaspartic floor coatings is the option to add slip-resistant additives. This creates a textured finish that improves traction and reduces the risk of slips and falls, particularly in high-traffic areas. It is especially important in commercial or industrial settings where safety is a top priority.
Exploring additional applications of polyaspartic coatings: While commonly used for garage floors, polyaspartic coatings have a range of other applications. They can be used on concrete countertops, kitchen floors, patios, and even in warehouses. The durability and resistance to stains and chemicals make them a versatile choice for various surfaces.
Frequently Asked Questions On How To Apply Polyaspartic Floor Coating
How Do You Prep A Floor For Polyaspartic Floor Coating?
To prep a floor for Polyaspartic floor coating, follow these guidelines: 1. Clean the floor thoroughly to remove dirt and debris. 2. Repair any cracks or damage in the floor. 3. Use a grinder or shot blaster to create a rough surface for better adhesion.
4. Apply an epoxy primer to seal the floor and enhance adhesion. 5. Finally, apply the Polyaspartic floor coating evenly for a durable and seamless finish.
How Many Coats Of Polyaspartic Do I Need?
Typically, you will need two coats of polyaspartic for optimal results.
How Long To Walk On Polyaspartic Floor Coating?
Walk on polyaspartic floor coating after 24 hours. It takes a day for the coating to fully cure before it can withstand foot traffic.
Does Polyaspartic Need A Primer?
Polyaspartic does not require a primer.
Conclusion
Applying polyaspartic floor coating is a simple process that can greatly enhance the durability and aesthetic appeal of your floors. By following these easy steps, you can achieve a long-lasting, high-quality finish that will withstand heavy foot traffic and daily wear and tear.
Whether for residential or commercial purposes, polyaspartic floor coating offers a cost-effective and efficient solution for protecting and enhancing your floors. So, why wait? Start applying polyaspartic floor coating today and enjoy the benefits it brings to your space.


