Installing hardwood floors typically takes around 2 to 7 days, depending on the size of the area and the complexity of the installation. Hardwood floors are a popular choice for many homeowners due to their durability, timeless aesthetic, and potential to add value to a property.
However, before diving into the installation process, it’s important to understand how long it might take to complete such a project. The duration of installing hardwood floors can vary depending on factors such as the size of the area, the type of hardwood chosen, as well as any additional customization or prep work required.
By having a rough estimate of the time needed for installation, homeowners can plan accordingly and ensure a smooth and efficient process. We will explore the factors that influence the installation timeline and provide a general idea of how long it usually takes to install hardwood floors.
1. Preparing For Hardwood Floor Installation
Before installing hardwood floors, it’s crucial to assess the room and determine the materials required. Measure the length and width of the room to calculate the square footage needed for the flooring. Consider any angles or irregularities that may affect the installation process.
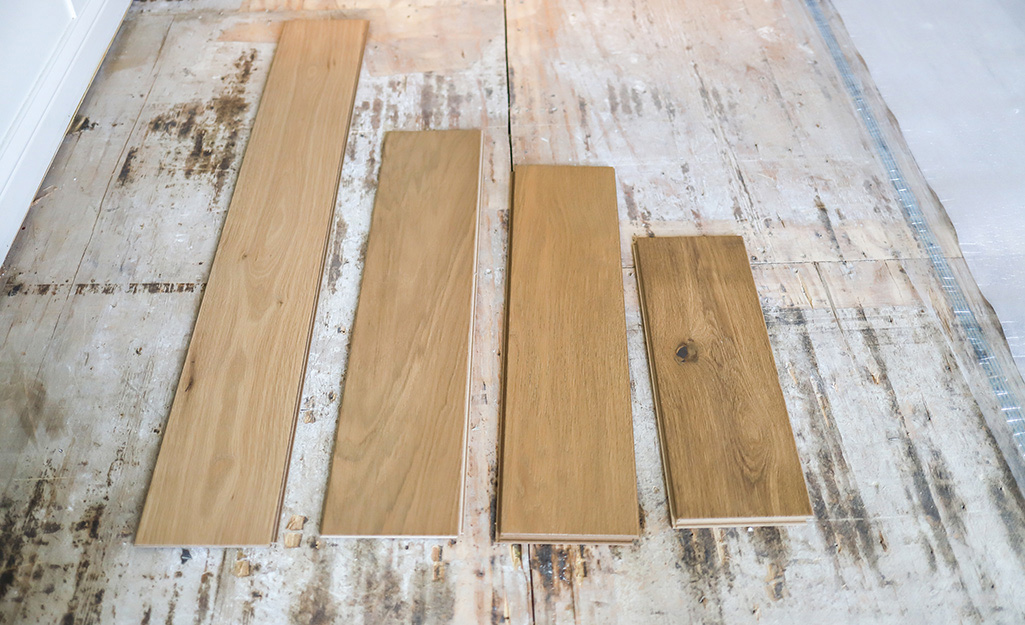
Prior to installation, the hardwood planks should be acclimated to the room’s temperature and humidity conditions. This allows the wood to adjust and prevents issues such as warping or shrinking after installation. Allow the planks to sit in the room for at least 48 hours.
Before installing hardwood floors, it’s essential to remove any existing flooring. This could include carpet, laminate, or tile. Ensure the subfloor is clean, level, and free of any debris or damage. Any imperfections should be addressed before proceeding with the installation.
2. Installing The Subfloor
Installing the Subfloor: Installing hardwood floors requires careful preparation of the subfloor to ensure a durable and long-lasting result. To start, it is important to check and prepare the subfloor surface before installing any new flooring. This involves examining the condition of the subfloor to identify any uneven areas, cracks, or damage that may need to be addressed. Once identified, these issues should be repaired or leveled to provide a smooth and even surface for the hardwood floors.
Laying Down the Moisture Barrier: Another crucial step in the installation process is to lay down a moisture barrier to protect the hardwood floors from any potential moisture-related issues. This barrier helps to prevent moisture from seeping through the subfloor and affecting the wood, which could lead to warping or damage over time. The moisture barrier can be in the form of a plastic sheet or a specialized underlayment designed to inhibit moisture penetration.
Installing the Plywood Subfloor: Once the subfloor is prepared and the moisture barrier is in place, you can begin installing the plywood subfloor. This involves laying down the plywood sheets across the entire subfloor area, ensuring they are securely fastened to provide a stable and level base for the hardwood flooring. Pay attention to aligning the plywood sheets properly and leaving a small expansion gap around the edges to accommodate possible floor movement.
3. Planning The Layout And Pattern
Planning the layout and pattern is an important step in installing hardwood floors. Measuring and determining the starting point is the first task to undertake. To do this, establish a reference line by finding the longest, straightest wall and making a chalk line. This line will serve as a guide for aligning the first row of flooring. Choose the starting point carefully, as it will affect the overall outcome and efficiency of the installation.
Once the starting point is established, work from there following the layout plan. Selecting and arranging the flooring pattern is crucial to achieve the desired look. Consider the room’s size, shape, and architectural features. There are various patterns to choose from, such as a straight pattern, diagonal pattern, or herringbone pattern. Experiment with different options to determine the best fit for the space.
4. Installing The Hardwood Flooring
When installing hardwood floors, one of the key steps is preparing the first row and ensuring a straight alignment. This ensures that the rest of the installation goes smoothly. To do this, carefully measure the width of the room and mark a line parallel to the longest wall. Use a chalk line to snap the line and then install the first row of flooring against it.
Once the first row is installed, it’s time to move on to nailing down or stapling the flooring planks. Make sure to use the recommended fastening method for your specific flooring type.
When it comes to handling cuts and corners, it’s important to measure and mark accurately before making any cuts. Use a miter saw or a handsaw to cut the planks to the desired length and shape. For corners and other intricate areas, a jigsaw may be necessary.
By following these steps carefully, you can ensure a successful hardwood floor installation that will last for years to come.
5. Finishing And Final Steps
Filling nail holes and sanding rough edges are important tasks in the finishing process of installing hardwood floors. Use a wood filler that matches the color of your hardwood to fill any visible nail holes. Allow the filler to dry completely before sanding. Use a sandpaper to smooth out any rough areas or unevenness.
Once the hardwood floors are smooth and free of imperfections, it’s time to apply a sealant or finish for protection. This helps to enhance the appearance and durability of the floors. Choose a sealant or finish that is specifically designed for hardwood floors and follow the manufacturer’s instructions for application.
After applying the sealant or finish, it’s important to clean and maintain the newly installed hardwood floors regularly. Use a soft broom or vacuum with a hardwood floor attachment to remove dirt and debris. Avoid using harsh chemicals or abrasive cleaners that can damage the finish.
Frequently Asked Questions For How Long To Install Hardwood Floors
How Long Does It Take Professionals To Install Hardwood Floors?
Professionals typically take around a week to install hardwood floors. The exact time can vary based on factors like the size of the area and any special requests. Overall, installation duration depends on individual circumstances and should be discussed with the professionals.
How Long Do You Have To Stay Off Hardwood Floors After Installation?
Wait for at least 24-48 hours before walking on newly installed hardwood floors to allow proper drying and setting. This helps prevent any damage and ensures longevity. Stay off the floors to protect their appearance, strength, and durability.
How Soon Can You Walk On Hardwood Floors After Installation?
You can walk on hardwood floors after installation within 24-48 hours.
How Long Does It Take To Install 500 Square Feet Of Hardwood Floors?
Installing 500 square feet of hardwood floors typically takes around 2 to 3 days.
Conclusion
Installing hardwood floors can be a time-consuming process, but the end result is worth the effort. From the planning stage to the actual installation, it’s important to have a clear understanding of the timeline. On average, it takes about 1-2 days to install hardwood floors in an average-sized room, depending on factors like the type of flooring, room size, and the skill level of the installer.
By following proper installation techniques and hiring a professional, you can ensure a successful and efficient process. So, whether you’re considering a DIY project or hiring a professional, understand that the time invested will lead to a beautiful and durable hardwood floor that will last for years to come.


