To sand hardwood floors in five simple steps, first gather proper tools like a drum sander, various grit sandpapers, and safety gear. Next, clear and prepare the room, removing furniture and securing vents. Start sanding with coarse grit (36-40) to strip old finish and even the surface. Progress through medium (80-100) to fine grits (120-180) for smoothness. Finally, thoroughly clean and inspect the floor for flaws. Follow this method to achieve a professional and durable finish; more detailed guidance can help perfect your approach.
Gather Necessary Tools and Materials
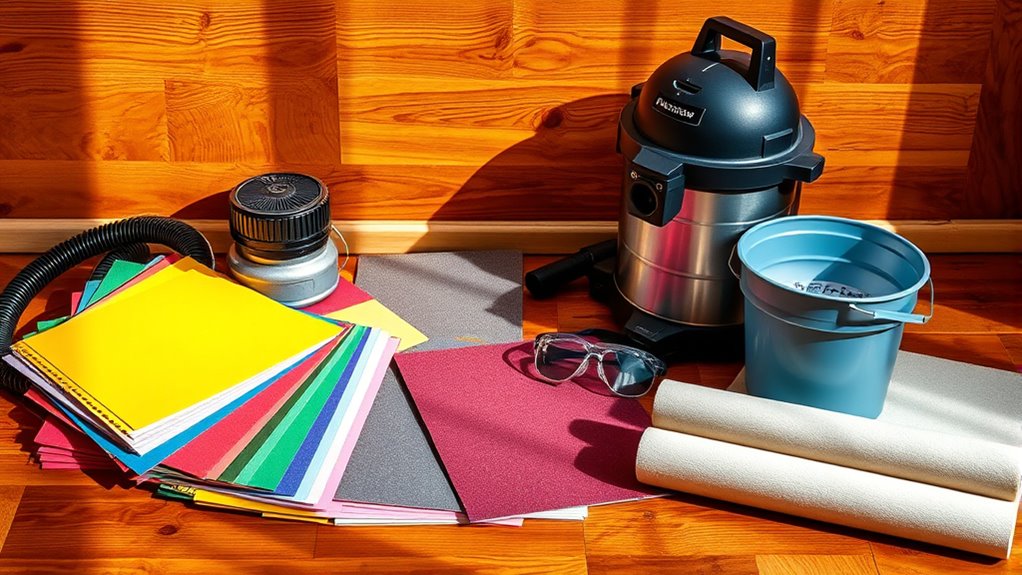
Before you begin sanding hardwood floors, you’ll need to gather essential tools and materials to guarantee an efficient and effective process. Start with a high-quality drum or orbital floor sander, ensuring it suits your floor size and layout. You’ll also need various grits of sandpaper—coarse for initial sanding, medium for smoothing, and fine for finishing. Equip yourself with a hand scraper for edges and corners. Always prioritize safety precautions: use a dust mask or respirator to protect your lungs, wear ear protection against loud machinery, and secure safety goggles to shield your eyes. Have a vacuum or dust extraction system ready to minimize airborne particles. Understanding proper sanding techniques—such as consistent, even pressure and following wood grain direction—will maximize results and preserve your floor’s integrity.
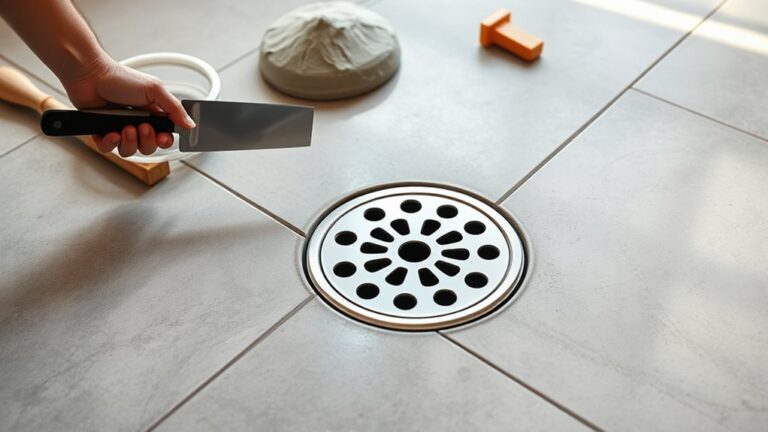
Prepare the Room and Floors
While preparing the room and floors, you’ll need to remove all furniture, rugs, and fixtures to create an unobstructed workspace. This essential room setup guarantees efficient sanding and prevents damage to your belongings. Next, thoroughly inspect the floor for nails or staples; remove or countersink them to avoid equipment damage. Clean the floor meticulously, eliminating dust and debris that could interfere with sanding precision. Apply floor protection along baseboards and door frames using painter’s tape to safeguard against accidental scratches or dust infiltration. Seal off vents and doorways with plastic sheeting to contain dust within the workspace. Proper preparation not only facilitates smooth sanding but also preserves your room’s integrity, granting you the freedom to work confidently and achieve a flawless hardwood floor finish.
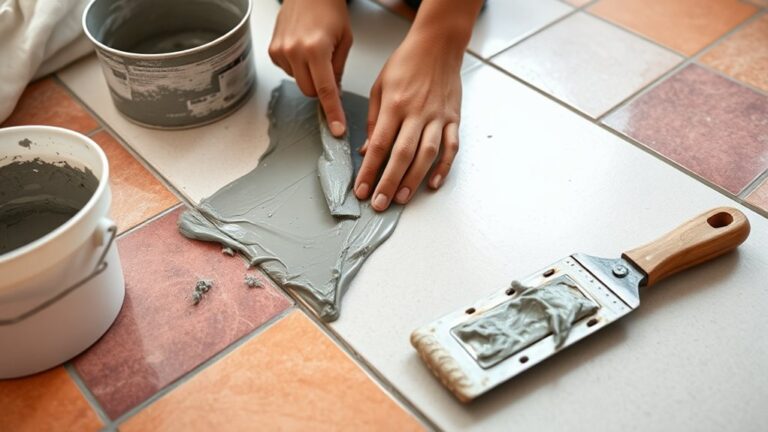
Start With Coarse Grit Sandpaper
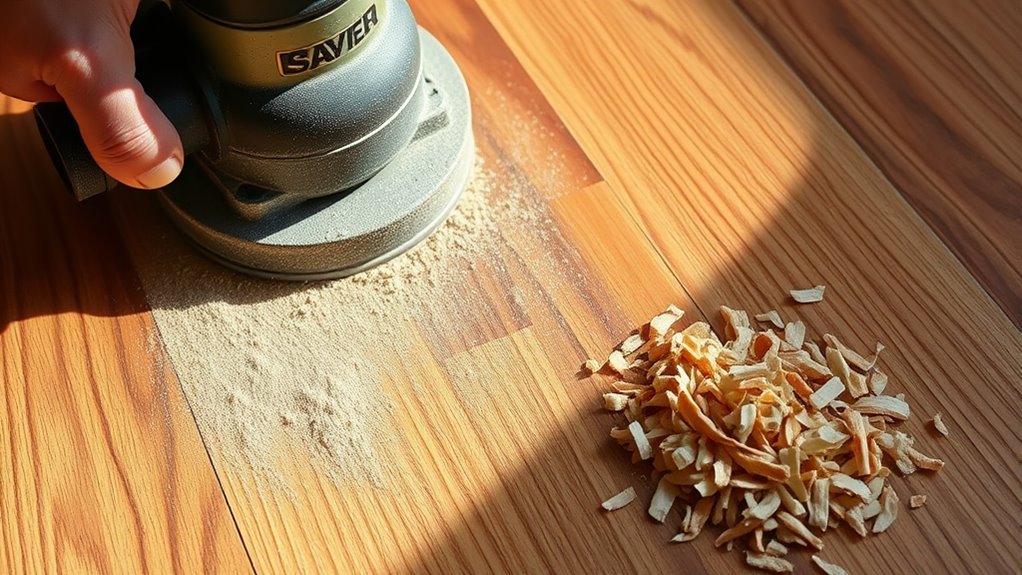
Coarse grit sandpaper is essential for removing the old finish and leveling uneven areas on your hardwood floor. Begin your sanding technique with a grit between 36 and 40, which aggressively strips surface coatings and smooths imperfections efficiently. You’ll want to maintain steady pressure and consistent movement to avoid gouging the wood. Focus on working along the grain to preserve the wood’s natural integrity. This initial coarse grit stage sets the foundation for a flawless finish by thoroughly preparing the surface, ensuring any previous damage or finish is eliminated. By mastering this step, you gain control over the process, releasing the freedom to restore your floor precisely and confidently. This technical approach is critical to achieving a professional, durable sanding result.
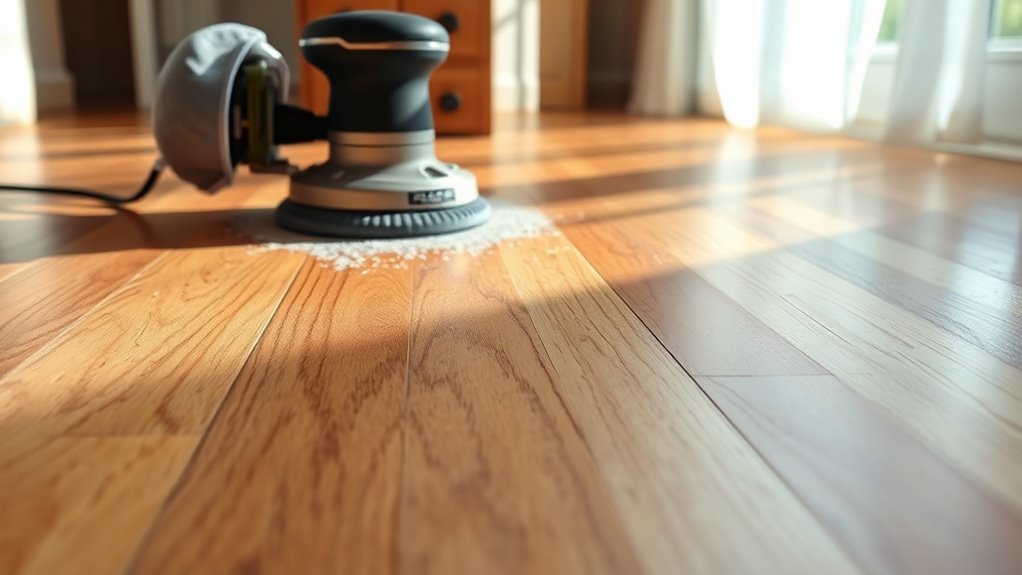
Progress to Finer Grit Sandpapers
Once you’ve removed the old finish and smoothed major imperfections, you’ll need to refine the surface using progressively finer grit sandpapers. This grit progression is crucial to achieve a smooth, even hardwood floor ready for finishing. Begin with a medium grit, such as 80 or 100, to eliminate any coarse scratches left by the initial sanding. Then, move to finer grits—120 followed by 150 or 180—to polish the wood surface systematically. Each step in your sanding techniques should remove the scratches from the previous grit without over-sanding. Maintaining consistent pressure and overlapping passes guarantees uniform abrasion. This disciplined approach prevents unevenness and prepares the floor to absorb stains or finishes evenly, granting you the freedom to achieve a flawless, professional-quality hardwood floor.
Clean and Inspect the Sanded Floor
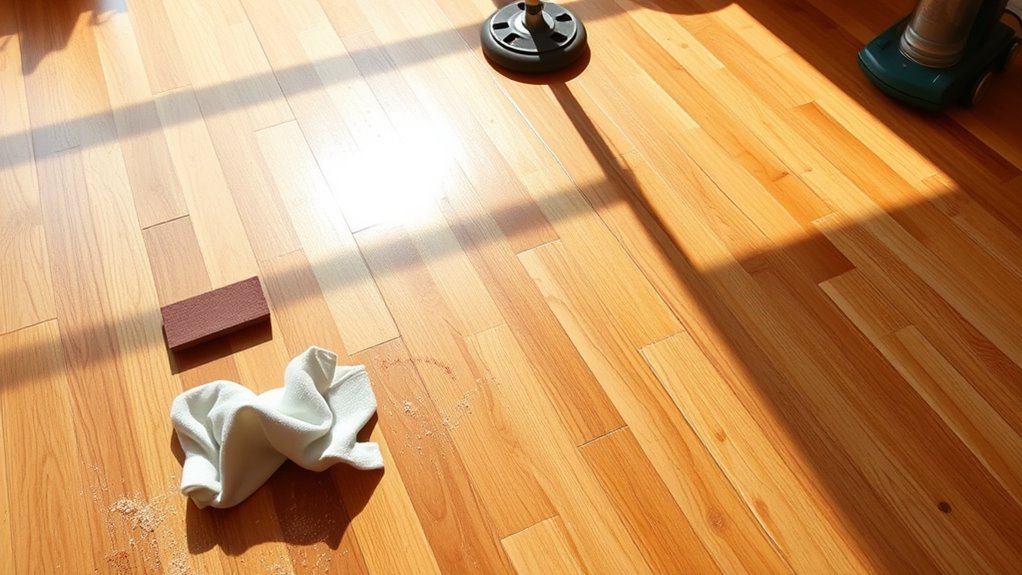
After completing the sanding process, you’ll need to thoroughly clean and inspect the floor to confirm it’s ready for finishing. Begin by vacuuming the entire surface meticulously to remove dust and debris, which can compromise your surface finish. Follow with a damp microfiber cloth to capture any remaining fine particles. Next, visually inspect the floor under bright, angled lighting to identify uneven spots, scratches, or sanding marks. Address any imperfections by spot-sanding with fine-grit paper to guarantee a smooth, uniform surface. Proper floor maintenance at this stage is critical; any residual dust or flaws will affect the adhesion and appearance of your finish. Taking these precise steps allows you to achieve a high-quality, durable surface finish that enhances both the floor’s longevity and your freedom to enjoy the space.