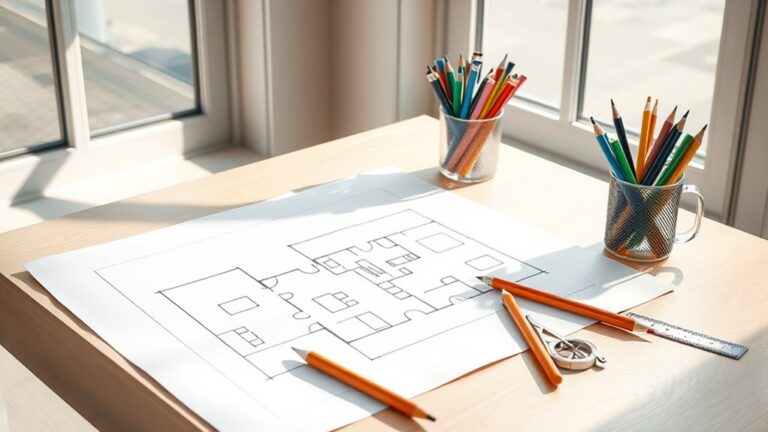
To install vinyl flooring in seven easy steps, first gather your tools and materials. Prepare the subfloor by cleaning and leveling it. Measure and plan your layout carefully, then cut vinyl pieces to fit. Apply adhesive or use the click-lock method, depending on your flooring type. Secure each plank or sheet in place, then finish by cleaning the piso and allowing it to dry. Following these steps sets you up for a beautiful, durable floor — keep going for expert tips on each stage.
Reúne tus herramientas y materiales
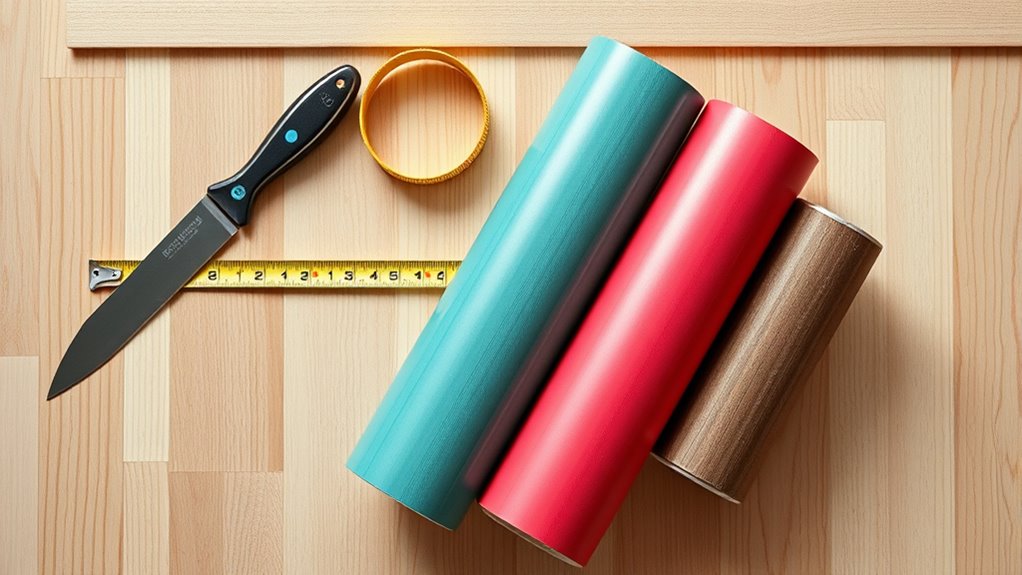
Before you begin installing vinyl flooring, you’ll need to gather all the necessary tools and materials to guarantee a smooth process. Start by creating a detailed tools checklist including a utility knife, tape measure, straightedge, chalk line, and a roller for pressing the vinyl. For material selection, choose vinyl planks or sheets that suit your style and room requirements. Don’t forget underlayment if needed, along with adhesive or double-sided tape depending on your vinyl type. Having everything ready prevents interruptions and saves time, letting you focus on the installation itself. By preparing thoroughly, you gain the freedom to work efficiently and confidently, ensuring your vinyl flooring project goes smoothly from start to finish.
Prepare el contrapiso
Once you’ve gathered all your tools and materials, the next step is to prepare the subfloor to guarantee a smooth, durable vinyl installation. First, identify your subfloor types—wood, concrete, or plywood—and make sure they’re clean, flat, and dry. Moisture control is critical; use a moisture barrier if needed to prevent damage. Remove debris, nails, and fix any uneven spots by sanding or patching. A well-prepped subfloor offers freedom from future issues, making your vinyl floor last longer.
| Subfloor Type | Preparation Tip |
|---|---|
| Madera | Sand and clean thoroughly |
| Concreto | Test moisture, seal if needed |
| Madera contrachapada | Check for damage, repair |
| All Types | Remove debris and level |
Measure and Plan Your Layout

Start by measuring the room’s length and width accurately, as these dimensions will guide your entire vinyl flooring layout. Once you have your measurements, create a detailed floor plan to visualize the space and plan your layout design effectively. Consider these key points:
Begin with precise room measurements to plan your vinyl flooring layout and visualize your design effectively.
- Note the location of doors, cabinets, and other fixtures.
- Determine the direction you want the vinyl planks or sheets to run.
- Plan for expansion gaps along walls.
- Identify any obstacles or irregularities in the floor.
- Sketch your layout design on graph paper or use digital tools.
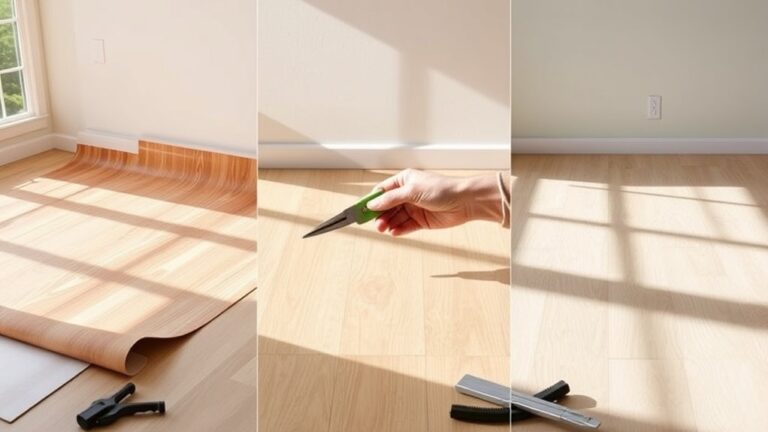
Cut the Vinyl Flooring to Size
Now that you’ve planned your layout, it’s time to cut the vinyl flooring to size. Make sure to measure and mark your cuts carefully using a straightedge for accuracy. Use a sharp utility knife or vinyl cutter to get clean, precise edges without damaging the material.
Measuring and Marking
Before cutting your vinyl flooring, you’ll need to measure and mark each piece accurately to confirm a perfect fit. Accurate measurements guarantee your flooring lays smoothly without gaps or overlaps. Use reliable marking techniques to avoid mistakes that could waste material or time. Here’s how to get started:
- Measure the room’s length and width carefully using a tape measure.
- Transfer measurements to the vinyl backing with a pencil or chalk for visibility.
- Use a straightedge or ruler to draw clean, straight lines where cuts are needed.
- Double-check all measurements and markings before making any cuts.
- Mark notches or doorframe gaps clearly to customize the fit precisely.
Following these steps helps you achieve professional results and the freedom to enjoy your new floor without hassles.
Using the Right Tools
When you’re ready to cut your vinyl flooring to size, having the right tools will make the job easier and guarantee clean, accurate cuts. Essential equipment includes a sharp utility knife, a straightedge or metal ruler, and a cutting mat or sturdy surface to protect your work area. Utility knives are ideal because they provide precise control and clean edges, which help avoid jagged cuts. Be sure your blade is new or sharp to prevent tearing the vinyl. Use the straightedge to guide your cuts, ensuring straight lines and perfect fits. These tool types are essential for achieving professional results while maintaining your freedom to work efficiently. With the right tools, you’ll handle your vinyl flooring confidently and accurately every time.
Apply Adhesive or Use Click-Lock Method
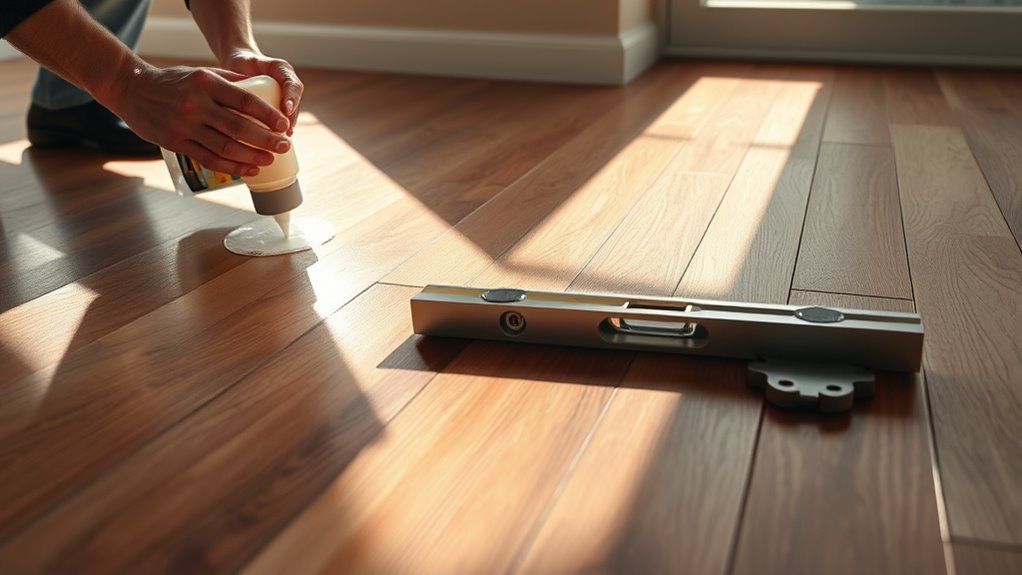
Before you start, decide whether you’ll use adhesive or the click-lock method based on your subfloor type and room conditions. If you choose adhesive, make sure the subfloor is clean, dry, and smooth to guarantee proper bonding. For click-lock panels, focus on aligning and snapping each piece securely to create a tight, stable surface.
Choosing Adhesive Types
There are two main options for installing vinyl flooring: applying adhesive or using the click-lock method. When choosing vinyl adhesive types, consider your project’s needs and the flooring’s environment. Different adhesive application techniques suit various subfloors and vinyl materials.
Keep these tips in mind:
- Pressure-sensitive adhesives offer flexibility and easy repositioning.
- Wet-set adhesives provide strong, permanent bonds for heavy traffic areas.
- Peel-and-stick options simplify installation without extra tools.
- Use a notched trowel for even adhesive spread.
- Always follow manufacturer guidelines for drying times and coverage.
If you want the freedom to change flooring later, click-lock is ideal. Otherwise, carefully selecting the right adhesive and applying it correctly guarantees durable, smooth results.
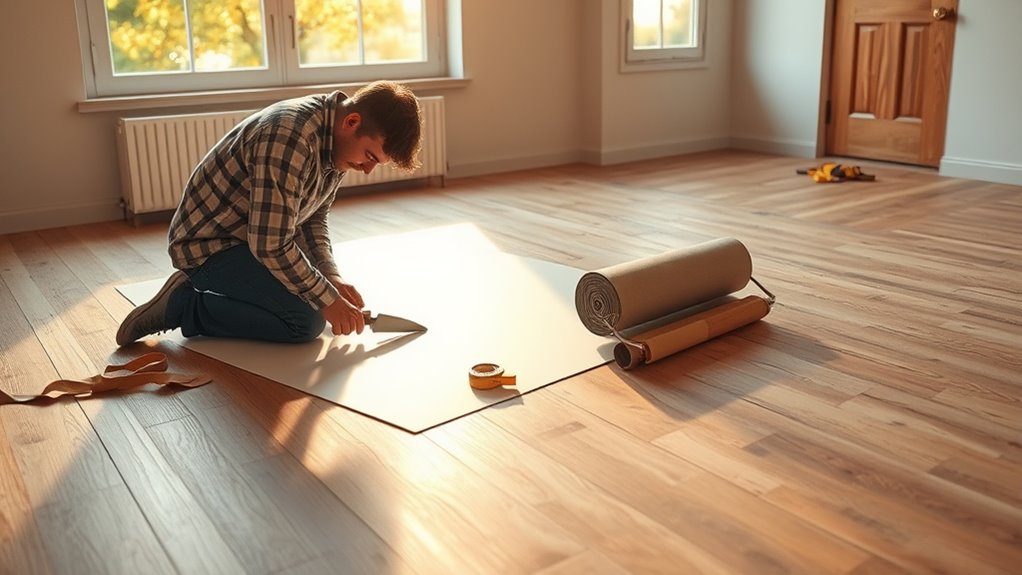
Preparing Subfloor Surface
Selecting the right adhesive or deciding on the click-lock method is just the start; preparing your subfloor surface properly sets the foundation for a successful vinyl flooring installation. First, identify your subfloor types—plywood, concrete, or existing vinyl—to determine necessary prep steps. Confirm the surface is clean, dry, and level, as unevenness can cause issues later. Moisture control is vital, especially over concrete; use a moisture barrier or test with a moisture meter to avoid damage. For adhesive applications, spread the glue evenly using a trowel suited to your product’s recommendations. If you’re using the click-lock method, make certain the subfloor is flat and free from debris to allow panels to snap together smoothly. Proper preparation guarantees durability and a flawless finish.
Installing Click-Lock Panels
Once you’ve prepared your subfloor, you can begin installing the vinyl flooring by either applying adhesive or using the click-lock method. The click-lock system is user-friendly and perfect for those wanting a hassle-free installation. Here are some installation tips to keep in mind:
- Start in a corner and lay the first row with the tongue side facing the wall.
- Align panels carefully and click them together by angling and snapping.
- Use spacers to maintain expansion gaps around the perimeter.
- Cut panels with a utility knife for a precise fit around edges.
- Clean the surface regularly to preserve the flooring’s finish and durability.
Following these steps not only simplifies installation but also supports long-term maintenance advice, ensuring your floor stays beautiful and functional.
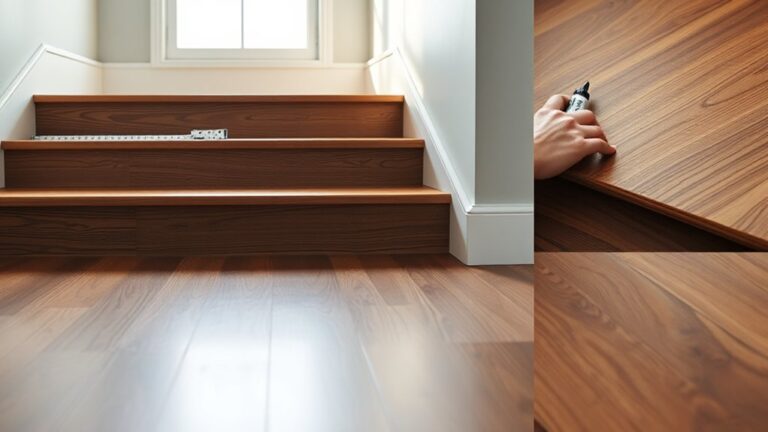
Install the Vinyl Planks or Sheets
Begin by laying out your vinyl planks or sheets according to the room’s measurements, making sure you follow the manufacturer’s instructions for pattern alignment and expansion gaps. Start installing from one corner, pressing each plank or sheet firmly into place. Use a roller or heavy object to guarantee good adhesion, especially with glue-down options. Remember, leaving proper expansion gaps prevents buckling later, a key installation tip. When cutting around obstacles, measure carefully to maintain clean edges. Keep a damp cloth handy to wipe away adhesive spills promptly. These steps not only help your floor look professional but also simplify vinyl flooring maintenance down the road. Taking your time now means your vinyl floor will stay beautiful and functional, giving you the freedom to enjoy your space without worry.
Finish and Clean the Floor
After you’ve installed all the vinyl planks or sheets, it’s essential to properly finish and clean the floor to secure durability and a polished appearance. Focus on these finishing touches to protect your investment and keep the floor looking fresh.
- Use a soft broom or vacuum with a hard floor setting to remove loose debris.
- Wipe the surface with a damp mop and a mild, non-abrasive cleaner.
- Avoid harsh chemicals or abrasive tools that can damage vinyl.
- Allow the floor to dry completely before placing furniture or rugs.
- Consider applying a vinyl floor polish for extra shine and protection.
Employing proper cleaning techniques guarantees your vinyl flooring remains resilient and beautiful, giving you the freedom to enjoy your space without worry.