When deciding whether to install walls or floors first, you’ll want to take into account your project’s flow and practical needs. Installing walls first gives you structural stability and clear utility pathways, keeping the workspace organized and precise. Flooring first protects your new floors from construction damage and allows easier baseboard fitting. Each approach has its perks, and your choice impacts overall durability and aesthetics. Explore the detailed steps and common pitfalls to guarantee your build goes smoothly.
Understanding the Basics: Walls vs. Floors Installation
Although it might seem like a simple choice, deciding whether to install walls or floors first sets the tone for your entire project; you’ll want to take into account how each step impacts the other to secure a smooth, efficient process. When you’re working with various wall materials—from drywall to wood paneling—and diverse floor types like hardwood or tile, understanding their installation nuances is key. Installing floors first can protect delicate floor types from wall construction debris, while putting up walls first guarantees precise alignment and easier access for electrical and plumbing work. Balancing aesthetics with practicality, you’ll find that choosing the right sequence allows you to maintain freedom in design and workflow, preventing costly fixes and preserving the integrity of your materials throughout your renovation journey.
Key Factors to Consider Before Deciding the Order
Before you decide whether to start with walls or floors, consider how your project timeline might shift with each choice. Pay close attention to how different materials interact, ensuring compatibility to avoid future issues. Also, think about the structural integrity—some sequences provide a sturdier, more lasting foundation for your space.
Project Timeline Impact
When planning whether to tackle walls or floors first, you’ll want to weigh how each choice shapes your project timeline. Your decision directly affects project duration and can help you avoid scheduling conflicts that slow progress. Consider how each step fits into your broader schedule to maintain a smooth workflow without bottlenecks.
- Starting with walls might allow paint and finishes to dry without damaging new floors.
- Laying floors first can speed up access for heavy equipment without risking floor damage.
- Delays in one step ripple through the entire project, so plan buffer times.
- Coordination with contractors or suppliers hinges on a clear timeline to prevent overlap.
Material Compatibility Concerns
Since the materials you choose for walls and floors interact differently, you’ll want to ponder their compatibility carefully before deciding which to install first. Material compatibility guarantees that your installation materials won’t clash, warp, or degrade over time. For example, certain wood flooring can be sensitive to moisture from wall finishes like plaster or paint, while tile grout might react poorly if walls are installed afterward and cause dust or debris. You’ll need to reflect on how adhesives, sealants, and finishes behave together—some installation materials require drying or curing times that could disrupt previously finished surfaces. By understanding these interactions, you maintain the integrity and aesthetics of your space, giving you freedom to create a seamless, harmonious environment that lasts. Careful planning here saves you from costly repairs or compromises down the line.
Structural Integrity Considerations
Though it might seem straightforward, the order in which you install walls and floors plays a crucial role in maintaining your structure’s stability. When planning, you need to account for load bearing considerations to guarantee each element supports the other effectively. Skipping this could compromise safety and longevity. Reinforcement techniques applied at the right stage can dramatically improve strength without restricting your creative freedom.
Keep these points in mind:
- Assess which walls are load-bearing before laying floors
- Use temporary supports if floors go in first
- Apply reinforcement techniques like steel bracing or engineered lumber
- Coordinate floor and wall framing to distribute loads evenly
Benefits of Installing Walls Before Floors
When you install walls before floors, you create a more stable structure to build upon, reducing shifting during construction. It also gives you better access for running electrical wires and plumbing without damaging finished surfaces. This approach keeps your project cleaner and more efficient from the start.
Structural Stability Advantages
Before you lay down the floors, installing the walls first can greatly enhance your structure’s stability by creating a sturdy framework that supports subsequent construction. This approach guarantees better load distribution, as the walls effectively channel weight down to the foundation, reducing stress on the floor. Additionally, it boosts seismic performance, allowing the building to flex and absorb shocks more efficiently during earthquakes. By prioritizing walls, you’re crafting a resilient skeleton that harmonizes with design freedom and practical strength.
- Provides immediate vertical support for framing
- Enhances overall rigidity against lateral forces
- Minimizes floor deflection under heavy loads
- Improves resistance to seismic activity
Choosing walls first gives you a solid base, blending structural integrity with your creative vision.
Easier Utility Installations
Since walls create defined pathways and cavities early on, you’ll find running electrical wiring, plumbing, and HVAC systems much more straightforward. Installing walls first allows you to map out utility access considerations with precision, ensuring cables and pipes nestle neatly within the framing. This approach minimizes guesswork, reducing the risk of costly adjustments later. With clear boundaries established, utility installation tips become easier to apply, giving you control over routing and placement. You’ll appreciate how this order streamlines inspections and future maintenance, preserving your freedom to modify or upgrade systems without tearing up floors. By prioritizing walls, you’re crafting an organized, efficient foundation for utilities that balances functionality with aesthetic clarity—making your space not just beautiful but smartly designed from the inside out.
Advantages of Laying Floors First
Although it might seem unconventional, laying floors first can offer you a clearer vision of the room’s foundation, helping to guarantee a seamless alignment of walls that complements your flooring’s texture and tone. This approach enhances installation efficiency, allowing you to work with a stable surface that supports precise wall placement. Plus, it contributes to improved floor durability by minimizing post-wall construction damage.
Consider these advantages when choosing to lay floors first:
- Protects the integrity of your flooring from wall-related wear
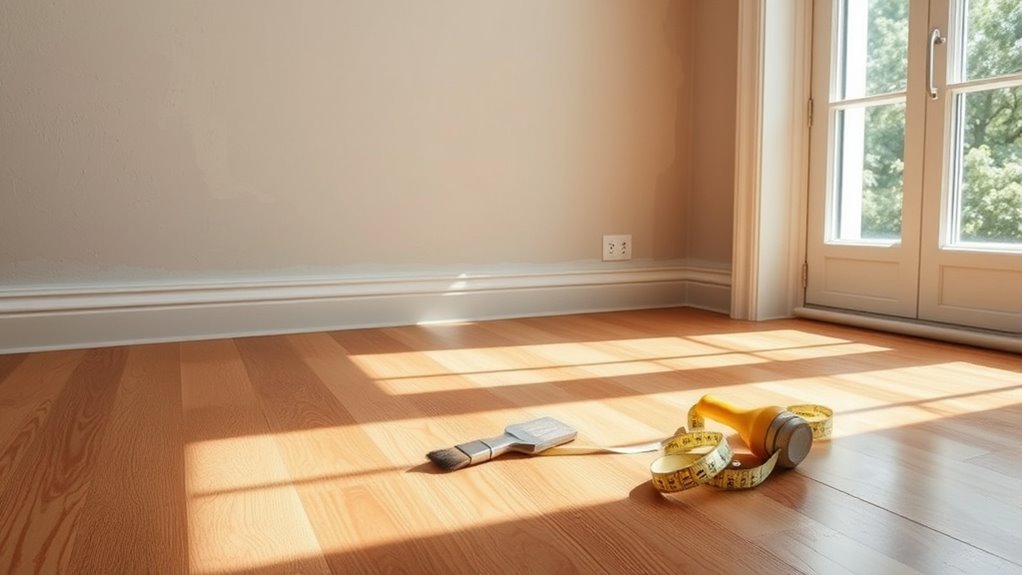
- Simplifies measuring and cutting for wall baseboards
- Enables quicker adjustments for uneven subfloors
- Creates a cohesive design flow that highlights textures and colors
Common Mistakes to Avoid in Wall and Floor Installation
When you’re installing walls and floors, overlooking small details can lead to costly mistakes that disrupt both the look and function of your space. One of the common pitfalls is neglecting proper measurements, which can cause misaligned edges or uneven surfaces. Avoid rushing; installation errors often stem from haste, resulting in gaps or poorly secured materials. Another frequent mistake is ignoring moisture barriers or underlayment, compromising durability and comfort. Be mindful of sequencing—installing floors before walls without planning can restrict your freedom to adjust later. Finally, don’t underestimate the importance of leveling; uneven floors or walls not only look off but also create long-term issues. Staying detail-oriented and following precise steps will help you dodge these pitfalls and achieve a flawless finish.
Step-by-Step Process for Walls-First Approach
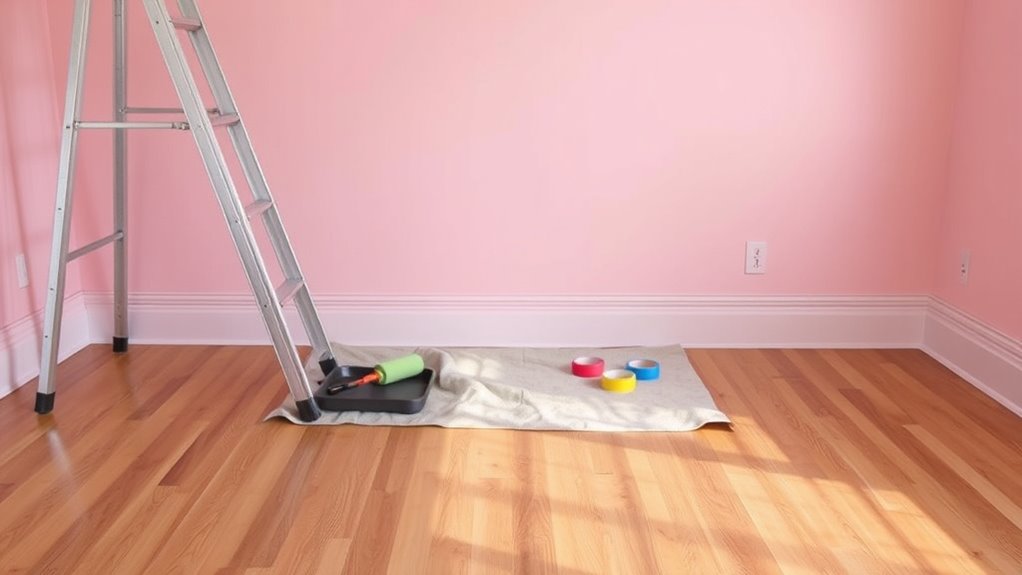
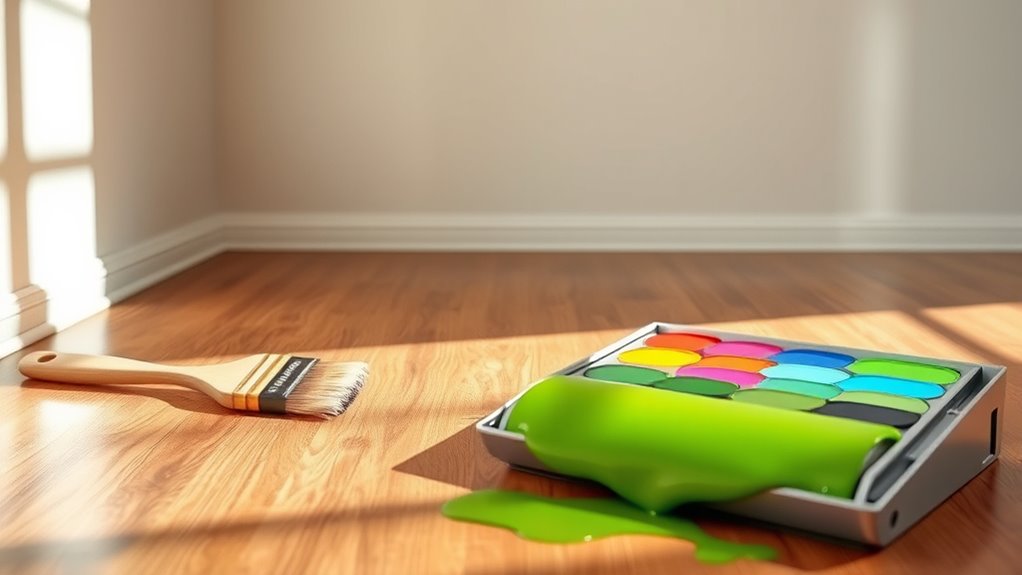
Getting the sequencing right is key to a polished wall and floor installation. When you choose the walls-first approach, start with meticulous wall preparation—clean, sand, and repair surfaces to guarantee smoothness. Next, focus on your paint selection; pick colors that inspire and harmonize with your future flooring. Apply paint carefully, allowing ample drying time to avoid damage. Once your walls are flawless, proceed to floor installation without worrying about splatters or drips.
Perfect sequencing means prepping and painting walls first, then installing floors for a clean, polished finish.
Key steps include:
- Thorough wall preparation for a perfect base
- Thoughtful paint selection to complement your space
- Applying paint patiently with proper drying
- Installing floors after walls for clean finishes
This method grants you freedom to create walls that set the tone before grounding your space with flooring.
Step-by-Step Process for Floors-First Approach
Choosing the floors-first approach means you’ll start by installing your flooring with precision, creating a flawless foundation that enhances your entire space. Begin with thorough floor preparation—clean, level, and dry the subfloor to guarantee your flooring materials adhere perfectly and last long. Next, select flooring materials that match your aesthetic and lifestyle, whether hardwood, tile, or vinyl, prioritizing durability and style. Lay the flooring carefully, paying attention to alignment and spacing for a seamless look. Once the floors are set, you gain freedom to install walls without worrying about damaging fresh floors. This method offers a smooth, uninterrupted workflow, letting your design flow naturally from the ground up, creating a cohesive, elegant space that feels open and intentional.