To securely fasten your toilet in 10 easy steps, start by gathering your tools and turning off the water supply. Drain and disconnect the water line, then remove the toilet carefully. Replace the wax ring, center your toilet over the flange, and press down firmly. Tighten closet bolts evenly without overtightening, snap bolt caps on, and reconnect the water supply. Finally, check for leaks and stability, adjusting as needed. Follow this method, and you’ll have a rock-solid toilet ready for use with confidence.
Gather Necessary Tools and Materials
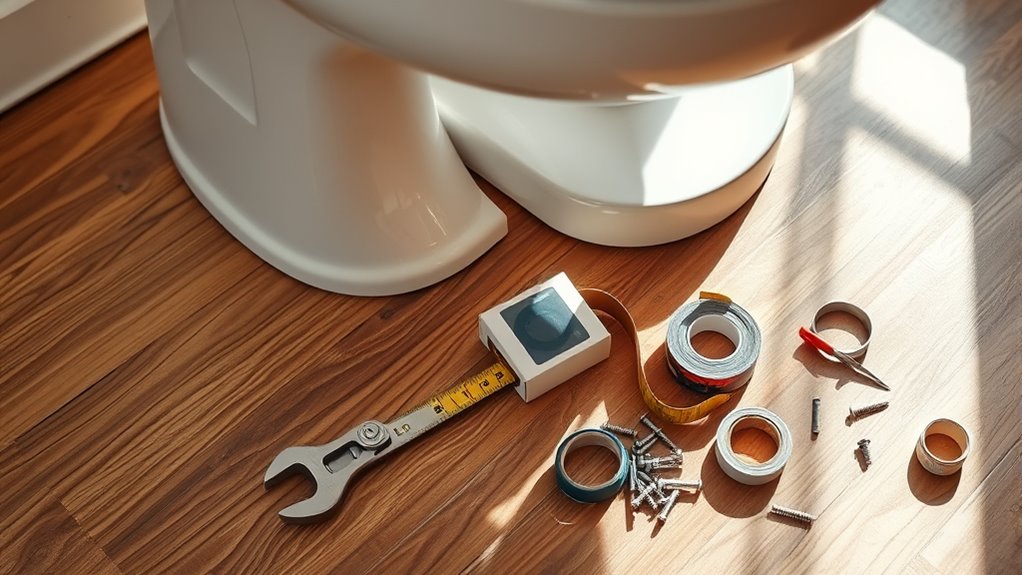
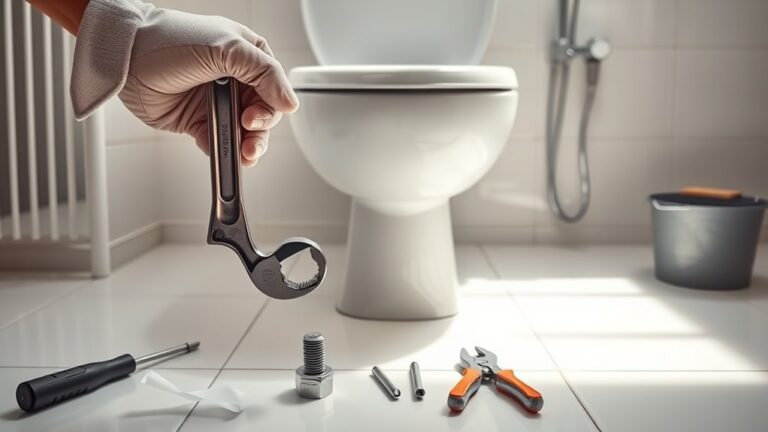
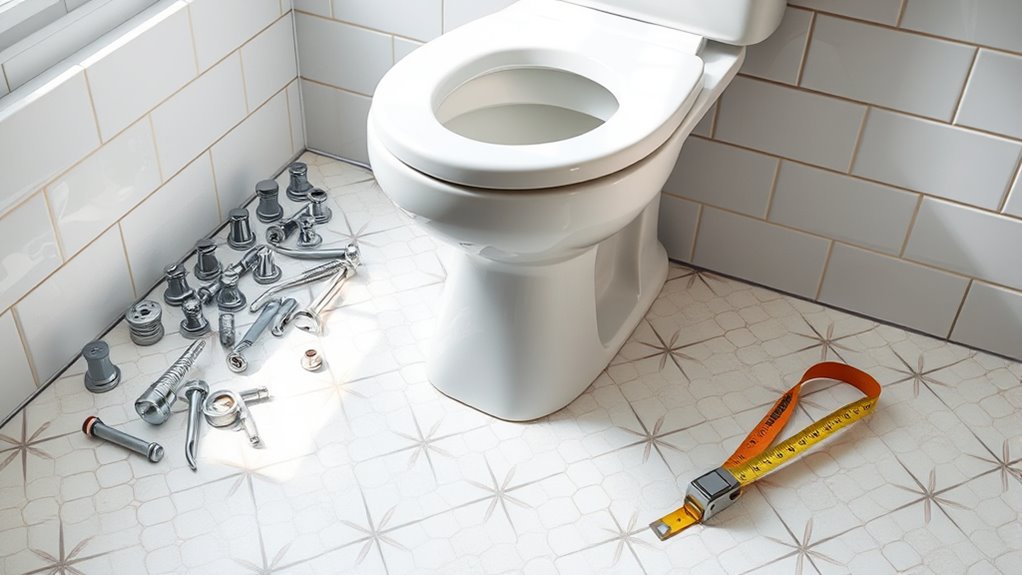
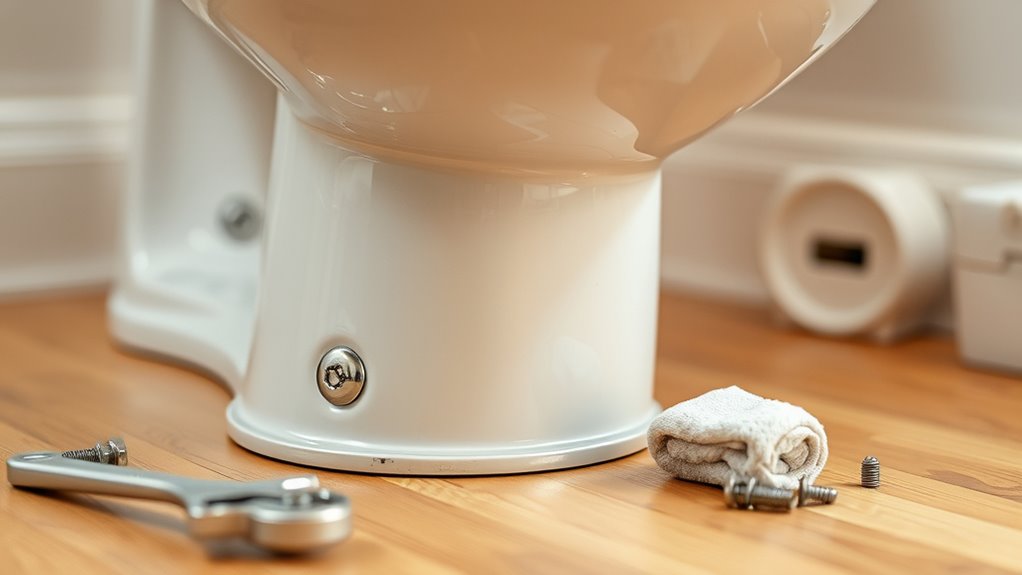
Before you begin securing your toilet to the floor, you’ll need to gather five essential tools and materials: a wax ring, closet bolts, a wrench, a screwdriver, and a level. Proper tool selection guarantees efficiency and safety during installation. Choose a wrench that fits the bolt size comfortably to avoid stripping. For fastening, select a screwdriver with a compatible head type, typically Phillips or flathead. Material types matter—opt for a high-quality wax ring designed for your toilet’s flange height to assure a reliable seal. Closet bolts must be durable, corrosion-resistant, and the correct length to secure the toilet firmly. Finally, a level is vital to confirm the toilet sits evenly, preventing leaks and instability. Gathering these precise tools and materials grants you the freedom to complete the job correctly the first time.
Turn Off the Water Supply
Before securing the toilet, you need to turn off the water supply by locating the main shutoff valve, usually near the base of the toilet or on the wall. Once the valve is closed, flush the toilet to drain the tank and remove any remaining water. This step prevents leaks and water damage while you work.
Locate Main Valve
Where exactly is the main water valve located, and how do you turn it off effectively? Typically, you’ll find the main valve near your water meter—often in the basement, crawl space, or outside close to the foundation. Familiarize yourself with main valve types: gate valves, which have a round handle you turn clockwise to close, and ball valves, featuring a lever that you rotate 90 degrees. To shut off water, identify your valve location, then turn the handle or lever firmly but without forcing it. This action stops water flow, giving you control and freedom to work on your toilet without leaks or flooding. Knowing your main valve’s exact position and type guarantees you act swiftly and confidently when needed.
Drain Toilet Tank
Once you’ve turned off the main water valve, the next step is to drain the toilet tank to prevent any remaining water from spilling during the repair. Proper toilet maintenance includes this step to avoid mess and support water conservation. Here’s how to do it efficiently:
- Flush the toilet to empty most of the water from the tank.
- Hold down the flush lever to let as much water drain as possible.
- Use a sponge or towel to soak up any residual water at the bottom.
- Dispose of the water carefully to avoid wastage.
Drain the Toilet Tank and Bowl
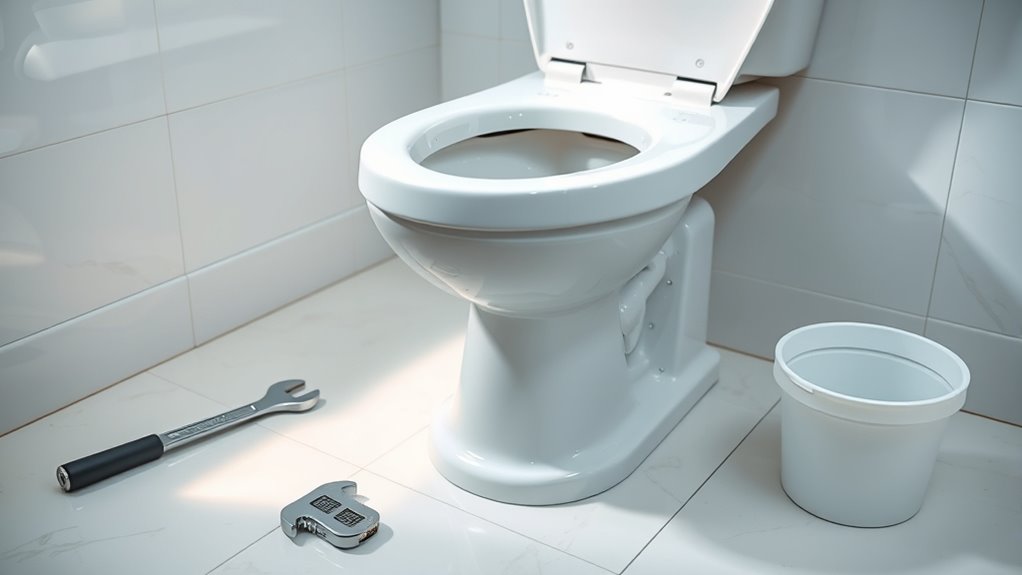
Draining the toilet tank and bowl is crucial to prevent water spillage during removal and securing. Start by flushing the toilet to empty most of the tank and bowl water. Use a sponge or towel to soak up any remaining water in the tank. Next, remove residual water from the bowl using a plunger or small container. This step is essential for effective toilet maintenance and supports water conservation by minimizing waste and mess.
| Step | Purpose |
|---|---|
| Flush toilet | Empty tank and bowl |
| Sponge tank | Remove residual tank water |
| Remove bowl water | Prevent spillage during removal |
Following these steps guarantees a clean, dry base for securing the toilet, simplifying the installation process while maintaining efficiency.
Disconnect the Water Supply Line
Before securing the toilet, you’ll need to turn off the main water valve to stop the flow. Once the water is off, carefully detach the supply hose from the toilet’s fill valve. This step prevents water leaks and guarantees a dry working area.
Turn Off Main Valve
Although it might seem straightforward, turning off the main valve is vital to prevent water flow while you disconnect the supply line. Knowing the main valve types—such as gate, ball, or globe valves—helps you identify and operate it correctly. Regular valve maintenance guarantees smooth operation, avoiding leaks or malfunctions.
To turn off the main valve:
- Locate the main water shutoff, typically near the water meter or where the pipe enters your home.
- Identify the valve type to determine the correct turn direction—ball valves usually turn a quarter turn.
- Use an adjustable wrench if the valve is stiff, but avoid excessive force to prevent damage.
- Confirm water flow has stopped by opening a nearby faucet.
Mastering this step gives you control and freedom during your toilet securing project.
Detach Supply Hose
Start by carefully loosening the supply hose connecting the toilet tank to the shutoff valve, ensuring you have a bucket or towel ready to catch any residual water. This hose carries water under pressure, so loosening it slowly helps prevent sudden sprays. Use an adjustable wrench to turn the coupling nut counterclockwise, maintaining a firm grip on the supply hose to avoid twisting or damaging it. Once loosened, gently disconnect the hose from the toilet tank’s inlet. Inspect the supply hose for any wear or damage; replacing it now can prevent leaks later. With the supply hose detached, water pressure is fully relieved, allowing you to proceed safely with securing the toilet to the floor. Keep all parts accessible for reassembly.
Remove the Toilet From the Floor
Since the toilet is firmly attached to the floor with bolts and sealed with wax, you’ll need to carefully disconnect the water supply and unbolt the fixture to remove it safely. Follow these toilet removal techniques and plumbing safety tips to maintain control and prevent damage:
- Confirm the water supply is off and the tank is drained.
- Remove the bolt caps and use a wrench to unscrew the floor bolts.
- Gently rock the toilet side to side to break the wax seal.
- Lift the toilet straight up, keeping it level to avoid spills.
Inspect and Clean the Flange Area
Before securing the toilet, you’ll need to inspect the flange for cracks, warping, or corrosion that could compromise the seal. Use a wire brush or vacuum to remove any debris, old wax, or dirt from the flange and surrounding floor area. Ensuring a clean, intact flange will help create a stable and leak-free connection.
Flange Condition Check
One critical step in securing a toilet to the floor is inspecting the flange for any damage, debris, or corrosion that could compromise the seal. Flange types vary, including PVC, cast iron, and ABS, each with distinct flange materials influencing durability. Here’s how you check the flange condition:
- Visually examine the flange for cracks, breaks, or warping.
- Verify that the flange sits flush with the floor to ascertain proper sealing.
- Inspect bolt holes for elongation or damage that could affect bolt stability.
- Assess corrosion on metal flanges, which weakens the connection.
Debris Removal Tips
Several types of debris can accumulate around the flange area, including old wax, dirt, and mineral deposits, all of which can compromise the toilet’s seal. To guarantee a secure fit, you need to perform thorough debris disposal before reinstalling the toilet. Start by scraping off old wax rings using a putty knife, then vacuum or wipe away loose particles. For mineral deposits, apply a descaling solution and let it sit briefly before scrubbing with a stiff brush. Avoid harsh abrasives that can damage the flange surface. Always wear gloves and use appropriate cleaning techniques to avoid contamination. Proper debris removal not only enhances the seal’s effectiveness but also extends the flange’s lifespan, giving you the freedom to maintain a leak-free, stable toilet installation.
Replace or Repair the Wax Ring
Replacing or repairing the wax ring is a critical step in securing your toilet to the floor, as it guarantees a watertight seal between the toilet base and the flange. Choosing the right wax ring type—standard, reinforced, or with a flange—depends on your toilet’s design and flange height. Follow these installation techniques for an effective seal:
- Remove old wax residue completely.
- Center the new wax ring on the flange or toilet outlet.
- Lower the toilet straight down to avoid displacing the ring.
- Press firmly to compress the wax evenly, ensuring no gaps.
Position the Toilet Back Onto the Flange
After preparing the wax ring, carefully align the toilet base with the flange by positioning the bolt holes over the closet bolts. Precise toilet alignment is essential to guarantee a secure seal and prevent leaks. As you lower the toilet, maintain steady control to avoid shifting the wax ring out of place. Focus on exact flange positioning so the toilet sits evenly on the floor without rocking. If the bolts don’t line up, slightly adjust the toilet’s angle—never force it down. Confirm the base rests flat and flush against the floor, which ensures stability and proper drainage. Taking the time to position the toilet correctly gives you freedom from future repairs and guarantees your installation will hold firm under regular use.
Secure the Toilet With Bolts and Caps
Once the toilet is properly aligned and resting evenly on the flange, you’ll need to secure it firmly to the floor using the closet bolts. Proper toilet installation demands secure fittings to prevent movement and leaks. Here’s how to do it:
- Slide washers onto each closet bolt protruding through the toilet base.
- Thread nuts onto the bolts by hand, then tighten evenly with a wrench, alternating sides.
- Avoid overtightening to prevent cracking the porcelain; snug is sufficient.
- Snap on bolt caps to cover the nuts, giving a clean finish and protecting the fittings.
This approach guarantees your toilet stays stable, providing you the freedom to use your bathroom without worry or future adjustments.
Reconnect the Water Supply and Test for Stability
Two key steps remain to complete your toilet installation: reconnecting the water supply and verifying stability. First, turn the water supply valve back on slowly to avoid sudden pressure surges. Connect the supply line securely to the toilet’s fill valve, guaranteeing all fittings are tight to prevent leaks. Once water fills the tank, check for any drips or moisture around the connections. Next, perform stability testing by gently rocking the toilet side to side and front to back. If movement occurs, tighten the floor bolts further or use shims to eliminate wobble. Confirm that the toilet is firmly anchored before proceeding. Proper water supply reconnection combined with thorough stability testing guarantees your toilet operates safely and freely without risk of leaks or instability.