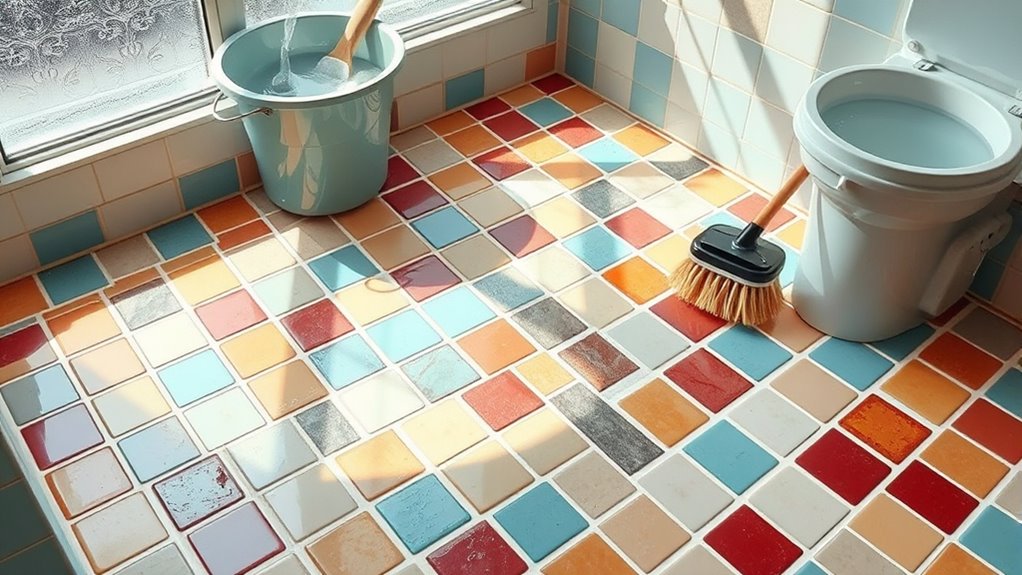
Start by gathering a stiff brush, pH-neutral cleaner, bucket, mop, and gloves. Sweep or vacuum tiles to remove loose dirt. Mix cleaner with warm water following label instructions, then mop evenly without oversaturating. Scrub grout with a baking soda paste for stains, rinse thoroughly, and dry with a microfiber cloth to avoid water spots. Regular sweeping and wiping spills keep tiles fresh. If you want to guarantee every step is foolproof for a spotless washroom, there’s more to explore.
Gather Essential Cleaning Supplies
Before you begin cleaning your washroom floor tiles, you’ll need to gather five essential supplies: a stiff-bristled brush, a bucket, a mop, a pH-neutral tile cleaner, and protective gloves. These cleaning tools are important for effectively tackling dirt without damaging your tile materials. The stiff-bristled brush helps scrub grout and textured surfaces, while the mop guarantees even application and removal of the cleaning solution. A bucket allows you to mix and rinse efficiently. Protective gloves safeguard your hands from harsh chemicals. Choosing a pH-neutral tile cleaner is significant since acidic or alkaline cleaners can degrade certain tile materials like natural stone or ceramic. By assembling these specific tools, you’ll be fully prepared to clean thoroughly and preserve your washroom tiles’ integrity and appearance.
Prepare the Cleaning Solution
When preparing the cleaning solution, start by filling your bucket with warm water to help activate the pH-neutral tile cleaner. Next, carefully measure the cleaning agents according to the recommended solution ratios on the product label. Using the correct ratios guarantees effective cleaning without damaging your tiles. Avoid mixing different cleaning agents; stick to one to maintain safety and cleaning efficiency. Stir the solution gently to blend the cleaner thoroughly with the water. This methodical approach maximizes the solution’s potency while protecting your tile surfaces. By preparing the solution precisely, you maintain control over the cleaning process, freeing yourself from guesswork and guaranteeing consistent results every time you tackle your washroom floor tiles.
Remove Loose Dirt and Debris
Although you’ve prepared an effective cleaning solution, removing loose dirt and debris from your washroom floor tiles is essential to avoid scratching the surface during scrubbing. Start by sweeping the floor thoroughly to gather dust, hair, and larger particles. Use a stiff-bristled broom for corners and grout lines where dirt accumulates. After sweeping, vacuum tiles with a brush attachment to pick up finer debris that the broom missed. This two-step approach guarantees your tiles are free from abrasive particles that can damage the finish. Take your time and cover every inch methodically. Once the floor is clean of loose dirt, you’re ready to move on confidently to applying your cleaning solution, knowing your tiles are protected and prepped for a deep clean.
Apply the Cleaning Solution to Tiles
You’ll want to select a cleaner that’s effective for your tile type, whether it’s ceramic, porcelain, or natural stone. Apply the solution evenly using a mop or sponge, ensuring full coverage without oversaturating the grout lines. Let the cleaner sit for the recommended time to break down grime before scrubbing or rinsing.
Choosing Effective Cleaners
Since the effectiveness of your cleaning depends heavily on the solution you choose, selecting the right cleaner is essential before applying it to your washroom floor tiles. You have two main options: natural cleaners and commercial products. Natural cleaners like vinegar, baking soda, or lemon juice offer a chemical-free approach, providing safe yet effective stain and grime removal. They’re ideal if you prefer eco-friendly solutions or have sensitivities. Commercial products often contain stronger ingredients tailored for tough dirt and mold, delivering rapid results. Always check the label to verify compatibility with your tile material to avoid damage. Whichever you pick, test a small hidden area first. This methodical choice sets the foundation for a thorough, damage-free clean, giving you the freedom to maintain your washroom tiles confidently.
Proper Application Techniques
Once you’ve selected the right cleaner, applying it correctly guarantees the solution reaches every corner without harming your tiles. Start by diluting the cleaner according to instructions, ensuring it’s safe for your tile type. Use a soft-bristle brush or mop to spread the solution evenly, focusing on grout lines and edges where dirt accumulates. Avoid puddling, as excessive liquid can weaken tile sealing techniques and reduce surface protection methods. Work systematically from one corner to the exit, preventing recontamination. Allow the cleaner to sit for the recommended time to break down grime effectively. Finally, rinse thoroughly with clean water to remove residues, preserving your tile’s finish and protective layers. Proper application safeguards your tiles, letting you enjoy a clean washroom floor without compromising durability or freedom from damage.
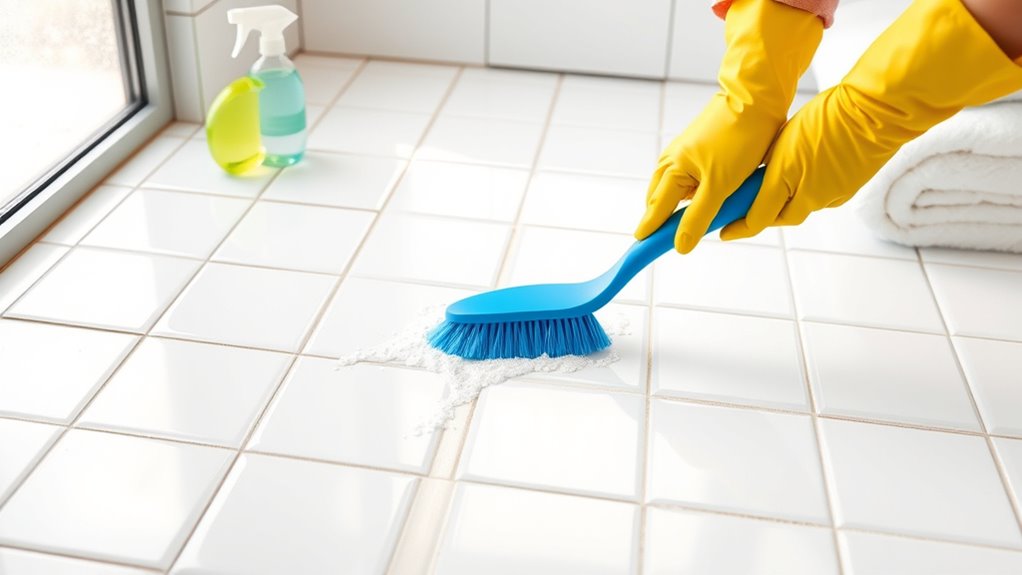
Scrub Tiles and Grout Lines
You’ll want to select a cleaning solution that’s strong enough to tackle dirt but safe for your tile and grout. Use a stiff brush to scrub the tiles in circular motions, focusing on grout lines where grime accumulates. For deep cleaning grout, apply a paste of baking soda and water, let it sit, then scrub thoroughly before rinsing.
Choosing Effective Cleaning Solutions
Although many cleaning products promise spotless results, choosing the right solution for your washroom floor tiles and grout lines is essential to avoid damage and achieve thorough cleanliness. Start by selecting eco friendly solutions that protect both your surfaces and the environment. Homemade cleaners—like a mixture of baking soda and vinegar—are excellent for breaking down grime without harsh chemicals. Avoid acidic or abrasive products that can erode grout or dull tile finishes. Test your chosen cleaner on a small, hidden area first to verify compatibility. Using mild, effective agents lets you maintain freedom from harmful residues while preserving the integrity of your washroom floors. This careful selection sets the foundation for a successful cleaning process without compromising safety or durability.
Proper Scrubbing Techniques
Start scrubbing your washroom floor tiles and grout lines using a soft-bristle brush or a sponge to avoid scratching surfaces. Select scrubbing tools that allow you to apply controlled pressure, ensuring grime loosens without damaging the tiles. Focus on grout lines by moving the brush in small, circular motions to dislodge dirt embedded in crevices. Avoid excessive force; pressure cleaning can be helpful but should be gentle enough to prevent grout erosion. For stubborn spots, apply a bit more pressure gradually while maintaining consistent strokes. Rinse the area frequently to monitor progress and prevent residue buildup. By following these precise scrubbing techniques, you maintain tile integrity and achieve a clean, fresh washroom floor, giving you the freedom to enjoy a hygienic space without harsh damage.
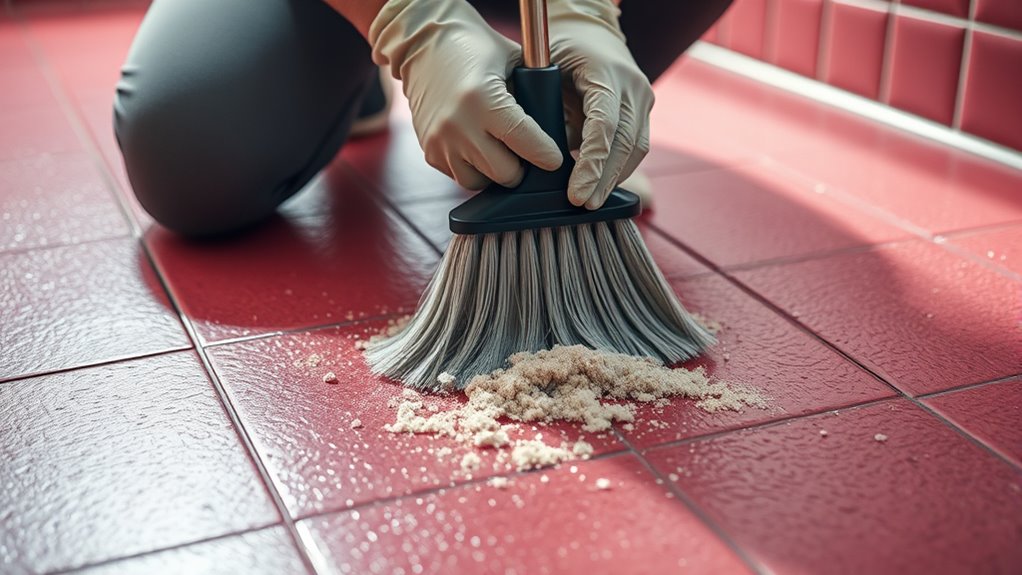
Grout Deep Cleaning Tips
When aiming for a thorough grout deep clean, focus on using specialized cleaners that break down embedded dirt without harming the grout. Start by applying the cleaner evenly along grout lines, letting it sit for 5-10 minutes. Use a stiff-bristled brush to scrub grout and tile joints methodically, targeting stubborn stains. Rinse thoroughly with warm water to remove residue. After drying, consider grout sealing techniques to protect against future dirt buildup and moisture damage, extending your clean’s longevity. For aged or discolored grout, grout color restoration can revive appearance, making your washroom look fresh and vibrant again. Regular maintenance paired with these targeted steps gives you freedom from constant grime and keeps your washroom floor tiles looking pristine without harsh chemicals or guesswork.
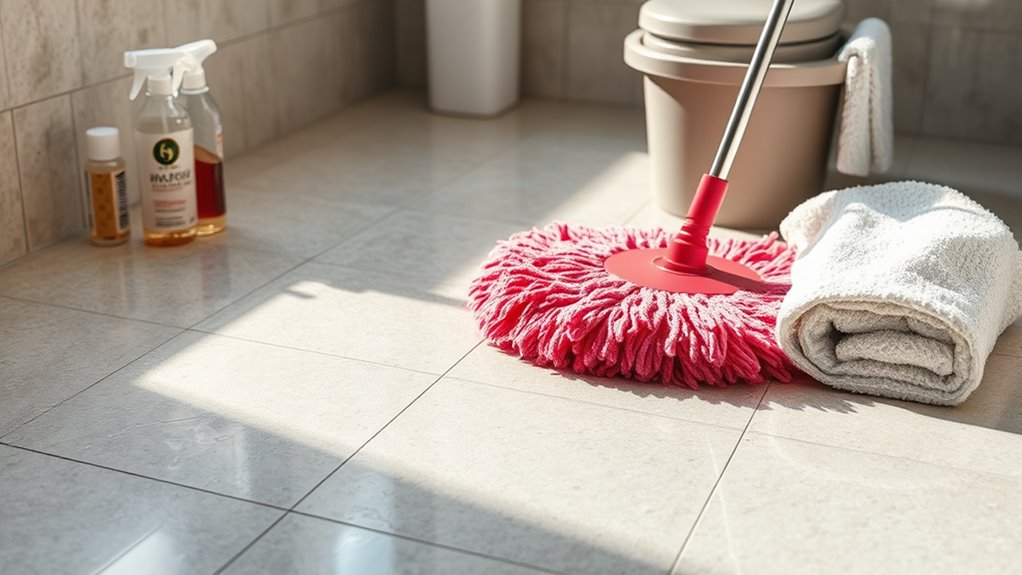
Rinse the Floor Thoroughly
Flush the floor with clean water to remove any remaining cleaning solution and loosened dirt. Choosing the right rinse methods and water temperature is key. Warm water helps dissolve residues better, while cold water conserves energy. You can use a mop, a sponge, or a gentle spray hose to rinse. Guarantee you cover all corners and grout lines to avoid leftover soap causing stickiness or discoloration.
| Rinse Method | Water Temperature | Best For |
|---|---|---|
| Mop | Warm | Large floor areas |
| Sponge | Warm or cold | Tight corners, grout |
| Spray hose | Cold | Quick rinse, eco-friendly |
Dry the Tiles to Prevent Water Spots
After rinsing, you’ll want to remove any excess water promptly to prevent unsightly spots from forming on your tiles. Effective drying methods are key to preserving the floor’s clean look and avoiding mineral deposits. Start by using a clean, absorbent microfiber mop or cloth to soak up water quickly. You can also:
- Use a squeegee to push water toward a drain or mop it up.
- Open windows or turn on an exhaust fan to speed up air drying.
- Avoid walking on tiles until fully dry to maintain cleanliness.
Address Stubborn Stains and Mold
Although regular cleaning keeps most of your washroom floor spotless, stubborn stains and mold can still develop in grout lines and corners. For effective stain removal, apply a paste made of baking soda and water directly onto the stained grout. Let it sit for 10 minutes, then scrub with a stiff brush. Rinse thoroughly to remove residue. For mold prevention, mix equal parts white vinegar and water in a spray bottle. Spray affected areas and let it sit for 15 minutes before scrubbing and rinsing. Guarantee the washroom has proper ventilation to reduce moisture buildup, a key factor in mold growth. Repeat this process weekly to keep stains and mold at bay, giving you a clean, fresh floor without constant worry or heavy chemicals.
Maintain Clean Tiles With Regular Care
To keep your washroom floor tiles looking their best, you’ll want to establish a consistent cleaning routine that prevents dirt and grime buildup. Adopting a regular cleaning schedule is key to effortless tile maintenance. Here are essential tile maintenance tips to make this manageable:
- Sweep or vacuum daily to remove loose debris that can scratch tiles.
- Mop weekly using a mild detergent solution to lift dirt without damaging grout.
- Wipe spills immediately to prevent stains and mold growth.


