To paint your garage floor, start by gathering materials like epoxy or latex paint, painter's tape, and safety gear. Next, prepare the surface: inspect it for cracks, repair any damage, and clean thoroughly to remove debris and grease. After that, consider applying a primer to enhance adhesion. Choose your paint carefully, focusing on durability and color. Once you've painted, finish with a protective sealant for extra strength and easy cleaning. This process not only revamps your space but also extends its lifespan. Keep going to uncover handy tips that make the project even easier!
Gather Necessary Materials
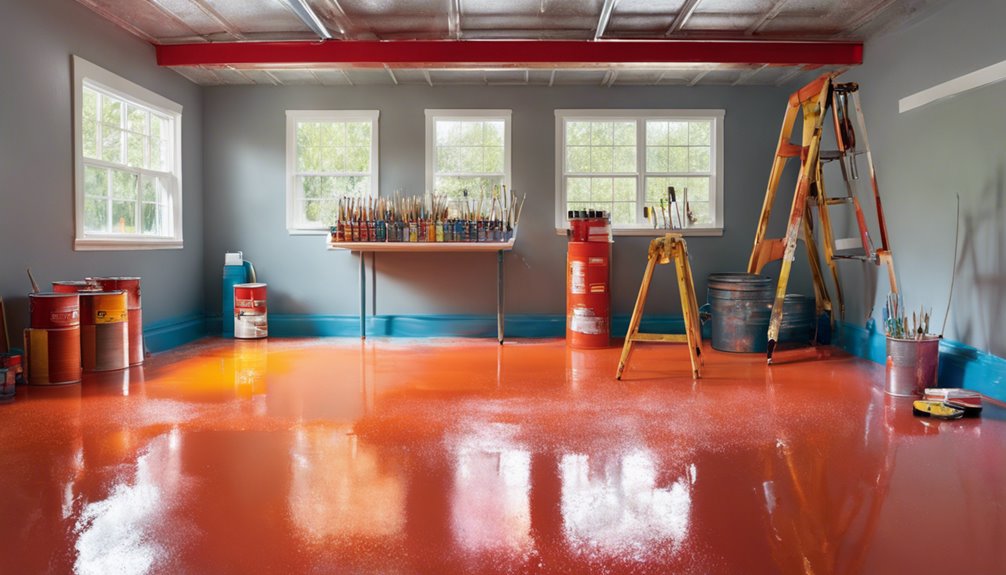
Before diving into painting your garage floor, it's vital to gather the necessary materials to guarantee a smooth process. Start by choosing the right paint types; epoxy and latex are popular choices, each offering unique benefits. Epoxy's durability can withstand heavy traffic, while latex provides easier application and cleanup. Next, consider your color selection. Think about the vibe you want for your space—light colors can brighten it up, while darker shades can hide stains and wear. Don't forget to pick up essential tools like rollers, brushes, and painter's tape, as well as safety gear such as gloves and a mask. With the right materials at your fingertips, you'll be ready to transform your garage floor with confidence.
Prepare the Garage Floor
To guarantee your paint adheres properly and lasts, preparing the garage floor is essential. Start by evaluating your garage flooring options; whether you have concrete, epoxy, or tile, the preparation varies. Here's a simple guide using effective surface preparation techniques:
| Steps | Description |
|---|---|
| Inspect the surface | Look for cracks and imperfections |
| Repair damages | Fill cracks with appropriate filler |
| Remove old coatings | Use a scraper or grinder |
| Etch the surface | Apply etching solution if concrete |
| Dry the floor | Allow sufficient time to dry |
Clean the Surface Thoroughly
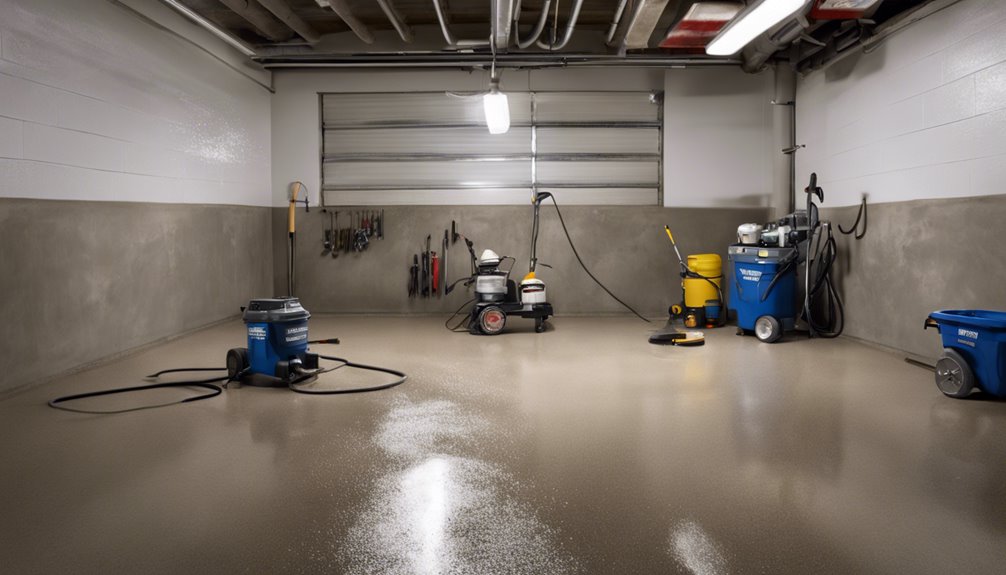
Before you start painting, it's essential to clean the surface thoroughly. Begin by removing any dirt and debris, then use a degreaser to tackle any tough spots—this guarantees the paint adheres properly. Finally, rinse the floor well to leave a clean slate for your new paint job.
Remove Dirt and Debris
Cleaning your garage floor is vital for a successful paint job. Start by using effective cleaning techniques to guarantee a smooth surface. Begin with debris removal; this step is essential to prevent any imperfections in your paint finish.
Here are some tips for efficient cleaning:
- Sweep or vacuum to eliminate dust and loose particles.
- Use a stiff-bristle broom for stubborn dirt and grime that won't budge easily.
- Collect larger debris like leaves or cardboard for a clean workspace.
Degrease and Rinse
Once you've cleared away dirt and debris, it's important to tackle any grease or oil stains that could interfere with your paint's adhesion. Start by selecting effective cleaning agents specifically designed for garage floors. A good degreaser will break down stubborn stains, making it easier to remove them.
Apply your chosen product generously and let it sit for a few minutes to penetrate the grease. Then, use a stiff-bristle brush to scrub the area, employing various degreasing techniques to guarantee you get into all the crevices. Rinse thoroughly with a hose or pressure washer, making sure no residue remains. Let the surface dry completely before moving on. This thorough cleaning will help your paint adhere better and give you that smooth finish you desire!
Repair Any Damage
Before you start painting, it's essential to assess the condition of your garage floor. Look for any cracks or holes that need attention, as these can affect the longevity of your paint job. Filling these imperfections will guarantee a smooth and durable finish, so don't skip this important step!
Assess Existing Floor Condition
To guarantee your garage floor is ready for a fresh coat of paint, it's crucial to first assess its existing condition for any damage. Check for cracks or uneven areas, as these can affect your painting project. Different floor types may react uniquely under moisture levels, so understanding the condition is important.
Here's what to look for:
- Cracks and Chips: Identify any visible damage that needs attention.
- Surface Stains: Note any oil or chemical stains that could prevent adhesion.
- Moisture Issues: Check for signs of moisture, which can lead to peeling paint.
Fill Cracks and Holes
Repairing any visible cracks and holes in your garage floor is essential for achieving a smooth, long-lasting paint job. Start by cleaning the area, then use a quality crack filler or patching compound to fill in the damage. Allow it to dry completely before painting. This simple step can make a world of difference in the final look of your floor.
| Action | Emotion | Benefit |
|---|---|---|
| Identify cracks | Frustration | A clearer workspace |
| Apply crack filler | Relief | Prevents further damage |
| Smooth the surface | Satisfaction | Easier painting process |
| Let it dry | Anticipation | Better paint adhesion |
| Paint your floor | Pride | A fresh, new look |
Taking the time to repair those cracks can lead to a fantastic transformation.
Choose the Right Paint
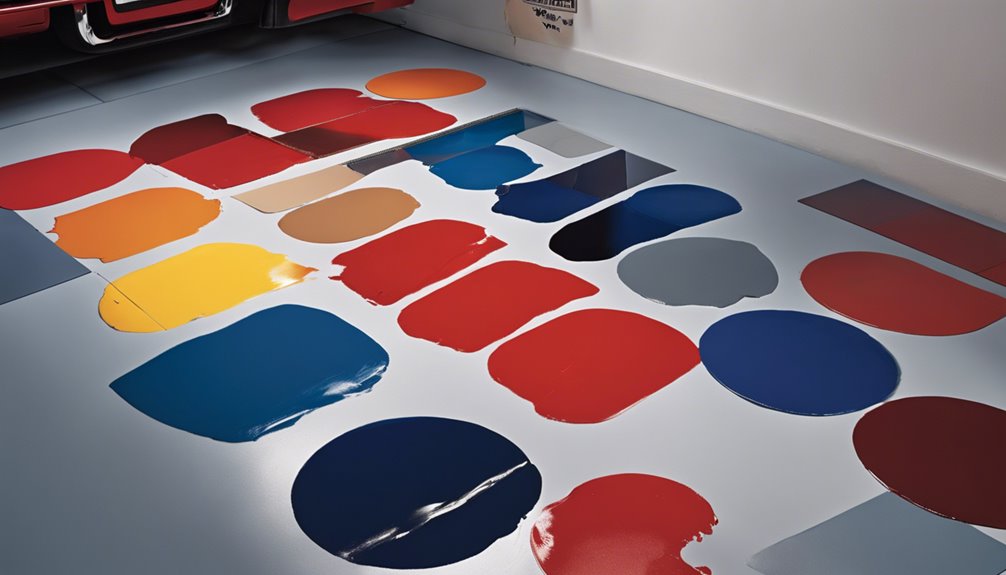
Choosing the right paint for your garage floor is essential, as it can greatly impact durability and appearance. You've got several paint types to evaluate, each with its benefits. Think about using epoxy for a tough, long-lasting finish or acrylic for a quick-drying option. Don't forget the color options; they can enhance your space and reflect your style.
- Epoxy: Offers excellent durability and chemical resistance.
- Acrylic: Dries quickly and is easy to apply.
- Polyurethane: Provides a glossy finish and UV protection.
Apply Primer if Needed
Before you immerse yourself in painting your garage floor, applying a primer can make a significant difference in how well the paint adheres and lasts over time. Choosing the right primer type is essential, especially if your floor has stains or is unsealed. Epoxy or latex primers work well for most surfaces. You'll want to employ effective priming techniques, like using a roller for even coverage and ensuring the floor is clean and dry before application. Don't rush this step; take the time to allow the primer to cure fully. This will set the stage for a smooth, durable finish, giving you the freedom to enjoy your newly painted garage floor for years to come.
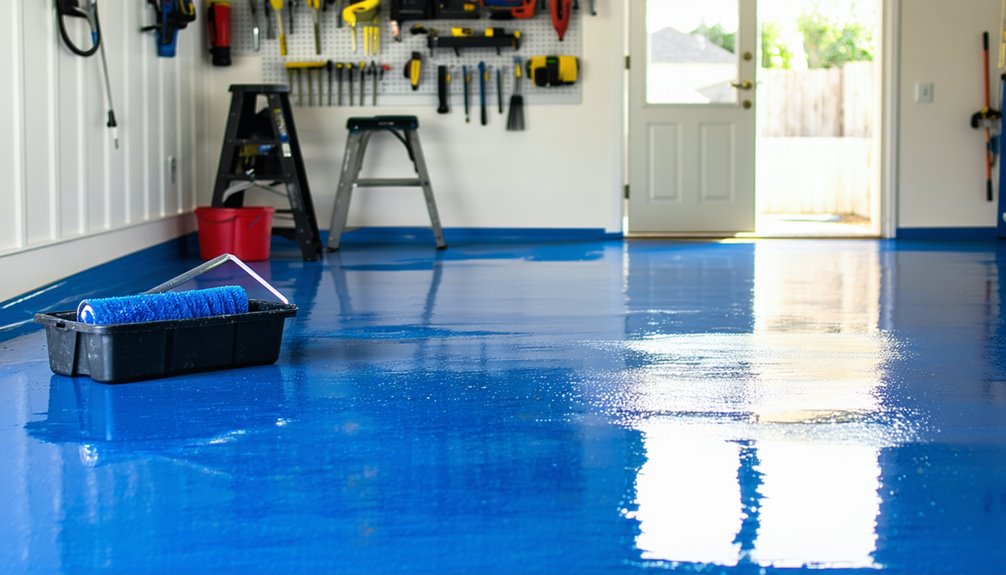
Paint the Garage Floor
Once your primer has cured and you're ready to move forward, painting the garage floor can be an exciting project that transforms the space. With the right paint, you can enhance your garage aesthetics while making floor maintenance a breeze. Choose a high-quality epoxy or concrete paint that's durable and easy to clean.
Here are some tips to guarantee a successful paint job:
- Use a roller or sprayer for even coverage.
- Apply multiple thin coats instead of one thick coat.
- Plan adequate drying time between coats.
Finish With a Protective Sealant
To guarantee your newly painted garage floor stands the test of time, applying a protective sealant is essential. Sealants offer numerous benefits, including enhanced durability, resistance to stains, and easier cleanup. When choosing a sealant, opt for one specifically designed for garage floors to maximize protection.
For application techniques, start by verifying the floor is clean and dry. Use a roller or brush to apply the sealant evenly, following the manufacturer's instructions. Work in small sections to avoid streaks and verify proper coverage. Let it dry thoroughly before walking on it, and consider applying a second coat for added strength. By sealing your floor, you're not just protecting your investment—you're enjoying the freedom of a beautiful, low-maintenance space.
Frequently Asked Questions
How Long Does It Take for the Paint to Dry Completely?
When you're wondering how long it takes for the paint to dry completely, keep in mind that drying time can vary. It depends on factors like temperature, humidity, and the type of paint you're using. Generally, you can expect it to take anywhere from a few hours to a couple of days. To guarantee the best results, always check the manufacturer's instructions, and don't rush the process if you want a durable finish.
Can I Paint My Garage Floor in Cold Weather?
Yes, you can paint your garage floor in cold weather, but you need to be mindful of temperature considerations. Most paints require a minimum temperature to cure properly, so make certain your garage's temperature meets the manufacturer's guidelines. Proper garage floor preparation is essential; clean the surface thoroughly and check for moisture. If it's too cold, consider using space heaters to warm the area, guaranteeing you get the best results despite the chill.
What Should I Do if I Spill Paint?
If you spill paint, don't panic; prompt paint cleanup is your priority! First, grab some absorbent cloths or paper towels to soak up the spill. Next, use a gentle cleaner suitable for your surface to wipe away any residue. To avoid future messes, practice spill prevention by covering areas you don't want painted. Remember, accidents happen, but with a little quick action, you'll keep your space looking fresh and fabulous!
How Often Should I Repaint My Garage Floor?
When it comes to repainting frequency for your garage floor, it really depends on usage and wear. Generally, you should consider repainting every 3 to 5 years as part of your garage maintenance. If you notice signs of peeling, fading, or stains, it's time to refresh the paint. Keeping your floor looking sharp not only enhances the space but also protects it from damage. So, stay proactive and enjoy a beautiful garage!
Is It Safe to Park a Car on the Painted Floor Immediately?
Did you know that properly cured paint can increase durability by up to 50%? When it comes to parking your car on a freshly painted floor, it's best to wait. Most paints need time to cure, often 24-72 hours, depending on conditions. Confirm you've done proper surface preparation, as this directly affects how quickly the paint sets. Patience will pay off, allowing you to enjoy a long-lasting, resilient garage floor without worry.


