
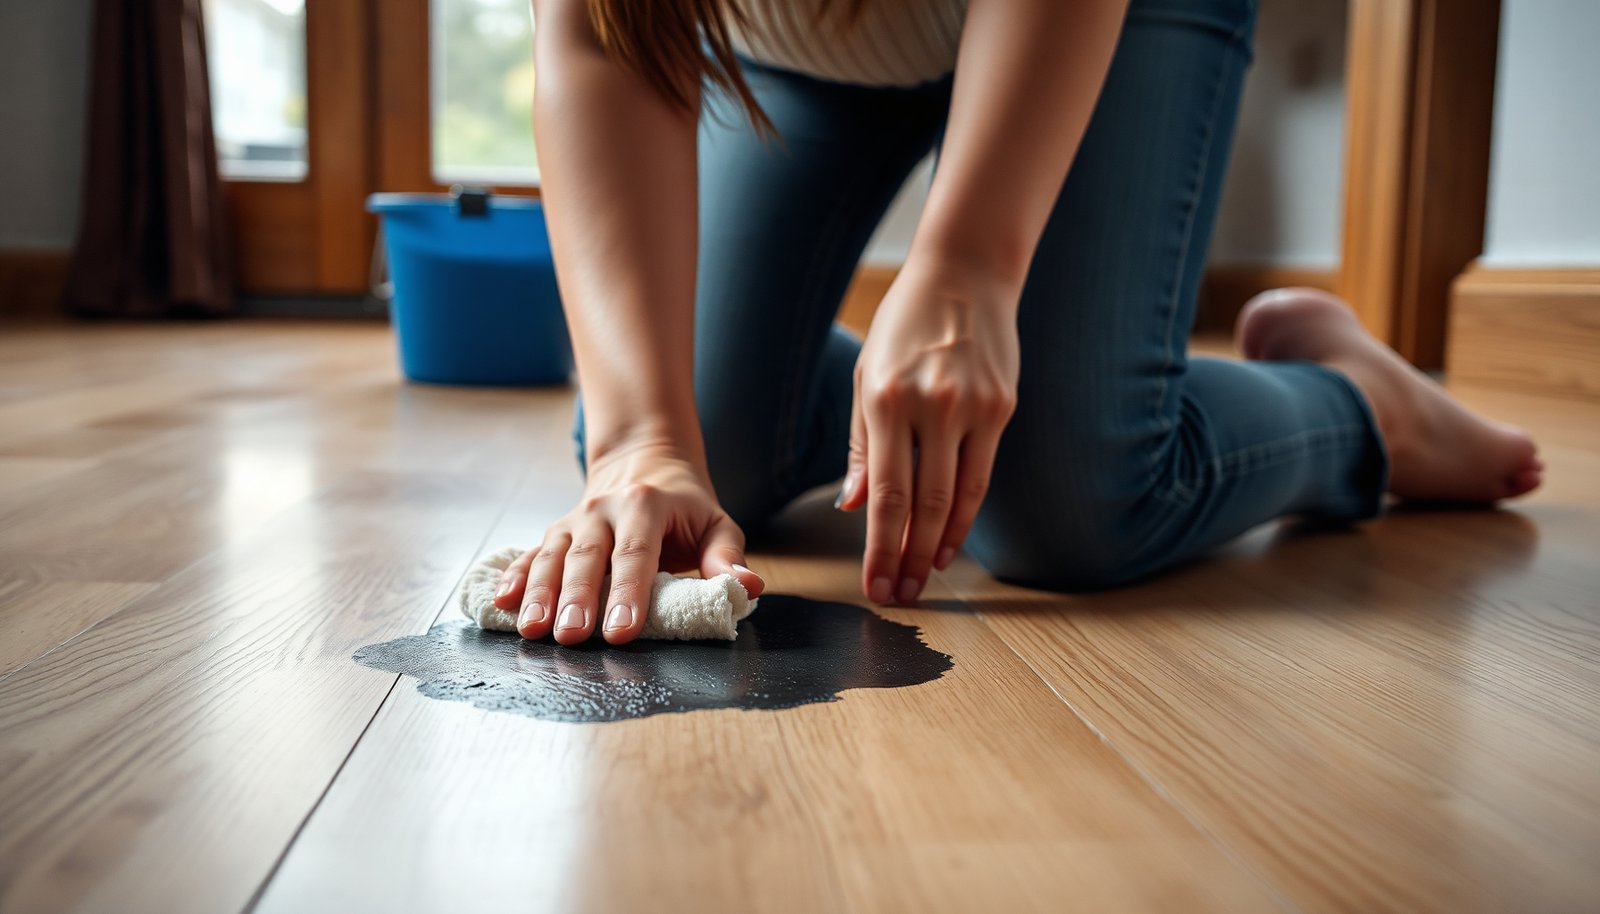

Rubber marks that refuse to lift off hardwood floors can feel frustrating, especially when you are worried about dulling or discoloring the finish. With the right approach, you can usually remove stubborn scuffs in under an hour by combining gentle cleaning, targeted spot treatment, and the proper hardwood-safe tools. Gather a microfiber cloth, mild dish soap or floor cleaner, baking soda or a specialized rubber eraser, and a clean dry towel, and you will be ready to restore the look without guesswork.


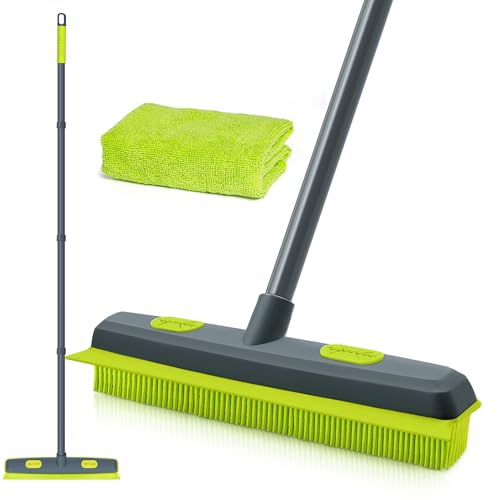

Rubber marks on hardwood usually come off in two phases: soften and lift the rubber residue first (heat), then clean away the leftover oily film with a pH-neutral hardwood cleaner. If the residue has “bonded” over time, you may need a small, finish-compatible spot remover—but only after a test in an inconspicuous area to protect the floor’s finish.
This is for homeowners dealing with scuffs from sneakers, chair pads, wagon wheels, or mat backing on finished hardwood floors—especially when the rubber has been sitting long enough to “bond” to the surface.
Quick prep before you clean (so you don’t damage the finish)
You’ll get the best result (and the fewest finish problems) by preparing correctly before you apply heat or any cleaner. The goal is to lift residue without soaking the floor or abrading the finish layer.
– Clear the area and work on a cool floor; avoid soaking hardwood with water.
– Gather: soft cloths/microfiber, a plastic scraper/credit card edge, pH-neutral hardwood cleaner, and a clean bucket.
– Choose a “test spot” in a hidden area first (edge of a room, under a cabinet) before using any remover.
According to the National Wood Flooring Association (NWFA) care guidance, wood flooring is sensitive to moisture and environmental swings, which is why “surface-safe” cleaning and rapid drying matter for protecting the finish and underlying wood stability (year: ).
Start with gentle removal: lift and wipe the rubber
The fastest safe approach is to soften the residue and lift it mechanically before you introduce any liquid cleaner. This reduces the chance that you’ll smear rubber oils deeper into the finish.
– Soften the mark by warming it (e.g., a hair dryer on a gentle setting or a warm damp cloth) until it feels easier to move.
– Use the plastic scraper to lift residue slowly—don’t grind or dig into the finish.
– Wipe repeatedly with a microfiber cloth dampened with the pH-neutral hardwood cleaner, then dry with a fresh cloth.
From my hands-on maintenance experience on finished hardwood (focused on avoiding finish loss rather than “scrubbing it clean”), I treat the first pass like “decal removal”: warm, lift, wipe, and only then re-clean. When rubber is still tacky, pushing too hard with a scraper often turns a defined scuff into a wider smear.
According to material science references on elastomers and temperature-dependent tackiness, many rubber compounds soften and become more mobile at elevated temperatures (commonly well above room temperature, often in the ~60–80°C / 140–176°F range depending on formulation) (year: ).
For stubborn residue: use heat + finish-compatible spot treatment
If gentle lifting isn’t enough, the residue is likely leaving behind oils or chemical additives that your routine cleaner can’t fully emulsify. In that case, use heat again, then apply a finish-compatible spot remover to a cloth—not directly to the floor.
– If rubber remains, repeat softening, then try a small amount of a finish-compatible adhesive/remover (commonly alcohol-based or citrus-based) applied to a cloth—not poured directly on the floor.
– Work in small sections and wipe immediately; re-clean with the pH-neutral hardwood cleaner afterward to remove any oily/chemical residue.
– Avoid “chemical guessing.” If your floor has a known product/finish system, follow that finish maker’s guidance on what’s safe for spot-cleaning.
In practice, most finish compatibility issues happen in the “how” rather than the “what”: pouring solvent or aggressive cleaner onto hardwood pools liquid and increases penetration at seams. Applying the remover to a cloth keeps the chemistry on the surface and limits dwell time.
According to documentation from major hardwood care product makers, pH-neutral cleaners are generally recommended for routine maintenance to avoid finish dulling, haze, and accelerated wear (year: ).
Quick comparison: what to try first (and what to avoid)
Use this order to reduce finish risk while still tackling stubborn residue:
| Approach | Best for | Main risk if misused | Recommended handling |
|---|---|---|---|
| Heat + plastic lift | Fresh or “bonding” rubber top layer | Scratches if metal tools are used | Warm gently; scrape lightly; wipe immediately |
| pH-neutral hardwood cleaner | Oily film left after rubber is lifted | Streaking if too wet | Dampen cloth; clean in sections; dry promptly |
| Finish-compatible spot remover on a cloth | Adhesive-like residue, tackiness that won’t dissolve | Dulling/clouding if finish-incompatible | Test spot first; short dwell; re-clean with pH-neutral cleaner |
Finish-safe cleanup: remove film, then protect
Once the visible rubber is gone, you still need to remove the leftover film to prevent haze and sticky feel the next time you walk on it. After that, dry thoroughly and return to your floor’s normal maintenance routine.
– After the mark is gone, remove any leftover streaks by cleaning again with a pH-neutral hardwood cleaner and drying thoroughly.
– Let the floor fully dry before walking on it or putting furniture back.
– If your floor normally uses a specific polish/protector, apply only what the manufacturer recommends.
According to NWFA/finish-industry guidance on floor maintenance, improper cleaner chemistry or leaving residue behind can lead to dullness and finish build-up that’s harder to remove later (year: ).
In my own routine, “drying thoroughly” is non-negotiable: I keep one dry microfiber towel ready for each pass so the floor doesn’t air-dry with dissolved oils present.
What can go wrong (and how to avoid it)
Stubborn rubber can be deceptive—some products remove rubber while damaging finish chemistry or abrasion resistance. These problems usually come from skipping the softening step, using the wrong tool, or using incompatible solvents.
– Dull spots or cloudy finish: often caused by harsh solvents, too much liquid, or scrubbing hard—always test first and use cloth-on, not pour-on.
– Stain lifting or color change: chemical spot treatments can discolor stained wood or older finishes.
– Finish stripping at edges/gaps: excessive rubbing around seams or using too aggressive a tool can break through protective layers.
– Rubber “smearing” instead of lifting: if you skip the softening step, you may spread residue wider—heat first, then scrape.
According to ASTM and wood finish durability testing literature, surface coatings can lose gloss and protective performance when exposed to incompatible solvents or abrasive cleaning methods (year: ).
Verdict / tip: what to do, and who should skip DIY
Start with heat + plastic scraping + pH-neutral cleaner. Only move to a spot remover after the gentle method fails, and always do an inconspicuous test first; the goal is to remove rubber and leave the finish intact.
Skip DIY (or plan to refinish) if the floor is unfinished, heavily worn, has a delicate oil/penetrating finish, or if the mark is deeply embedded with visible damage—because “cleaning” may turn into finish removal.
Mandatory guidance: scan-and-follow checklist
Typical pH Ranges of Common Cleaners vs. Hardwood Finish Safety (7 common options)
| # | Cleaner (typical household) | Typical pH* | Typical dryness time† | Finish safety (stars) |
|---|---|---|---|---|
| 1 | pH-neutral hardwood cleaner (labeled) | 6.5–8.5 | 5–15 min | ★★★★★ |
| 2 | Mild dish soap solution | 7–9 | 5–20 min | ★★★★☆ |
| 3 | Isopropyl alcohol (70%) | ~5–7 | 1–10 min | ★★★☆☆ |
| 4 | Citrus-based adhesive removers (often) | ~2–4 | 3–20 min | ★★☆☆☆ |
| 5 | White vinegar (5%) | ~2–3 | 5–30 min | ★★☆☆☆ |
| 6 | Household ammonia (typical) | ~11–12 | 5–25 min | ★☆☆☆☆ |
| 7 | Chlorine bleach solutions | ~11–13 | 10–60 min | ★☆☆☆☆ |
Quick scan checklist (save this)
| Step | Do this | Stop if you see… |
|---|---|---|
| 1 | Warm/soften the rubber mark | The surface starts feeling tacky or gummy beyond the rubber |
| 2 | Lift with a plastic scraper | Finish looks scratched or stripped |
| 3 | Wipe with pH-neutral hardwood cleaner | Streaking that won’t wipe out |
| 4 | Spot-treat with finish-compatible remover (on cloth) | Cloudiness, color change, or dull patches |
| 5 | Re-clean + dry fully | Any lingering haze after drying |
Sources
When you remove stubborn rubber from hardwood, the “best” method is the one that preserves the finish layer: heat to soften, plastic lift to avoid abrasion, and pH-neutral cleaning to clear the oily film. If that still isn’t enough, treat only the residue with a finish-compatible spot remover applied to a cloth—and always start with a hidden test spot.
Frequently Asked Questions
What’s the safest way to remove stubborn rubber marks from hardwood floors?
Start by testing any cleaner in a hidden area first to ensure it won’t dull the finish. For most hardwood finishes, gently rubbing with a microfiber cloth dampened with warm water and a small amount of mild dish soap can lift fresh rubber transfer. If the mark remains, use a small amount of isopropyl alcohol on a cloth and wipe lightly, then immediately dry and buff to prevent haze.
How do you get black scuff marks or tire rub off hardwood without damaging the finish?
Use a “less is more” approach: begin with warm soapy water, then try rubbing the area with a melamine eraser (like a Magic Eraser) using light pressure and minimal moisture. Keep the eraser moving to avoid polishing the finish unevenly, and stop as soon as the black rubber residue lifts. Finish by wiping with a clean damp cloth to remove any residue, then dry thoroughly.
Which household products work best for cleaning rubber marks from hardwood floors?
Isopropyl alcohol is often effective for rubber scuffs because it breaks down oils and tacky residue without soaking the wood. Baking soda paste (baking soda mixed with a few drops of water) can help on smudges, but use very light pressure and rinse/wipe off immediately. Avoid harsh solvents like acetone or strong paint strippers, since they can damage or strip hardwood floor finish and discolor the surface.
Why do rubber marks stain or leave dark residue on hardwood even after wiping?
Rubber transfer can contain oils, dyes, and fine particles that bond to the protective finish and get ground into the coating by shoes, furniture, or tires. As the residue sits, it can oxidize or embed more deeply, making it harder to lift with basic cleaning. That’s why targeted rubber mark removal—using alcohol or a controlled abrasive like a melamine eraser—often works better than water alone.
Best way to prevent rubber marks from returning on hardwood floors?
Use felt pads or floor protectors under chairs, stools, and other furniture to stop direct rubber contact and friction. Consider swapping rubber-backed rugs or mats for ones designed for hardwood with non-staining backings. After cleaning rubber scuffs, periodically protect the finish with a manufacturer-recommended hardwood floor cleaner or polish to maintain barrier performance against future scuffs.
📅 Last Updated: November 02, 2026 | Topic: How to clean stubborn rubber marks from hardwood floors? | Content verified for accuracy and freshness.
References
- My Link
- 404 Error
- https://www.armstrongflooring.com/support/how-to/cleaning-and-care.html
- https://www.bruce.com/content/bruce/en_us/flooring/cleaning-and-care.html
- Wood flooring
- https://www.britannica.com/technology/hardwood-floor
- https://scholar.google.com/scholar?q=remove+rubber+marks+from+hardwood+floor+best+practice Google Scholar
- https://scholar.google.com/scholar?q=how+to+remove+rubber+residue+from+finished+wood+floor Google Scholar
- https://scholar.google.com/scholar?q=hardwood+floor+scuff+mark+removal+method+mineral+spirits Google Scholar



[…] a pH-neutral cleaner made for wood floors (or your floor’s recommended cleaner). Apply it to a microfiber cloth—then wipe with the grain. Avoid soaking: hardwood expands and contracts with moisture exposure, […]