To install vinyl flooring, start by choosing the right type, like luxury vinyl tiles or planks. Gather essential tools, including a utility knife, tape measure, and adhesive. Prepare the subfloor by cleaning it thoroughly and checking for moisture. Measure your room's dimensions, planning a layout that centers on the longest wall. Begin laying the planks from one corner, ensuring they fit snugly and stagger the joints for stability. Use a utility knife for straight cuts and a jigsaw for curves. Regular maintenance will be vital for longevity, and more detailed steps await you as you continue.
Choosing the Right Vinyl Flooring

When selecting the right vinyl flooring for your space, what factors should you consider? First, identify the types of vinyl available: luxury vinyl tiles (LVT), vinyl planks, and sheet vinyl. Each offers unique benefits; LVT mimics natural materials, while vinyl planks provide easy installation and maintenance. Next, focus on color selection. Consider your existing decor and the atmosphere you wish to create. Light colors can make a space feel larger, while darker shades add warmth and coziness. Additionally, think about patterns and textures that align with your vision. Don't forget durability and wear layer thickness, as these influence the flooring's lifespan in high-traffic areas. By weighing these factors, you'll guarantee your vinyl flooring choice meets both aesthetic and practical needs.
Tools and Materials Needed
To achieve a successful vinyl flooring installation, you'll need a specific set of tools and materials. Depending on the types of vinyl you choose, your requirements may vary, but here are some essential tools to have on hand:
- Utility knife: For cutting vinyl planks or sheets to the desired size.
- Straightedge: Guarantees precise cuts and straight lines.
- Tape measure: Accurate measurements are vital for a flawless fit.
Gathering these essential tools will set you up for success. Additionally, don't forget to have your chosen vinyl flooring materials ready, as well as adhesive if required. With everything in place, you'll be well-equipped to start your installation journey and enjoy the freedom of transforming your space.
Preparing the Subfloor
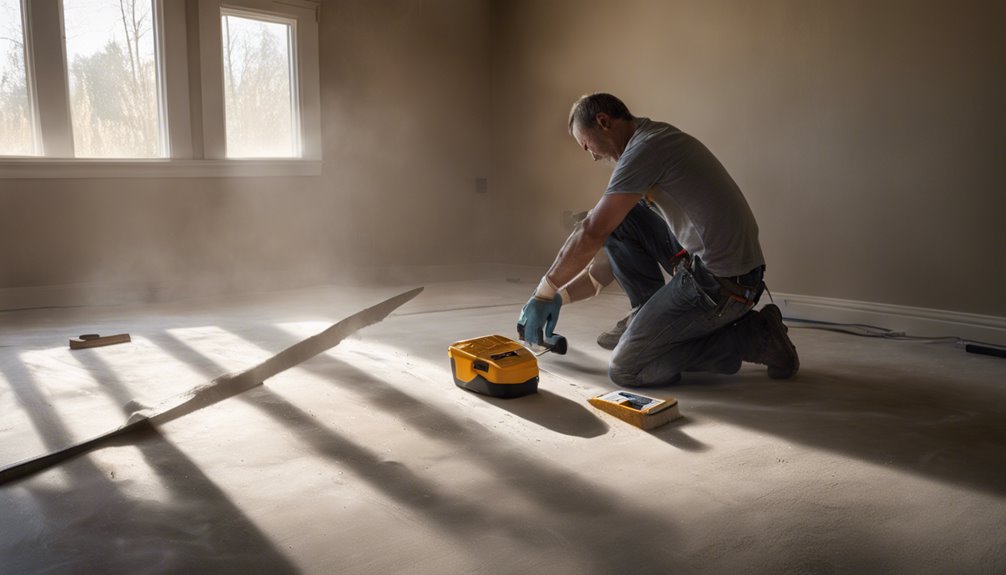
Before laying down your vinyl flooring, it's crucial to guarantee that the subfloor is properly prepared, as this step greatly impacts the overall installation and durability of your new floor. Start by identifying the subfloor types—whether it's concrete, plywood, or another material. Each type requires specific preparation methods. Make sure the surface is clean, dry, and level, removing any debris or old adhesive residues. Conduct moisture testing to check for excess moisture, especially with concrete subfloors, as high levels can lead to issues like warping or mold. If necessary, use a moisture barrier to protect your flooring. Finally, repair any cracks or imperfections, ensuring a solid foundation for your vinyl. Proper preparation will enhance the longevity and appearance of your new floor.
Measuring and Planning Layout
With the subfloor prepared, the next step involves measuring and planning the layout for your vinyl flooring. Accurate measurements are essential for a seamless installation, so utilize effective measuring techniques. Begin by measuring the room's length and width, then calculate the total area.
Consider these layout strategies:
- Start from the center: This guarantees a balanced look.
- Run planks parallel to the longest wall: It creates an illusion of space.
- Account for doorways and connections: This prevents awkward cuts.
Installing Vinyl Planks or Tiles

Before you install vinyl planks or tiles, verify your subfloor is clean, dry, and level to promote proper adhesion and prevent damage. Once the subfloor is prepared, you can begin laying the planks or tiles according to your planned layout, ensuring each piece fits snugly without gaps. Pay close attention to the manufacturer's instructions for installation techniques and spacing requirements to achieve the best results.
Preparing the Subfloor
Preparing the subfloor is essential for a successful vinyl flooring installation. Proper subfloor preparation guarantees a smooth, durable surface and prevents potential issues down the line. Follow these steps to get started:
- Clean the surface: Remove all debris, dust, and any old adhesive.
- Check for moisture: Use a moisture meter to test for excess moisture, as it can damage your vinyl.
- Install a moisture barrier: If needed, lay down a moisture barrier to protect your new flooring from moisture issues.
Installing the Planks
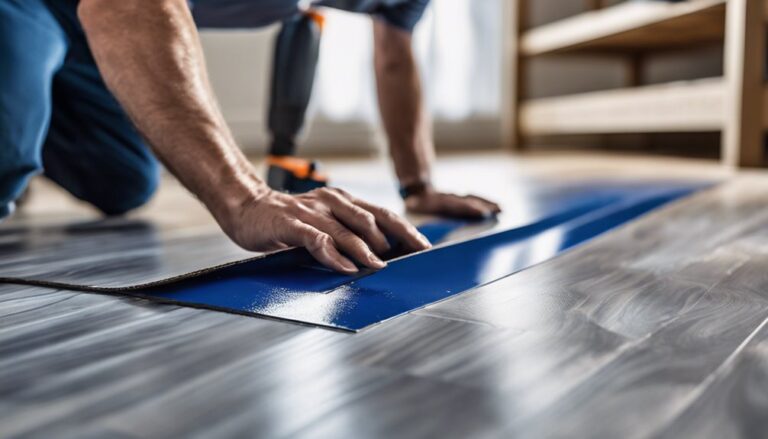
Start by laying the first plank or tile in the corner of the room, ensuring it's aligned straight and flush against the wall. Check the plank alignment with a level to guarantee it's even. As you proceed, maintain consistent seam placement; stagger the joints to enhance stability and aesthetics. For best results, use a ruler or measuring tape to determine where the next plank will go, ensuring it fits snugly against surrounding planks without gaps. If cutting is necessary, use a utility knife or a vinyl cutter for precision. Continue laying the planks, pressing firmly to lock each piece into place. Regularly step back to inspect your work, ensuring the entire floor maintains a cohesive look and feel.
Cutting and Fitting Pieces
Cutting and fitting vinyl flooring pieces is an essential step that requires accuracy to secure a seamless installation. Mastering the right cutting techniques and fitting methods can make all the difference. Here are some tips to keep in mind:
- Use a utility knife for straight cuts, making sure you score deeply for a clean break.
- Employ a jigsaw for curved or intricate cuts to enhance the floor's aesthetic.
- Always measure twice before cutting to minimize waste and guarantee a snug fit.
Finishing Touches and Maintenance

Once you've laid the vinyl flooring, focusing on the finishing touches and maintenance is essential to guarantee longevity and a polished appearance. Use effective cleaning techniques, like sweeping and damp mopping with a pH-neutral cleaner, to keep your floors looking their best. For minor scratches or dents, utilize the following repair tips to maintain your flooring's integrity.
| Task | Frequency | Method |
|---|---|---|
| Sweep | Daily | Broom or vacuum |
| Damp Mop | Weekly | pH-neutral cleaner |
| Spot Clean | As needed | Mild solution on a cloth |
| Inspect for Damage | Monthly | Look for scratches or tears |
| Wax (if needed) | Yearly | Apply a vinyl floor wax |
Frequently Asked Questions
Can Vinyl Flooring Be Installed Over Existing Flooring?
Imagine stepping into a room where the floor feels both familiar and new. Can you install vinyl flooring over existing flooring? Yes, you can! However, proper flooring preparation is key. You'll need to guarantee the current surface is clean, dry, and level. Installation options include laying it directly over tiles or wood, but avoid any soft or uneven surfaces. This method can save time and effort, giving you the freedom to enjoy your refreshed space.
How Long Does Vinyl Flooring Last?
When considering vinyl flooring, you'll find that its lifespan typically ranges from 10 to 20 years, depending on the quality and maintenance. To maximize vinyl lifespan, focus on proper care—regularly clean with a damp mop and avoid harsh chemicals. Additionally, using furniture pads can prevent scratches. By following these maintenance tips, you can guarantee your vinyl flooring remains in excellent condition and serves you well for years to come.
Is Vinyl Flooring Waterproof?
You might think vinyl flooring's just a trend, but it's got some serious waterproof features. In reality, most vinyl options are designed with moisture resistance, making them ideal for areas prone to spills or humidity, like kitchens and bathrooms. While it's not completely invulnerable, proper installation and maintenance can enhance its durability. So, if you're looking for flooring that
Can I Install Vinyl Flooring Myself?
Yes, you can install vinyl flooring yourself! With the right installation tools and a bit of preparation, it's entirely achievable. Start by gathering your tools—like a utility knife, straight edge, and measuring tape. Follow DIY tips such as acclimating the flooring to your space and ensuring a clean, dry surface. Take your time measuring and cutting accurately to avoid mistakes. You'll enjoy the freedom of creating a beautiful space on your own terms!
How Do I Clean Vinyl Flooring?
Cleaning vinyl flooring's like giving your space a revitalizing shower. Start with sweeping or vacuuming to remove dirt. For deeper cleaning, mop with a mixture of warm water and a few drops of dish soap, avoiding harsh chemicals. Rinse with clean water to prevent residue. To maintain its shine, use a specialized vinyl cleaner monthly. These techniques guarantee longevity and keep your floors looking pristine, allowing you to enjoy your freedom in a clean environment.

