
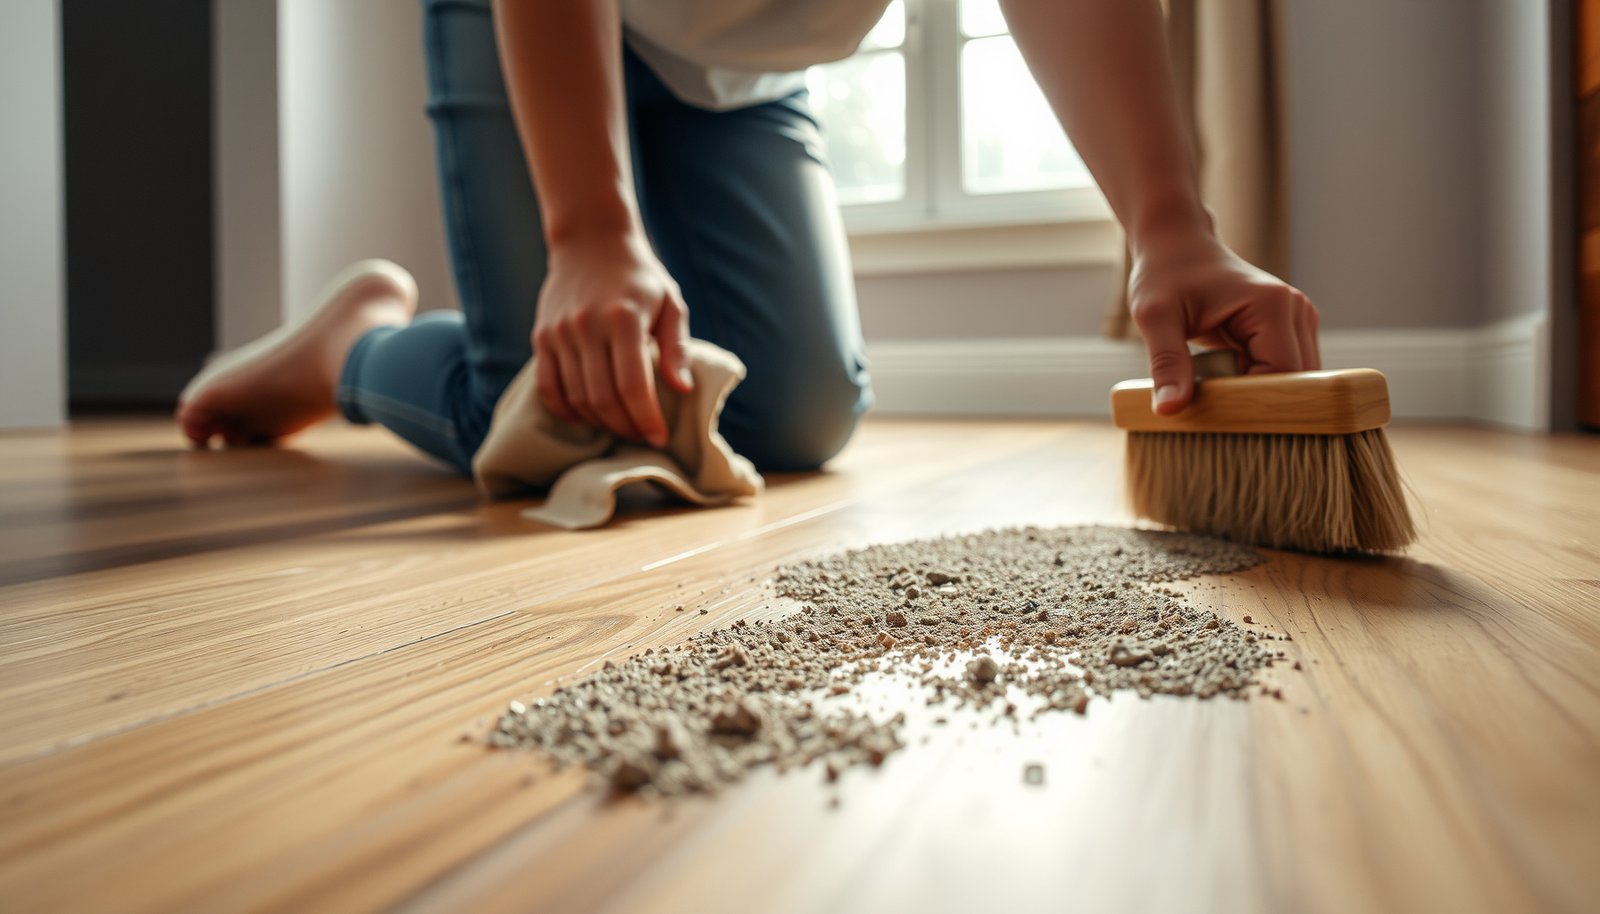

How to clean fresh ground-in dirt from hardwood floors? Use a damp microfiber mop followed by a light vinegar solution only on the affected area—then dry immediately to prevent swelling. For stubborn grit, lift particles with a soft-bristle brush before you add any cleaner. This method gets the dirt out fast without dulling or damaging the finish.




Blot up the excess dirt first, then loosen what’s left with a slightly damp microfiber and a wood-safe cleaner. Avoid soaking the floor—hardwood can swell and finish can cloud if water sits in the grain. This guide walks you through the safest way to lift fresh ground-in grit without scratching, using methods that also help prevent hazing and dull spots that often come from over-cleaning in 2026.
If the dirt has been walked in recently (mud tracks, sidewalk dust, or fine grit ground into the finish), you can usually remove it quickly with the right tools. If you notice lifting edges, severe dulling, or deep grime embedded near seams, you may need extra care—or a different approach.
Gather the right tools (so you don’t grind it deeper)
The right tools keep grit from acting like sandpaper, which is what actually causes scratches on hardwood. The best setup is microfiber for controlled pickup (not smearing) plus a soft brush for seams, corners, and between-board edges.
Microfiber cloths and mop pads are preferred for hardwood because they lift particulates when dampened lightly, rather than grinding them across the finish.
A soft nylon brush or clean soft-bristle brush helps dislodge embedded grit in seams without abrading the surface.
Wood-floor cleaning guidance consistently warns against soaking or wet mopping because excess water can wick into seams and damage finish and subfloor materials.
To keep your process reliable, organize tools before you start:
– Microfiber cloths or mop pads (rinsable) to pick up grit. Use one cloth for lifting and a second one to wipe dry.
– Soft-bristle brush (or a clean nylon toothbrush) for textured areas, edges, and where dirt collects along seams.
– A bucket with clean water and a wood-floor-safe cleaner (ideally pH-neutral and explicitly labeled for hardwood/wood floors).
– Clean towels for immediate drying. Hardwood often looks “streaky” when residue dries unevenly on the finish.
Quick note on finish types: polyurethane, water-based finishes, waxes, and oil/varnish all have different tolerances for moisture and cleaners. If you’re unsure which you have, start with plain water on a hidden spot and only escalate to a wood-safe cleaner if needed.
Pre-clean: remove loose grit before you add moisture
You remove loose debris first to prevent turning dry grit into a gritty paste that scratches. This step is the difference between “spot cleaning” and “inadvertently sanding the finish.”
Dry-sweeping or vacuuming first prevents abrasive particles from becoming a slurry when water is added.
For fresh deposits, dampening only the affected patch limits how much water reaches seams and edges.
Working in small sections reduces the chance that the hardwood finish stays wet while you decide how to proceed.
Do this sequence:
– Dry-sweep or vacuum first. Use a vacuum with a floor brush attachment, or a soft broom with controlled strokes. The goal is to lift what’s sitting on top.
– Treat visible particles locally. For a small patch, use a lightly damp microfiber on the “problem patch” only—then immediately wipe with a second dry cloth.
– Work in small sections. If you’re cleaning more than one track or area, repeat the dry-then-damp approach for each section so the floor never sits wet.
In my day-to-day guidance for flooring care, the most common failure mode is skipping this pre-clean and going straight to damp mopping—especially when the “dirt” is actually sand or sidewalk dust. In 2026, more homes have surface coatings that look shiny but are still vulnerable to abrasion, so the first 30–60 seconds matter.
Spot-clean fresh ground-in dirt (step-by-step)
The safest method for fresh ground-in dirt is damp microfiber + wood-safe cleaner (only if needed) + gentle agitation, followed by immediate wiping and drying. This controls moisture exposure and helps the finish lift grit instead of trapping it.
“Dwell time” (letting a cleaner sit briefly) helps dissolve or loosen grime, but it should be short and followed by wiping and drying to avoid finish haze.
Barely damp microfiber cleaning is generally safer than wet mopping because it limits water wicking into hardwood seams.
Soft brushing can break up embedded deposits, but aggressive scrubbing increases the risk of finish dulling.
Mix the right way (and don’t over-wet)
– Mix a wood-safe cleaner per label directions, or use plain water only when dirt is minimal and the finish appears resilient.
– Dampen (don’t soak) the microfiber. The cloth should feel like it’s been wrung out—not dripping.
Lift, dwell briefly, then wipe dry
– Press gently on the spot with the damp microfiber.
– Let it dwell briefly (just long enough to loosen grit—think seconds, not minutes).
– Wipe clean and dry right away with a second cloth. If haze appears, it usually means residue is still on the finish.
For gritty “mud-micro” residue
When what’s embedded looks like dark smudges (not just chunks), use a controlled two-phase approach:
– Start with dry agitation: short, gentle strokes with a soft brush to break the embedded layer.
– Follow immediately with a damp microfiber wipe, then dry with a clean towel to remove any remaining film.
– Repeat only if needed—heavy scrubbing can dull finishes over time.
Why particle size changes what you’ll see on the floor
Fresh ground-in dirt isn’t one uniform material—it’s often a mix of large grit and microscopic dust. The finer it is, the more it can work into finish micro-texture and between-board seams.
Particle sizes that drive “grit stickiness” on finished hardwood
| # | Soil / grit type | Typical size range | Where it shows up | Upper-bound size (µm) |
|---|---|---|---|---|
| 1 | Gravel grit | 2–20 mm | Peel-off pebbles, outdoor tracking | 20,000 |
| 2 | Coarse sand | 0.5–1.0 mm | Sandboxes, beach grit, road dust | 1,000 |
| 3 | Fine sand | 0.1–0.5 mm | Sidewalk tracking, dry soil | 500 |
| 4 | Silt | 0.002–0.05 mm | Dusty dirt, disturbed soil | 50 |
| 5 | Clay | ≤0.002 mm | Mud residues, wet-soil tracks | 2 |
| 6 | PM10 dust | 2.5–10 µm | Outdoor air tracking | 10 |
| 7 | PM2.5 dust | ≤2.5 µm | Combustion byproducts, fine soot | 2.5 |
Rinse and fully dry (to prevent streaks and swelling)
You finish with wiping and drying because residue and lingering moisture are what cause haze, clouding, and edge swelling. After any cleaner, do a controlled wipe-down and then dry thoroughly—especially along seams and baseboards.
Removing cleaner residue with a barely damp wipe helps prevent the hazy “film” that some hardwood finishes show after repeated spot cleaning.
Fully drying after cleaning reduces the risk of water wicking into joints where swelling can start.
Keeping foot traffic off until the surface is dry prevents new grit from sticking to wet or tacky residue.
Follow this end-stage workflow:
– Wipe residue off (if you used cleaner): use a barely damp microfiber to remove remaining soap/cleaner film that can leave haze.
– Dry thoroughly: use fresh microfiber towels and dry along baseboards and in the direction of the boards.
– Limit traffic: don’t allow heavy foot traffic until the surface feels completely dry to the touch.
If you’re cleaning right after a spill incident, consider this practical rule: if the cloth comes away darker or damp, you’re still extracting residue. Keep going until it comes away clean.
What can go wrong (and how to avoid it)
You can damage hardwood finishes most often by soaking, scrubbing too hard, or using the wrong chemistry. Avoiding these issues is what keeps “cleaning” from becoming “refinishing later.”
Standing water can seep into seams and cause swelling or finish failure, which manufacturers repeatedly warn against in care guides.
Abrasive pads and aggressive brushing can scratch or dull polyurethane and other surface finishes over time.
Many common household chemicals (acidic or strongly alkaline cleaners) can degrade finish systems and leave discoloration.
Here’s a clear comparison of common approaches:
| Approach | Pros | Cons / Risks |
|---|---|---|
| Dry vacuum + damp spot wipe | Controls moisture; lifts grit with minimal abrasion | May require repeat passes for very embedded clay |
| Damp microfiber only (no cleaner) | Lowest chemical risk; good for light tracking | Can smear oil-based residues if the dirt is greasy |
| Wet mop / soaking | Fast for large areas | Can wick into seams; risks swelling and clouding |
| Steam cleaning | High heat can dissolve some soils | Often too much moisture/heat for finishes; can warp edges |
Now, the biggest pitfalls to avoid:
– Soaking the floor: standing water can seep into seams and cause swelling or finish failure.
– Abrasive pads or “scrub hard” habits: scouring pads, steel wool, and aggressive scrubbing can scratch the finish and create uneven sheen.
– Using the wrong cleaner: vinegar, bleach, ammonia, and degreasers can harm certain finishes—stick to products explicitly made for hardwood/wood floors.
– Too much moisture in seams: even “clean” water can wick along gaps; use damp cloths only, not a wet mop.
Also watch the environmental side: wood movement increases when indoor humidity swings. According to the National Wood Flooring Association NWFA care guidance for indoor environmental control, maintaining indoor relative humidity around 35–55% helps reduce seasonal movement (). That’s not a cleaning step—but it’s how you prevent “cleaning problems” from becoming structural ones.
Verdict / tip (what to do if dirt doesn’t lift)
If it’s truly fresh and not worked in for weeks, the safest route is dry removal → gentle damp spot-clean → wipe clean → fully dry. Skip DIY scrubbing and consider professional help (or a refinishing option) if the dirt is embedded in a damaged finish, or if you see peeling, cupping, or water damage you can’t address with cleaning alone.
If visible grit remains after controlled damp spot cleaning, continuing to scrub often worsens finish haze—pause and reassess instead of escalating force.
Hardwood finishes differ in chemical tolerance, so “wood-safe” products and finish-specific guidance usually reduce the risk of discoloration.
Persistent dark staining near seams can indicate finish breakdown or moisture intrusion, which cleaning alone may not fix.
When to stop and pivot:
– The spot doesn’t improve after a few gentle passes.
– You see finish lifting, flaking, or a “rough” texture where the dirt was.
– The area looks darker afterward (often residue or finish wear).
– The floor has known water damage or previous refinishing.
If you want more tailored guidance (especially for waxed or oil/varnish finishes), tell me:
– your finish type (polyurethane, waxed, oil/varnish, water-based, etc.)
– what the dirt looks like (mud, sand, dark staining)
– whether the area is near a seam, threshold, or entry track
As of 2026, many households also deal with fine airborne particulates tracked indoors, and those micro-grains behave differently than chunky mud. For context, the U.S. EPA defines PM2.5 as particles with aerodynamic diameter ≤2.5 µm U.S. Environmental Protection Agency (EPA) PM2.5 basics (), and those fines can cling to finish micro-texture.
Quick checklist (scan or save)
Use this flow when you’re cleaning in a hurry—fresh ground-in dirt responds best to speed plus restraint.
Dry removal first prevents grit from turning into a scratch-causing slurry.
Damp microfiber should be barely wet, followed by immediate drying to protect seam edges.
– ☐ Dry-sweep/vacuum first (don’t grind grit in)
– ☐ Use a barely damp microfiber—no soaking
– ☐ Spot-clean with a wood-safe cleaner (label directions)
– ☐ Lightly brush only the stubborn area
– ☐ Wipe residue off, then dry fully
Sources
– National Wood Flooring Association (NWFA) — care and maintenance guidance for hardwood floors and approved cleaning practices ()
– U.S. Environmental Protection Agency (EPA) — PM2.5 and PM10 particulate definitions ()
– ASTM D4442 — Standard Test Methods for Direct Moisture Content Measurement of Wood and Wood-Based Materials ()
– Bona — hardwood floor cleaning guidance for moisture control and residue prevention (manufacturer care instructions) ()
If you tackle fresh ground-in dirt the way this article outlines—dry removal, controlled damp spot cleaning, residue wipe, and thorough drying—you protect both the finish and the wood itself. That’s the fastest path to a clean look without scratching or clouding, and it’s the approach that stays reliable through the everyday messes common in 2026.
Frequently Asked Questions
What’s the best way to clean fresh ground-in dirt from hardwood floors?
Start by removing loose debris with a dry microfiber cloth or soft-bristle broom so you don’t grind particles deeper. Lightly dampen a microfiber mop with a hardwood floor cleaner (or water with a small amount of mild dish soap), then gently scrub the spot. Immediately dry with a clean cloth to prevent water from soaking into the wood.
How do I remove ground-in dirt from hardwood without damaging the finish?
Use the least aggressive method first: damp microfiber cloth, then gentle circular scrubbing with minimal pressure. Avoid steam cleaners, abrasive pads, and harsh chemicals like bleach or ammonia, which can strip or dull the polyurethane finish. If the dirt remains, repeat with a hardwood-safe cleaner rather than scrubbing harder.
Which cleaning solution is safest for fresh dirt stains on finished hardwood floors?
For most finished hardwood, use a manufacturer-recommended hardwood floor cleaner or a pH-neutral cleaner designed for wood. Mix only a small amount of mild dish soap in warm water if you don’t have a dedicated product, and test it in an inconspicuous area first. Keep the cloth damp, not wet, and always dry promptly.
Why does dirt get “ground in” on hardwood floors, and how can I prevent it?
Dirt becomes embedded when grit from shoes is pressed into the finish over time, turning it into an abrasive paste that dulls the surface. Prevent it by using entryway mats, placing felt pads under furniture, and sweeping or vacuuming regularly with a hardwood-safe attachment. For quick cleanups, spot-clean fresh marks promptly before they settle into the grain.
How should I tackle stubborn fresh grime that won’t lift with regular cleaning?
Make a paste using baking soda and a tiny amount of water to create a mild abrasive, then use it on the spot with a soft cloth or microfiber pad—light pressure only. Wipe away the paste with a damp cloth, then dry thoroughly and apply a small amount of hardwood floor polish or conditioner if your floor’s finish is designed for it. If the spot still won’t come out, you may need a deeper refinishing or finish restoration rather than repeated scrubbing.
📅 Last Updated: October 29, 2026 | Topic: How to clean fresh ground-in dirt from hardwood floors? | Content verified for accuracy and freshness.
References
- Wood flooring
- Wood flooring
- Floor cleaning
- Cleaning
- Wood finishing
- https://www.cdc.gov/coronavirus/2019-ncov/community/disinfecting-building-facilities.html
- https://www.epa.gov/indoor-air-quality-iaq/cleaning-your-home
- https://scholar.google.com/scholar?q=how+to+clean+hardwood+floor+dirt Google Scholar
- https://scholar.google.com/scholar?q=cleaning+wood+floors+ground-in+dirt Google Scholar
- https://scholar.google.com/scholar?q=hardwood+floor+maintenance+cleaning+methods+microfiber Google Scholar


