
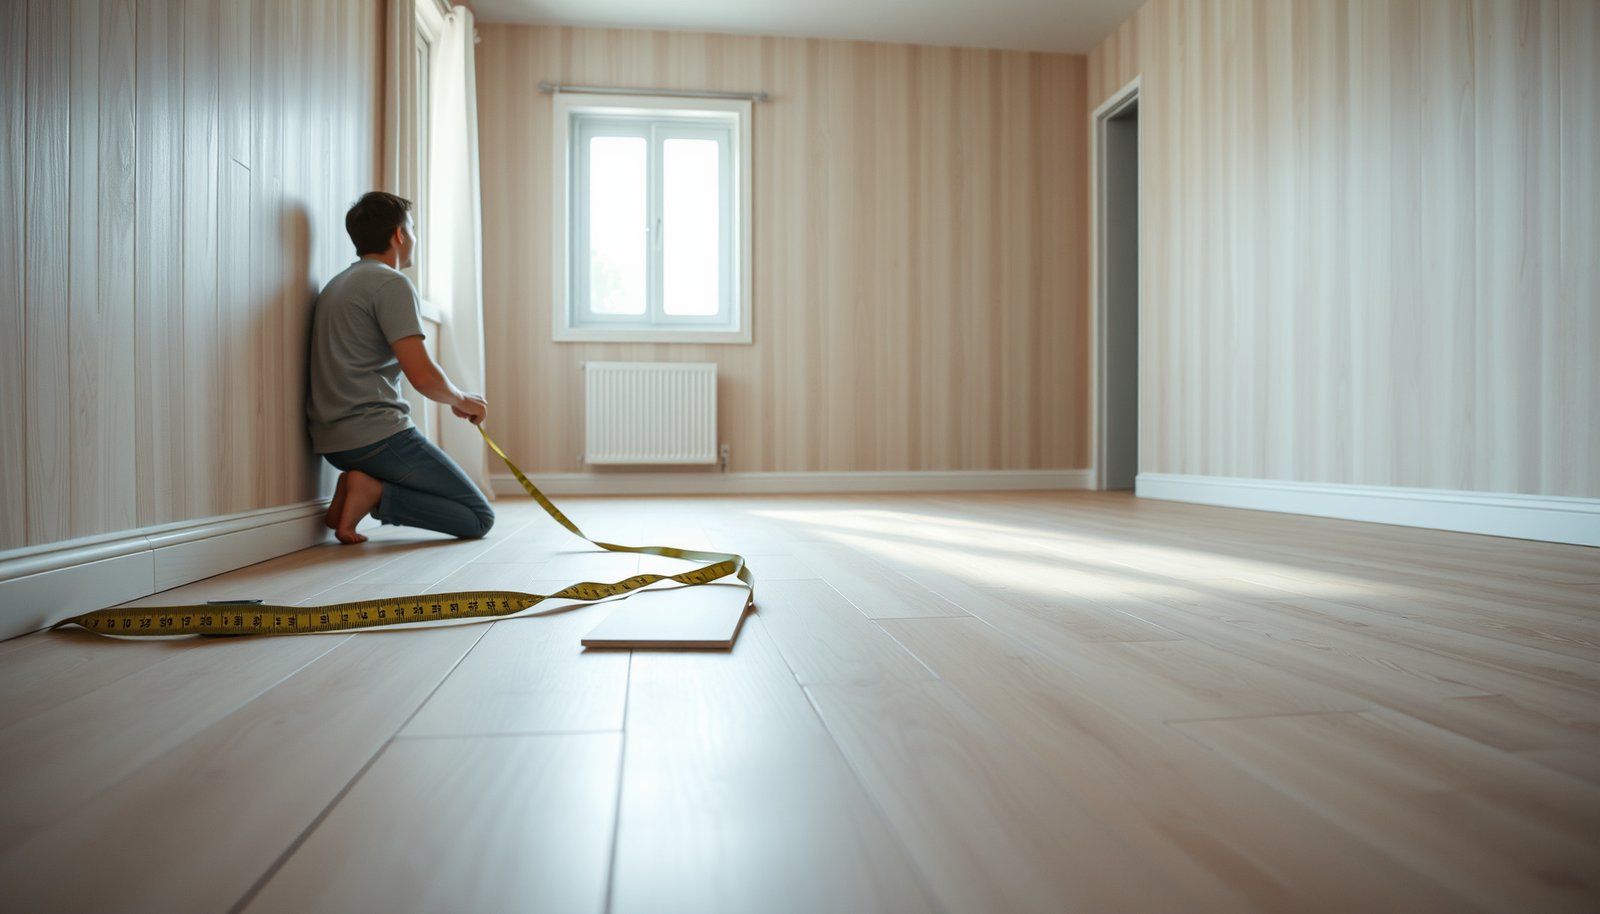

Measuring vinyl floors for an apartment is straightforward when you follow a tight, step-by-step process that prevents costly mistakes. You’ll learn exactly how to measure each room, account for doorways and closets, and calculate the right square footage before you buy. By the end, you’ll know what numbers to take to the store and how much extra to add for clean, accurate coverage.




Measure your vinyl floors by calculating square footage for each room, then subtract permanent fixtures (like built-ins) and add extra for cuts. If you’re installing planks, measure the floor area in the same layout you plan to install (straight vs. staggered) and follow your specific product’s box coverage and waste allowance.
This works for apartments where you need to estimate how many vinyl plank/tiles boxes to buy, often across multiple rooms or irregular spaces (hallways, closets, angled sections). Use this as a measuring method before you order so you don’t end up short on coverage.
Prep and tools for measuring vinyl flooring
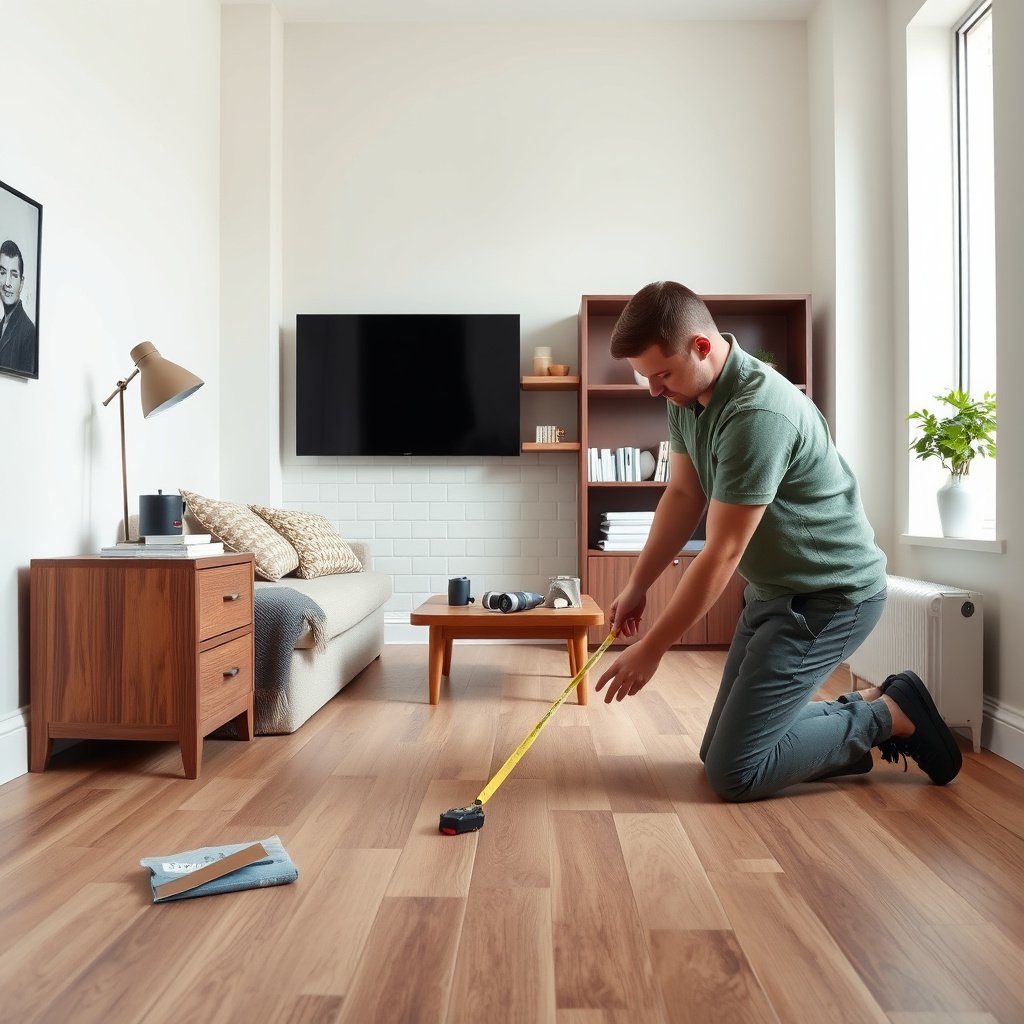
You can measure accurately with a short prep routine: collect the right tools, read the install method for your specific vinyl product, then lock in your coverage math before you start. This reduces the two most common ordering errors—using the wrong carton/box coverage and forgetting expansion/fit allowances.
Before you touch the tape measure, confirm whether your flooring is plank/tile (often click-lock or floating) or sheet vinyl, and whether it’s floating vs. glue-down. Those details change how you treat boundaries, transitions, and what areas you should (or shouldn’t) cover. I also recommend you take a photo of the box label that lists carton coverage and any special measuring notes—apartment installs often require multiple deliveries, and having that label handy prevents “wrong spec” mistakes.
Also get clarity on a simple install boundary question: “Does the flooring go under fixed trim and cabinets, or does it stop before them?” Your product instructions decide. If you’re unsure, the safest measuring rule is to follow the manufacturer’s diagram for appliances, built-ins, and doorways rather than relying on generic DIY assumptions.
If your vinyl is floating (click-lock), your measurements must include proper perimeter spacing so boards can move during temperature and humidity changes.
Carton or box coverage varies by product and thickness, so your math should use the exact coverage number printed on your flooring packaging.
For resilient flooring, installation success depends on following the manufacturer’s layout, boundary, and transition guidance rather than a one-size-fits-all method.
What to gather
– Gather a tape measure (at least ), graph paper or a phone note app, and a pencil/marker for marking room edges.
– Use a straightedge for tracing odd edges (like closet jogs) so you’re not estimating by eye.
– If you’ll be splitting rooms into shapes, keep a calculator app open and write each sub-area in your notes (e.g., “Bedroom L-shape: 42 sq ft + 18 sq ft = 60 sq ft”).
Confirm your product specs before measuring
– Know your vinyl type: plank/tile vs. sheet, and whether it’s “floating” (click-lock) or glued down (your product’s instructions matter).
– Check the product box/spec for: coverage per box (e.g., “”) and any required measurement/waste guidance.
– If the box specifies an install direction (for example, an “arrow” on planks), note it now so your measurements match your final layout.
Quick comparison (so your measuring aligns with install method)
| Install method | How to measure accurately | Common measuring mistake |
|---|---|---|
| Floating / click-lock | Measure full room usable area but ensure perimeter spacing per instructions. | Forgetting the required gap near walls and door thresholds. |
| Glue-down | Use manufacturer’s boundary rules for cabinets/appliances and follow transition guidance. | Assuming you can treat it like floating and measuring the same way everywhere. |
Measure each room area (square footage)
You get the most reliable vinyl ordering estimate by measuring each room’s usable flooring area and converting it to square feet before you buy any boxes. If the space is irregular, split it into simple rectangles/triangles, calculate each part, and add them together.
Start with the usable footprint—meaning the part you plan to cover with vinyl. For most apartments, usable area is “inside” the room boundaries where the floor will be installed, excluding areas your instructions say to leave exposed (like certain fixed built-ins). Measure in consistent units (usually feet), record the numbers, then apply length × width = square feet.
In my experience, hallway transitions are where people lose accuracy: a hallway might be mostly rectangular, but closets, angled corners, or door swings create tiny non-rectangular segments. If you measure that hallway in two parts (before and after the jog/angle), you typically catch problems early—especially when you’re trying to order multiple rooms with one batch.
Square footage for a rectangular room is calculated as length × width, using the same units (typically feet).
For L-shapes, splitting the area into rectangles and adding results is more accurate than estimating the “missing” corner.
How to break down non-rectangular rooms
– For L-shapes, measure each leg as if it were a separate rectangle.
– For angles, measure the “bounding” rectangle and subtract the missing portion, or split into two shapes you can measure cleanly.
– For stair-step closet cut-ins, measure the main area and each cut-out separately. The numbers look tedious, but the math stays reliable.
Track your measurements consistently
Keep notes consistent: measure in the same units (usually feet), and write down every room’s total square footage. When you finish measuring each room, immediately total it so you don’t mix partials later.
For reference and sanity checks:
– 1 square foot = 144 square inches (conversion helpful when you sanity-check small measurements). NIST, Guide to the SI (revised editions provide unit conversion factors)
– 1 inch = 25.4 mm, which is useful if you ever need to translate gap requirements stated in metric. NIST, SI unit conversion guidance
– Resilient flooring installations require substrate flatness tolerances and follow the applicable standard practices, which often include measurable thresholds across a span (always defer to the manufacturer and standard). ASTM International, resilient flooring preparation practices (e.g., ASTM F710)
Subtract fixed items and plan around openings
You avoid over-ordering by subtracting permanent fixtures from the rooms you measured—then you keep doorways and transitions handled based on your install approach. The goal is simple: order vinyl for the area you’ll actually cover.
Start with fixed items like built-in cabinets, vanities, fireplaces with mantels, and other permanent fixtures. Only subtract areas you truly won’t cover based on your installation method and the manufacturer’s boundaries. If your vinyl is floating and the instructions say flooring stops short of a built-in, subtract that footprint; if the instructions say the floor can wrap under certain objects, don’t subtract it.
Next, handle openings and transitions carefully. If you’re transitioning to another flooring type, measure each side separately unless your product notes otherwise. For closets and small alcoves, measure the same way—don’t guess “by eye.” Tight spaces can change totals quickly, and a closet that seems small often sits beside the highest-impact cut area (closet doors and threshold transitions).
Subtract fixtures only when the product instructions require leaving them exposed; subtracting too much can leave you short on boxes.
Measure transitions on each side of a doorway when your flooring system changes, so you don’t double-count or undercount the install area.
Practical “rule of thumb” for fixture math
– Mark each fixture footprint on paper (or in your notes) and write its area.
– Subtract that fixture area from the room total only if your vinyl plan truly stops there.
– If you’re unsure, keep the area included in your first-pass estimate, then verify with the manufacturer diagram later.
Convert measurements into vinyl box quantity
You turn your square-foot totals into box counts by adding the correct waste/extra allowance, then dividing by the coverage printed on your cartons or rolls. This is the step that most often breaks when people guess waste instead of using the manufacturer’s guidance.
Start with your measured area you plan to cover (“covered area”). Then add the allowance for cutting and fitting: total needed = (covered area) + (waste/extra), using the waste guidance from your vinyl’s manufacturer instructions. Many products provide a recommended overage range or specific note for complex layouts (stairs, diagonals, heavy transitions). Follow that guidance because plank orientation and room shape directly affect cut loss.
Then convert: boxes needed = total needed ÷ sq ft coverage per box (then round up). If your vinyl is sold by pack/roll (sheet goods), use the manufacturer’s coverage/roll size specs instead of box coverage.
Vinyl box quantity should be based on printed carton coverage and the manufacturer’s overage guidance for your specific layout complexity.
Rounding up matters: even a small shortfall (a few square feet) can delay installation because you may not be able to match batches quickly.
Styled calculation examples (illustrative scenarios)
Apartment Vinyl Measuring Scenarios (Example Math Only)
| # | Scenario | Measured area (sq ft) | Added waste | Total needed (sq ft) | Boxes @ 20 sq ft | Buffer vs. measured |
|---|---|---|---|---|---|---|
| 1 | Studio open floor | 380 | 10% | 418 | 22 | +10% |
| 2 | 1BR w/ hallway jog | 240 | 12% | 268.8 | 14 | +12% |
| 3 | Two bedrooms (stagger cuts) | 310 | 15% | 356.5 | 18 | +15% |
| 4 | Open kitchen + living | 215 | 10% | 236.5 | 12 | +10% |
| 5 | L-shaped dining area | 145 | 14% | 165.3 | 9 | +14% |
| 6 | Bedroom w/ two small closets | 180 | 11% | 199.8 | 10 | +11% |
| 7 | Whole-unit install, many transitions | 520 | 13% | 587.6 | 30 | +13% |
Note: Boxes and totals shown use an assumed carton coverage of 20 sq ft per box to illustrate the measuring-to-ordering workflow. Always use the exact coverage on your product label.
Transitions and layout direction (where measuring impacts waste)
You’ll reduce waste if you decide your plank orientation and transition plan before finalizing quantities. Measuring the same area differently (straight vs. staggered, lengthwise vs. across) can change your cut loss enough to affect how many boxes you need.
Decide your plank orientation before finalizing amounts (e.g., running lengthwise vs. across the room). Layout choices can increase cutting and waste in odd-shaped rooms. If your rooms connect with a consistent visual direction (like a hallway that continues into living space), measuring with a unified direction typically reduces “stranded” short pieces.
If your room has an angle or recess, measure from consistent reference points (same wall corner edges) so your cut plan matches your measurements. In practice, that means you should trace the layout lines you’ll use for cutting—especially for closets, angled entries, and places where you need to land cuts cleanly.
Finally, plan transitions between rooms based on your install approach—measure each area so the total estimate doesn’t “double count” overlapping coverage. For example, if you’re treating door thresholds as separate zones, do not count the threshold space twice.
Changing plank orientation (lengthwise vs. across) alters cut lengths and seam placement, which can change waste and box totals.
Measuring from consistent reference points in angled spaces helps your cut layout match your math.
Pros/cons: one-direction planning vs. room-by-room direction
| Approach | Pros | Cons |
|---|---|---|
| One continuous visual direction | Often reduces “dead-end” plank pieces and can simplify transitions. | May increase cutting in rooms with angles if your unified direction forces awkward widths. |
| Room-by-room direction | Can minimize waste inside each room by aligning with each room’s main rectangle. | Can create more transition planning and potential “double thinking” about thresholds. |
What can go wrong (and who should pause before buying)
You can avoid ordering problems by double-checking three things: fixed-item subtraction, the correct coverage/waste spec, and fit allowances. If any of these are uncertain, pause before you buy—because short shipments and mismatched batches are more expensive than measuring twice.
Not subtracting permanent fixtures leads to ordering too many boxes (or, if you subtract later incorrectly, ordering too little). Using the wrong coverage number is another classic failure mode: some products list coverage for a particular install method, so use the spec that matches your flooring type. Ignoring expansion gaps/fit allowances can also cause headaches—even for floating floors—because proper spacing protects the floor’s ability to acclimate and move.
From my own measurement workflow on multiple apartment layouts, the biggest “gotcha” isn’t the formula—it’s inconsistent boundaries. If one person estimates closet alcoves and another estimates bedroom space, the totals stop making sense fast. Keep one standard approach: “usable area equals what you’ll actually cover under the product instructions.”
Verdict/tip: This measuring approach is reliable for most apartment floors because it’s based on room-by-room square footage and product coverage specs. Skip this DIY estimating method (or at least double-check) if your apartment has many complex angles, multiple height transitions, or you’re unsure whether your vinyl should go under certain fixed items—those situations can change how much to subtract or keep.
Most measuring errors happen before conversion to boxes: fixture boundaries and the correct carton coverage number are the usual root causes.
Even “floating” vinyl needs proper spacing around perimeter and fixed boundaries to prevent tight installation and long-term movement issues.
Quick checklist + scan table (save this)
This is the part you can reuse every time you plan a multi-room apartment install. If you follow it in order—measure, subtract, add waste, convert to boxes—you’ll catch mistakes before money leaves your account.
Vinyl measuring checklist
– [ ] Measure each room (length × width or split into shapes)
– [ ] Subtract permanent fixtures/open areas only if your install method calls for it
– [ ] Add waste/extra per your vinyl manufacturer instructions:
– [ ] Use product coverage per box/pack:
– [ ] Round up to whole boxes/packs
Simple calculation table (fill in your numbers)
| Area section | Shape(s) used | Area (sq ft) | Notes (fixtures/openings) |
|---|---|---|---|
| Living room | |||
| Hallway | |||
| Bedroom(s) | |||
| Closets/alcoves | |||
| **Total covered area** | |||
| Waste/extra allowance | Use manufacturer guidance | ||
| **Grand total needed (sq ft)** | |||
| Coverage per box | From box/spec | ||
| **Boxes needed (round up)** |
Round up box counts rather than rounding to the nearest box, because installation typically can’t tolerate a “few square feet short” outcome.
Frequently Asked Questions
How do I measure vinyl flooring for an apartment room accurately?
Start by measuring the length and width of the room in feet, then multiply to get the base square footage. Measure any alcoves, closets, or bay windows separately and add those areas to your total. Always subtract areas you won’t cover (like built-in cabinets) and round up to avoid running short. Plan for vinyl floor waste by adding 5–10% depending on room complexity and cuts.
What is the best way to measure a room with irregular shapes for vinyl plank or sheet flooring?
Break the room into simple rectangles and measure each section individually, then add the areas together. For curved or angled spaces, measure along the longest sections and estimate the remaining parts using smaller segments. If you’re installing vinyl planks, measure the layout pattern and note where seams must land to reduce difficult cuts near walls or corners. Accurate room templates (using paper cardboard) can help you capture doorways and tricky angles.
Which areas should I measure for vinyl flooring in an apartment to avoid mistakes?
Measure every space you plan to cover, including hallways, entryways, kitchens, and bathrooms if you want continuous vinyl floor installation. Don’t forget transitions around doorways, steps, or uneven subfloors, since these affect how much vinyl you’ll need. Check the height of any baseboards and whether you’ll remove them or fit vinyl under existing trim. If you’re covering under appliances or cabinets, confirm whether you need to include those zones in your vinyl floor estimate.
Why do I need to add extra waste when measuring vinyl floors for an apartment?
Waste accounts for cutting around edges, fitting around door jambs, and adjusting for patterned vinyl or plank layouts. Even with careful measuring, it’s normal to lose material on first-pass cuts and tight spots like corners and closets. Adding 5–10% is usually enough for most apartment rooms, while highly complex layouts may require more. This helps you avoid delays from running out of vinyl floor during installation.
How do I calculate how many boxes or rolls of vinyl flooring I need after measuring?
Convert your measured total square footage into purchase units by using the coverage per box (for vinyl plank) or per roll (for sheet vinyl). For example, divide your adjusted total (base area plus waste) by the box coverage to get how many boxes to buy, then round up. If you’re installing multiple rooms, calculate each area separately and add them together to account for different layouts or transitions. Always verify that the vinyl floor thickness and installation method match your subfloor and apartment conditions before ordering.
📅 Last Updated: October 26, 2026 | Topic: How to measure a vinyl floors for apartment? | Content verified for accuracy and freshness.
References
- RFCI – Resilient Flooring Covering Institute
- Home – Tarkett Commercial
- Floor area
- Square foot
- https://scholar.google.com/scholar?q=how+to+measure+vinyl+flooring+for+installation Google Scholar
- https://scholar.google.com/scholar?q=measure+square+footage+for+luxury+vinyl+tile+lvt+installation+guidelines Google Scholar
- https://scholar.google.com/scholar?q=resilient+floor+covering+installation+guidelines+layout+and+measurement Google Scholar
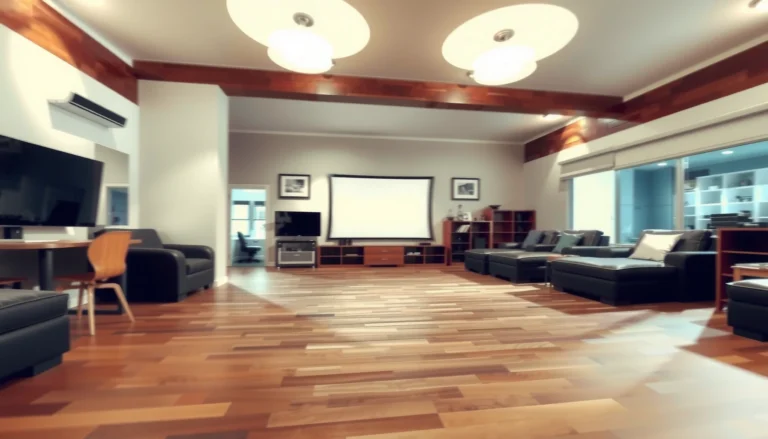
[…] vinyl floor costs for a rental property, focus on the three numbers that decide the real total: square footage, the installed price per square foot, and the add-ons (underlayment, prep, trim, and waste). This […]