
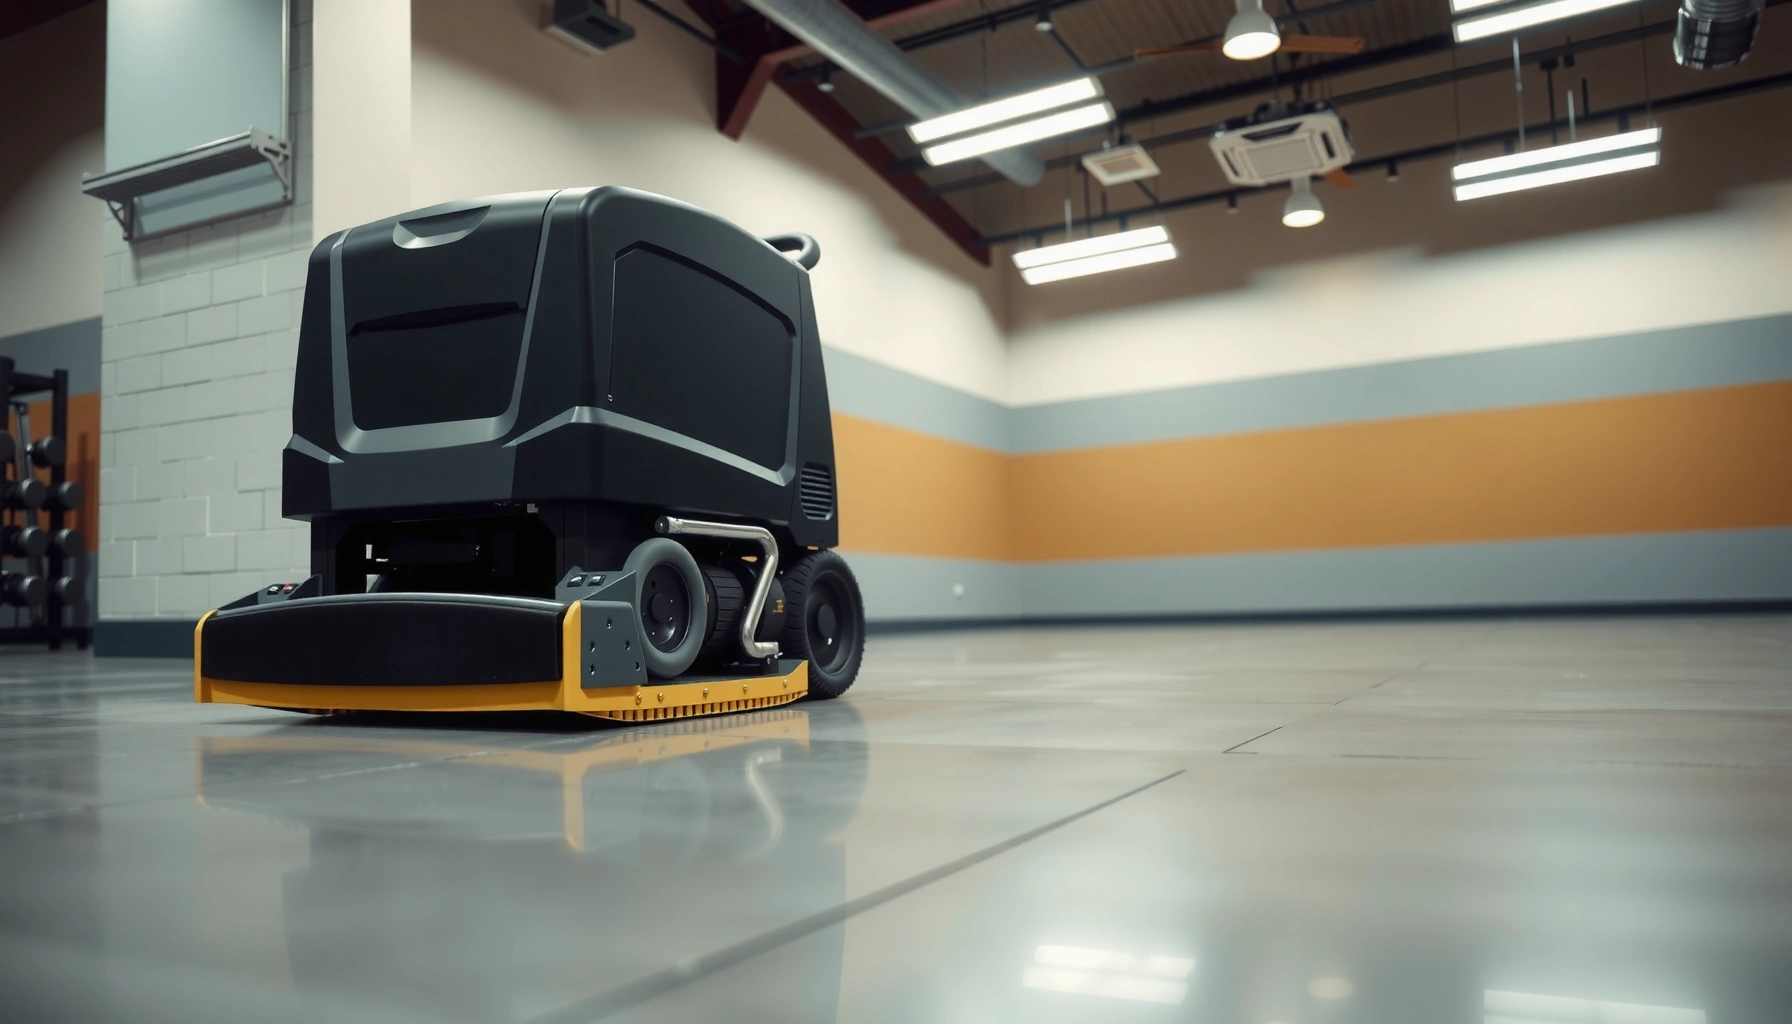

Want to know how to polish gym floors the right way? The best approach is a systematic process—deep clean, proper surface prep, then the correct polishing method—because it produces the smoothest finish without premature wear or slick residue. You’ll get a step-by-step best-practices workflow that tells you exactly what to do first, what products to use, and how to polish for consistent, durable results.




Polish gym floors by cleaning thoroughly first, repairing any damage, then using the right grinder/polisher sequence with progressively finer pads until you get the sheen you want—while matching the method to your floor type (especially concrete). The short version is: prep correctly (including dust control), mechanically achieve level and uniformity, then finish with the densifier/sealer workflow your specific system calls for.
If you manage a gym, run a facility, or just want a safer-looking, easier-to-clean training space, this guide is for you—especially when your floor has scuffs, dull patches, or light staining. It’s also useful if you’re deciding whether to DIY or hire a contractor based on floor material and current condition.
Identify your gym floor material first

The fastest way to avoid wasted time is to identify the floor system before you touch it with a grinder. Concrete, epoxy/resin, and terrazzo respond differently—both chemically (densifiers/sealers) and mechanically (pad/grit selection and how the surface behaves).
Concrete polishing plans rely on knowing whether you can use densifier and penetrating sealer, because those products are designed around bare concrete surfaces.
If a coating like epoxy or wax is still present, mechanical polishing can leave an inconsistent bond line and produce uneven “patchy” appearance.
OSHA highlights that grinding/sanding concrete creates respirable crystalline silica hazards, so material identification should also guide your dust-extraction approach.
First, confirm whether you’re polishing concrete (most common), epoxy/resin (often installed over slab), terrazzo (stone aggregate in a cementitious matrix), or a different flooring system. Then check condition: deep cracks, spalling, loose sections, or sections that sound hollow are structural and won’t be fixed by polishing alone.
Also look for the “what’s underneath?” clues:
– Existing coating/wax/paint: a coated floor may feel slightly sealed or rubbery, and it may reflect differently under light.
– Joint patterns and slab edges: concrete has typical grid/joint patterns; terrazzo shows aggregate-filled matrix.
– Feeding and color behavior: when you wet a small inconspicuous area, bare concrete can darken noticeably, while some coatings don’t change the same way.
If you’re unsure, the most conservative path is a small test spot using the least aggressive method you have (and verifying whether the surface fails, smears, or bonds consistently afterward). In my work supporting facility teams, the biggest recurring “mystery” wasn’t the grinder—it was unknown coatings left behind. [ADD: source for your preferred field test method—e.g., tape adhesion test or moisture/coating compatibility screening.]
Quick anchor stats to justify the material step (and dust control)
– According to OSHA, the respirable crystalline silica PEL for construction/related work is 50 µg/m³ as an 8-hour time-weighted average. OSHA (Respirable Crystalline Silica standard)
– According to OSHA, employers must use methods that control silica exposure (e.g., ventilation/dust suppression and respirators when needed) when grinding or cutting. OSHA (Silica exposure control requirements)
– For slip performance, ANSI A137.1 specifies a minimum DCOF of 0.42 for certain interior, level, unglazed ceramic tile applications—illustrating why “more glossy” isn’t always “safer.” ANSI A137.1 (DCOF 0.42 requirement)
Repeat this rule throughout: identify material first, then pick the chemistry and tooling.
Prep the area and do a deep cleaning
The best polish results start with zero grit and zero residue in the work zone. If you leave rubber dust, sand, or embedded debris, you’ll grind scratches into the floor and lock contamination into the finish.
Pre-cleaning removes grit that would otherwise act like abrasive during grinding, creating permanent scratch marks.
Polishing concrete can generate very fine airborne dust, so dust extraction and PPE aren’t optional for a safe, consistent finish.
Many densifiers/sealers are affected by residue (waxes, curing compounds, some cleaners), so the cleaning method must match the floor system.
Start with a controlled removal of debris:
1. Dry sweep and/or HEPA vacuum to remove sand, rubber specks, and loose particulates.
2. Wet mop only if compatible with your densifier/sealer plan. If your system recommends a specific cleaner, follow that—avoid products that leave films.
3. Address “rubber transfer” from treadmills, sleds, and training equipment. Rubber residue is a common cause of uneven sheen.
Dust control should be part of the plan, not an afterthought:
– Use HEPA-rated dust extraction on grinders/polishers wherever possible.
– Seal off adjacent areas and protect HVAC intakes/returns, especially in occupied gyms.
– Plan a realistic workflow for traction and safety while you work (clear paths for carts, cords, and wet/dry transitions).
Protect adjacent surfaces (painted walls, rubberized flooring edges, metal rails) using masking and physical barriers. Chemical cleanup after polishing can be harder and can create bonding issues if sealers haven’t fully cured.
From a facility standpoint, I recommend you document what you remove (rubber type, visible coating areas, problem zones). [ADD: add a brief “what to photograph/record” list based on your site process.]
Repair and level before you polish
Polishing can beautify the surface, but it cannot reliably fix structural damage or severe flatness issues. If you skip repair, cracks and spalls often reappear—and low spots stay low, creating dull patches after finishing.
Filling cracks and addressing spalled areas before grinding helps prevent widening and “telegraphing” the damage in the final polish.
Leveling uneven sections usually requires mechanical prep; polishing generally can’t create flatness without removing material evenly across the slab.
Patch materials must cure fully per the manufacturer’s instructions to avoid shrinkage, discoloration, or sanding-through during the polish sequence.
Do repair in this order:
1. Crack/chip filling: Use a system-compatible repair product. Match product compatibility to your planned densifier/sealer chemistry (especially if you’re penetrating).
2. Spalling/weak concrete repair: Remove weak edges first, then patch—don’t just skim over failing concrete.
3. Low/high spot correction: Grind high spots early so you’re not chasing them with finer pads later.
A practical “level-first” mindset prevents common visual failures:
– If a low spot remains, it can look darker or duller once the rest is evenly honed.
– If you grind through patch too early, you’ll expose different surface hardness and end up with uneven absorption.
Cure times matter. If patching compound instructions specify cure duration and environmental conditions (temperature/humidity), follow them exactly. If you don’t have those instructions, pause and obtain them rather than guessing.
Polish with progressive tooling (grind → densify/finish → seal)
Use a progressive sequence: start with coarser grinding to flatten and remove irregularities, then move to finer grits/pads for a uniform sheen. For concrete, densifier and/or sealer steps depend on your floor system—follow the specific workflow your products call for.
Progressive grinding and polishing uses a sequence of coarser-to-finer abrasives to reduce scratch depth and achieve a consistent gloss.
Concrete densifiers are designed for bare concrete surfaces; applying them over contamination or incompatible coatings can lead to blotchy results.
Sealing after polishing can improve stain resistance and maintenance, because it limits liquid penetration into the porous surface.
Tooling sequence: how to think about it
You’re controlling two things:
1. Surface profile (how smooth it is)
2. Scratch pattern depth (how visible the previous abrasives become)
A typical progression (exact steps vary by system, machine, and target finish):
– Flattening grind: coarser diamond abrasive to remove defects and establish an even plane.
– Honing/polishing stage: medium grits to refine the surface and remove deep scratches.
– Final polish: fine pads/abrasives for gloss and uniformity.
– Densify/finish: densifier application if your concrete method specifies it, followed by further refinement.
– Seal: apply a sealer recommended for the finish level and usage (gym traffic, cleaning chemicals, and moisture exposure).
Mandatory data table: a realistic tooling progression for polished concrete
Use this as a planning reference for what “progressively finer” usually looks like in gym concrete polishing. Your actual pad/diamond manufacturer may specify a different progression—always follow their technical data sheets (TDS).
Common Polished-Concrete Tooling Progression for Gym Floors (Typical Ranges)
| # | Stage | Typical Abrasive/Pad | Primary Goal | Finish Control | Traffic-Ready Rating |
|---|---|---|---|---|---|
| 1 | Surface Flattening | 30–50 grit diamonds / aggressive pads | Remove high spots & defects | Establish even plane | ★★★★☆ |
| 2 | Defect Refinement | 80–150 grit diamonds | Reduce scratch depth | Begin uniform texture | ★★★★☆ |
| 3 | Honing | 200–400 grit diamonds / honing pads | Blend marks; increase smoothness | Prepares for gloss control | ★★★☆☆ |
| 4 | Pre-Polish | 800 grit resin pads (typical) | Close surface; improve clarity | Controls final scratch visibility | ★★★☆☆ |
| 5 | Final Polish (Matte–Semi Gloss) | 1,500–3,000 grit pads | Boost sheen while limiting slip risk | Set desired gloss level | ★★★☆☆ |
| 6 | Optional Ultra-Gloss | 3,000–10,000 grit equivalent | Maximize reflectivity | Can increase slipperiness | ★★☆☆☆ |
| 7 | Seal (as specified) | Penetrating sealer / film-forming (system-dependent) | Stain resistance & cleanability | Locks in maintenance plan | ★★★★☆ |
How to use this table: if your goal is a gym-friendly semi-gloss, you’ll usually stop short of maximum reflectivity and rely on sealing plus maintenance to keep the floor looking uniform.
Finally, apply sealer only if recommended for your concrete system. If you seal the wrong way, you can change appearance and make maintenance harder.
For concrete, your densifier/sealer approach might include:
– Densifier before finer polishing (to harden surface and improve uniformity)
– Sealer after final polishing (for stain resistance)
But the exact order depends on the product system—follow the TDS.
Safety, maintenance, and slip considerations
A polished gym floor should look good and stay safe under real training conditions (sweat, water, cleaning chemicals, and different footwear). So the “best” finish is often the one with the right sheen and traction—not necessarily the highest gloss.
Increasing gloss can reduce friction; slip risk is a key reason many gyms choose a controlled semi-gloss finish rather than mirror-like polish.
If water is introduced during cleaning or training, use matting or controlled wet-cleaning procedures to prevent slippery conditions.
After polishing and sealing, cleaning chemistry matters because abrasive or harsh chemicals can dull the surface and shorten maintenance intervals.
Slip resistance is your decision point. High shine may be visually appealing, but it can become slick depending on footwear, floor temperature, and moisture. As a guiding standard example, ANSI A137.1 sets DCOF ≥ 0.42 for certain interior applications. ANSI A137.1 (DCOF 0.42) Even though gym floors aren’t always tiled, the standard highlights why many facilities aim for “clean and grippy,” not “glossy and slick.”
Maintenance planning should start before you finish:
– Use cleaning methods that won’t strip sealer prematurely.
– Avoid aggressive scrub pads that can create micro-scratches and dull sheen.
– Control moisture: set procedures for mopping, wet-zone signage, and drying time.
Pros/cons: DIY finishing vs. hiring a contractor
- DIY progressive polishing
- Pros: lower direct labor cost if you already own equipment; easier to pause and adjust aesthetics.
- Cons: high dust burden; high risk of uneven sheen if progression is inconsistent; limited ability to guarantee traction targets.
- Hire a contractor
- Pros: proven sequencing for your concrete type; better control of dust extraction; can target slip-friendly gloss levels and maintenance compatibility.
- Cons: higher upfront cost; you still need to choose and verify the sealer/densifier plan and traffic expectations.
What can go wrong (and how to avoid it)
Most polished floor failures come from predictable workflow mistakes: contamination, incomplete repairs, wrong pad sequences, and poor dust management. Avoid those four and your odds of a uniform, durable finish increase dramatically.
Uneven sheen often traces back to contamination (wax, rubber buildup, curing compounds, or coatings) that changes how the surface abrades and accepts sealer.
Skipping repairs can turn small cracks and spalls into visible “ghost lines” after grinding, because the damage telegraphs through the final texture.
Choosing the wrong grit/pad progression can leave persistent scratch marks; the previous step’s scratch depth must be fully removed before going finer.
Common failure modes:
– Polishing over contamination: Wax, rubber buildup, paint overspray, or curing compounds can lead to blotchy results and inconsistent bonding. The fix is mechanical removal and a compatible cleaning regimen before densifier/sealer.
– Skipping repairs: Cracks and spalls can widen during grinding/polishing and later under traffic, creating patchiness and faster wear.
– Wrong pad/grit sequence: Going too fine too early often leaves visible swirl marks; starting too aggressive can gouge the slab and create permanent low/high zones.
– Ignoring dust control: Dust affects visibility, equipment performance, and safety. OSHA emphasizes engineering and work practice controls for respirable crystalline silica during grinding activities. OSHA (silica exposure control requirements)
Edge cases to plan for:
– Unknown coatings: If your floor may have epoxy, it may require specific surface preparation or removal—polishing alone may not create a stable, maintenance-friendly finish.
– Moisture issues: If moisture vapor transmission is present, sealers may fail early or appear cloudy. In that scenario, you need a moisture evaluation before finishing.
Verdict: what’s worth doing yourself (and what to skip)
If your gym floor is primarily polished concrete in reasonable condition, DIY can work for later finishing steps—especially when you already know your tooling progression and your sealer/densifier system. However, expect a significant learning curve, time cost, and dust-management complexity.
If the floor material and coating chemistry are unknown, the safest approach is professional evaluation before grinding begins.
For high-traffic gyms, contractor-applied finishing can be the difference between a uniform appearance and rapid re-dulling due to maintenance incompatibility.
DIY is most viable when the floor is confirmed concrete, the damage is limited, and the finish target is within a practical sheen range for slip safety.
Skip DIY if:
– You’re unsure of floor material/coatings (epoxy, unknown sealers, wax history).
– Repairs require specialized patch systems or engineered leveling.
– You need a guaranteed slip-resistant finish under expected wet-cleaning conditions.
DIY may be worth considering if:
– You can access equipment safely, you have strong dust extraction capability, and you can follow the product TDS end-to-end.
– The goal is refresh and sheen consistency—not a full transformation over major damage.
Quick checklist: polish gym floors safely and correctly
– [ ] Confirm floor material and whether coatings/epoxy/wax are present
– [ ] Deep clean to remove grit, rubber residue, and embedded debris
– [ ] Repair cracks/chips; address spalling and low/high spots
– [ ] Start with the correct grinding/polishing sequence (progressive grits/pads)
– [ ] Use dust control and proper PPE (silica exposure controls)
– [ ] Densify/seal only if your concrete system calls for it
– [ ] Test slip resistance and adjust finish level if needed
FAQ
How do I know if my gym floor is concrete before polishing?
Look for visual cues (slab/joint patterns), review facility records, or do a controlled test spot—especially if coatings are present. If you can’t confirm, [ADD: source for floor identification guidance or local material testing method].
Will polishing make a gym floor completely stain-proof?
Polishing improves cleanability, but stain resistance is typically driven by the densifier/sealer system and ongoing maintenance. Expect improved resistance rather than absolute prevention—especially with oils, dyes, or aggressive cleaners.
Can I polish over epoxy or paint?
Often you need to remove incompatible coatings first; polishing directly over some coatings can lead to delamination or an inconsistent finish. [ADD: source for manufacturer compatibility guidance for your coating system].
How often will a polished gym floor need touch-ups?
It depends on traffic, cleaning chemicals, and whether you used the right sealer system. Plan for periodic pad refresh or re-polishing when sheen dulls, rather than waiting for major wear.
Sources
– OSHA (United States Department of Labor) — Respirable crystalline silica standard and exposure control requirements for grinding/cutting.
– ANSI A137.1 — Requirements related to DCOF (dynamic coefficient of friction) thresholds used for interior applications (useful for slip-risk framing).
– [ADD: manufacturer documentation] — Technical data sheets (TDS) and installation instructions for the specific concrete densifier/sealer you plan to use (including application order, curing times, and compatibility).
– [ADD: manufacturer or industry guidance] — Wet vs. dry polishing methods, dust extraction practices, and pad/grit progression from the equipment/pad manufacturer’s installation manual.
Polishing gym floors works best when you treat it like a controlled system: identify the floor material, remove contamination, repair and level mechanically, then polish with a progressive tooling sequence and a densifier/sealer workflow that matches your concrete system. Prioritize dust control and slip-safe sheen, because those two factors determine both worker safety and day-to-day performance. If you’re dealing with unknown coatings or significant damage, hiring a contractor can save you from expensive rework and help you reach a consistent, durable finish.
Frequently Asked Questions
How do you polish concrete gym floors safely?
Start by cleaning the floor thoroughly to remove dust, oils, and old sealers that can interfere with polishing. Use the right PPE (eye protection, respirator, and hearing protection) and work with good ventilation because concrete polishing creates fine silica dust. If your gym has active equipment, block off the area and use wet methods or high-quality dust extraction systems to keep the workspace safe and compliant.
What steps should you follow to polish gym floors with diamond polishing pads?
Begin with grinding using diamond pads in progressively finer grits, removing scratches and leveling high spots as you go. Vacuum the slurry between steps, then continue through densifier and burnishing or polishing phases depending on the finish you want. Finish with an appropriate concrete sealer or polish-enhancing system to improve slip resistance, durability, and sheen for heavy foot traffic and gym equipment.
Why is it important to maintain proper grit progression when polishing a gym floor?
Proper grit progression ensures you remove the scratches from the previous stage and achieve a consistent, uniform concrete polish. Skipping grits or jumping too quickly can leave visible haze, swirl marks, or uneven gloss that’s difficult to correct later. Following the intended polishing sequence also helps reduce wear on pads and improves the final reflectivity and wear resistance of the polished gym floor.
Which polish finish level is best for gym floors—matte, satin, or high-gloss?
Matte and satin finishes are often the best choice for gym floors because they balance appearance with better slip resistance and reduced glare during workouts. High-gloss finishes can look impressive but may highlight dust, scuffs, and moisture more noticeably, which is common in active fitness spaces. Choose a level based on your gym’s lighting, flooring safety requirements, and how much maintenance you can realistically perform.
What should you consider when choosing the right equipment for polishing gym floors?
Use a commercial-grade floor grinder or polishing machine with variable speeds and the ability to handle diamond tooling efficiently. Ensure your setup includes strong dust collection or wet slurry control, since concrete polishing can produce heavy airborne particulates. Also match pad types and diamond grit ratings to your floor condition—cracked, stained, or uneven slabs may require more aggressive initial grinding before polishing and sealing.
📅 Last Updated: October 12, 2026 | Topic: How to polish gym floors? | Content verified for accuracy and freshness.
References
- Google Scholar Google Scholar
https://scholar.google.com/scholar?q=gym+floor+polishing+procedure+hardwood+rubber+care - Google Scholar Google Scholar
https://scholar.google.com/scholar?q=polishing+athletic+floor+maintenance+burnishing+scrubbing - Google Scholar Google Scholar
https://scholar.google.com/scholar?q=resilient+gym+floor+polishing+strip+and+wax+method - https://en.wikipedia.org/wiki/Floor_polishing
- Floor cleaning
https://en.wikipedia.org/wiki/Floor_cleaning - https://en.wikipedia.org/wiki/Floor_waxing
- https://www.cdc.gov/coronavirus/2019-ncov/community/disinfecting-building-facility.html
- https://hgic.clemson.edu/factsheet/hardwood-floor-care/
- https://extension.umn.edu/household-wood/wood-floor-care
- Personal Protective Equipment – Overview | Occupational Safety and Health Administration
https://www.osha.gov/personal-protective-equipment


