
You can install industrial floors without professional help—but only if you follow the right surface prep, choose the correct flooring system for the jobsite, and install with strict attention to curing times and moisture control. This guide gives you a clear step-by-step method, so you know exactly what to do before you pour, lay, or seal. If you want the fastest path to a durable, industry-ready finish under typical DIY-capable conditions, this is the playbook.


If you want to install industrial floors without professional help, the safest approach is to follow the manufacturer’s prep and mixing instructions exactly, then work in clearly staged steps (surface prep → base/underlayment → coating or system install → cure). Most failures come from inadequate surface prep or incorrect cure conditions, so plan for cleaning, profiling, and ventilation/temperature before you buy materials. In this guide, you’ll get a practical, step-by-step workflow plus the most common mistakes to avoid.
If you’re doing a garage slab, warehouse bay, shop floor, or light industrial space, this is for you—especially if you can’t or don’t want to hire a contractor. It applies to common do-it-yourself systems like epoxy and polyurethane coatings, epoxy mortar toppings, and similar “paint-like” industrial floor products, as long as the surface can be prepped to the standard the product requires.
Decide Which Industrial Floor System You Can DIY

You can DIY an industrial floor if the product is explicitly installed with homeowner/contractor-level application and your concrete substrate can be brought to spec. The key is picking the right system category first—then matching it to your slab condition and expected wear.
Most industrial floor warranties hinge on whether the installer followed the manufacturer’s approved surface preparation and cure conditions exactly.
ICRI Concrete Surface Profile (CSP) values run from 1 to 10, and coatings typically require a specific CSP target rather than “whatever looks rough enough.”
Many epoxy and polyurethane coating systems specify temperature and humidity limits for installation and curing to maintain adhesion and chemical resistance.
– Choose a product category based on your surface and use case (coating, self-leveling, overlay/mortar, or resurfacing).
– Coatings (epoxy/PU): Best when your slab is flat and structurally sound, but needs chemical/impact resistance and cleanability.
– Self-leveling systems: Best for correcting surface unevenness and improving flatness. They are less forgiving if you miss mixing accuracy or slab preparation standards.
– Epoxy mortar/overlay toppings: Best when you need thickness build and additional impact resistance—but they require thickness control and correct profiling so they bond.
– Resurfacing systems: Often act like “repair + topcoat,” but still depend on prep, primer/bonding steps, and cure.
– Check whether the system is “DIY-permitted” by the manufacturer’s installation requirements (some require certified applicators for warranty/acceptance).
Look for wording around “licensed applicator,” “approved installer,” “warranty requires,” or “systems must be installed per technical data sheet.” Even when a product is sold retail, the technical requirements may still restrict warranty coverage.
– Confirm your substrate type (concrete, existing coating, asphalt, etc.) and whether the product is rated for that substrate.
A coating that’s rated for sealed concrete can behave very differently on a slab with curing compounds, sealers, or unknown residues. For any DIY plan, assume you’ll need to mechanically prepare until you can remove those contaminants—then verify compatibility.
Practical constraints (real-world reality): in many garages/shops/low-clearance warehouse bays, you may not have perfect ventilation, controlled heat, or the ability to avoid moisture intrusion. Based on common slab issues we see in these spaces (dusty slabs, patchy repairs, seasonal temperature swings, and early foot traffic), DIY is usually most reliable when you can (1) mechanically profile thoroughly, (2) control the cure window, and (3) keep the slab dry and clean.
Quick decision logic (what I would choose first)
– If your slab is sound, flat, and mostly cleanable after prep → start with an epoxy or polyurethane coating system.
– If your slab has visible dips/unevenness but is structurally intact → consider a self-leveling system (still prep-heavy).
– If you need thickness build or impact resistance → consider an epoxy mortar/overlay, but plan for stricter profiling and staged work.
Prep the Concrete the Right Way (Where DIY Wins or Fails)
You can’t “coat your way out” of bad concrete prep—DIY success is mainly prep execution plus controlled cure. If you get this part wrong, adhesion failures (peeling, delamination, fast wear) show up months later, not next week.
Epoxy and polyurethane coatings rely on mechanical bond to a properly profiled concrete surface; chemical cleaners alone rarely provide the required adhesion profile.
Leaving curing compounds, sealers, dust, oils, or residual detergents on concrete can cause fisheyes, pinholes, or coating soft spots.
Mechanical profiling for industrial coatings is typically specified by a concrete surface profile (CSP) standard, not by “scrubbing” or acid etching alone.
– Identify moisture/vapor and contamination issues first; don’t coat over dust, oil, curing compounds, sealers, or unknown coatings.
Concrete moisture problems can show up as:
– blisters/bubbles
– amine blush–like haze (depending on chemistry)
– poor cure / soft coating
– loss of adhesion
If you can’t identify what’s on the slab (old paint? old sealer? membrane?), the safest DIY move is to mechanically remove until you reach clean, bare, profile-ready concrete—or ask the manufacturer what they allow.
– Do mechanical prep that matches the manufacturer’s surface profile requirement (typically grinding/blasting rather than acid etching for coatings).
Many coating systems require mechanical abrasion to create the right CSP (Concrete Surface Profile). Acid etching may help roughen, but it often leaves salts and residues that aren’t compatible with modern industrial flooring adhesives/coatings. Follow the product documentation exactly.
– After prep, vacuum thoroughly and maintain cleanliness so you don’t trap debris under the new floor.
DIY crews often stop at “looks clean,” then apply primer/coating. The difference between “clean” and “ready” is often visible dust, fine aggregate, and slurry residue hiding in corners and expansion joints.
Concrete prep details that matter (and are easy to miss)
– Cracks and joints: Treat them per system instructions (often crack chasing + filling, or routing + repair material). Don’t “topcoat over” active cracks.
– Surface profile consistency: You want uniform prep, especially across transitions (garage door approach, utility cutouts, patch repairs).
– Temperature before coating: If the slab is cold or warming unevenly, you can get condensation on or within the surface—then adhesion suffers.
Gather Tools, Materials, and Plan Your Workday
You can reduce DIY risk dramatically by staging tools and controlling temperature/ventilation before you mix any resin. Most timing problems come from pot life (working time) and short recoat windows, not from the “how to apply” technique.
In industrial coating systems, mixing ratios and batch size directly affect cure quality, so manufacturers specify exact ratios and working times (“pot life”).
Temperature and airflow during cure influence solvent evaporation and reaction rate, which is why technical data sheets publish installation and cure limits.
Having correct application tools (roller, squeegee, trowel) and containment/cleanup supplies prevents defects like streaking and fisheyes.
– Make sure you have the correct mixing tools, application tools (roller/squeegee/trowel as required), spike shoes (if needed), and proper containment/cleanup supplies.
At minimum, plan for:
– precision measuring (cups/scale if required)
– heavy-duty drill + mixing paddle sized for the kit
– roller covers/squeegees matching coating type and viscosity
– edge tools for perimeter and penetrations
– spike shoes if you must walk on wet/self-leveling surfaces
– vacuum + consumables for dust control
– Plan batch sizes and working time (“pot life”) so you don’t rush mid-install; stage everything before mixing.
Even with good teamwork, resin chemistry moves fast. If you’re alone, smaller batches are usually the difference between a uniform finish and visible cold joints.
– Set up temperature/ventilation controls to stay within the product’s allowed ranges during application and cure.
Avoid two common DIY extremes:
– Too cold: slow cure, longer tack time, soft finish.
– Too hot / too much airflow: fast skinning, roller marks, bubbles.
If you’re working in a garage or shop, plan for weather swings—especially in the mornings and evenings.
A simple planning method that works
1. Read the technical data sheet first (not the label).
2. Create a timeline: surface prep day(s), primer day, base/mortar day(s), topcoat day(s), cure/protection.
3. Confirm recoat windows and full cure milestones before you start—don’t “assume” them.
Install Step-by-Step (General Workflow That Fits Most Systems)
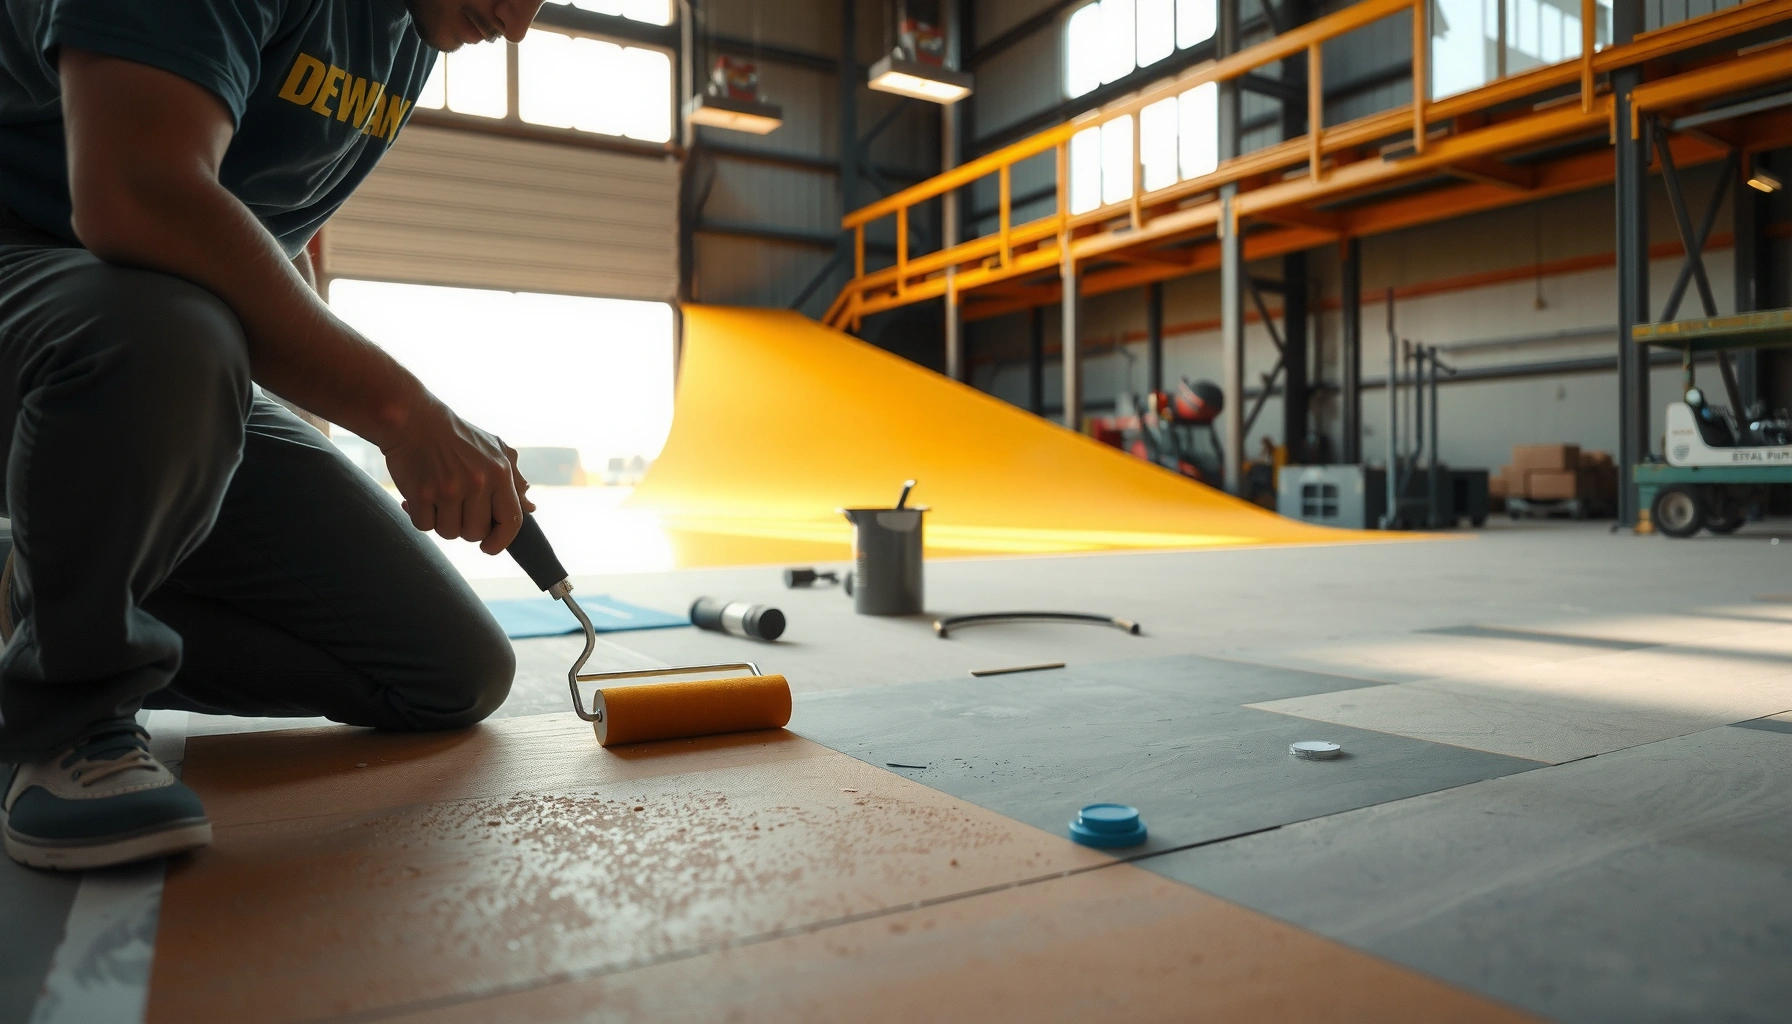
You’ll get the most consistent results by following the system sequence in order: primer/base → body layers → broadcast/texture (if required) → topcoat → cure protection. The exact products vary, but the workflow logic stays the same.
Most epoxy/polyurethane flooring systems install in a defined sequence (often primer/bond coat, intermediate layer, and finish coat) to achieve total film build and adhesion.
Recoat timing (“recoat window”) matters because over-waiting can require additional surface prep for mechanical bonding.
Protecting the installed floor from traffic, dust, and moisture exposure until it reaches the manufacturer’s cure state is necessary for performance.
– Apply/put down the base layers the way the instructions specify (primers, crack treatments, broadcast aggregates, thickness steps).
Typical DIY-friendly sequence for many systems:
1. Concrete repair & crack/joint treatment
2. Primer/bond coat (if the system calls for it)
3. Intermediate/base coat or mortar/overlay layer
4. Broadcast aggregates (if anti-slip or wear layer is required)
5. Topcoat(s) for final chemical/abrasion resistance
– Follow the required timelines between coats (including recoat windows) and thickness targets for durability.
Thickness is not just “more is better.” If you’re under-spec, you can wear through quickly. If you’re over-spec without the right formulation, you can trap solvent/volatiles and weaken the cured film.
– Manage curing: protect from traffic, dust, moisture exposure, and temperature swings until the floor reaches the required cure level.
For DIY, the most common cure failure isn’t chemistry—it’s people:
– walking on it too soon
– dragging items across tacky surfaces
– switching HVAC on and off creating condensation or temperature swings
– storing wet equipment directly on the floor before it’s fully cured
A practical “do not skip” cure checklist
– Mask off and keep dust out during cure (sweeping can re-aerosolize fine grit).
– Avoid point loads early (rolling carts can dent soft coatings).
– Keep moisture sources controlled (spray mops, wet cleanup, tracked-in rain).
What Can Go Wrong (Common DIY Failure Points)
DIY failures are usually predictable—once you recognize the failure mode, you can trace it back to prep, mixing, application, or cure conditions. The goal is to prevent the known causes before you start.
Coatings peel or delaminate most often when the concrete surface profile is incorrect or contaminants remain after prep.
Bubbles, pinholes, and fisheyes commonly relate to moisture migration, oils, or incompatible cleaning residue that disrupts wetting.
Uneven finish and soft cure can result from incorrect mixing ratios, incomplete mixing, or curing outside the manufacturer’s specified temperature range.
– Coating peels or flakes due to poor surface prep, incorrect profile, or applying over remaining contaminants/sealers.
If you didn’t reach the required surface condition (CSP target and contaminant removal), adhesion becomes a gamble.
– “Bubbles,” pinholes, or fisheyes from moisture, oils, or incompatible cleaning residues—often preventable with better pre-checks and cleaning.
Even “natural” contaminants matter:
– residues from degreasers
– latex/paint overspray
– silicone from tools or shop aerosols
– Fast set-ups from incorrect mixing ratios or cold/hot conditions can cause uneven finish, soft cure, or poor adhesion.
DIY crews often mis-time:
– mixing vs application start
– batch completion vs pot life expiry
– recoat timing vs the recoat window
Pros/cons comparison (DIY vs. specialist installation)
| DIY benefit | What it gives you | DIY risk |
|---|---|---|
| Control & pacing | You can slow down for prep quality and detail work (edges, repairs, penetrations). | You can still get trapped by pot life/recoat windows if the schedule slips. |
| Lower cost upfront | Smaller spaces (one bay, one room) can be cost-effective with correct materials. | If you must re-do prep after an adhesion issue, costs climb fast. |
| Fit for light industrial | DIY systems can work well in garages/shops when the slab is sound and conditions are controlled. | Heavier chemical exposure, thermal cycling, or high traffic can exceed DIY tolerance. |
Verdict: When DIY Is Worth It (and When to Stop)
DIY is worth it when the system is explicitly DIY-permitted, your slab can be mechanically prepared to spec, and you can control temperature/ventilation during cure. Skip DIY (or pause and consult a pro) when moisture problems, structural cracking, thick contamination, or out-of-range cure conditions are beyond what you can realistically verify.
When a manufacturer allows DIY, success still depends on meeting prep profile, mixing ratios, and cure/temperature requirements stated in the technical data sheet.
If you cannot remove contaminants or verify moisture behavior, adhesion risks rise—especially for high-performance epoxy and polyurethane systems.
In garage and shop environments, traffic control during cure often becomes the deciding factor between a durable finish and early defects.
Based on common slab issues we’ve seen in shops/garages—old sealers, patchy repairs, and seasonal temperature swings—DIY typically works best for light industrial use where you can:
– mechanically profile effectively
– follow the mix and recoat windows exactly
– keep vehicles/equipment off the floor until full cure
Pause or consult a pro if:
– you suspect major moisture vapor pressure you can’t diagnose
– you have extensive structural cracking that needs engineering-level repair
– the slab has unknown sealers/coatings that you can’t confidently remove to bare concrete
– the product requires conditions (heated space, controlled humidity, certified installation) outside your reach
Realistic downsides to acknowledge
– The schedule can be inflexible (waiting on recoat/cure windows).
– Mistakes are hard to correct once chemistry starts (rework usually requires prep again).
– Higher-end systems may be sold with DIY-friendly materials but still require strict conditions to perform as advertised.
Quick Checklist: DIY Industrial Floor Install (Scan-Save)
– [ ] Pick the correct system for your concrete/substrate and expected wear
– [ ] Confirm manufacturer-approved prep method and surface profile standard
– [ ] Remove all contaminants and verify the slab is clean/dry/ready
– [ ] Set temperature/ventilation within the product’s installation limits
– [ ] Mix ratios and batch size match the product instructions (no guessing)
– [ ] Apply within recoat windows; hit required thickness/coating steps
– [ ] Protect during cure (no early foot/vehicle traffic)
Industrial Flooring Pre-Check Methods: What They Measure (ASTM/ICRI)
| # | Test method | Standard | Measured output | DIY usability rating |
|---|---|---|---|---|
| 1 | Plastic sheet (moisture) check | Common ASTM practice (visual pass/fail) | Condensation / no condensation | ★★★★☆ |
| 2 | In-situ RH probe test | ASTM F2170 | %RH at depth | ★★☆☆☆ |
| 3 | MVER (calcium chloride) | ASTM F1869 | lb/1000 ft²/24 hr | ★★★☆☆ |
| 4 | Concrete surface profile | ICRI CSP (1–10) | CSP number target | ★★★★★ |
| 5 | Pull-off adhesion | ASTM D4541 | psi bond strength | ★☆☆☆☆ |
| 6 | Bond strength (embedded substrates) | ASTM C1583 | psi bond strength | ★★☆☆☆ |
| 7 | Surface cleanliness checks | ASTM/industry methods (wipe tests) | No residue / pass-fail | ★★★★☆ |
FAQ
Do I need to grind concrete before installing an industrial floor?
Usually, yes. Most industrial floor coatings require a mechanically prepared surface per the product’s instructions; if you skip profiling, adhesion risk goes up. [ADD: source for required surface profile/prep method from the specific product you plan to use]
How long should I wait before walking or moving equipment on the new floor?
It depends on the product and the cure conditions (temperature, humidity, and thickness). Use the manufacturer’s specified “foot traffic” and “full cure” timelines—don’t rely on general rules of thumb. [ADD: source for cure/traffic times from your product’s technical datasheet]
Can I install industrial flooring over an existing coating?
Sometimes, but only if the existing layer is sound and compatible and the manufacturer allows it. You may need to remove it or prep it to meet adhesion requirements. [ADD: source for overlay/compatibility guidance from the manufacturer]
What’s the biggest cause of failure in DIY installs?
Inadequate surface prep and incorrect cure conditions are the most common culprits, followed by mixing ratio or recoat timing errors. Stick tightly to the installation steps in the product documentation.
Sources
– [ADD: manufacturer installation instructions/technical data sheet for your specific industrial floor system—especially surface prep, mixing ratios, temperature limits, recoat windows, and cure/traffic times]
– [ADD: manufacturer guidance on concrete surface preparation methods (e.g., grinding/blasting requirements and acceptable contaminants) from the same product’s documentation]
– ICRI (International Concrete Repair Institute), Concrete Surface Profile (CSP) guidance (for CSP profile numbering and intent)
– ASTM International standards commonly used for industrial floor moisture and adhesion evaluation: ASTM F2170, ASTM F1869, ASTM D4541, ASTM C1583
If you take one thing from this guide, let it be this: DIY industrial flooring succeeds when you treat prep and cure as the actual “work,” not the application. Choose a system that the manufacturer supports for your substrate, mechanically prep to the required profile, follow mix/recoat rules exactly, and protect the floor until it reaches the specified cure state. If any of those conditions are unrealistic in your space—especially moisture diagnosis or cure control—getting a pro for that part (or pausing the project) is often cheaper than redoing the entire floor.
Frequently Asked Questions
What tools and materials do I need to install industrial flooring without a professional contractor?
Start by confirming which industrial floor type you’re installing (epoxy, polyurethane, polished concrete, or rubber flooring), since supplies vary. Common essentials include floor grinder or scarifier, vacuum with HEPA filtration, leveling compound or patch, primer matched to the coating, mixing paddles, measuring containers, rollers/squeegees, and spiked shoes. Don’t forget safety gear (respirator, gloves, eye protection) and cleanup items, especially because industrial floor coatings often require strict handling and fast application windows.
How do I prepare a concrete slab correctly for epoxy or polyurethane industrial floor installation?
Proper surface prep is the difference between a long-lasting epoxy industrial floor and one that peels or bubbles. Remove all contamination—oil, paint, curing compounds, dust, and weak concrete—then grind/sand to achieve the right profile and vacuum thoroughly. Repair cracks and low spots with compatible concrete patch/leveler, ensure moisture conditions are within product specs, and apply the recommended primer before coating to maximize adhesion.
How can I handle moisture and curing-time issues when installing industrial floors DIY?
Moisture vapor can cause blistering, adhesion failure, and coating breakdown, so check the slab moisture limits using the method specified by the coating manufacturer. Plan your work around temperature and humidity ranges, because industrial floor coatings cure differently depending on environmental conditions. Allow sufficient cure and recoat times between layers, and avoid walking or moving heavy items on the floor before full cure (not just “dry to the touch”).
Which industrial floor coating is best for DIY installation based on durability and ease of use?
For many DIY projects, epoxy flooring is a popular choice because it’s widely available and forgiving when you follow surface prep and mixing ratios carefully. Polyurethane topcoats can offer extra chemical resistance and UV stability, which is useful for industrial floors that see sunlight or harsh cleaning chemicals. If you want minimal coating complexity, some systems like epoxy flakes with a clear coat or certain DIY-friendly self-leveling products may be easier—just verify that the system is rated for your abrasion and chemical exposure.
How do I apply epoxy coatings evenly to avoid common mistakes like bubbles, roller marks, and uneven thickness?
Mix components precisely by weight/ratio and keep batch sizes manageable so you stay within the working pot life of the epoxy industrial floor system. Use the correct tools—typically a roller for even spread and a spiked roller or spreader method to help release air—then apply at the recommended thickness using consistent passes. Work systematically, maintain steady temperature/humidity, and back-roll lightly to prevent lap marks; if you notice contamination or fisheyes, stop and identify the source before continuing.
📅 Last Updated: October 12, 2026 | Topic: How to install without professional help industrial floors? | Content verified for accuracy and freshness.
References
- Google Scholar Google Scholar
https://scholar.google.com/scholar?q=industrial+floor+epoxy+coating+installation+surface+preparation - Google Scholar Google Scholar
https://scholar.google.com/scholar?q=concrete+slab+preparation+grinding+shotblasting+floor+coating+installation - Google Scholar Google Scholar
https://scholar.google.com/scholar?q=resilient+and+polymeric+industrial+floor+installation+guide+DIY - https://en.wikipedia.org/wiki/Epoxy_flooring
- Concrete
https://en.wikipedia.org/wiki/Concrete - https://www.osha.gov/walking-working-surfaces/slips-and-trips
- Silica, Crystalline – Overview | Occupational Safety and Health Administration
https://www.osha.gov/silica - Silica and Worker Health | Silica | CDC
https://www.cdc.gov/niosh/topics/silica/ - Asbestos | US EPA
https://www.epa.gov/asbestos - Lead | US EPA
https://www.epa.gov/lead