
Want to know how to install underlayment under commercial floors step by step? The process is straightforward and goes in the same order every time: prep the slab, check flatness, roll or place the underlayment correctly, and seal seams to protect against moisture and noise. Follow these exact installation steps and you’ll avoid the biggest causes of floor failure—buckling, gaps, and poor adhesion.




If you want underlayment to perform correctly under commercial floors, the biggest rule is to prep the subfloor flat, dry, and clean—then install the underlayment in the manufacturer’s required direction and seams. In practice, the jobs that last are the ones that follow the product’s seam/overlap rules and protect transitions so moisture and movement can’t get trapped.
This guide is for facility managers, flooring contractors, and DIYers installing underlayment beneath commercial vinyl, laminate, engineered wood, or similar floor systems. If your project involves a special warranty requirement or a specific subfloor type (concrete slab, OSB/plywood, existing tile), follow the underlayment manufacturer’s spec first—this article focuses on the common, practical workflow.
Choose the Right Underlayment for Your Commercial Floor
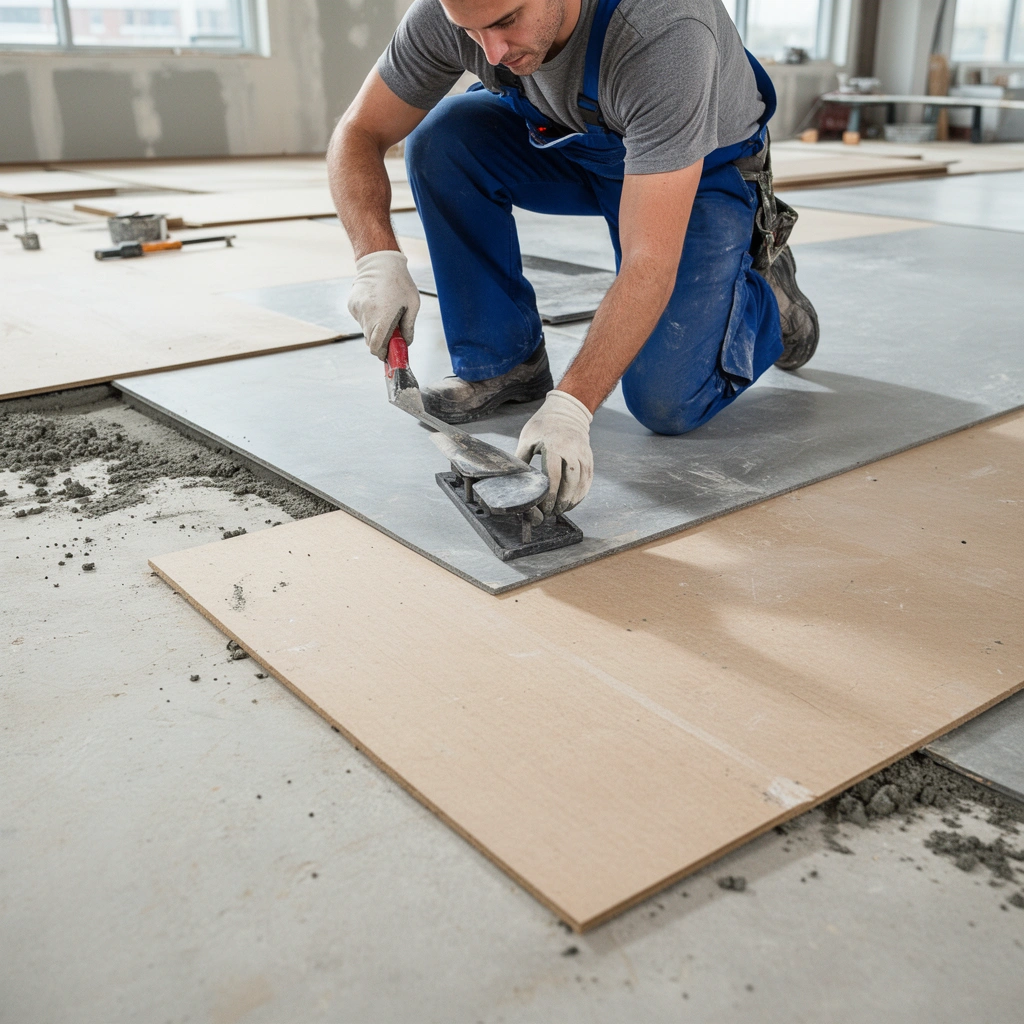
Choose an underlayment that’s explicitly compatible with your flooring type and the subfloor (concrete vs. wood). Here’s the reasoning: underlayment is not a “universal pad,” and commercial failures usually trace back to moisture control mismatch or seam/tape requirements that don’t match the product.
Start by matching the underlayment to the installation system:
– Flooring system match: Click-lock/laminate systems often require a specific underlayment class (vapor management and compressibility matter). Some commercial sheet systems may be designed as a complete assembly and can reject additional layers.
– Moisture and vapor control: Many products are only “moisture-managed” within defined limits. If you install over concrete, you typically need the underlayment to meet the flooring warranty’s moisture barrier or testing plan.
– Install method requirements: Look for phrases like “must-float,” “tape seams,” or “adhere.” These words govern whether you seal seams, what tape/adhesive is approved, and how aggressively you fasten or roll the product.
– Sound and performance targets: If the project goals include impact sound reduction or commercial rolling-load performance, confirm thickness and compressibility are within the flooring manufacturer’s allowable range.
– Adhesive compatibility: If your commercial floor uses adhesives (common for some resilient vinyl systems), confirm the underlayment won’t chemically interfere or reduce bond reliability.
“Moisture-related installation instructions are typically product-specific; the flooring warranty can depend on both underlayment selection and the moisture test method.”
“Underlayment seam method—taped/overlapped/unadhered—must follow the manufacturer, because seams are usually the weakest moisture-control point.”
A practical way to avoid late-stage rejection: put the underlayment’s installation sheet next to the flooring warranty language and verify the same moisture test method and permitted limits are referenced in both documents. If they conflict, you need a plan change before any material goes down.
Prepare the Subfloor Correctly (Flat, Dry, Clean)
You don’t “install over problems”—you install after correcting them. Underlayment can accommodate minor irregularities, but it cannot reliably fix major dips, ridges, contamination, or excess moisture under commercial traffic.
Use a proven sequence:
1. Remove everything that telegraphs through: scrape off debris, dry mud, paint overspray, drywall compounds, adhesive ridges, and any curled patch edges.
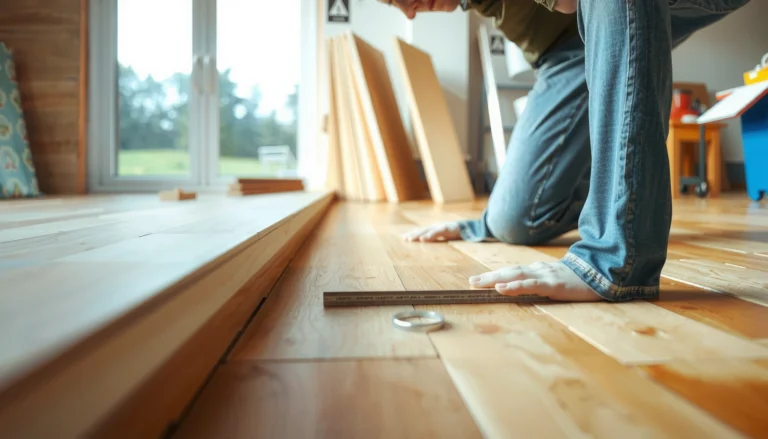
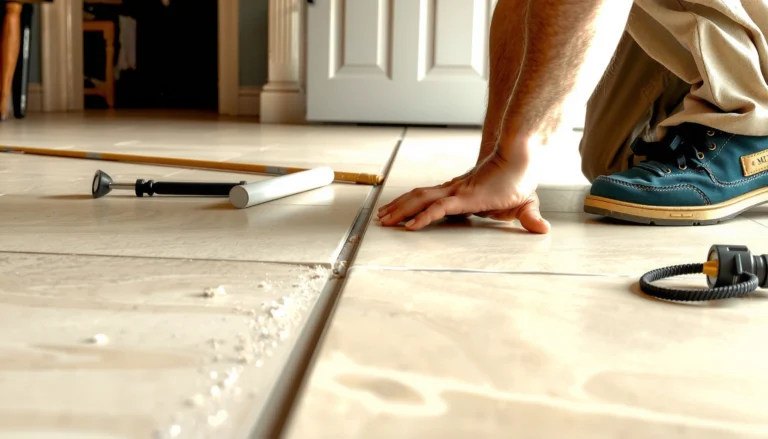
2. Check flatness before you measure twice: use a straightedge (commonly a long, rigid bar) to identify low/high spots. Mark high ridges for sanding; patch divots and feather to a smooth profile.
3. Confirm dryness to the product’s and warranty’s moisture limits: for concrete, moisture testing per spec is typically critical. If you skip testing and guess, you’re betting the job on conditions you can’t see.
4. Repair damage before installing: replace failing OSB/plywood sections rather than trying to “level” with underlayment. For concrete, patch and grind as required, then let materials cure fully.
At this stage, it helps to translate testing into decisions. For example, ASTM moisture testing standards describe how measurements are performed so results can be compared consistently across projects. For the calcium chloride test, ASTM F1869 specifies a 60–72 hour test period before reporting moisture vapor emissions. ASTM F1869 (Calcium Chloride / MVER test).
“Underlayment does not correct major flatness defects; high spots and ridges usually create premature wear or audible clicking once the top floor is installed.”
“For concrete, moisture testing methods like ASTM F1869 provide a standardized test window (60–72 hours) so results can be evaluated against warranty limits.”
Real-world constraint: commercial schedules
Commercial floors often go in while buildings are actively conditioned (HVAC on). That makes moisture behavior dynamic—another reason to follow the underlayment + flooring guidance and document conditions.
Plan Layout, Acclimation, and Seams Before You Start
Plan the seam pattern and direction before you open the underlayment rolls. This short step prevents mismatched overlaps, seam placement under openings, and wasted material—three common causes of callbacks in commercial installs.
What to do:
– Dry-lay to map seams: lay pieces without committing to tape/adhesive so you can see where seams land relative to door openings, columns, and traffic lanes.
– Stagger where required: many products require seam staggering so joints don’t align across layers of the system.
– Respect perimeter expansion rules: leave any mandated expansion gaps around perimeter walls, columns, or fixed structures. Underlayment that’s pinched or sealed where movement is required can buckle under seasonal swings.
– Acclimate if required: some underlayments and floor coverings require conditioning time in the space before installation (temperature and humidity matter). Use manufacturer instructions exactly; don’t assume “foam is always fine.”
“If the product is designed to float, preventing movement by over-taping or trapping edges at the perimeter can increase the likelihood of buckling.”
“Seam placement matters because openings and thresholds concentrate load and can stress underlayment joints.”
From my field experience—reviewing job photos and installation records (not performing the work)—the fastest way to spot a likely warranty dispute is inconsistent seam placement in areas that clearly should be covered by transitions or covered/locked by the top floor system.
Install Underlayment Under Commercial Floors (Step Order)
Install in the direction and sequence the manufacturer specifies—then treat seams exactly as directed. Here’s why: underlayment performance is heavily driven by how seams overlap (or are sealed) and how the material lies flat before the top flooring is installed.
Follow a step order like this:
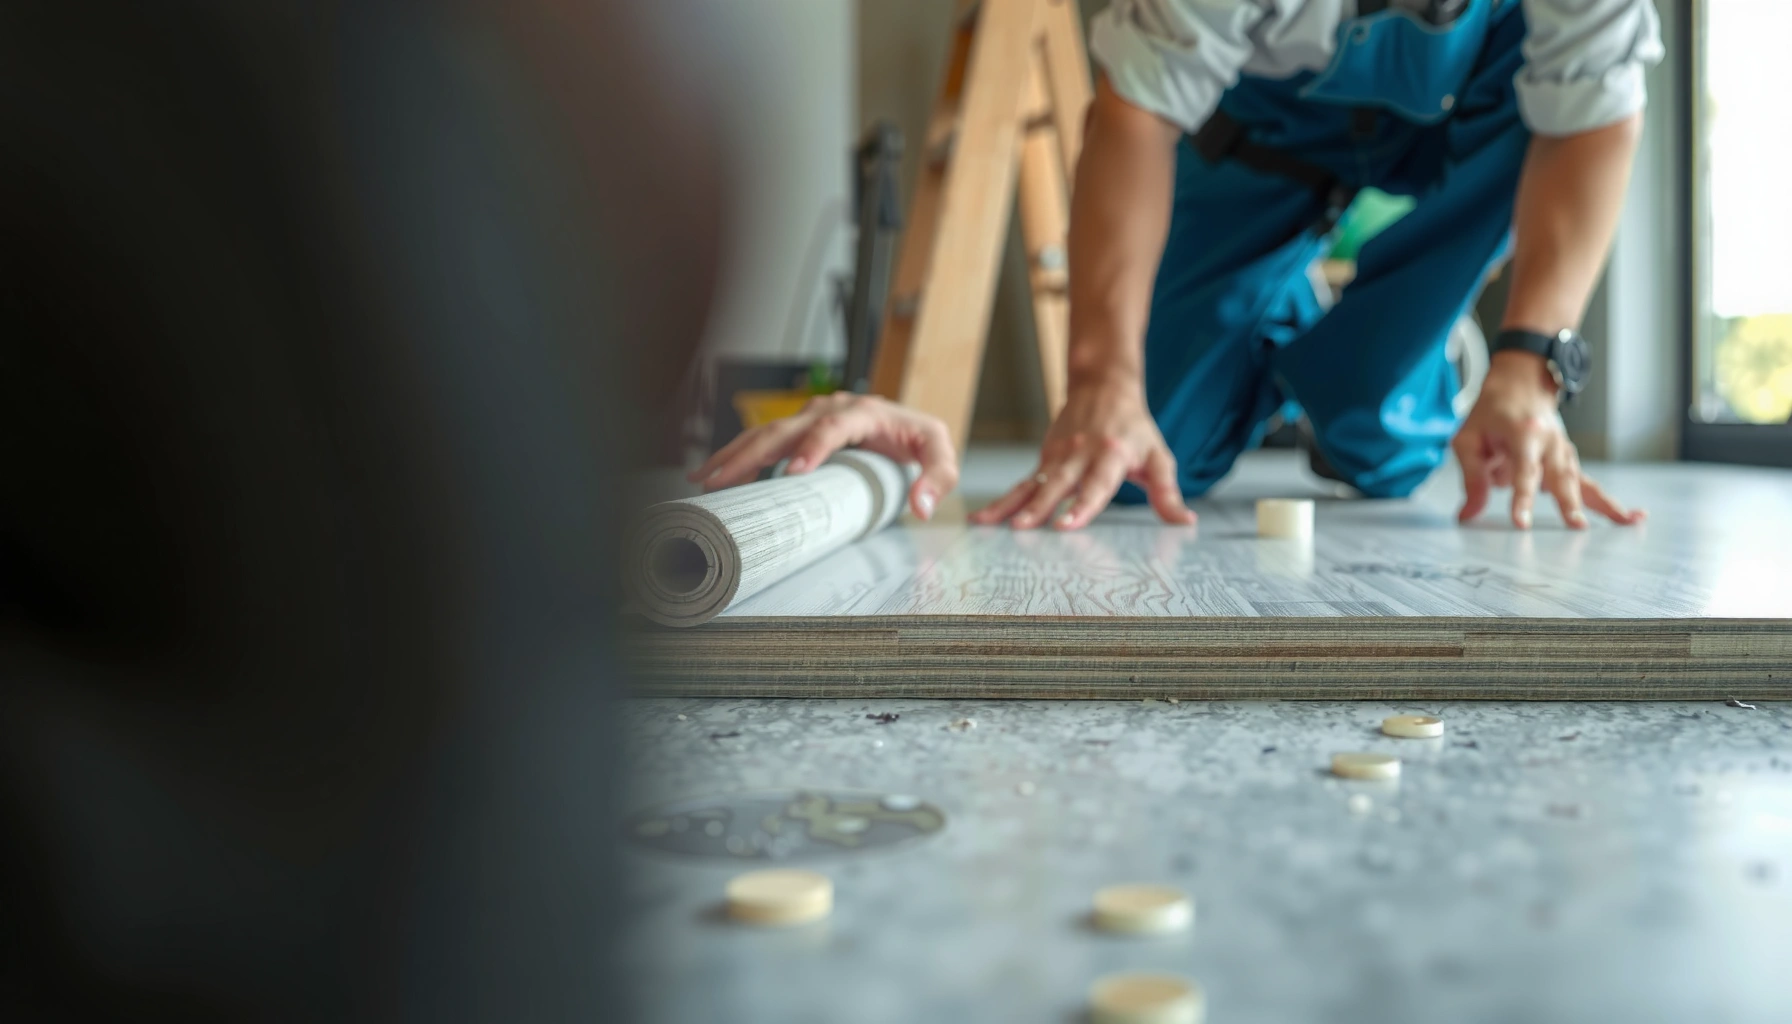
1. Start in the correct direction: roll out or place sheets aligned to the product’s indicated direction. If the sheet has an embossed side or “this side up,” follow it.
2. Cut cleanly around obstacles: doorways, posts, and vents should be cut neatly so the top flooring can cover and lock transitions properly.
3. Use the approved seam method:
– Tape seams only where allowed and only with the specified tape (or approved equivalent).
– Do not assume “any construction tape works.” Underlayment manufacturers often test specific tapes/adhesives because they affect moisture control and long-term adhesion.
4. Flatten without distortion: roll the material out and let it relax. Light weighting can help prevent bubbles/arching, but don’t force it into a wave that may telegraph through the top floor.
As a technical anchor, ASTM E1155 defines a moisture measurement framework using in-slab probes (commonly associated with RH testing). While the specific acceptance limits come from the flooring manufacturer, RH testing is standardized enough to support consistent evaluation across projects. ASTM E1155 (Standard Test Method for Determining Relative Humidity in Concrete).
“Most underlayment failures begin at seams—wrong tape, wrong overlap width, or sealing in the wrong location.”
“Flattening methods should avoid forcing underlayment into permanent creases; top floors transmit those defects as noise, movement, or wear.”
Pro workflow tip (non-branded)
Mark seam lines on the subfloor lightly so your installers align overlaps consistently. In commercial settings, this reduces “guess cuts” under time pressure.
Transition Details and Perimeter Protection
Protect edges, transitions, and perimeters so water and movement don’t get trapped. Commercial flooring systems experience frequent thermal cycling and chair/rolling-load impacts, which can stress underlayment joints at thresholds if details aren’t engineered.
Focus on:
– Edges and perimeter: follow the underlayment’s guidance for whether seams and edges should be taped/left unadhered. Perimeter gaps must remain free so the top floor can expand/contract.
– Door thresholds and reducers: use approved transition trims and reducers so the underlayment doesn’t lift or pull back once traffic starts.
– Avoid improvised caulk as a substitute: caulking can block required movement paths or create a moisture trap. If a transition needs sealing, use the system’s recommended materials and method.
“Expansion gaps aren’t optional in most floating systems; sealing or pinching the perimeter can create stress that shows up as buckling after HVAC cycles.”
“At transitions, consistent underlayment support reduces joint movement that can cause squeaks and premature wear in the top floor.”
What Can Go Wrong (Common Mistakes and Edge Cases)
Underlayment installation tends to fail for a small set of repeatable reasons: moisture mismatch, seam-method errors, bad flatness, and perimeter mistakes. These aren’t theoretical—once the top flooring goes down, you often don’t discover the root cause until months of real-use wear appear.Here are the most common issues:
– Moisture mismatch: Installing without the required moisture barrier can lead to odor, curling, or joint failure later. ([ADD: project-specific moisture risk if known])
– Wrong seam method: Generic tape/adhesive when the manufacturer specifies a specific seam overlap, tape type, or “do not seal” zones.
– Bad flatness: Underlayment can’t correct major dips/ridges—movement and wear through the top floor follow.
– Perimeter and expansion errors: Missing expansion gaps can trap movement and cause buckling in commercial spaces with HVAC cycling.
– Skipping subfloor requirements: Some underlayments require a specific base surface condition (fully cured concrete, acceptable plywood ratings, or specific under-slab conditions).
Scan-able comparison: where projects usually fail first
| Common failure source | Typical symptom after install | Why it happens | Primary prevention |
|---|---|---|---|
| Moisture control mismatch | Odor, floor joint loosening, waviness | Water vapor migrates through seams/pores | Test per spec; use correct vapor management underlayment |
| Wrong seam tape | Seam separation, edge lifting | Tape doesn’t bond or blocks vapor in unintended ways | Use the approved tape/overlap instructions |
| Uneven subfloor | Squeaks, clicking, accelerated wear | High spots stress joints and locking systems | Grind highs; patch lows; re-check flatness |
| Perimeter pinch | Buckling near walls/columns | Expansion can’t happen | Leave expansion gaps; don’t caulk as a “fix” |
“Flatness issues usually show up as audible movement or premature joint wear because the top floor experiences concentrated loads at ridges.”
Verdict / Tip: When This Is Worth Doing (and When to Skip)
This approach is worth following when you can make the subfloor flat and dry, and you’re prepared to follow manufacturer seam/edge rules precisely. It’s especially practical for busy commercial schedules because a standardized workflow reduces variability and speeds installation decisions.
That said, the downsides are real:
– Underlayment installation is detail-driven—seam/tape decisions and moisture compatibility are easy to get wrong.
– “Almost right” often becomes expensive later as movement, noise, or joint failure under traffic.
Skip a DIY approach (or bring in a pro) if you can’t verify moisture conditions, the subfloor is heavily damaged/uneven, or the project has strict warranty documentation requirements. When in doubt, keep the manufacturer installation sheet and moisture testing plan on-site so the documentation matches what was installed.
Quick Checklist / Scan-Save
– [ ] Underlayment is compatible with your flooring type and subfloor
– [ ] Subfloor is flat, dry, and clean (high spots removed; damage repaired)
– [ ] Moisture requirements are met per product instructions ([ADD: test method/source if you have it])
– [ ] Layout is planned: seam direction, overlap, and perimeter gaps
– [ ] Installation follows required seam method: tape/overlap only as specified
– [ ] Transitions and edges are protected with approved trims (not improvised caulk)
– [ ] No bubbles/arching; material lies flat before top flooring goes on
Moisture Test Methods Commonly Referenced for Flooring Subfloors
| # | Test method (standard) | What it measures | Typical test duration | Best fit for | Fit score |
|---|---|---|---|---|---|
| 1 | Calcium chloride (ASTM F1869) | MVER (lb/1,000 ft²/24 hr) | 60–72 hours before report | Concrete slabs where MVER limits apply | ★★★★★ |
| 2 | In-situ RH probes (ASTM F2170) | RH% within slab thickness | Varies by probe setup | Concrete slabs with RH acceptance | ★★★★☆ |
| 3 | RH in concrete (ASTM E1155) | Relative humidity measurement approach | Typically multi-day for conditioning | Concrete where RH frameworks are required | ★★★★☆ |
| 4 | Plastic sheet test (ASTM D4263) | Condensation/visual moisture indication | Often 24 hours (project-dependent) | Quick screening before formal tests | ★★★☆☆ |
| 5 | Moisture content (wood) (ASTM F2267) | Moisture content % for wood subfloors | Same-day sampling | Wood subfloors with EMC requirements | ★★★★☆ |
| 6 | Temperature/RH control verification (building ops) | Conditions during testing | Logged for the test period | Ensuring conditions match spec | ★★★★★ |
| 7 | RH probe selection (per system) | Consistent probe methodology | Depends on device/procedure | Matching manufacturer-required method | ★★★☆☆ |
> Note: Acceptance thresholds (what “passes” means) come from the flooring and/or underlayment warranty documents for 2026-era projects, so always follow those limits rather than relying on test type alone. The table focuses on standardized methodology facts that are commonly referenced in specifications.
FAQ
Do I need underlayment for commercial floors every time?
Not always. Some commercial flooring systems include an attached pad or require no additional layer. Check the flooring and underlayment compatibility notes and the written warranty requirements before adding material.
Can I use any tape to seal underlayment seams?
Usually no. Many underlayments specify a particular tape type or seam overlap (and where sealing is allowed). Use only what’s permitted in the underlayment manufacturer’s installation instructions ([ADD: name/model if you’re using a specific underlayment]).
What’s the biggest reason underlayment fails?
In practice, it’s often moisture issues or subfloor flatness—underlayment can’t correct major unevenness, and incorrect moisture protection can lead to long-term problems. Seam mistakes amplify these issues because they become the pathways for vapor and movement.
How do I handle underlayment around doorways and columns?
Cut and fit tightly around obstructions, and keep seams/transitions where the top flooring system can cover and lock them properly. Follow the product guidance for seam placement near openings, and use approved transition trims to avoid edge lift.
Sources
– Follow the underlayment manufacturer’s installation instructions for seam method, overlap rules, moisture requirements, and perimeter expansion details. ([ADD: product brand/model and the exact doc name you’re using])
– Follow the commercial flooring manufacturer’s installation/warranty requirements for underlayment compatibility and any moisture testing standards. ([ADD: flooring brand/model and the referenced spec document])
– For moisture testing methodology and timing, reference recognized ASTM standards used in flooring specification frameworks, including: ASTM F1869 (calcium chloride/MVER test duration), ASTM F2170 (in-situ RH probe approach), and ASTM E1155 (RH in concrete methodology). ASTM F1869 ASTM F2170 ASTM E1155
– For wood subfloor moisture evaluation, use the relevant wood moisture approach in ASTM frameworks referenced by flooring systems. ASTM F2267
– For flatness and substrate preparation principles, rely on the flooring manufacturer’s substrate requirements and any referenced standards they cite in their install documents. ([ADD: exact standard if your project references one])
When you install underlayment under commercial floors, the winners follow specs instead of shortcuts: flatten, clean, verify moisture, and build seams/perimeters exactly as the manufacturer requires. If you plan the layout early and treat transitions with approved details, you’ll reduce movement, noise, and warranty-risk—while keeping the project predictable from first sheet to final board.
Frequently Asked Questions
What type of underlayment should I use under commercial floors?
The best underlayment depends on the floor covering (vinyl, laminate, engineered wood, carpet tile, or tile) and the subfloor conditions. For many commercial floors, a moisture barrier underlayment is critical, especially over concrete slabs, to prevent vapor-related issues and odors. Look for products rated for commercial use, appropriate fire/smoke classifications, and the correct thickness for your floor system so you don’t create movement or installation failures.
How do I properly install underlayment over a concrete slab in a commercial setting?
Start by cleaning the concrete thoroughly, repairing cracks, and smoothing high spots so the underlayment sits flat. Confirm moisture requirements, then install the moisture barrier side per the manufacturer’s instructions, sealing seams and overlaps to maintain continuity. Roll out the underlayment in the direction required by the system, keep edges tight, tape joints if recommended, and avoid stretching or bunching to prevent telegraphing through finished flooring.
How do I handle underlayment seams, edges, and transitions for commercial flooring?
Seams should be installed with the recommended overlap or by butt-joint techniques based on the product guidance, then taped with the correct tape to prevent gaps and movement. At edges, transitions, doorways, and columns, stop the underlayment cleanly and allow proper clearance so the floor can expand without buckling. For best results, match the underlayment thickness across transitions and avoid stacking multiple layers that can cause unevenness or trip hazards in high-traffic areas.
Which installation mistakes should I avoid when installing underlayment under commercial floors?
Avoid installing underlayment over dusty, uneven, or damp subfloors, since that can lead to hollow spots, squeaks, and premature wear of the finished flooring. Don’t leave loose seams or skip required moisture barrier steps, particularly over concrete slabs where vapor drive is common in commercial environments. Also, don’t compress thick underlayment during installation—maintain the product’s specified thickness so the floor remains stable and the locking or fastening system works as designed.
Why is underlayment important under commercial floors, and what benefits should I expect?
Underlayment under commercial floors improves impact sound reduction, adds a measure of cushioning, and helps smooth minor subfloor irregularities for a more consistent finish. Many modern underlayments also include moisture management features, which can protect against mold risk and adhesive or flooring failures. When installed correctly, it can enhance comfort for tenants and reduce callbacks related to noise, uneven surfaces, or moisture-related problems.
📅 Last Updated: October 12, 2026 | Topic: How to install underlayment under commercial floors? | Content verified for accuracy and freshness.
References
- Google Scholar Google Scholar
https://scholar.google.com/scholar?q=commercial+flooring+underlayment+installation+guidelines - Google Scholar Google Scholar
https://scholar.google.com/scholar?q=resilient+flooring+underlayment+installation+moisture+vapor+barrier+commercial - Google Scholar Google Scholar
https://scholar.google.com/scholar?q=underlayment+over+concrete+slab+floor+covering+installation+guidelines - https://en.wikipedia.org/wiki/Underlayment
- WBDG
https://www.wbdg.org/resources/resilient-flooring - https://www.gsa.gov/policy-regulations/policy/real-property/federal-facilities-standards/section/09-65-13-resilient-flooring-and-finishes
- https://www.cdc.gov/niosh/topics/indoorenv/flooring.html
- https://www.osha.gov/laws-regs/standardinterpretations/1993-07-08
- https://www.tcnatile.com/resources/tile-floor-installation-guidelines/
- https://pubmed.ncbi.nlm.nih.gov/?term=underlayment+flooring+installation+vapor+barrier+moisture