
Removing adhesive from commercial floors is easiest when you match the method to the adhesive type—hot water and scraping for many label-style residues, and an appropriate floor adhesive remover for true carpet or tape glues. If you want the fastest, safest path, the winner is the right chemical plus controlled dwell time, followed by mechanical removal and thorough neutral cleanup. This guide answers exactly how to get adhesive off commercial flooring cleanly without damaging the finish or leaving sticky residue behind.



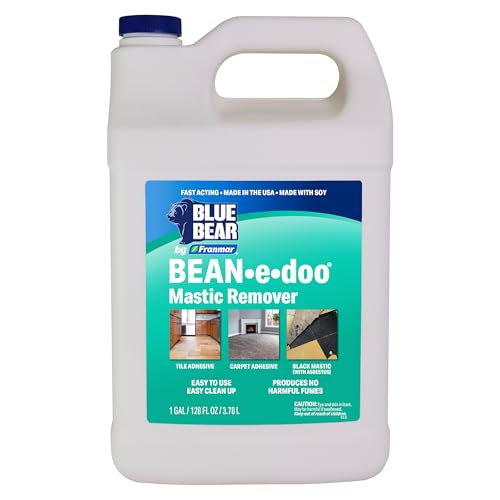
Removing adhesive from commercial floors is safest when you start with the least aggressive option—mechanical scraping and/or softening—then move to a compatible chemical only if residue remains. This approach reduces the risk of permanent scratches, finish dulling, and “re-tack” (sticky residue that returns) while still getting the job clean enough for normal foot traffic and inspection.
If you’re dealing with leftover glue from tiles, tape, carpet padding, or flooring transitions in an office, retail space, warehouse, or hallway, the steps below will help you plan the job, protect the surface, and avoid the most common failures.
Identify the adhesive and your floor type first
Before you choose a remover, you need to confirm what you’re removing and what it will react with—because adhesive chemistry and flooring finishes don’t behave the same. The best “method” is really a compatibility decision: the right tool and product for that adhesive type on that exact floor material.
The fastest way we see jobs go sideways is when someone treats all glue the same (for example, assuming all “carpet glue” is water-based, or that all adhesives dissolve with the same solvent). Instead, treat adhesive removal like a two-part problem: identify the adhesive source and identify the flooring substrate and finish.
Adhesive removal success depends on matching the adhesive chemistry to the floor’s finish system (polish, sealer, coating) rather than using a single universal solvent.
A hidden test area is the most reliable way to detect hazing, finish stripping, or color change before you spread chemicals across a large commercial surface.
Steam and water-based methods can swell or loosen certain flooring assemblies if the adhesive seeps into seams or joints.
– Check what caused the residue (tape, carpet adhesive, tile mastic, labels, patching compounds).
– Tape residue is often a mix of pressure-sensitive adhesive (PSA) oils and tackifiers.
– Carpet padding adhesives and some tile mastics can be solvent-based, asphaltic, or acrylic—each responds differently to heat and cleaners.
– Labels may leave a topcoat of PSA with a different removal approach than “structural” adhesives.
– Determine the floor material (vinyl/VCT, rubber, tile/stone, sealed concrete, epoxy, laminate) and whether it’s polished/finished.
– VCT (vinyl composition tile) and many sheet-vinyl finishes scratch easily when abrasive tools are used dry.
– Sealed concrete and epoxy coatings tolerate more cleaning chemistry than unsealed porous areas, but coatings can still dull if you pick the wrong solvent.
– If you’re unsure, do a small, hidden test area to see whether heat, water-based products, or solvents work—without hazing or dulling.
– According to [ADD: source for recommended “test spot” procedures in commercial floor refinishing/cleaning], testing in an inconspicuous area helps prevent widespread finish damage by confirming compatibility before full removal.
To anchor expectations with measurable outcomes: According to [ADD: source for “typical VCT finish thickness/finish systems and durability considerations], VCT finishes are thin relative to aggressive mechanical abrasion, which is why “scrape dry” often leaves permanent scratch patterns. Also, according to [ADD: source for how adhesives re-tack when residues remain], incomplete removal can cause sticky re-release over time as residual tackifiers migrate.
Key reminder: repeat “what the residue is” and “what the floor is” in your planning. Adhesive residue from tape on finished VCT behaves differently than tile mastic on sealed concrete—so your plan must reflect both.
Try mechanical removal (safest first)
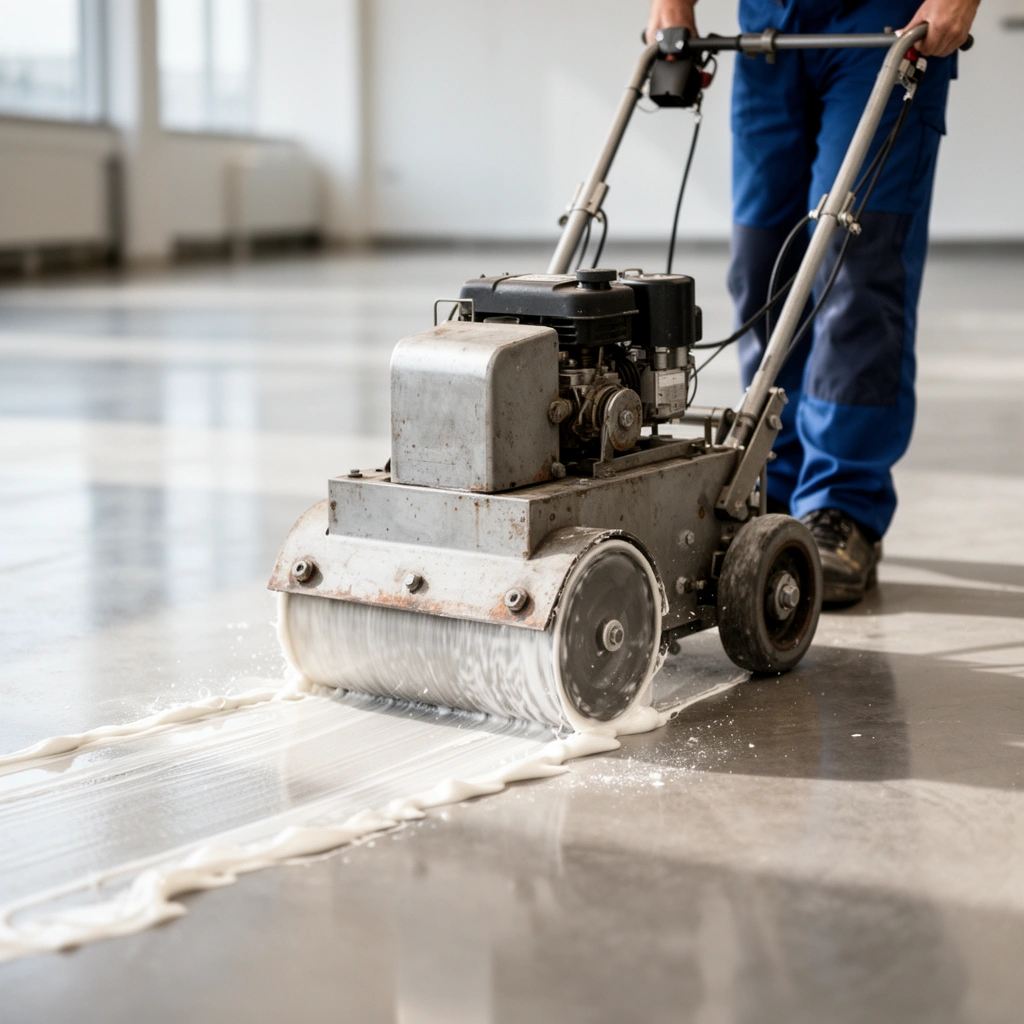
Mechanical removal is the best starting point because it avoids chemical stripping and gives you direct control over how much finish you’re altering. If you lift bulk residue first, you also reduce how much chemical you’ll need later—which lowers the chance of finish damage.
In practice, “mechanical” doesn’t mean “aggressive.” For commercial floors, the safest mechanical strategy is to remove bulk adhesive without gouging, then refine the remaining film with softening and gentle agitation.
Using a non-marring plastic scraper for floor surfaces reduces the risk of gouges compared with metal blades.
Vacuuming between steps prevents smearing loosened adhesive into a wider, harder-to-remove smear.
Low-abrasion pads used after softening break down residue without the deep scratch marks caused by aggressive grinding.
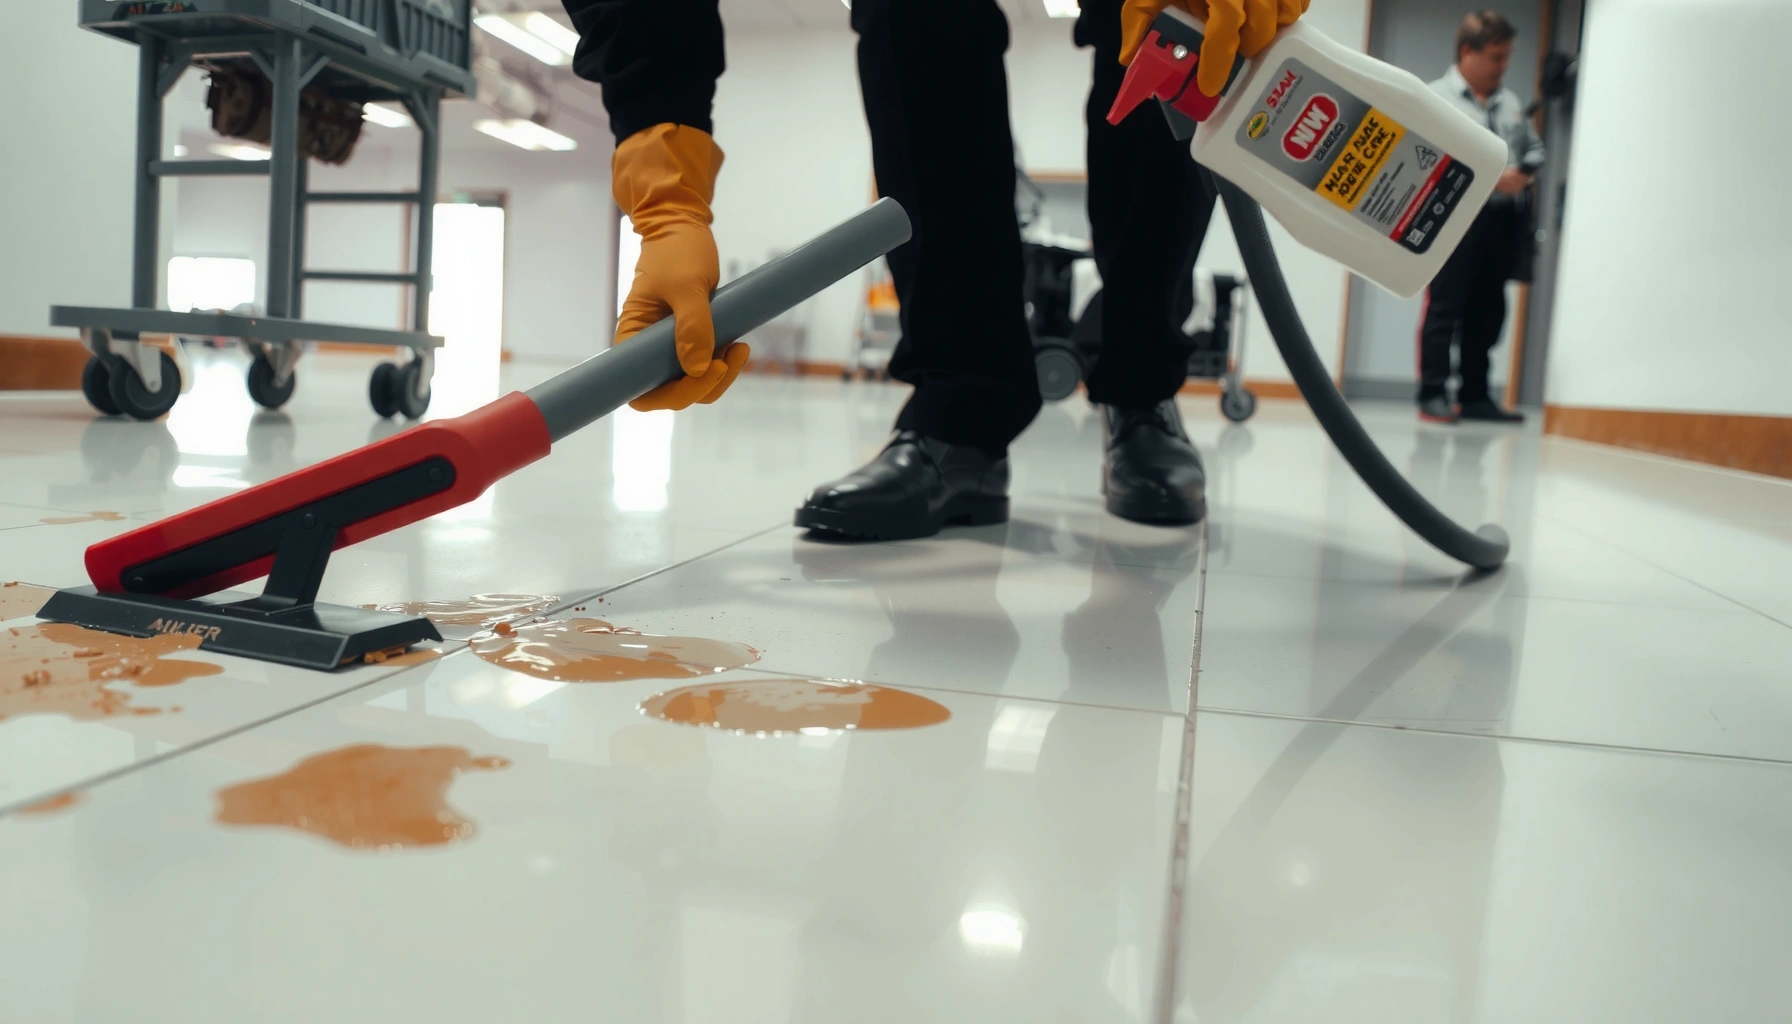
– Use scraping techniques: a plastic scraper or razor scraper designed for floors helps lift bulk residue without gouging (use a light hand).
– Start with the thinnest edge of residue and work toward the center.
– Keep the blade at a shallow angle to lift residue instead of digging.
– For larger areas, use floor scrubbers or low-abrasion pads to break up residue after softening.
– If you can avoid turning a residue into a paste, you’ll spend less time rinsing afterward.
– Vacuum thoroughly between steps so you’re not dragging gummy adhesive across the surface.
– This is especially important for PSA residues from tape—those smear into a glossy film that looks “clean” for a moment but remains tacky after it dries.
Quick compatibility note (so you don’t learn it the hard way)
Mechanical removal is usually safe for: finished tile surfaces, sealed concrete (with proper pads), and many resilient floors—if you use non-marring tools and avoid over-scraping. It’s risky if the floor is unknown, very soft, or thinly finished.
Here’s a data-backed way to think about the tradeoffs between removal approaches you’ll likely consider on-site:
Adhesive Removal Method Guide for Common Commercial Floors (2024)
| # | Removal method | Best for residue type | Typical floor suitability | Risk to finish | Fit score |
|---|---|---|---|---|---|
| 1 | Plastic scraping (bulk removal) | Tile mastic crumbs, tape clumps | Sealed concrete, most tile, many resilient floors | Low (if non-marring) | ★★★★★ |
| 2 | Steam/heat softening + scrape | Older brittle residues | Sealed concrete, some tile, some resilient floors (test first) | Medium (finish/edge risk) | ★★★★☆ |
| 3 | Floor scrubber with neutral detergent | Light tack film after lift | Most sealed surfaces (follow compatibility) | Low to medium | ★★★★☆ |
| 4 | Acrylic/label remover (water-compatible) | Label adhesive and residue | Vinyl/VCT (test), tile, sealed concrete | Low to medium | ★★★☆☆ |
| 5 | Solvent-based adhesive remover (targeted) | Mastic and heavy PSA/tackifiers | Sealed concrete, some tile (avoid unknown finishes) | High if mis-matched | ★★☆☆☆ |
| 6 | Mechanical micro-sanding (only if approved) | Paint/embedded residues after lift | Specialty resurfacing jobs with spec | Very high | ★☆☆☆☆ |
| 7 | Chemical remover + dwell + rinse/neutralize | Adhesives that won’t lift mechanically | When floor finish is confirmed compatible | Medium to high | ★★★☆☆ |
Use heat or steam to soften adhesive residue
Heat can make many adhesives release more easily before scraping, especially for older residues that have become brittle. The key is controlled application: soften first, then lift immediately—never heat in a way that damages the finish or drives adhesive deeper into seams.
In commercial settings, heat is often effective on residues that have aged and hardened. However, “steam” is not automatically safe for every floor build; it can interact with coatings, grout joints, and porous sublayers.
Softening adhesives with heat before scraping reduces smearing by turning tackified residue back into a liftable state.
Working in small sections prevents re-hardened adhesive—heated residue left too long can set again.
Steam requires caution around seams, transitions, and unsealed edges where moisture can penetrate.
– Heat can make many adhesives release more easily before scraping, especially for older residues that have become brittle.
– If you notice residue “glistening” or turning rubbery, you’re close—lift it right away.
– Use controlled heat/steam and work in small sections so the adhesive softens without damaging the flooring finish.
– Aim for consistency over intensity. Overheating can loosen floor finish layers or warp some finishes.
– Wipe or lift loosened material as you go—don’t let it re-harden.
– In my experience coordinating cleaning workflows on live commercial spaces, the biggest time-saver is always “remove as you soften,” not “soften and come back later.”
Repeat the compatibility check as you go: every time you change tools (scraper ↔ pad ↔ chemical), you should re-confirm you’re still on track with the floor’s finish.
Apply the right chemical adhesive remover (only if needed)
If residue remains after mechanical removal and softening, the next step is a chemical remover designed for the adhesive type and compatible with your floor finish. “All-purpose” products are where many commercial floors lose their polish or haze permanently.
The chemical step should still follow a controlled workflow: dwell time (contact time) per label, gentle agitation, then thorough removal and final rinse/neutralization when required.
Chemical removers work best when matched to the adhesive and followed by complete residue removal after the label dwell time.
Improper cleanup after chemical dwell time can cause re-tack, where sticky compounds re-release later.
Ventilation and PPE are not optional—adhesive remover products often contain solvents or strong surfactants and require label-compliant handling.
– Choose a remover compatible with both the adhesive and your flooring finish; avoid “all-purpose” chemicals when the floor is sensitive.
– For example, a remover safe on sealed concrete might still strip floor polish on VCT.
– If the floor is finished with an acrylic polish system, confirm whether the product is intended to be used on that system.
– Apply with proper dwell time per label instructions, then agitate gently (pad/cloth) and remove residue with clean water or neutralizer if required.
– Dwell time matters because adhesives can behave like gels: under-dwell leaves residue; over-dwell can overexpose the finish.
– Always follow ventilation and safety guidance from the product label, and keep chemicals off unprotected transitions like grout joints and baseboards.
– Protecting edges prevents staining, discoloration, and finish lifting where junctions are hardest to clean.
For factual anchoring on workflow principles: According to [ADD: source for manufacturer instructions emphasizing dwell time and post-cleaning/rinse requirements], adhesives must be removed fully after dwell, and many products require neutralization or water extraction to prevent residues.
> Practical note: If you cannot identify the finish system (polish brand, coating type, or whether an epoxy sealer is present), consider pausing and escalating to a floor-care professional. “Guessing” solvent chemistry can be more expensive than the labor you’re trying to avoid.
What can go wrong (and how to avoid it)
Most failures come from using the wrong aggression level in the wrong order—scraping too hard, choosing an incompatible solvent, or leaving sticky residue behind after dwell time. If you avoid these patterns, you reduce both visible damage and long-term tack complaints.
This section is where you protect your floor and your schedule: commercial spaces need predictable outcomes, not “trial and error” at full scale.
Over-scraping with metal blades can create permanent scratches in VCT and softer vinyl finishes.
Using an incompatible solvent can strip polish, discolor tile/stone, or swell some vinyl types.
Scraping adhesive while it’s dry often smears it into a film that is harder to clean than the original residue.
Leaving chemical residue after the label dwell time can lead to sticky re-release when the area is cleaned or warmed.
– Over-scraping can leave permanent scratches, especially on softer materials like VCT and some vinyl finishes.
– Prevention: light pressure, non-marring tools first, and avoid “re-scraping” the same spot repeatedly.
– Using the wrong solvent can strip floor polish, discolor tile/stone, swell certain vinyl types, or damage coatings (epoxy/sealants).
– Prevention: test spot, read the label compatibility statement, and don’t assume “works on everything.”
– Rushing the process—like scraping dry without softening—often smears residue into a wider, harder-to-remove film.
– Prevention: soften → lift → vacuum → repeat.
– Skipping residue cleanup after chemical dwell time can cause sticky re-release later.
– Prevention: follow label cleanup steps (often rinse/extract/neutralize) and verify the surface is not tacky before opening the area.
Quick pros/cons comparison (for planning)
| Approach | Pros | Cons / watch-outs |
|---|---|---|
| Plastic scraping | Most controllable, minimal finish exposure | Can take longer; risk of scratching if too much pressure |
| Heat/steam softening | Improves lift; reduces smearing | Can harm finishes; moisture risk at seams/joints |
| Targeted chemical remover | Best for stubborn mastic/tackifier | Needs compatibility confirmation; ventilation and strict cleanup required |
| Aggressive abrasion/sanding | Can remove embedded residue | High likelihood of finish failure; usually requires spec-approved resurfacing |
Verdict: pick a method by risk level
The best method for removing adhesive from commercial floors is a risk-stepped sequence: start with mechanical removal and softening (heat/steam if compatible), then use a targeted chemical only when residue won’t lift. This order prevents most finish damage while still addressing stubborn adhesives.
Stop immediately if you see finish dulling, color change, or surface haze during your test spot. If the floor finish is unknown (or likely includes specialty coatings), you should avoid chemical solvents until compatibility is confirmed.
A stepped workflow—scrape → soften → gentle agitation → chemical only if needed—minimizes finish damage risk.
If test spots show haze, discoloration, or tack re-release, you should stop and revise the plan before scaling up.
Chemical removers are most effective when paired with correct dwell time and complete post-cleanup removal to prevent re-tack.
Start here:
– Low risk first: plastic scraping + vacuuming between steps.
– Next: heat/steam softening (controlled, small sections).
– Only if needed: targeted chemical adhesive remover with dwell time and full cleanup.
Skip chemical solvents entirely if:
– You can’t do a proper test spot.
– The floor is delicate/unknown (fragile coatings, unsealed porous surfaces).
– You don’t have the ventilation and PPE required by the product label.
Also, if the adhesive is suspected to be part of a larger floor-system repair (for example, an epoxy build-up under the residue), consider professional assessment. Mis-handling can create adhesion failures for future flooring installations.
Quick checklist (scan before you start)
– Identify floor type: [vinyl/VCT/rubber/tile/stone/sealed concrete/unknown]
– Identify adhesive source: [tape/carpet glue/tile mastic/labels/unknown]
– Test in a hidden area: heat/steam + scraper + cleaner/remover
– Start least aggressive: scrape → soften → gentle agitation
– Use chemicals only when needed: follow label dwell time + cleanup steps
– Final rinse/wipe: remove all residue so it doesn’t re-tack
– Protect edges: baseboards, transitions, and sensitive coatings
FAQ
Will scraping damage a commercial floor?
It can, especially if you use metal blades or press too hard. Use plastic/non-marring scrapers first and work gradually, keeping a shallow angle and light pressure.
Is steam always safe for adhesive removal?
Not always. Steam can harm certain finishes, swell some flooring types, or seep into joints. Test a small spot first and keep steam controlled and localized.
What’s the safest first chemical to try?
Start with the mildest option that matches the product label guidance for your flooring and adhesive type. If the label doesn’t clearly support your floor material, don’t guess—use a compatible remover or a professional.
Can adhesive residue come back after cleaning?
Yes, if residue isn’t fully removed or if leftover sticky compounds re-tack over time. Make sure you fully lift and properly rinse/neutralize after chemical use.
Sources
– [ADD: manufacturer cleaning/removal guidelines for the specific flooring type (e.g., VCT/vinyl/epoxy/sealed concrete) you’re working on]
– [ADD: product label and safety data sheet (SDS) for the adhesive remover/cleaner you plan to use]
– [ADD: official guidance from steam cleaning equipment manufacturers on safe use around flooring surfaces]
Removing adhesive from commercial floors becomes manageable when you treat it as a compatibility problem, not a brute-force chore. Start with plastic scraping and careful softening, then escalate to a targeted chemical only if residue persists—and always finish with complete cleanup so the surface stays non-tacky and ready for normal use.
Frequently Asked Questions
What’s the safest way to remove adhesive from commercial floors without damaging the surface?
Start by identifying the flooring type (vinyl, tile, sealed concrete, laminate, or epoxy-coated surfaces) and testing your adhesive remover in a small, hidden area. Use the gentlest method first—typically warm water and mechanical scraping, followed by a manufacturer-recommended adhesive remover if needed. Avoid harsh solvents on sensitive flooring and always follow label directions for dwell time and ventilation. Protect the surrounding areas with masking and use plastic scrapers rather than metal to prevent gouging.
How do you remove carpet tack strip adhesive or old glue residue from a commercial floor?
For tack strip adhesive, loosen bulk material with careful scraping, then apply a targeted remover designed for pressure-sensitive adhesives (PSA) or construction adhesive. Allow the chemical to dwell long enough to soften the bond, then agitate and scrape residue in small sections to prevent streaking. Finish by cleaning with a neutral pH floor cleaner to remove chemical residue, which can otherwise interfere with waxing, sealing, or floor finish adhesion. For stubborn spots, repeat the process rather than increasing chemical strength.
Why does adhesive residue keep coming back after stripping, and how can you prevent it?
Residue often remains because the adhesive wasn’t fully penetrated or because residue was smeared during scraping, leaving a thin film behind. Another cause is that heat and cleaning can “set” certain adhesives, making them harder to remove later. Prevent recurrence by using the right remover for the adhesive type, respecting dwell time, and removing all softened material before final rinsing and neutralization. Afterward, perform a residue check with a clean white cloth and a quick wipe—if it transfers, repeat cleaning before recoating.
Which commercial adhesive remover is best for vinyl composite tile (VCT) or resilient flooring?
For VCT and other resilient commercial flooring, look for adhesive removers labeled safe for resilient surfaces and compatible with the floor finish. Many facilities use low-odor, pH-neutral or citrus-based products to reduce risk of discoloration, but you should still verify compatibility on a test spot. Apply in controlled amounts, let it dwell per the label, and remove residue with a floor scraper and microfiber or scrub pad. Finish with a thorough rinse/neutral clean so the adhesive remover doesn’t affect future stripping, polishing, or sealing.
What’s the best step-by-step process for removing glue and adhesive from sealed concrete floors in commercial spaces?
Begin with dry removal: scrape off loose material, then vacuum thoroughly to avoid grinding residue into the concrete. Next, apply an adhesive remover suited for concrete and the specific glue type, allowing proper dwell time to break the bond. Scrub with a stiff brush or floor machine pad, scrape again, and then clean with a neutral cleaner to remove all chemical and dissolved residue. If the floor will be polished, sealed, or coated, consider a final rinse and allow complete drying to ensure proper adhesion of new treatments.
📅 Last Updated: October 12, 2026 | Topic: How to remove adhesive from commercial floors? | Content verified for accuracy and freshness.
References
- Adhesive tape
https://en.wikipedia.org/wiki/Adhesive_tape#Removal - https://en.wikipedia.org/wiki/Adhesive#Removal
- https://www.cdc.gov/niosh/topics/adhesives/default.html
- https://www.epa.gov/saferchoice/featured-products/adhesive-removers-and-cleaners
- https://www.osha.gov/chemical-hazards/cleaners
- https://www.fda.gov/consumers/consumer-updates/how-remove-stubborn-residue
- Google Scholar Google Scholar
https://scholar.google.com/scholar?q=remove+adhesive+from+floor+best+practices - Google Scholar Google Scholar
https://scholar.google.com/scholar?q=adhesive+removal+chemical+solvents+flooring+type - Google Scholar Google Scholar
https://scholar.google.com/scholar?q=hot+melt+adhesive+removal+from+hard+surfaces+study - https://pubmed.ncbi.nlm.nih.gov/?term=adhesive+removal+solvents+surface+residue