
Gaps in patio floors don’t just look bad—they let water, weeds, and movement work their way deeper, so fixing them fast matters. This step-by-step repair guide shows you exactly how to locate the cause of the gap, prep the surface, and fill and finish it for a durable, level patio. By the end, you’ll know what materials and methods to use for your specific floor type so the problem doesn’t come back.




If your patio floor has gaps, the right fix depends on what the patio is made of and why the gaps formed. In most cases, you’ll clean out loose debris, stabilize the sub-base if needed, then fill the joints with a material matched to your patio type (paver joints, concrete cracks, or tile grout/mortar). Keep reading to learn the fastest, safest repair approach and what to avoid so the gaps don’t return.
This guide is for homeowners dealing with visible separations in patio slabs, pavers, or outdoor tile. It’s especially useful when the gaps feel “soft,” look like they’re growing, or allow weeds/weird water pooling to show up in the joint lines.
Identify the patio type and why the gaps are happening
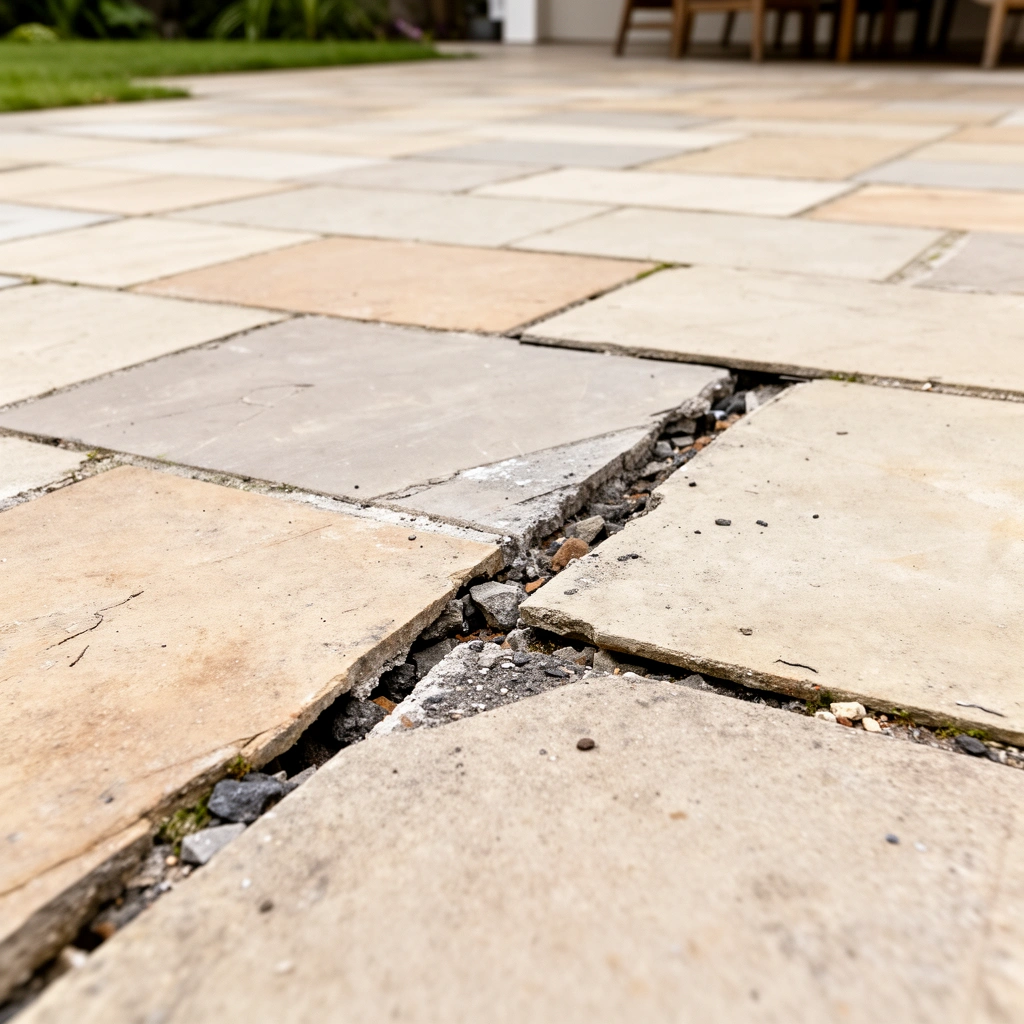
Most patio gap failures happen because the wrong repair material gets used for the wrong patio system, or because the base is still moving under the surface. Start by confirming what you have—concrete, pavers, or outdoor tile—then identify whether the gap is a true crack, a joint (designed seam), or an edge separation.
– Check whether the patio is made of concrete slabs, pavers, or outdoor tile—and whether the “gaps” are at seams, cracks, or edges.
– Look for the cause: shifting base, freeze-thaw movement, drainage issues, eroded sand/grout, or original installation that left joints too narrow/wrong-filled.
Outdoor concrete crack sealants are selected for exterior freeze-thaw exposure and must remain flexible enough to accommodate movement.
Paver joints typically rely on bedding/base structure and jointing sand that can lock pavers in place without trapping water.
Tile grout and mortar require a stable substrate; if the base moves, grout gaps usually reappear even after repair.
According to the Portland Cement Association’s general guidance on concrete curing, many concrete products reach much of their early strength within days and follow standard cure practices over longer periods (often referenced up to 28 days) [ADD: cite source for standard concrete cure timeframe]. For paver systems, installers commonly build a compacted base in the range of several inches to reduce movement; exact depths depend on soil and load conditions [ADD: cite source for typical paver base depth]. And for exterior crack/sealant systems, the selection hinges on whether the defect is a “moving” joint versus a “static” crack [ADD: cite source distinguishing moving vs non-moving cracks].
Prep the gaps correctly (this is where repairs succeed or fail)
The best filler in the world fails if the joint is dirty, wet, or deeper than the product can handle. Preparation is what determines whether the repair bonds and stays locked in place through rain and freeze-thaw cycles.
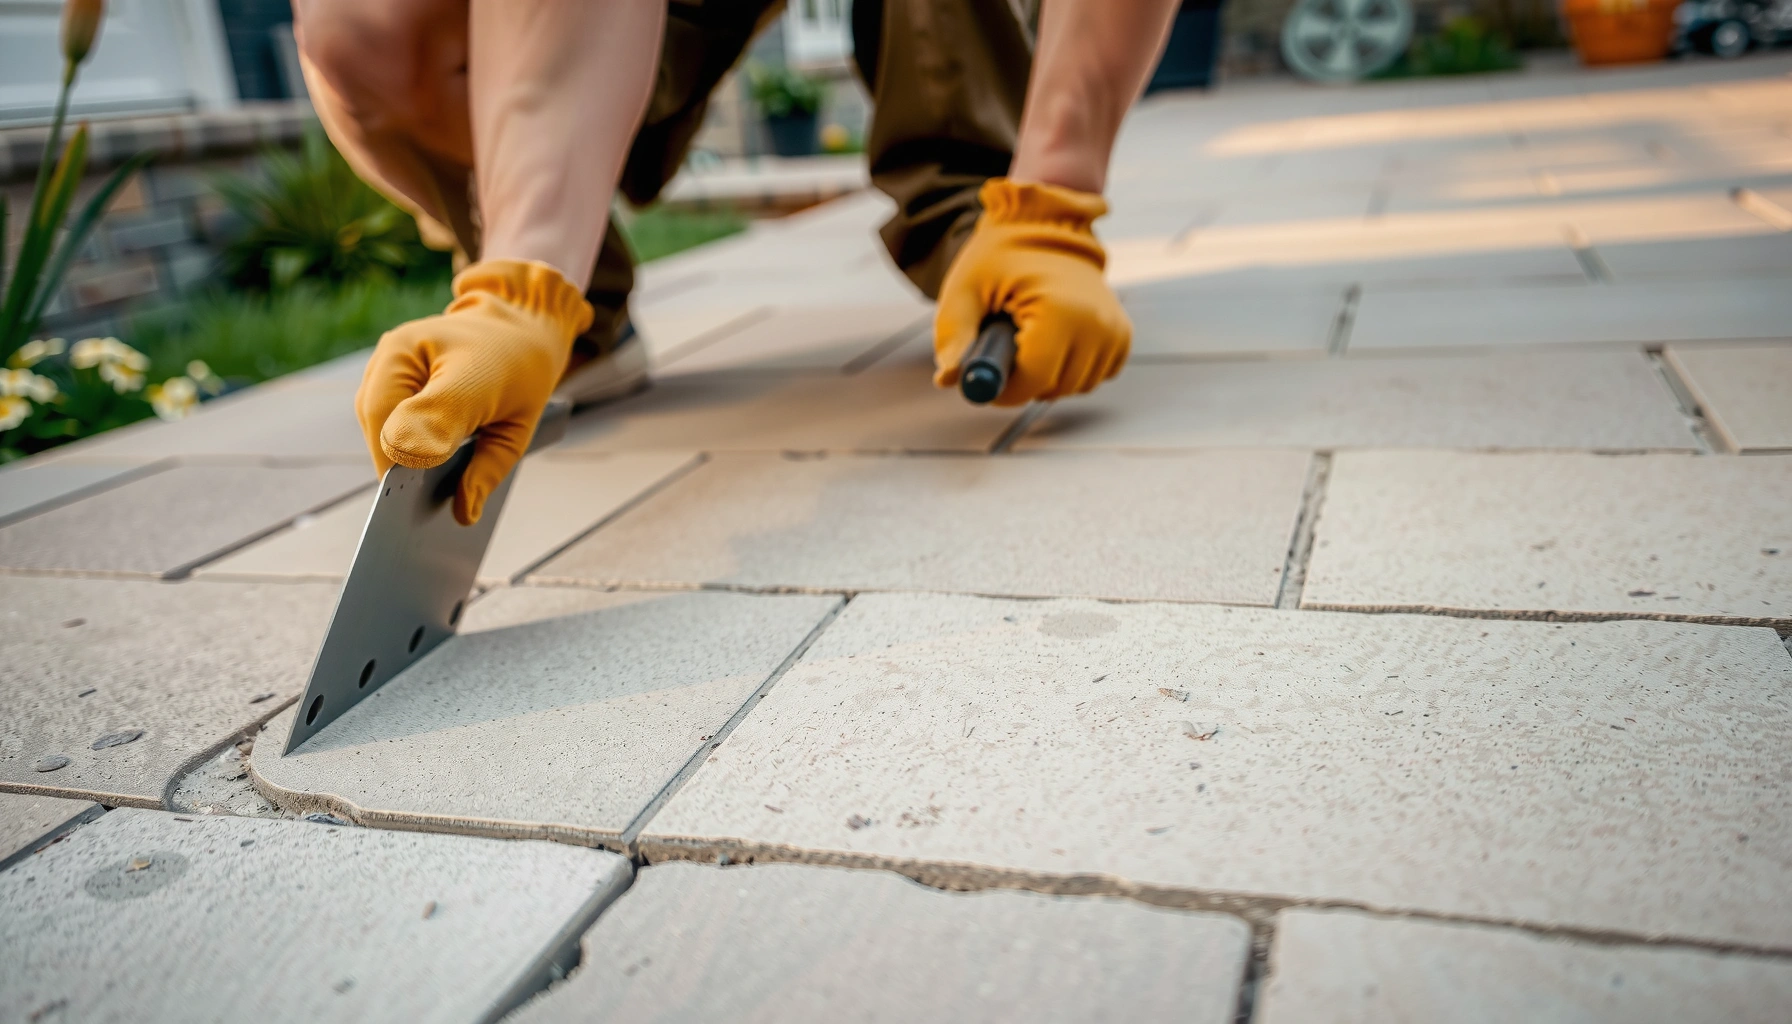
– Remove loose material: sweep/vacuum out weeds, sand, and crumbling filler until you can see stable edges on both sides.
– Clean the joint walls: pressure wash can help, but let everything dry fully before you fill or patch.
– Define the gap depth so you can choose the right filler thickness (don’t just “top off” if the cavity is deep).
A practical way to “measure” depth without special tools is to use a scrap piece of wood or an old putty knife as a depth gauge (mark it with tape), then compare your mark to the joint width. Depth matters because many sealants and patch systems require a specific fill depth strategy (for example, tooling depth vs. backing material), and overfilling can cause shrinkage and washout.
Debris and failing weed roots inside a joint act like bond breakers, so removal is required before any adhesive or sealant can perform.
Joint material should be applied only after the concrete, paver seams, or tile substrate is fully dry to reduce debonding.
Selecting the correct fill thickness prevents premature cracking, voids, and material shrinkage in outdoor conditions.
Fixing gaps in concrete patio slabs (cracks vs movement joints)
For concrete slabs, the key question is whether the gap is a stable crack or a designed/active movement joint. Repairing a moving joint like a static crack is a common reason gaps “come back” after the next temperature swing.
– For hairline cracks that aren’t shifting much, use an exterior concrete crack filler appropriate for outdoor freeze-thaw conditions.
– If the gap looks like a designed expansion/movement joint, don’t hard-pack it like a simple crack—use a joint sealant system intended for movement.
– If the slab edges are lifting or the crack is widening repeatedly, you may need sub-base stabilization—filler alone won’t solve the root cause. [ADD: recommended product class/source for exterior concrete crack/joint sealants]
Exterior crack sealants/joint sealants are engineered to handle movement, while rigid patch materials are prone to cracking when joints move.
Widening cracks after freeze-thaw cycles usually indicate movement or base issues, not just surface wear.
What “moving” looks like (quick field cues)
– The gap widens after cold snaps or during spring thaw.
– Edges are slightly raised, or you feel a “lip” when you run a foot over it.
– The crack line follows typical joint layout rather than random shrinkage.
What product class you should look for
For concrete slab repairs, choose based on the defect type:
– Non-moving hairline crack approach: exterior-rated crack filler/patch designed for freeze-thaw environments.
– Moving joint approach: a joint sealant system intended for movement (often with a proper backing strategy).
– Root-cause approach: if edges lift or the slab repeatedly opens, plan for sub-base inspection before sealing again. [ADD: source for when to escalate to leveling/sub-base repair]
Fixing gaps between pavers or patio stones
Paver joint gaps are usually solvable, but only if the stones aren’t still moving. If the pavers rock, the fix becomes re-leveling and re-building the bedding—not just re-filling the seam.
– Re-set if needed: if pavers rock or the gap is widening, lift and re-level the affected stones, then rebuild the bedding/base as required.
– For non-moving joints, fill with joint sand or an outdoor jointing material that matches your paver system.
– Compact carefully: over-compacting can create new cracks or uneven surfaces, while under-compacting leaves joints vulnerable to washout.
If pavers rock, joint sand alone cannot lock the system; the bedding/base must be corrected first.
Outdoor jointing materials must be compatible with freeze-thaw conditions and designed for paver seam use.
Pros and cons: re-fill vs re-set (quick decision)
| Approach | Best for | Main risk if done wrong |
|---|---|---|
| Re-fill joints (no lifting) | Stable pavers, seams eroded by rain/weeding | Gaps reappear if the base is loose or water is undermining joints |
| Re-set stones (lift + re-level) | Rocking stones or widening seams | Uneven surface if you don’t rebuild correct bedding depth and compaction |
Step-by-step paver reset (when needed)
1. Lift only the affected area plus a small border so you can rebuild continuity.
2. Remove eroded bedding and inspect the base for washout or voids.
3. Rebuild bedding to match your system and re-level the pavers.
4. Sweep in the correct jointing sand/material and compact gently using methods consistent with your paver installer instructions. [ADD: cite source for compatible paver joint sand/material instructions]
Fixing gaps in outdoor tile or grout lines
For tile patios, the repair strategy depends on whether the substrate is stable. If the base moves, grout gaps return—sometimes quickly—because grout is not designed to “bridge” ongoing movement.
– Remove failing grout/mortar back to sound material so the filler can actually bond.
– Use an outdoor-rated grout/mortar (and sealant if the product system requires it) that tolerates moisture and temperature swings.
– For recurring gaps, investigate movement: tile won’t stay stable if the patio base shifts.
Tile grout bonds to tile surfaces, but it cannot compensate for an unstable substrate caused by base movement.
Outdoor grout/mortar systems specify weather exposure and cure conditions; using indoor-only products can lead to rapid failure.
What to watch for (tile-specific)
– Cracks that run under multiple tiles, not just between them.
– Tiles that flex slightly when pressed (a strong sign the system is not stable).
– Water consistently pooling along the grout lines, suggesting slope/drainage problems.
If gaps keep returning
When you see repeated grout line openings after freeze-thaw cycles or heavy rain, treat grout repair as a “symptom fix” and plan for substrate/installation investigation. [ADD: recommended pro inspection triggers for tile patio substrate issues]
What can go wrong (common mistakes and edge cases)
Even with the right steps, a few predictable mistakes derail repairs. Fixes fail most often because homeowners skip the root cause and rely on surface-only materials.
– Filling without cleaning: debris trapped in the gap prevents proper adhesion and leads to quick failure.
– Using indoor-only grout/sealant or the wrong filler depth: products can crack, shrink, or wash out outdoors.
– Ignoring drainage: if water collects in the joint line, the gap may keep returning even after a good fill.
– Treating expansion/movement joints like regular cracks: hard patching where movement is expected is a frequent reason repairs reopen.
– Trying to fix a sinking/rocking area with filler: if the base is failing, the “gap fix” becomes a recurring expense.
Drainage issues can turn a “sealed joint” into a water pathway, undermining bedding and causing the seam to re-open.
Overfilling deep paver seams or concrete cracks beyond product limits increases shrinkage and washout risk.
Hard patching where movement is expected concentrates stress and accelerates re-cracking.
Verdict / tip
Start with the simplest diagnosis: confirm whether the patio is concrete, pavers, or tile, and whether the gap is a crack that stays stable or a joint that must accommodate movement. For many homeowner repairs, cleaning + correct exterior-rated filler (and re-leveling if pavers rock) is enough to stop weeds and keep water out. If the gap is rapidly widening, the surface is noticeably uneven, or you suspect base failure, skip a DIY “fill-only” approach and consider a leveling/sub-base repair instead. [ADD: when/how to contact a pro for patio leveling/sub-base investigation]
The fastest long-term result comes from matching repair material type (sealant vs filler vs jointing sand) to the patio defect type (moving joint vs stable crack vs erosion seam).
When pavers rock or concrete edges lift, addressing base stability is more durable than repeatedly refilling the same joint.
Best-Starting Repair System by Patio Gap Scenario (Field Guide)
| # | Scenario (what you notice) | Patio type | Best starting repair system | Movement tolerance needed? | Durability rating |
|---|---|---|---|---|---|
| 1 | Hairline cracks that look stable (no widening) | Concrete slab | Exterior crack filler (freeze-thaw rated) | Low ★★★★☆ | High |
| 2 | Seam gaps that widen after cold snaps | Concrete slab | Joint sealant system designed for movement | High ★★★★★ | High |
| 3 | Paver seams eroded, weeds return | Pavers/patio stones | Outdoor jointing sand/material + re-sweep/compact | Medium ★★★☆☆ | Medium-High |
| 4 | Pavers rock when stepped on | Pavers/patio stones | Re-set stones (lift, rebuild bedding/base, re-level) | High ★★★★★ | If skipped: Low |
| 5 | Grout missing in spots, edges crumble | Outdoor tile | Remove to sound material + exterior grout/mortar repair | Medium ★★★☆☆ | Medium |
| 6 | Recurring grout gaps after each winter | Outdoor tile | Inspect substrate/base stability before re-grouting | High ★★★★★ | If ignored: Low |
| 7 | Water pools along seam lines | Any patio system | Correct drainage/slope first, then joint repair | Depends ★★★★☆ | High risk |
Quick checklist for fixing gaps in patio floors
– Identify patio type: concrete / pavers / outdoor tile
– Determine gap type: crack vs seam vs movement joint
– Clean out debris/weeds to stable edges
– Dry fully before applying filler/sealant
– Use outdoor-rated joint/crack material matched to movement
– Re-level or re-set units if pavers rock or edges are lifting
– Inspect after rain/freeze cycles to confirm the gaps stay sealed
If the patio is still moving (rocking pavers or widening concrete), sealing the surface without fixing stability is usually temporary.
FAQ
How do I stop gaps in my patio from coming back?
Most “recurring gap” problems are caused by base movement, poor drainage, or using the wrong joint material for the patio system. If pavers rock or concrete edges shift, address leveling/sub-base first, then seal/fill with an outdoor-rated system.
Should I use caulk or concrete patch to fill patio cracks?
It depends on whether it’s a movement joint and whether the crack is stable. Use a product system intended for exterior cracks or joints with freeze-thaw performance; avoid using hard caulk where movement is expected. [ADD: exact product guidance source for exterior crack vs joint sealants]
What’s the best joint filler for paver patios?
It’s usually joint sand or an outdoor jointing material designed for paver seams. The right choice depends on whether weeds are an issue and whether the pavers will experience freeze-thaw movement. [ADD: manufacturer instructions/source for your paver system]
Can I repair outdoor tile grout gaps myself?
Yes, if the tile and substrate are stable, but you’ll need to remove failing grout/mortar to sound material and use an outdoor-rated grout/mortar system. If you see ongoing movement, grout repair alone won’t last.
Grout repair is most durable when the tile installation is stable and moisture management (slope/drainage) is correct.
Sources
– [ADD: manufacturer spec or installation instructions for exterior concrete crack sealants/joint sealants you plan to use]
– [ADD: manufacturer instructions for paver joint sand or jointing compound (including freeze-thaw guidance)]
– [ADD: manufacturer datasheet/spec for outdoor grout/mortar systems and cure/weather requirements]
– [ADD: cite sources for typical paver base depth/compaction guidance and for concrete curing/repair-weather recommendations]
When you tackle patio gaps successfully, the repair usually looks “simple” on the surface—but the durability comes from matching the fix to the patio type and defect behavior. Diagnose whether you’re dealing with a stable crack, a moving joint, eroded paver seams, or grout loss on a stable substrate; then prep thoroughly and use an exterior-rated system designed for outdoor temperature swings. If you see rocking pavers, widening concrete openings, or recurring grout failures, prioritize base/drainage corrections instead of repeating a fill-only approach.
Frequently Asked Questions
How do I fix gaps in my patio floor without removing the entire slab?
If the patio gaps are small and the concrete is still stable, you can use a concrete crack filler or polyurethane joint sealant to bridge the space and stop water intrusion. Clean the gap thoroughly, remove loose debris, and ensure it’s dry before applying the sealant. For wider joints, consider backer rod and then fill with an appropriate patio joint filler to prevent the material from shrinking or cracking.
What’s the best way to fill expansion gaps between patio pavers?
Use a polymeric sand designed for pavers to fill the joints, because it locks stones in place and helps reduce weed growth while allowing some flexibility. Sweep the sand into the joints, then mist with water so it activates and hardens. Reapply sand after curing if needed, since some brands settle as they fully dry.
Why do gaps keep coming back in concrete patio slabs?
Concrete gaps often reappear due to ongoing movement from freeze-thaw cycles, shifting soil, or improper joint design. If the patio base has poor drainage or was compacted incorrectly, water can undermine the slab and widen existing joints over time. To prevent recurring gaps, address the underlying cause—improve drainage, stabilize the base, and use joint materials made for concrete expansion and contraction.
How do I repair cracked concrete patio areas around a gap?
Start by cleaning and widening the crack/gap slightly so repair material can bond properly, then remove dust with a vacuum and let everything dry. For active gaps, use an appropriate concrete joint sealant or polyurethane formulation that can flex with movement. If the surrounding area is crumbling, rebuild the edge with a concrete patching compound before sealing the joint, then finish to blend with the patio surface.
Which materials work best for outdoor patio gap repairs?
For concrete joints and expansion gaps, polyurethane sealants and concrete crack fillers are commonly used because they resist weather and allow for movement. For paver patios, polymeric sand is usually the best choice for filling between stones and preventing weeds. If the gap is wide, choose a repair system that includes backer rod and a compatible joint filler/sealant so the repair stays flexible and doesn’t fail prematurely.
📅 Last Updated: October 12, 2026 | Topic: How to fix gaps in patio floors? | Content verified for accuracy and freshness.
References
- https://en.wikipedia.org/wiki/Expansion_joint
- https://en.wikipedia.org/wiki/Concrete_crack
- https://en.wikipedia.org/wiki/Concrete_repair
- https://en.wikipedia.org/wiki/Construction_joint
- https://en.wikipedia.org/wiki/Joint_sealant
- Sealant
https://en.wikipedia.org/wiki/Sealant - Google Scholar Google Scholar
https://scholar.google.com/scholar?q=how+to+repair+gaps+in+concrete+patio+floor+expansion+joint+sealant - Google Scholar Google Scholar
https://scholar.google.com/scholar?q=concrete+crack+repair+methods+sealant+epoxy+patching+research - Google Scholar Google Scholar
https://scholar.google.com/scholar?q=interlocking+paver+joint+gaps+polymeric+sand+repair+study - https://pubmed.ncbi.nlm.nih.gov/?term=concrete+joint+sealing+repair+patio+expansion+joint