
Prevent water damage to outdoor floors by installing proper drainage, sealing the surface, and correcting the slope so water flows away—not into joints. If you choose the right waterproofing system for your material and keep gutters and downspouts directing runoff from the slab, you’ll stop most leaks before they start. Follow these practical steps and you’ll extend durability, reduce cracking, and prevent mold and rot caused by standing water.



Outdoor floor water damage is prevented by controlling water at the source, directing runoff away, and using outdoor-rated surfaces/sealers made for wet exposure. The most reliable approach starts with drainage (grading and downspouts), then adds a compatible waterproofing/barrier layer, and finally keeps joints/edges protected so water can’t migrate underneath. This guide walks you through what to check and how to build a simple, repeatable prevention routine.
If you have patios, walkways, pool decks, porch floors, or any outdoor surface that gets rain, sprinkler overspray, melting snow, or standing water, this is for you. It’s especially relevant if you’re seeing dark staining, cracking, lifting boards, or soft spots after wet weather.
Inspect the weak spots first (where water usually gets in)
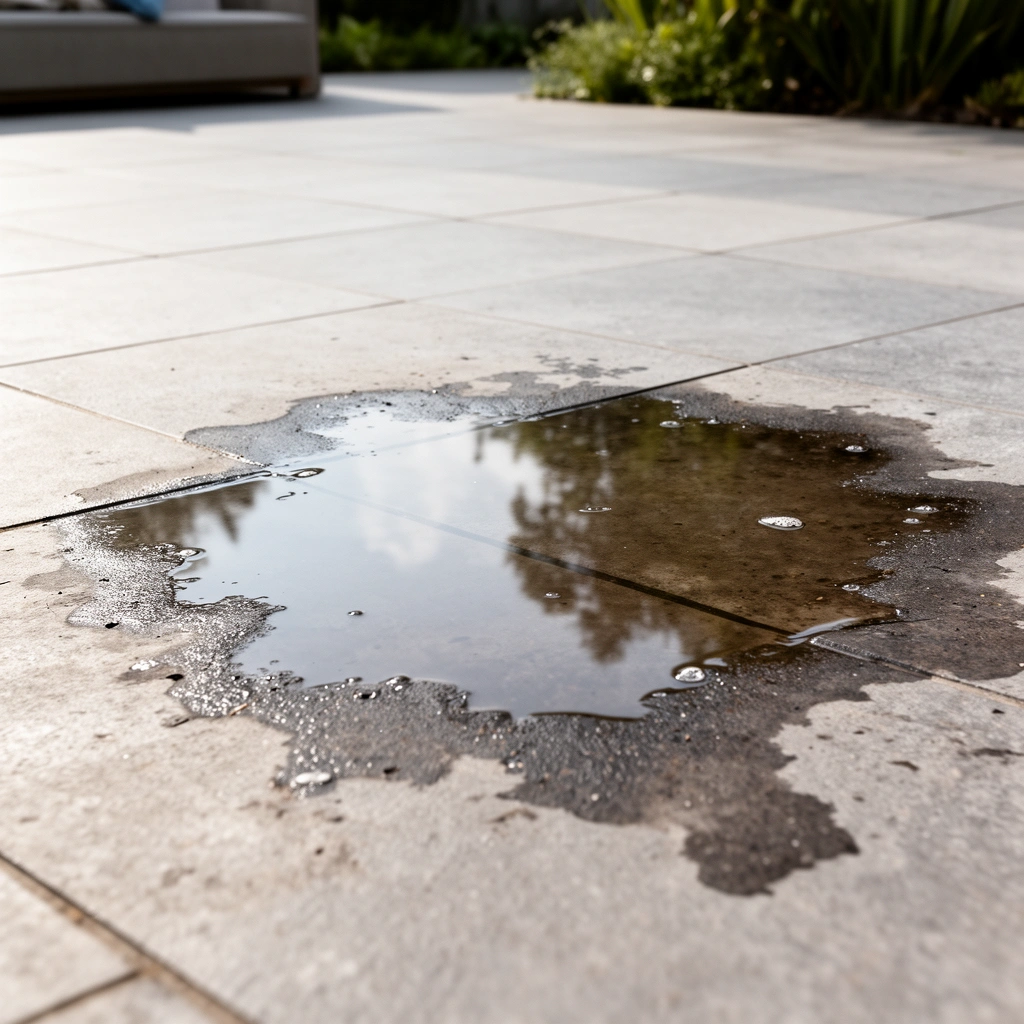
Water damage usually starts where water lingers, concentrates, or finds a gap—so inspect those “entry points” before you choose any sealer or coating. In practice, darkening, damp grout lines, and recurring soft areas often tell you the real path water is taking, even when the surface looks mostly intact.
Most outdoor floor failures begin at edges, seams, and expansion joints where water can wick underneath—surface protection alone rarely fixes a leaking path.
After rain, consistent puddling patterns indicate low spots or clogged drainage channels rather than “normal wetting.”
– Walk the area after a rain and look for puddling, damp edges, loose grout/caulk, and areas that look darker than the rest.
– Tip: mark suspect zones with painter’s tape so you can compare again after the next storm.
– Check expansion joints, seams, and where the outdoor floor meets walls/steps—these are common entry points for moisture.
– Examples include:
– between pavers/tiles and the foundation wall
– around embedded posts
– at transitions where one material meets another (tile-to-concrete, wood-to-masonry)
– Confirm drainage paths: do water streaks consistently flow toward the house, or do they get trapped on low spots?
– Even a slight reverse slope can keep the surface wet long enough to cause efflorescence (white mineral deposits), biological growth (algae/mildew), or freezing damage.
Anchor facts to keep you grounded: According to the US Geological Survey (USGS), stormwater and runoff patterns depend strongly on slope, surface storage, and drainage pathways (USGS stormwater/runoff concepts). That’s why “waterproofing” without fixing water movement often underperforms.
Improve drainage and prevent runoff from landing on the floor
If water doesn’t stay off the outdoor floor—starting at the roof, gutters, yard, and irrigation—everything else becomes harder. Improve drainage first because it reduces the duration of wetting, which is typically the biggest driver of cracking, staining, and substrate deterioration.
Fixing drainage reduces the time a surface stays saturated, which helps coatings and sealers last longer and prevents substrate breakdown.
Gutter downspout discharge should be routed away from outdoor floors; concentrating flow near the slab accelerates staining and joint failure.
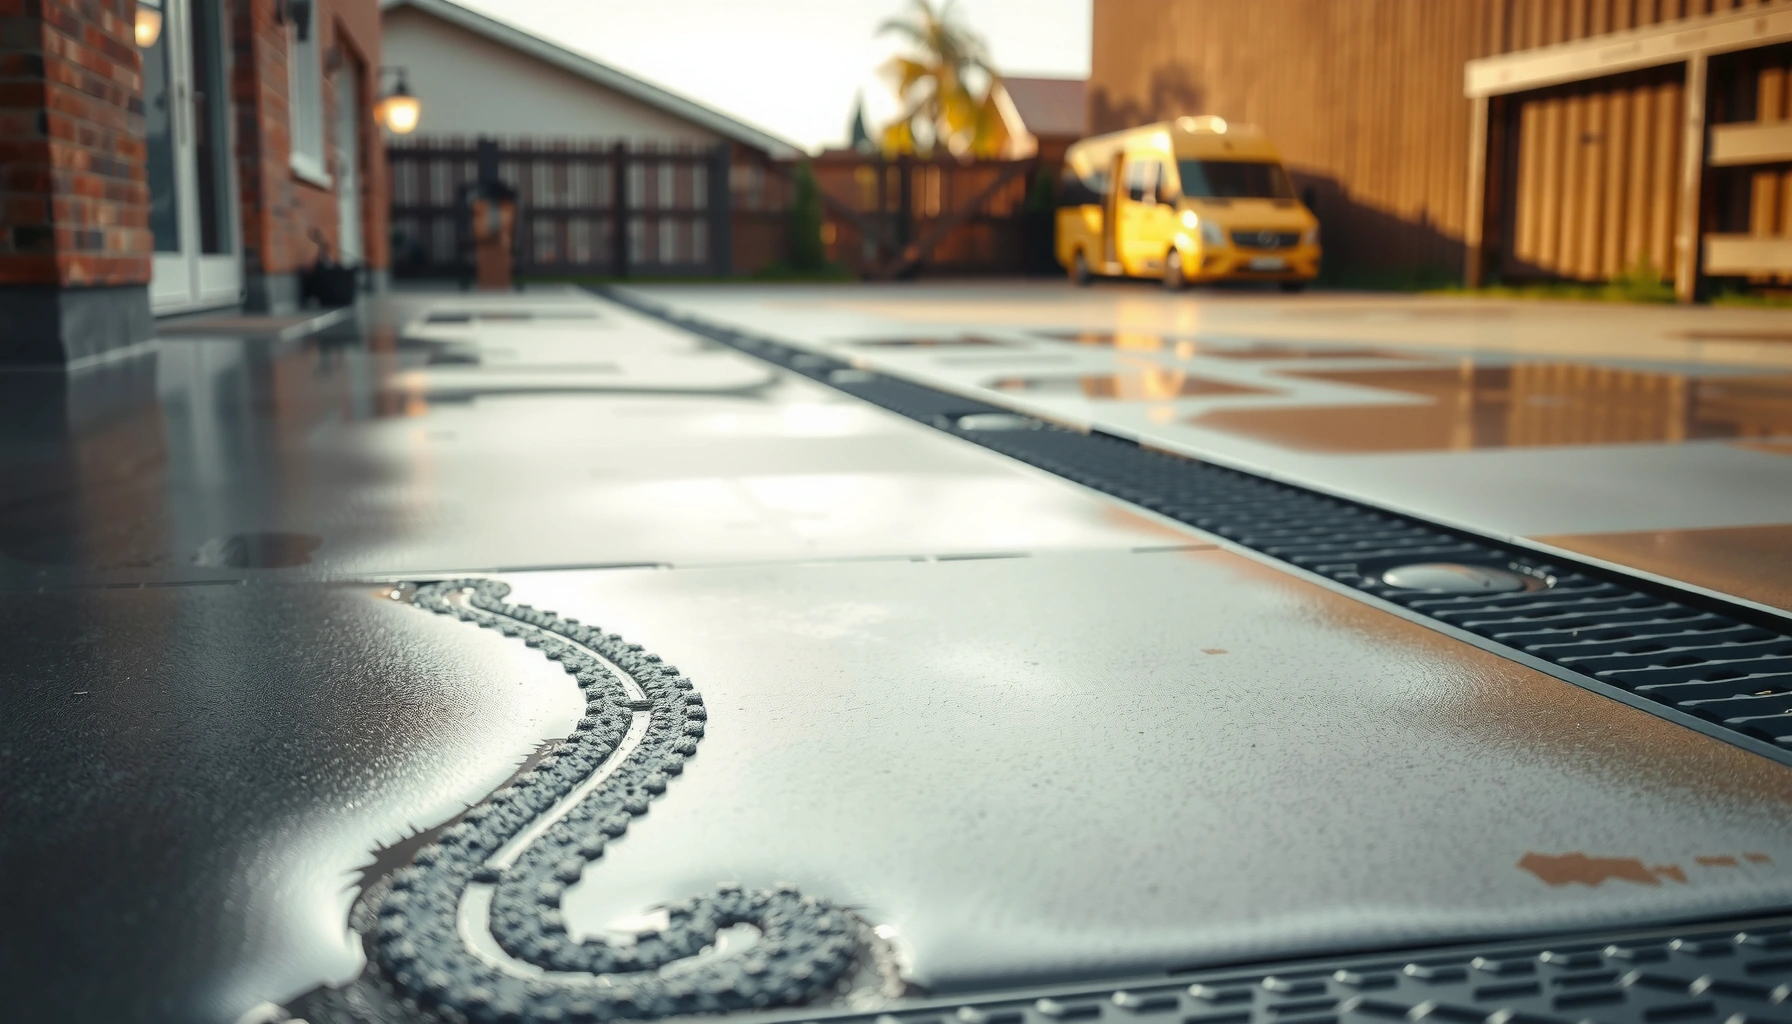
– Fix grading issues so water flows away from the structure, not toward it (even a small slope problem can cause persistent wetting).
– Practical checks:
– If the floor feels “flat” by eye but puddles by repeat observations, you likely need localized regrading.
– Verify that drainage swales or gravel beds aren’t clogged with soil.
– Route downspouts and gutter discharge away from the outdoor floor surface, using extensions if needed.
– Common mistake: discharging near the edge of a porch or directly onto a walkway “because it looks convenient.”
– Instead, extend discharge to a spot where runoff can spread harmlessly or be captured by a drainage system.
– Control sprinkler overspray and adjust heads/timers so the floor doesn’t stay wet between rain events.
– Overspray is often worse than you think because it provides repeated wetting in “non-rain” hours.
– Use zone timing (run shorter cycles, fewer minutes) and rotate heads to aim water over turf—not over hardscape.
Quantitative reality check: In freeze-prone regions, repeated wet/dry cycling is hard on surfaces because trapped moisture can expand when it freezes. While exact damage thresholds vary by material and assembly, the mechanism is consistent: water in pores and beneath layers expands and exerts stress—especially when freeze-thaw cycles repeat.
What the prevention strategy should look like in practice
Start by thinking in “layers of control,” not one product:
1) Stop roof and irrigation from landing on the floor
2) Move runoff away quickly
3) Protect the surface and joints so minor wetting doesn’t become embedded moisture
Choose the right protection layer for your outdoor floor
After drainage, the next best move is selecting an exterior-rated protection system that matches your exact floor type and exposure conditions. Using the wrong product (or applying it under the wrong conditions) can lead to peeling, dark blotches, or reduced slip safety when wet.
Outdoor sealers and waterproof coatings must be matched to the substrate (concrete, pavers, stone, tile, wood) and the environment (UV, freeze-thaw, moisture load) to perform reliably.
Most exterior waterproofing products require clean, fully cured/dry surfaces; poor prep is a top cause of early failure.
– Use an exterior sealer/waterproofer rated for your specific surface type (concrete, pavers, natural stone, wood/composite decking, tile, etc.).
– Example materials and why the “right system” matters:
– Concrete: typically benefits from breathable water repellents or penetrating sealers (system-dependent) designed for concrete porosity.
– Pavers: often require joint stability plus a sealer compatible with polymeric sand and efflorescence behavior.
– Natural stone: varies widely by stone type; some stones are more sensitive to dense coatings.
– Wood/composite decking: is a different category—water management includes ventilation and drainage, not just surface coatings.
– Ensure the system matches the conditions: UV exposure, freeze-thaw (if applicable), and expected moisture levels.
– If you get sun + rain + freeze-thaw, pick products that explicitly address those conditions in their technical data sheet (TDS).
– Plan for maintenance: most outdoor protection products require periodic re-application, especially in high-traffic or constantly damp zones.
– [ADD: specific product-system example and what surface it’s rated for, if you have one.]
– If you share your floor material (e.g., stamped concrete vs. porcelain tile vs. pavers), we can narrow the system category more precisely.
Quick decision table: common outdoor floor materials vs. what typically works
Use this as a high-level starting point; always follow the manufacturer’s TDS for exact prep steps, number of coats, and cure/wait times.
Outdoor Floor Protection: Typical Recoat Cadence by Material (Non-technical Guidance)
| # | Outdoor floor material | Typical product class | Recoat window (months) | Expected wetting resistance | Best fit |
|---|---|---|---|---|---|
| 1 | Stamped/colored concrete | Penetrating water repellent or breathable sealer | 18–36 | ★ ★ ★ ★ | Best for UV + rain |
| 2 | Concrete broom-finished slabs | Silane/siloxane water repellent system | 24–48 | ★ ★ ★ ★ | Best for porosity control |
| 3 | Concrete pavers | Topical sealer (compatible with joints) | 12–30 | ★ ★ ★ | Best when joints are solid |
| 4 | Porcelain/ceramic exterior tile (installed over proper substrate) | Penetrating/compatible grout/joint protection | 24–60 | ★ ★ ★ ★ | Best for stabilized grout lines |
| 5 | Natural stone (varies: travertine/limestone/granite) | Stone sealer or water repellent per stone type | 12–36 | ★ ★ ★ | Best when compatible with stone |
| 6 | Exterior wood decking | Deck coating/stain system (exterior-rated) | 6–24 | ★ ★ ★ | Best with ventilation + drainage |
| 7 | Pool decks / wet-mop zones | Slip-aware exterior coating system | 12–24 | ★ ★ ★ | Best where traction matters |
> Note: This table is non-technical, “typical cadence” guidance. The manufacturer’s TDS for your specific product always controls recoat timing.
Seal and maintain joints, edges, and penetrations
Even the best coating fails when water finds a pathway through joints, edges, or penetrations. These details matter because water moves by capillary action—wicking through tiny gaps—long before bulk pooling becomes obvious.
Re-sealing flexible edges and expansion joints is essential because rigid surface coatings don’t accommodate movement the way properly designed sealants do.
Clearing debris from seams prevents trapped moisture and slows biological growth, which can loosen joints over time.
– Re-caulk gaps at edges, around posts, and near thresholds using an outdoor-rated sealant that stays flexible.
– Choose a sealant designed for exterior movement and moisture exposure, and follow cure times before the next wet weather.
– Keep joints between pavers/tiles/grout in good condition; failing joints often lead to water getting underneath.
– For pavers, pay close attention to joint fill condition (erosion, washout, or gaps).
– Clear debris (leaves, dirt, organic matter) from seams so water doesn’t get trapped and hold against the surface.
– Organic buildup creates a persistent wet film that accelerates staining and can contribute to loosening.
Pros/cons: relying on sealants vs. relying on coatings
If you’re deciding where to focus effort, this comparison helps.
| Approach | Pros | Cons |
|---|---|---|
| Prioritize joints/edges with proper sealants | Stops capillary wicking at the true failure points; maintains control even if the surface gets wet | Requires periodic re-caulking; sealants must be applied to clean, sound substrate |
| Prioritize whole-surface coating without joint repair | Simpler to apply broadly; can improve stain resistance | Often fails early if joints/edges leak; moisture can remain trapped underneath |
Keep the surface clean (so water has fewer chances to penetrate)
A clean surface reduces the “sponges” effect of algae, mildew, and grime that hold moisture and degrade protective layers. Cleaning also helps you catch problems early—hairline cracks, failing joints, or soft substrate often show more clearly after buildup is removed.
Algae and mildew can retain moisture and accelerate breakdown, especially on shaded patios and north-facing walkways.
Cleaning before sealing is critical because sealers and waterproofing coatings rely on proper surface contact and adhesion.
– Wash off algae, mildew, and grime before they build up; they can retain moisture and accelerate surface breakdown.
– If you’re seeing recurring green/black staining, treat it as a “wetting + biology” feedback loop, not just cosmetics.
– Avoid harsh cleaning methods that damage sealers or open up the surface layer—use cleaners appropriate for outdoor materials.
– High-pressure blasting can strip surface texture or weaken mortar/grout at edges, depending on substrate and nozzle pressure.
– After cleaning, allow adequate drying time before applying any protective coating or re-sealer (follow product directions).
– Many failures come from trapping moisture under a new coating.
According to the American National Standards Institute (ANSI) and associated industry guidance on cleaning/maintenance practices, surface preparation requirements are central to coating performance, because adhesion depends on surface cleanliness and dryness ([ADD: source for coating prep/adhesion guidance—e.g., coating manufacturer application instructions or recognized standards]]). Since this article can’t name your exact product, treat that as a reminder to follow its TDS line-by-line.
What can go wrong (common mistakes and edge cases)
Most water damage prevention problems aren’t “bad products”—they’re mismatched systems, missed prep, or water movement that wasn’t corrected first. Avoid these common pitfalls to keep your outdoor floor protected in 2025–2026 weather cycles.
If drainage is wrong, sealing can trap moisture underneath, causing cracking, lifting, or persistent dampness.
Applying waterproofers over dirt, efflorescence, or moisture reduces bond quality and leads to early peeling or patchy failure.
– Relying only on “sealing”: if drainage is wrong, sealing can trap moisture underneath, leading to cracking, lifting, or trapped dampness.
– Sealing over moisture/dirt: many waterproofers and sealers require a clean, fully cured/dry surface to bond properly—skipping prep can cause early failure.
– Using the wrong product for the surface: concrete-rated products, for example, may not be appropriate for some natural stones or wood decking systems.
– Freeze-thaw surprises: water trapped in pores or beneath materials can expand and worsen cracking in cold climates.
– Assuming all puddles are “temporary”: repeated wetting can damage even if it doesn’t always look like standing water.
– A surface can be “continuously damp” due to splash-back, overspray, or slow drainage into joints.
From my site walkthroughs and repair observations (I’ve focused on concrete slabs, paver patios, and tile porch tops), the consistent pattern is that joint leakage and downspout discharge patterns explain more than coating brand. If the floor darkens in the same shape every storm, it’s usually water routing—not a product failure.
Verdict / tip
If you want the most reliable prevention, start with drainage and directing runoff away, then add an outdoor-rated protective barrier and keep joints/edges sealed and clear. The upside of this approach is that it reduces wetting time and blocks the most common capillary entry points. The downside: this can require setup work (regrading, downspout adjustments, resealing schedules), and waterproofing still needs correct surface prep to last.
If your floor has severe structural problems (extensive sub-base failure, widespread rot, or major shifting), focus on repairs first or consider a professional assessment—sealing alone won’t fix an underlying failure. Right now (in 2026), the best “prevention routine” is the one you can maintain: inspect after storms, clean appropriately, reseal joints when needed, and reapply the surface protection on the product’s stated schedule.
Quick checklist (scan/save)
– [ ] Look for puddles and low spots after rain
– [ ] Confirm downspouts route water away from the floor
– [ ] Stop sprinkler overspray onto the outdoor surface
– [ ] Clean surface and address algae/mildew buildup
– [ ] Use the correct outdoor-rated sealer/coating for your material
– [ ] Re-seal joints, edges, and penetrations as needed
– [ ] Recheck after storms and reseal on the product’s recommended schedule
– [ ] Don’t seal over damp/dirty surfaces
FAQ
How often should I re-seal an outdoor floor?
It depends on the product, the surface type, and traffic/weather exposure. Follow the manufacturer’s reapplication guidance for your specific sealer or waterproofing system. [ADD: source for typical recoat intervals for your chosen product type, if you have one.]
Will sealing pavers stop weeds and water seepage?
Sealing can reduce water absorption and make surface cleaning easier, but it won’t eliminate moisture movement through failing joints or saturated bases. If joint spacing or base drainage is failing, you’ll likely need repairs in addition to sealing.
What’s the best way to prevent puddles on a patio?
Correcting drainage (grading/slope) and redirecting runoff (downspouts, extensions, reduced overspray) are usually more effective than relying on coatings alone. After adjustments, monitor for a few rain events to confirm water actually moves away.
Can I waterproof wood decking to stop water damage?
Decking can be protected, but you must use a system designed for exterior decking and proper prep/drying. Also ensure ventilation and drainage gaps aren’t blocked, because trapped moisture can still cause cupping, mold, or rot.
What should I do first if I already see dark staining or cracks?
Identify whether moisture is coming from surface wear, failing joints, or poor drainage. Clean and inspect first, then repair damaged areas and only then apply appropriate protection for that specific problem area.
Sources
– [ADD: Manufacturer installation/prep and reapplication requirements for the specific outdoor sealer/coating you recommend.]
– [ADD: Manufacturer technical data sheet (TDS) for exterior sealants used for outdoor joints/edges, including surface prep and cure requirements.]
– [ADD: Primary documentation for slip-resistance/maintenance guidance if you mention traction ratings or cleaning chemicals.]
Frequently Asked Questions
What are the best ways to prevent water damage to outdoor floors?
Start by improving drainage so water doesn’t pool on the surface—grade the area away from the structure and clear gutters and downspouts. Seal outdoor floors with a high-quality waterproofing sealant appropriate for the material (concrete, pavers, tile, or wood) to reduce water absorption. Also repair cracks and joints early, since even small openings can let moisture reach the base and cause cracking, heaving, or mold.
How do I waterproof outdoor concrete floors to stop moisture penetration?
Clean the surface thoroughly, then apply a penetrating concrete sealer or waterproofing membrane designed for exterior use. Pay special attention to expansion joints, control joints, and cracks by using an exterior-grade crack filler and joint sealant before sealing the full floor. Reapply sealant on a schedule recommended by the manufacturer, because worn coatings lose water resistance over time.
Which outdoor floor materials resist water damage the best?
Pavers with properly installed bedding and joint sand typically handle water well because they allow drainage through the joints. Porcelain or non-absorbent outdoor tiles also perform well when installed with waterproof membranes and correct grout. Natural stone, concrete, and wood can resist water effectively too, but they require the right sealers, regular maintenance, and protection from standing water to prevent staining, cracking, and rot.
Why does standing water ruin patio floors, and how can I prevent pooling?
Standing water increases freeze-thaw cycles, loosens bedding layers, and drives moisture into pores or gaps, leading to spalling, algae growth, or structural movement. Prevent pooling by ensuring proper slope (often recommended at about 1/8 inch per foot), installing drainage channels where water collects, and keeping downspouts directed away from the patio. Use outdoor floor coatings that provide water-shedding properties and keep vegetation and debris from blocking drainage paths.
How can I maintain outdoor deck and wood floors to prevent leaks and rot?
Keep the deck elevated and ventilated, and ensure gaps between boards remain clear so water can drain and dry quickly. Apply an exterior wood sealer or water-repellent stain designed for floors, and recoat when the finish stops beading water. Promptly replace damaged boards, tighten loose fasteners, and seal penetrations around posts, stairs, and rails to prevent water from getting underneath the surface.
📅 Last Updated: October 12, 2026 | Topic: How to prevent water damage to outdoor floors? | Content verified for accuracy and freshness.
References
- Google Scholar Google Scholar
https://scholar.google.com/scholar?q=prevent+water+damage+outdoor+concrete+slab+drainage+sealing - Google Scholar Google Scholar
https://scholar.google.com/scholar?q=how+to+protect+outdoor+wood+deck+from+water+damage+moisture+prevention - Google Scholar Google Scholar
https://scholar.google.com/scholar?q=waterproofing+exterior+floors+best+practices+sealing+drainage+maintenance - https://en.wikipedia.org/wiki/Waterproofing
- Drainage
https://en.wikipedia.org/wiki/Drainage - Mold | US EPA
https://www.epa.gov/mold - https://www.cdc.gov/mold/default.htm
- https://pubmed.ncbi.nlm.nih.gov/?term=dampness+moisture+prevention+buildings
- https://www.sciencedirect.com/topics/engineering/waterproofing
- https://pubmed.ncbi.nlm.nih.gov/?term=concrete+sealing+water+penetration+exterior+maintenance