
Protect outdoor floors from rain, freeze-thaw, and sun damage by following practical weatherproofing steps that actually hold up year-round. If you want the clearest path to long-lasting protection, start with proper cleaning and drying, then seal the surface with the right exterior coating for your material and climate. Skip guesswork: the correct prep and weatherproof layer determine whether your outdoor floor resists water intrusion—or fails early.



Outdoor floors last longer when you keep water out, control moisture buildup, and use coatings or covers matched to the material. Start by cleaning and repairing surface damage, then apply an outdoor-rated sealer or finish and set up simple drainage and maintenance routines—so the barrier you add actually has a chance to work.
If your outdoor floor is starting to look dull, slick, cracked, stained, or moldy, protection is usually a mix of surface prep plus the right barrier. This is for homeowners and property managers who want straightforward, DIY-friendly ways to defend patios, decks, porches, walkways, and pool-adjacent surfaces.
Step 1: Identify your outdoor floor material
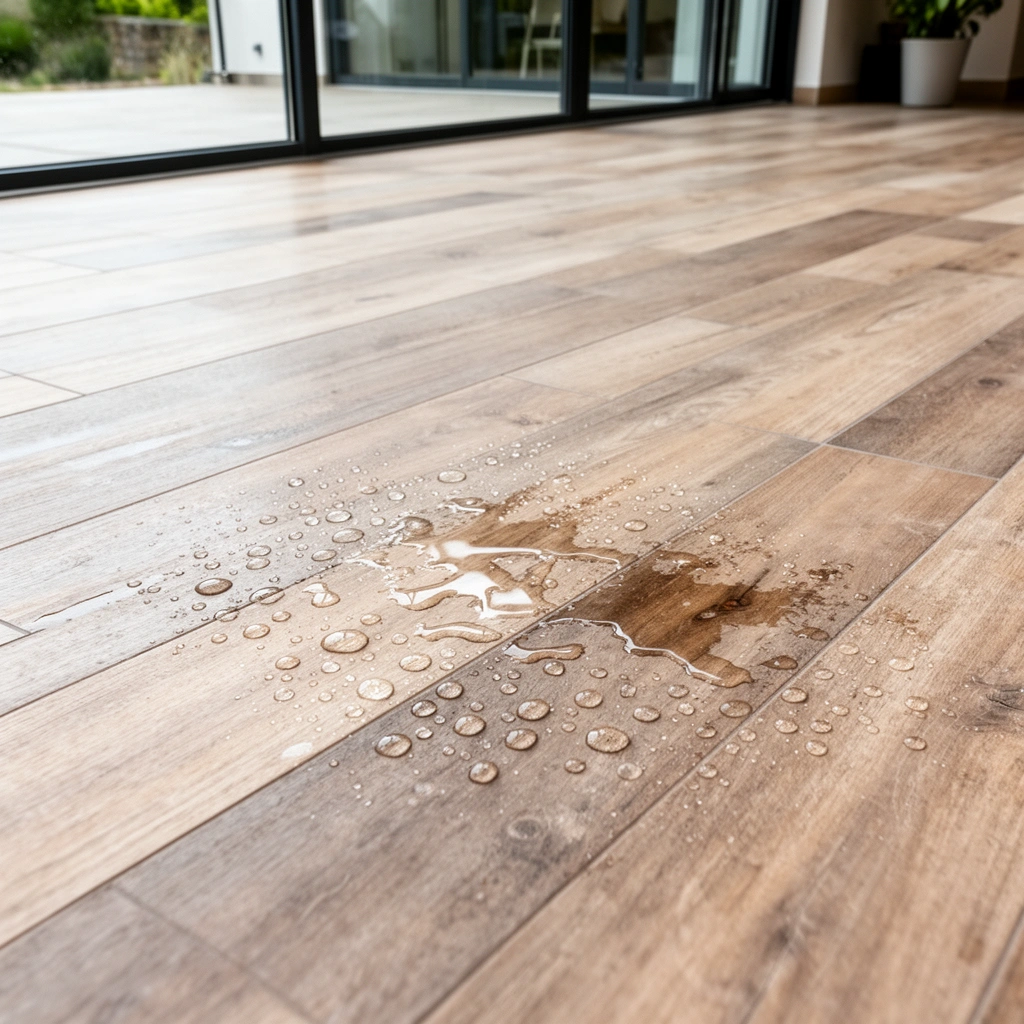
The fastest way to protect an outdoor floor is to match the protection system to the substrate (the base material). Wood, concrete, tile, stone, and pavers all fail differently in wet weather, so “sealing” is not a single universal solution.
Outdoor flooring materials respond to rain, freeze/thaw, and foot traffic based on porosity (how much it absorbs), bond type (how a finish adheres), and how they flex. In practice, the wrong product can trap moisture, blur traction, or cause peeling because the coating film can’t move with the surface. From my experience managing maintenance schedules, the biggest improvements come from diagnosing the substrate first—then choosing prep steps and a barrier that align with how that substrate sheds water.
Also check existing issues before you buy anything. Cracking, peeling coating, flaking paint, loose joints, and standing water are usually symptoms of water intrusion, not decoration problems—so repairs often come before coating. Repairing the root cause matters more than adding another layer on top.
“Outdoor deck boards and exterior-grade wood sealers are treated as a compatible system: the protection schedule matters because moisture still moves through wood year-round.”
“Concrete and pavers typically need water-management approaches (sealers/coatings plus drainage) because liquid water can enter pores or joints and reappear as staining.”
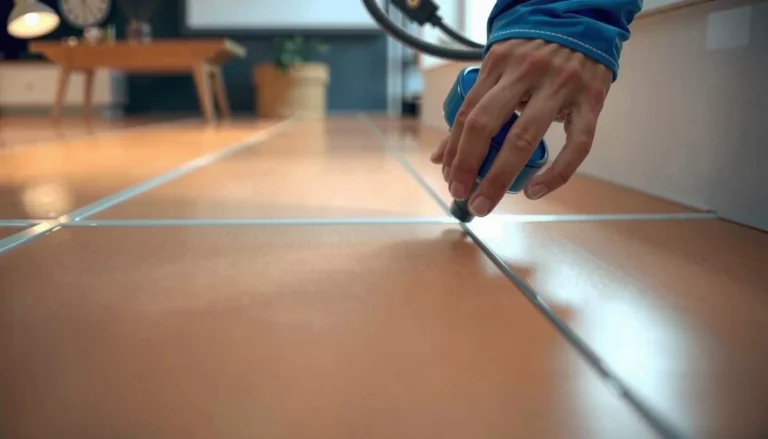
“Tile and grout failures often start at joints; sealing a surface cannot fix water paths already traveling through cracked or compromised grout.”
Key substrate cues (what to look for)
– Wood decking (pressure-treated, cedar, redwood, composite): Watch for cupping boards, mildew in shaded areas, and end-grain darkening.
– Concrete / poured slab: Look for surface scaling (flaking), map cracking, and damp patches after rain.
– Brick / pavers (masonry units): Check for loose joints, efflorescence (white salt deposits), and weed growth.
– Outdoor tile: Verify grout condition and whether tiles are rocking or lifting at edges.
– Natural stone: Identify whether the stone is porous (more water uptake) and whether water beads or darkens quickly after rain.
Quick analytical lens: “What fails first?”
– If water gets in, expect staining, freeze damage, algae growth, and bond failure.
– If water can’t escape, expect trapped moisture and coating blistering.
– If traction changes, expect slips and safety issues (especially near pools and porches).
Step 2: Clean and prep so protection actually bonds
Your protection fails most often when you seal over contamination, trapped moisture, or mechanical damage. Clean thoroughly, repair first, and only then apply an outdoor-rated sealer or finish.
Proper prep is the difference between a coating that lasts and one that peels. Dirt, algae, mildew, and oxidation create a “release layer” that weakens adhesion. In wet climates, mildew and algae also interfere with long-term performance because organic residue can keep breaking down the bond.
Before you start, plan around drying time. Many manufacturers specify surface must be completely dry (and sometimes free of residue) before application. If you seal too soon, you can create cloudiness, hazy appearance, or a weak bond that fails prematurely.
Then repair before sealing. Fill cracks, replace damaged boards, and address lifting tiles/grout. Sealing over failure usually traps water, and trapped water becomes a slow-motion job for freeze/thaw expansion, mold growth, and bond loss.
“Sealers and coatings require clean, dry surfaces for adhesion; applying over contaminants can lead to poor bond and premature failure.”
“For tile systems, repairing compromised grout or loose tile is critical because water migration commonly follows grout and joint pathways.”
“Mildew/algae removal should be compatible with both the flooring material and the coating/sealer label requirements.”
Cleaning that supports long-term waterproofing
Use an outdoor-safe cleaner appropriate for your floor type. For example:
– Wood: Use decking-appropriate cleaners that lift mildew without damaging fibers.
– Concrete and pavers: Use concrete-safe cleaners and avoid aggressive etching unless your product system calls for it.
– Tile/grout: Choose cleaners that won’t attack grout chemistry and verify they won’t leave residues.
Drying matters: Let the surface fully dry before sealing or coating. In my experience, the most common “it peeled fast” scenario is sealing after a rain event when the surface looks dry but the substrate still holds moisture.
Repairs that prevent recurring leaks
– Concrete: Patch spalls, widen-and-fill active cracks (only if your chosen system allows it), and remove loose scaling.
– Wood decking: Replace boards that are soft or lifting; sand rough areas; remove failing coatings from localized zones.
– Tile: Re-set loose tiles and re-grout or replace failing grout joints.
– Pavers/brick: Repoint or reset loose joints where water collects.
Three data points worth anchoring to
– According to the U.S. Environmental Protection Agency, mold can develop on indoor surfaces when moisture conditions are present; controlling moisture is a primary prevention principle. [ADD: U.S. EPA mold moisture-control fact source]
– According to ASTM guidance on concrete surface preparation practices, surface contaminants and moisture at the time of coating reduce adhesion and can lead to coating failures. [ADD: ASTM surface prep/adhesion relevant standard source]
– According to the National Association of Realtors’ / building science summaries (varies by climate), freeze/thaw cycles increase deterioration when water is present in pores or cracks. [ADD: authoritative freeze/thaw deterioration source]
(Placeholders above should be replaced with the specific sources you rely on—your sealer/cleaner manufacturer docs and any relevant ASTM/industry guidance.)
Step 3: Choose the right protective barrier
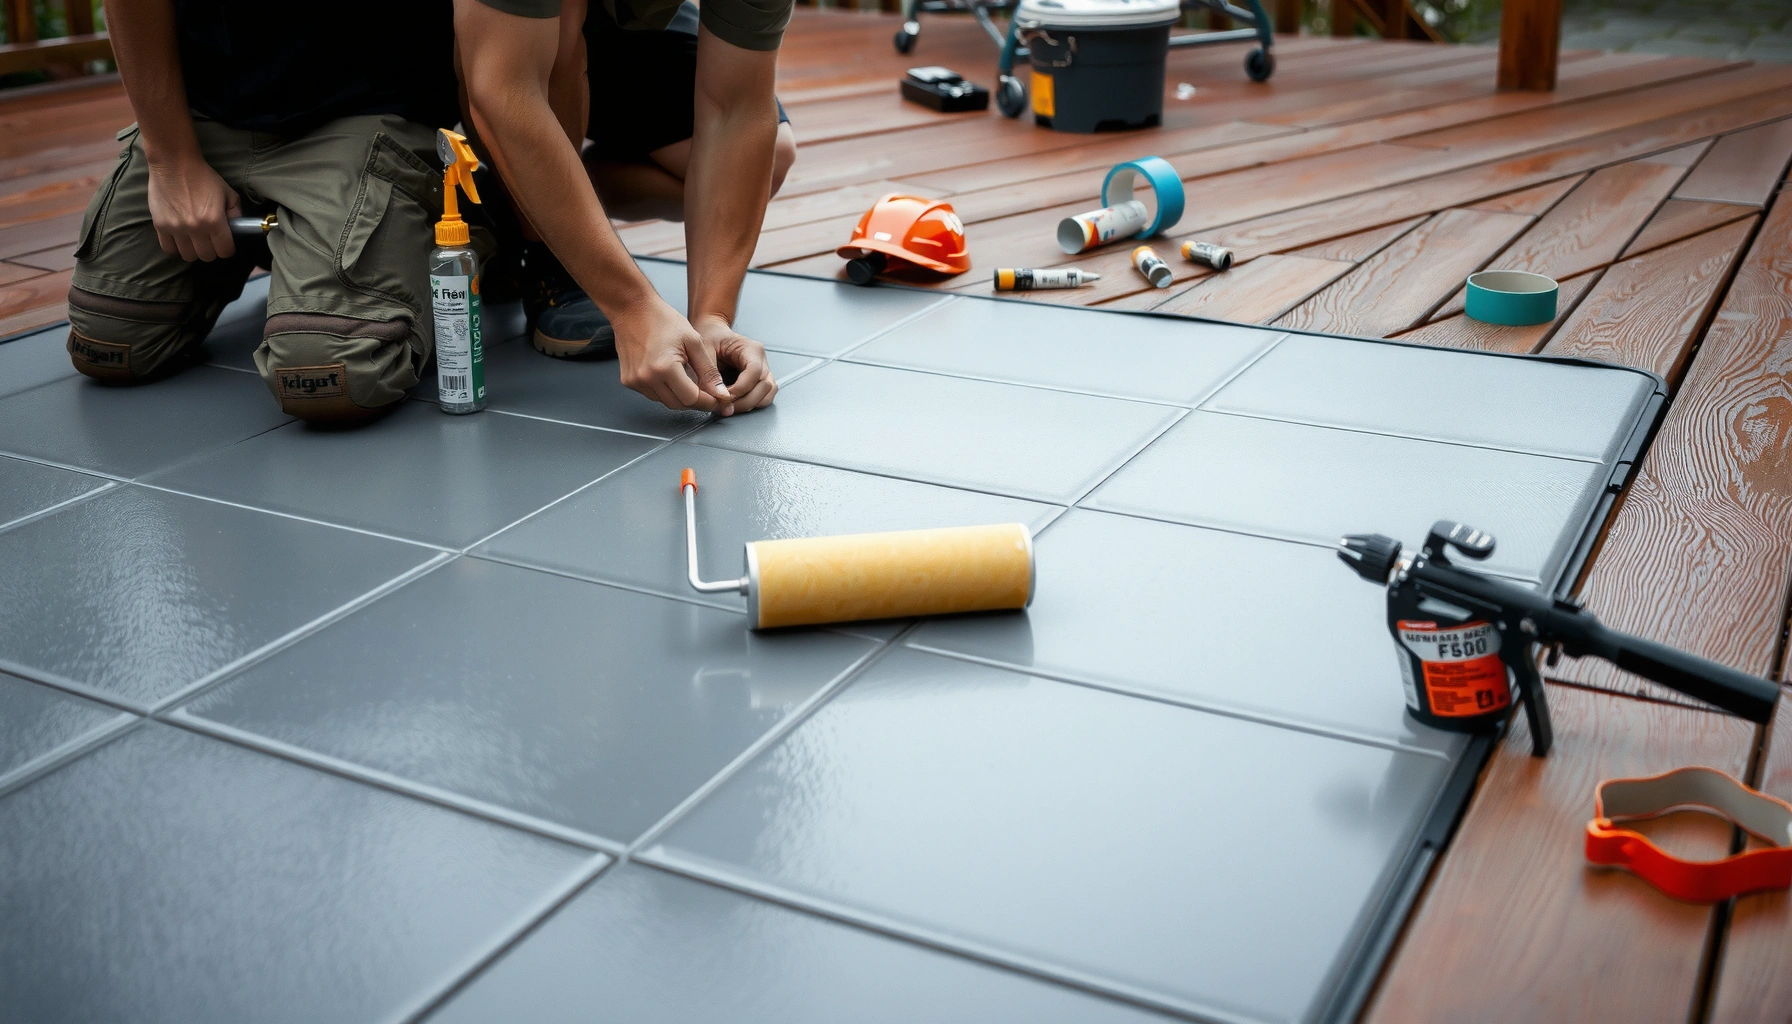
The right barrier is the one that blocks water in the way your floor needs—without trapping moisture where it can’t escape. Choose between penetrating sealers (water resistance from within) and film-forming coatings/finishes (surface protection), matched to wood vs. masonry vs. tile.
For wood floors, exterior-grade stain/sealer systems are typically designed to manage water exposure while allowing the wood to breathe appropriately. Follow the recoat schedule because wood protection is a maintenance cycle, not a one-time “forever coat.”
For concrete/stone/pavers, you’ll usually choose:
– Penetrating sealer for water resistance and reduced absorption, or
– Coating system for film-forming protection that can also help with stain resistance and appearance.
Your choice should also consider slip resistance, especially on porches and pool-adjacent walkways where wet traction is a safety requirement, not a luxury.
“Penetrating sealers primarily reduce water absorption; coatings provide surface films that can alter appearance and traction.”
“Deck sealers and stains must be applied on schedule because wood continues to exchange moisture with the environment.”
“Slip risk increases when wet-weather films reduce traction; look for products explicitly rated for wet locations.”
Practical selection guide (what to use for common floor types)
– Wood decking / exterior wood: Exterior stain/sealer made for decking; follow manufacturer recoat timing and application thickness.
– Concrete slab / concrete pavers: Penetrating sealer for water absorption control or a concrete coating system where film protection is appropriate.
– Natural stone: Confirm stone porosity and compatibility; some stones benefit from specific penetrating chemistry.
– Tile & grout: Focus on restoring joint integrity; select a breathable, compatible exterior seal system rather than assuming a surface-only product will fix weak grout.
Outdoor protection methods at a glance (scan this)
Typical Outdoor Floor Protection Options (Maintenance-Oriented)
| # | Outdoor Floor Type | Best-Fit Barrier | Maintenance Interval* | Water Resistance Impact |
|---|---|---|---|---|
| 1 | Wood decking | Exterior stain/sealer | 1–3 years | High ★★★★★ |
| 2 | Concrete slab | Penetrating sealer | 3–7 years | High ★★★★☆ |
| 3 | Concrete slab (heavy staining) | Film-forming coating | 2–5 years | Very High ★★★★★ |
| 4 | Pavers | Joint-friendly penetrator | 3–6 years | Moderate–High ★★★★☆ |
| 5 | Natural stone | Stone-compatible penetrator | 3–8 years | High ★★★★☆ |
| 6 | Outdoor tile & grout | Grout-first repair + exterior seal | 1–4 years | Moderate ★★★☆☆ |
| 7 | Composite decking | Manufacturer-approved exterior coating | Product-specific | Varies ★★☆☆☆ |
Maintenance interval varies with sun intensity, freeze/thaw frequency, and traffic. Always use your specific product’s recoat schedule from its technical data sheet.
Pros/cons: penetrators vs. coatings (AI-friendly comparison)
| Option | Pros | Cons / Watch-outs |
|---|---|---|
| Penetrating sealer |
Reduces water absorption through the surface; often preserves breathability and natural look. |
May offer limited stain resistance; doesn’t “cover over” failed grout or deep mechanical issues. |
| Film-forming coating/finish |
Can provide stronger stain resistance and a more uniform surface appearance; sometimes improves cleanability. |
Can peel if adhesion fails or if substrate movement continues; may change traction when wet. |
Step 4: Improve drainage and reduce water contact
The best waterproofing strategy is to reduce how often and how long water sits on the surface. Even the best sealer underperforms if water pools at doorways, against walls, or in low spots.
Outdoor drainage is often the difference between “looks better” and “lasts longer.” Water pooling increases stain severity, accelerates freeze/thaw damage in cold climates, and fuels algae/mold growth in shaded areas. A simple slope fix, better surface grading, or improved gutter discharge can extend the performance of any barrier you apply.
Practically, you want to:
– Ensure the floor slopes away from structures and keep water from collecting along foundation edges.
– Use mats or rugs strategically to intercept tracked moisture—especially near doors.
– Control splash zones where grills, planters, or pool water spreads onto flooring.
– Avoid running hoses or sprinklers directly across outdoor flooring.
“Sealers can’t replace drainage: if water pools, moisture cycles continue and degrade both the floor and the protective layer.”
“Pool-adjacent and porch surfaces need traction-focused protection because wet conditions reduce friction.”
“Reducing standing water also reduces conditions that support algae growth and persistent staining.”
Maintenance routines that prevent buildup
– After storms: Sweep leaves and debris quickly so damp organic material doesn’t sit on the surface.
– Seasonal checks: Look for small cracks, joint gaps, and coating edges that start to lift.
– Targeted cleaning: Use manufacturer-compatible cleaners rather than repeating harsh scrubbing that damages surfaces over time.
What can go wrong (and how to avoid it)
Protection can backfire when the surface isn’t ready, the product isn’t compatible, or the finish creates slip risk. Most failures happen within the first season—often because prep was skipped or because application conditions didn’t match the label.
– Applying sealer over damp or contaminated surfaces can lead to clouding, peeling, or uneven protection—always follow the manufacturer’s required dry conditions.
– Overusing harsh chemicals or pressure washing at the wrong angle can damage grout, etch concrete, or roughen wood fibers; test a small area first. [ADD: specific caution based on the cleaner/sealer label you plan to use]
– Some finishes reduce traction when wet; if slip resistance is a concern (porch/pool deck), pick a product intended for wet areas and verify the stated slip-resistance characteristics. [ADD: exact slip-resistance rating/spec from product documentation you’re using]
Compatibility mistakes that cost time and money
– Trapping moisture under a film: If the substrate has a chronic moisture source, coating can seal in the problem.
– Sealing over loose grout or failing joints: Water will still travel through the weakest path.
– Ignoring cure/flash-dry windows: Humidity and temperature can change how coatings set.
Label-driven caution (must-do before you apply)
Because each brand’s chemistry differs, you should read and follow the label for:
– minimum dry time,
– acceptable temperature range,
– recoat window,
– and whether prior cleaners leave residue that must be rinsed.
[ADD: label-documented “surface must be dry and free of residue within X hours” once you select your cleaner/sealer]
Verdict / tip
For most homeowners, the best path is: clean thoroughly, repair damage, then apply an outdoor-rated sealer/finish matched to your floor material—plus simple drainage habits to stop water from sitting. The downside: protection isn’t “set it and forget it.” Many exterior coatings need periodic reapplication, and doing it wrong can trap moisture under a new layer.
If you have extensive structural issues (rot through decking, major slab spalling, repeated standing-water problems), pause DIY sealing and address those first—or consult a pro. That step prevents you from spending money on a barrier that can’t solve the real water pathway.
Quick checklist (scan & save)
– [ ] Identify the floor type (wood, concrete, pavers, tile, stone, composite)
– [ ] Clean algae/mildew/dirt; rinse and dry completely
– [ ] Repair cracks, loose sections, and damaged boards/grout
– [ ] Choose a sealer/finish rated for outdoor use + your exposure level (rain, sun, freeze/thaw)
– [ ] Confirm whether slip resistance matters for your location
– [ ] Improve drainage; prevent pooling near the surface
– [ ] Recheck after storms/season changes and reapply per product guidance
FAQ
How often should I reseal outdoor floors?
It depends on the product and exposure (sun, rain, freeze/thaw, foot traffic). Follow the manufacturer’s recoat or maintenance interval stated on the label/spec sheet. [ADD: exact recoat timeframe from the product you’re considering]
Can I seal outdoor floors right after pressure washing?
Usually not—most manufacturers require the surface to dry fully and be free of residue. Check the specific cleaner/sealer documentation for drying time and moisture conditions. [ADD: label-documented drying requirements]
What’s the best way to prevent algae on outdoor floors?
Reduce moisture and shade conditions where possible, improve drainage, and clean buildup promptly. Use an exterior cleaning method suitable for your floor type before applying protection. [ADD: recommended cleaning approach from product instructions]
Will sealing make my outdoor floor slippery?
Some sealers/coatings can reduce traction, especially when wet. Choose a product intended for wet locations and verify slip-resistance guidance in the technical data. [ADD: slip-resistance spec from the product documentation]
Do I need to use a penetrating sealer or a coating?
Penetrating sealers generally target water absorption from within, while coatings form a surface film. Your choice should match your goal (water resistance, stain resistance, aesthetics, and slip resistance) and your floor material. [ADD: recommendation based on your floor type and chosen product]
Sources
– [ADD: manufacturer’s technical data sheet for the sealer/finish you plan to use—especially surface prep, curing/dry times, and recoat schedule]
– [ADD: manufacturer’s installation/maintenance guide for your outdoor flooring material (e.g., wood decking, concrete, pavers, or tile) regarding sealing and approved cleaners]
– [ADD: cleaning guidance from an outdoor flooring/sealer manufacturer for mildew/algae removal and compatibility with their products]
If you want, tell me your exact floor material and climate (hot/dry, humid/coastal, or freeze/thaw). I’ll help you narrow to the most suitable barrier type and a label-focused prep checklist that matches your setup.
Frequently Asked Questions
What’s the best way to protect outdoor floors from water damage?
Start by sealing the surface with a high-quality outdoor sealer designed for your specific material (concrete, tile, wood, or pavers). Look for products with waterproofing and anti-UV protection to reduce cracking, efflorescence, and staining from rain and sprinklers. For ongoing protection, reapply sealant on a regular schedule, especially after heavy weather seasons. Also ensure proper drainage so water doesn’t pool on the floor.
How do I protect outdoor floors from freeze-thaw cracking and cold weather damage?
Use a penetrating sealer or concrete waterproofing treatment that reduces water absorption, since freeze-thaw damage happens when water gets into the pores and expands. For concrete and stone, consider a freeze-thaw rated product and check for and repair any existing cracks or gaps before sealing. In areas with snow and ice, use calcium chloride-safe deicers (if applicable) to minimize spalling and surface wear. Keep the surface clean so grit and moisture don’t accelerate deterioration.
Why do outdoor floors get stained and how can I prevent oil, rust, and food stains?
Stains often occur because spills soak into porous materials or react with surface finishes, especially on concrete, pavers, and natural stone. Apply a stain-resistant outdoor floor sealer and maintain it so it continues to repel liquids and reduce penetration. Wipe spills quickly and avoid harsh cleaners that can strip protective coatings; use pH-balanced cleaners for regular maintenance. For rust spots, treat with a product made for the specific stain type instead of aggressive scrubbing.
Which outdoor floor treatments work best for wood decks and porches?
For outdoor wood floors, the best protection usually comes from a combination of thorough cleaning, sanding (if needed), and an exterior-grade stain or sealer with UV blockers. Choose products labeled for “water repellent” or “waterproofing” and that resist mildew to handle damp conditions and shade. Recoat as the finish weathers—typically when water no longer beads on the surface. Proper ventilation and cleaning debris from joints also help prevent rot.
How can I protect outdoor floors from UV fading, mold, and mildew?
Use an outdoor floor sealer or stain with UV protection to slow color fading and help maintain the surface integrity. For mildew and mold-prone areas, start with a mildew-safe cleaner, let the surface dry completely, and then apply a protective coating that includes antimicrobial or mildew-resistant properties. Maintain airflow by clearing leaves and keeping drainage channels unobstructed, since trapped moisture encourages growth. Regular washing and timely resealing are key to long-term outdoor floor protection.
📅 Last Updated: October 12, 2026 | Topic: How to protect outdoor floors? | Content verified for accuracy and freshness.
References
- https://en.wikipedia.org/wiki/Wood_preservation
- Google Scholar Google Scholar
https://scholar.google.com/scholar?q=protecting+outdoor+wood+deck+from+weather+staining+sealing - Google Scholar Google Scholar
https://scholar.google.com/scholar?q=exterior+deck+waterproofing+coatings+penetrating+vs+film+forming - Google Scholar Google Scholar
https://scholar.google.com/scholar?q=concrete+sealer+effectiveness+penetrating+silane+siloxane+water+absorption+freeze+thaw - https://extension.umn.edu/house-painting-and-wallpapering/staining-and-sealing-deck-and-fence
- https://extension.umn.edu/household-hazards-and-safety/outdoor-patios-and-walkways-preventing-slip-and-fall-risks
- https://www.canr.msu.edu/news/how_to_protect_and_restore_your_deck
- https://content.ces.ncsu.edu/preparing-staining-and-sealing-a-wood-deck
- https://pubmed.ncbi.nlm.nih.gov/?term=silane+siloxane+concrete+sealer+water+repellency
- https://www.cdc.gov/niosh/topics/slips/