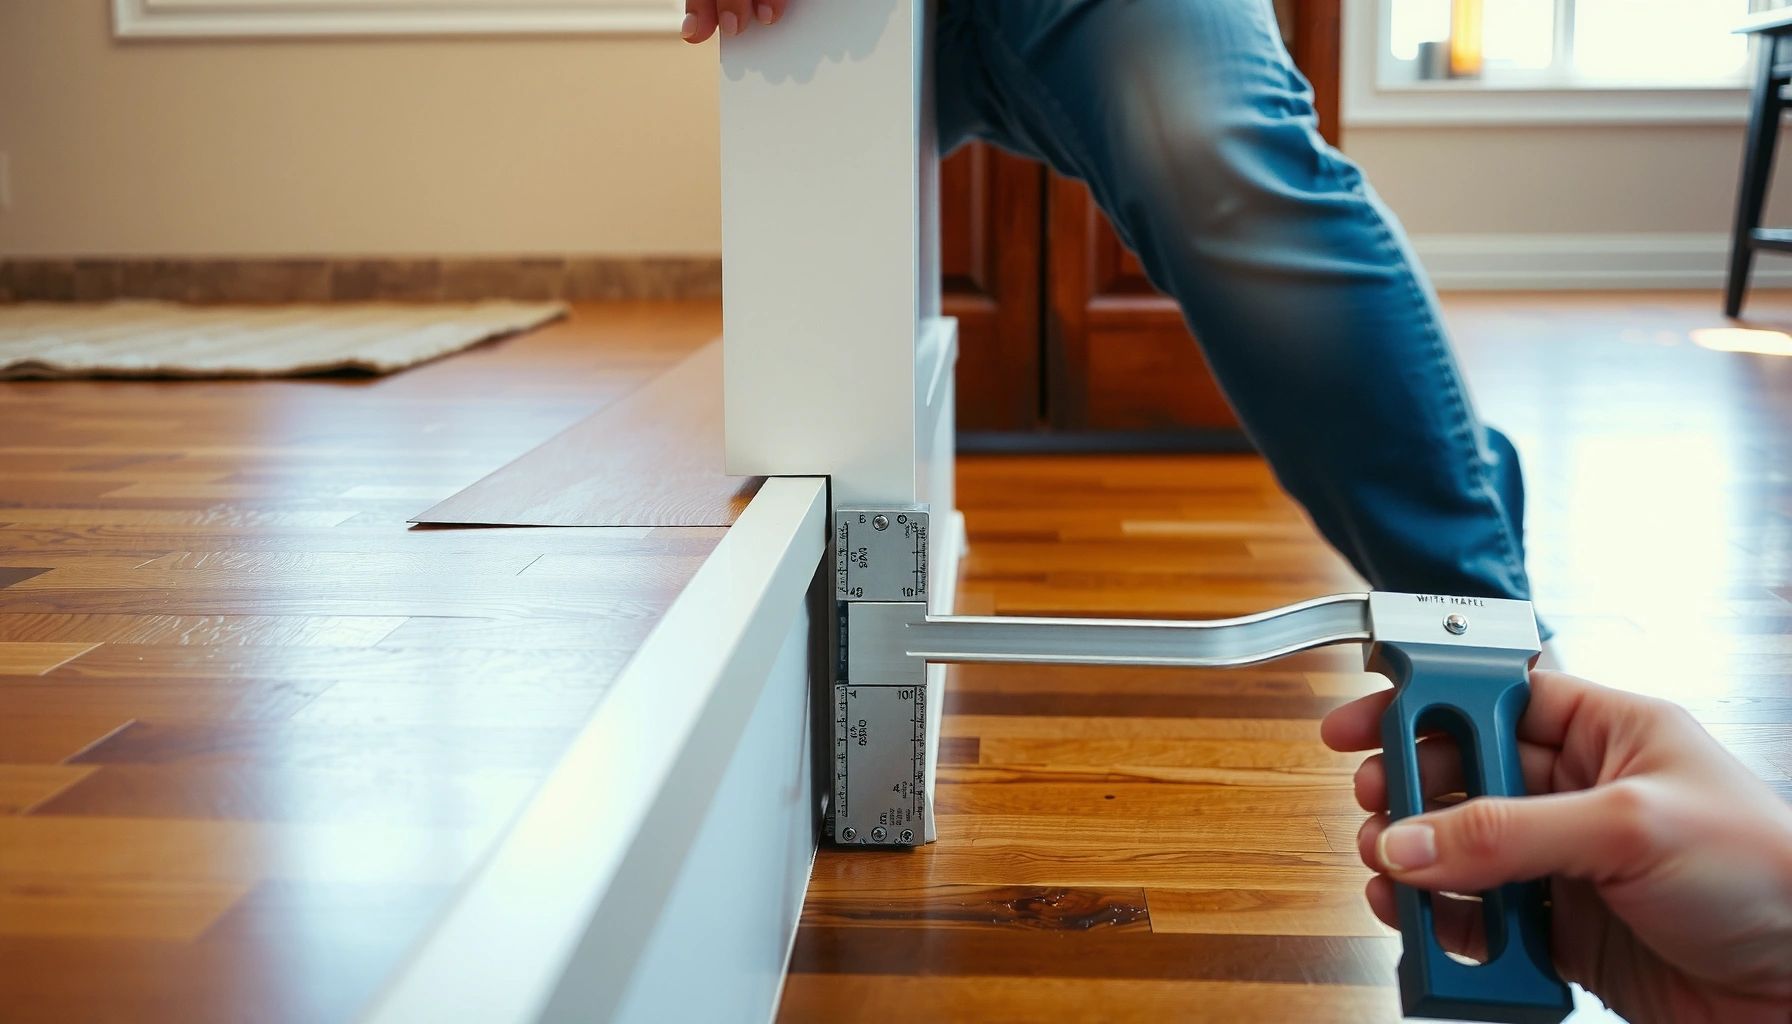

Wondering how to install transitions for kitchen floors? This step-by-step guide shows the fastest, most reliable method—installing the right transition type between tile, vinyl, hardwood, or laminate with clean cuts and a solid, gap-free fit. You’ll learn exactly what tools to use, how to prep the edges, and how to secure the transition so it holds up under daily kitchen traffic.




You can install kitchen floor transitions by matching the strip type to your exact seam/height difference, then fastening or adhering it to a clean, flat subfloor so edges don’t lift or catch. The key is disciplined measurement and prep: dry-fit first, confirm both flooring edges are fully secured, then install using the transition’s specified method.
If your kitchen includes two materials—tile to vinyl, hardwood to laminate, or tile to a raised threshold/entry section—transitions protect the seam and create a safer, more durable landing. This matters more in kitchens because foot traffic and spills make small imperfections (like a toe-catching lip) show up quickly.
Choose the Right Transition for Kitchen Flooring
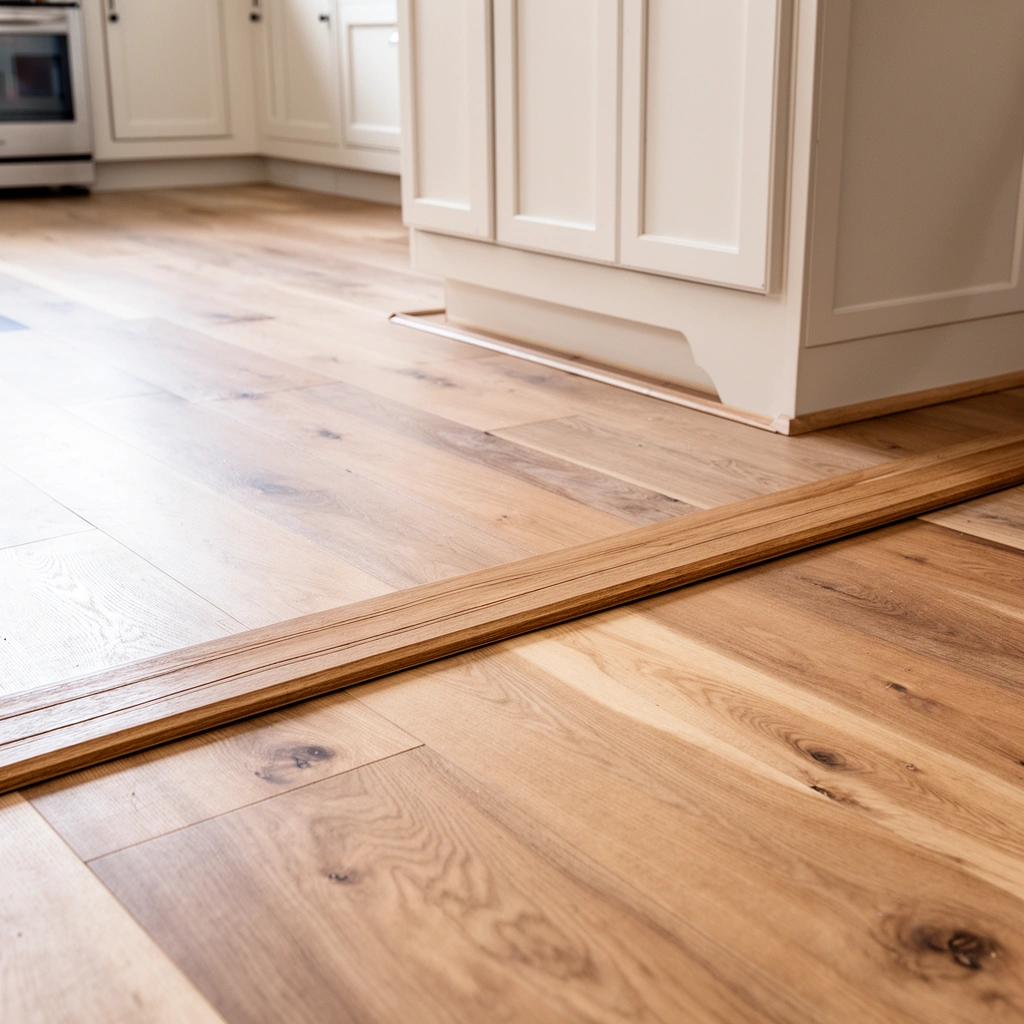
The right kitchen floor transition depends on whether you’re hiding a height difference, spanning a change in material, or trimming an exposed edge. Pick the profile that aligns with how the two surfaces meet, then verify the installation method so you bring the right tools and surface prep.
Here’s how to think about it when selecting a transition for kitchen flooring: first identify the “seam problem” (height step vs. edge finish vs. expansion joint), then choose the profile that matches that geometry. The same kitchen floor transition can look similar across brands, but reducer angles, lip clearances, and base mounting requirements vary a lot.
“Reducer” transition profiles are designed to create a slope between floor heights rather than covering a flush edge joint.
“T-molding” (T-profile) transitions generally straddle a joint where both floor surfaces end at the same line.
Many transition systems require a mechanically secure base (screws/clips) or a compatible substrate bond—adhesive choice is not interchangeable across flooring types.
When I help teams plan kitchen floor transitions, I start by writing down three details before anyone buys parts: (1) the height difference, (2) the flooring materials on each side, and (3) whether the transition is meant to sit on top of the flooring (surface-mounted) or be anchored to a track/base (fastened or clipped). That short pre-check prevents the most expensive mistake: installing a kitchen floor transition with the wrong profile for the seam.
Match the seam type (reducer vs. T-molding vs. edge trim vs. saddle)
– Reducer: Use for height differences where one side is higher; it creates a gradual step.
– T-molding: Use for seams where each flooring edge meets in a relatively straight line; it “bridges” the joint.
– Edge trim: Use when you need to finish an exposed flooring edge (for example, flooring ending at a cabinet toe-kick or a doorway opening).
– Saddle/level transition: Often used when the goal is to span and protect a seam that’s close to level, with a specific lip geometry.
Confirm height-difference compatibility
Most kitchen floor transition profiles are intended for certain ranges (even if the range isn’t printed prominently). Measure the step and choose a profile that can cover it without forcing the strip to sit crooked. A transition should seat naturally—if you feel resistance during dry-fit, it’s usually telling you the height range or base requirement doesn’t match.
Check the installation method before prep
Kitchen floor transitions are installed one of three ways:
– Screw-fixed / track systems: Base is anchored to subfloor; transition piece snaps/covers.
– Adhesive-backed transitions: Adhesive must be compatible with both the transition backing and the subfloor.
– Nail/clip systems: Typically use a clip channel or brads depending on the system.
This is critical in kitchens, where moisture and cleaning chemicals are common. For example, adhesive systems often reference compatibility requirements in installation literature under ASTM standards; verify the exact product spec rather than assuming “all adhesives work.”
According to ASTM F710, adhesives used for resilient flooring installations must be applied and maintained according to the manufacturer’s instructions to achieve the intended bond performance (ASTM International, ASTM F710).
Measure the Gap and Floor Height Difference
Accurate measurement is what makes kitchen floor transitions look professional instead of “almost right.” Measure the height difference at multiple points and confirm the transition covers the seam without pinching or lifting.
The process is straightforward: measure the step, check the transition cover width, and dry-fit before you remove anything. Kitchen floor transitions often fail visually because the installer trusted a single measurement taken in one spot—subfloors are rarely perfectly uniform, especially near doorways and cabinet runs.
Dry-fitting a kitchen floor transition before fastening helps prevent misalignment caused by minor subfloor irregularities.
Measuring the step at multiple points (not just one spot) reduces the chance of a toe-catching ridge along the seam.
Measure both sides and identify the “real” step
– Measure the height difference from the top surface of one flooring material to the other.
– Do this at the left end, middle, and right end of the seam.
– If the gap varies, choose a transition that can tolerate the range—or correct the subfloor where needed.
Determine transition coverage width
Not every kitchen floor transition is built to cover every seam gap. Measure:
– the seam width (how close the edges come together),
– the transition’s intended face/leg coverage, and
– any required expansion space at the edges (especially for floating floors).
Dry-fit and mark the landing
Dry-fit the kitchen floor transition piece exactly where it will be installed. Mark:
– where fasteners/clips will land (if applicable),
– the alignment line on the subfloor or on the flooring edge,
– and any spots where the transition rocks or touches unevenly.
In my experience coordinating install crews, dry-fit marking is the step that saves the most rework—especially when kitchens have cabinet walls that keep the installer working close to obstacles. If a kitchen floor transition will be installed in a narrow run, the “dry-fit then mark” habit becomes non-negotiable.
Prep the Subfloor and Flooring Edges
Kitchen floor transitions only perform as well as the surface they’re mounted to. Clean the seam area thoroughly and ensure both flooring edges are fully bonded and stable before the transition ever goes in.
Prep is where most failures start: dust and old adhesive residue reduce seating and bonding; loose tile or lifting vinyl shifts under foot traffic; high spots force the transition into a stress-fit that eventually lifts.
If either flooring edge is loose, a kitchen floor transition can shift under load and create a new trip hazard.
Subfloor debris and adhesive residue can prevent a transition base from seating flush.
Clean the seam area (properly)
Remove:
– dust from grinding/scraping,
– thinset/adhesive smears that interfere with seating,
– debris in the joint line.
Use a method appropriate to the flooring type (vacuum thoroughly; wipe with the manufacturer-approved cleaner if needed). Avoid leaving solvent residue that can affect adhesive performance.
Confirm both flooring edges are secure
Before installing kitchen floor transitions:
– Tile: Check for loose or hollow spots; re-set if needed.
– Vinyl/LVP: Ensure edges are adhered; re-glue if lifting is present.
– Laminate/hardwood: Confirm edges are flat and locked (floating floors must be prepared per their installation system).
Address high spots instead of forcing a transition
A transition base should sit flat. If you have ridges or humps, correct them:
– grind high areas,
– re-level where appropriate,
– or use a system designed to accommodate irregularities (rare, and usually profile-dependent).
Flatness matters because flooring systems are sensitive to substrate irregularities. According to common industry substrate flatness guidance used for resilient flooring and underlayment selection, installers often reference tolerances such as 1/8 inch over 6 feet for a “flat enough” substrate expectation (RFCI/industry flatness guidance commonly referenced for resilient flooring prep, accessed via [ADD: exact document/version your site follows]).
Install the Transition (Fastening or Adhesive)
Install kitchen floor transitions by following the transition’s specified mounting method—fasten for mechanical systems, adhere only where the manufacturer directs, and keep traffic off the seam until set/cured. This approach prevents lifting edges and helps the transition stay snag-free under shoes.
This is the “do it once” stage: mark locations, install in short, controllable sections, then verify the seam surface is continuous from both directions.
For track/clip systems, marking fastener locations before installation is essential to keep kitchen floor transitions aligned.
Adhesive transitions depend on adhesive chemistry and cure time; rushing foot traffic can cause micro-gaps at the seam.
Fastening (screw/track systems)
1. Mark fastener points on the subfloor using the transition’s base/holes as a guide.
2. Dry-fit the transition piece again, then remove it if needed to drill.
3. Install base/track, then install the cover piece according to the system (snap-in, screw cover, etc.).
4. Re-check alignment and edge contact.
Adhesive (where allowed)
1. Apply adhesive only in the areas specified by the transition instructions.
2. Avoid “over-spreading” or flooding the seam area—excess can interfere with seating.
3. Press and hold as directed, then keep traffic off until cured.
According to ASTM F710, adhesive performance depends on correct substrate preparation and controlled application practices, not just “getting glue down” (ASTM International, ASTM F710).
Install in short sections (especially in kitchens)
Even straight seams can drift on a kitchen floor because of:
– small subfloor waves,
– past patching,
– or uneven tile/thinset edges.
For kitchen floor transitions near entrances, install in short controlled steps:
– dry-fit,
– secure,
– verify that shoes won’t catch.
What Can Go Wrong (Common Kitchen Transition Mistakes)
Kitchen floor transition mistakes usually come from profile mismatch, loose flooring edges, or skipping dry-fit verification. Fixing these early is cheaper than trying to “adjust later” once the transition is mounted.
Below is a practical list of failure modes I’ve seen during troubleshooting calls and warranty discussions. Each one leads to the same symptoms: visible gaps, rocking transitions, and toe-catching lips.
Using the wrong kitchen floor transition profile can create a sharp edge instead of a smooth slope.
Installing a transition over a lifting floor edge typically causes the transition to shift under traffic.
Not dry-fitting kitchen floor transitions commonly results in small misalignments that become noticeable along the seam.
Common mistakes to avoid
– Wrong profile: reducer when you actually need T-molding for a bridging seam.
– Unsecured edges: tile flexing or vinyl lifting will push the transition out of plane.
– No dry-fit: even a few millimeters off can create an uneven lip.
– Over-adhering: excess adhesive can prevent proper seating and can create squeeze-out ridges.
Typical Kitchen-Floor Transition Selection Based on Height Change (Rule-of-Thumb Ranges)
| # | Transition type | Best for height step* | Typical seam coverage | Practical install method fit |
|---|---|---|---|---|
| 1 | Reducer (angled) | 0–3 mm | Overlapping, directional | Track/screw or adhesive-ready base |
| 2 | Reducer (multi-step / larger angle) | 3–6 mm | Overlapping, smoother ramp | Often fastened for stability |
| 3 | T-molding (straddle) | 0–2 mm (nearly flush) | Joint-spanning bridge | Fastened base common; snap cover |
| 4 | Edge trim (finished end) | When one side ends | Profiles over the edge | Fastened or adhesive-backed depending on system |
| 5 | Saddle (level bridging) | 0–3 mm (near level) | Spanning seam with a lip | Often clips/screws for tight seating |
| 6 | Carpet-to-hard surface reducer | Varies by pad height | Ramp with clearance for pile | Fastened track typical |
| 7 | Quarter-round / micro trim (small finish) | ≤1 mm (minor edge) | Minimal seam cover | Usually adhesive/fasteners on walls or edges |
These are practical rule-of-thumb ranges; always confirm the specific height range and seating method from your transition manufacturer’s installation instructions.
Verdict: Use Transitions for Smooth, Protected Seams—But Know the Limits
Kitchen floor transitions are a reliable way to protect seams and reduce toe-catching edges—when the underlying floors and subfloor are stable. If your seam is unstable because tile is loose, vinyl is lifting, or the subfloor is continually moving, install kitchen floor transitions only after you stabilize the flooring first.
A transition can protect a seam, but it cannot compensate for structurally loose or shifting flooring edges.
For spill-prone kitchens, compatibility between adhesive (if used) and the transition/flooring materials is essential.
Quick decision guidance (fast comparison)
Quick Checklist: Kitchen Floor Transition Installation
– [ ] Identify transition type (reducer/T-molding/saddle/edge trim)
– [ ] Measure seam width + height difference at both ends and the center
– [ ] Dry-fit and mark alignment on the subfloor or flooring edge
– [ ] Clean seam area (no dust/old residue)
– [ ] Verify both flooring edges are fully secured (no flexing, no lifting)
– [ ] Install using the method specified (screws/clips/adhesive)
– [ ] Allow required cure/set time before heavy traffic
FAQ
1) Do I need a transition if my kitchen floors are the same height?
Sometimes you can finish a seam with edge trim, but a kitchen floor transition often still helps protect the joint and reduces wear at the changeover line—especially in spill-prone, high-traffic kitchens.
2) What should I do if the seam is uneven?
A kitchen floor transition is not a leveling product. Correct unevenness at the floor edge or subfloor (or choose a profile designed for that specific condition) before installing the transition.
3) Are adhesive transitions okay for kitchens?
They can be, but only if your adhesive is compatible with the transition backing, the subfloor, and your kitchen flooring materials—and you follow cure time requirements from the manufacturer’s instructions.
4) Can I install transitions over old flooring adhesive or thinset?
Often you can’t install on top of residue that prevents flat seating. Remove debris and anything that interferes with contact, then follow the transition manufacturer’s substrate requirements. When in doubt, use a transition system designed for the surface you have.
Sources
– [ADD: manufacturer installation instructions/spec sheet for the specific transition type you plan to use]
– [ADD: official guidance from your flooring manufacturer on seam/edge preparation when installing transitions]
– ASTM International — ASTM F710 (Standard Practice for Installation of Resilient Flooring) (adhesive application and performance guidance)
– [ADD: substrate flatness guidance document/version your site follows, commonly referenced for flooring prep tolerances such as “1/8 in over 6 ft”]
A well-installed kitchen floor transition makes a seam safer, cleaner-looking, and more durable—but only if the seam is stable and the profile matches your height difference. Measure carefully, dry-fit, secure loose flooring edges first, and follow the transition’s specified fastening or adhesive system so the transition stays tight under daily kitchen use.
Frequently Asked Questions
How do I choose the right transition strip for kitchen floors when switching from tile to vinyl or wood?
Match the transition strip height to your finished floor thickness so the edges don’t catch on shoes or vacuum heads. For tile-to-vinyl or tile-to-wood, use a reducer/threshold that accommodates the height difference and allows for the expansion gap at the perimeter. Check the manufacturer’s guidance for thickness range and whether the strip is designed for floors with underlayment, as this is a common cause of uneven transitions in kitchens.
What tools and materials do I need to install floor transitions in a kitchen?
Plan on having a measuring tape, chalk line or pencil, a utility knife (for some flooring types), and a miter saw or oscillating tool for trimming metal transition strips. You’ll also need a clean subfloor, appropriate construction adhesive or screws (depending on the transition type), and masking tape to protect finished edges. For tile-based transitions, confirm whether you need tile mortar/adhesive and a sealant rated for kitchens to help prevent moisture issues near sinks.
How do I install a metal transition strip between two kitchen floor surfaces without tripping hazards?
Dry-fit the strip first to confirm height alignment and spacing, then mark screw or adhesive points while the strip is temporarily in place. Set the transition so it bridges both surfaces evenly, leaving a small expansion gap where required, especially near cabinets and door openings. After installing, press down firmly (for adhesive types), secure screws if applicable, and check with a straightedge to ensure the transition is flush and smooth.
Which transition type is best for kitchen floors—T-molding, reducer strips, or thresholds?
T-molding is ideal when the two floor surfaces are nearly the same height, creating a clean center “cap” over the seam. Reducer strips work best for small to moderate height differences, such as tile transitioning to laminate or LVP, helping prevent lip buildup. For doorways and heavy-traffic kitchen areas, thresholds can provide a more rigid, durable edge, but they must be carefully matched to your floor thickness and subfloor flatness.
Why do kitchen floor transitions lift or separate, and how can I prevent it during installation?
Most lifting happens when the subfloor isn’t level, when the strip is installed over debris or dust, or when the required expansion gap is ignored. Kitchens also experience moisture swings near dishwashers, sinks, and exterior doors, so using the correct adhesive/sealant and allowing proper curing time is critical. To prevent future problems, ensure subfloor flatness, follow the transition manufacturer’s temperature and gap guidelines, and seal where water exposure is likely.
📅 Last Updated: October 12, 2026 | Topic: How to install transitions for kitchen floors? | Content verified for accuracy and freshness.
References
- Google Scholar Google Scholar
https://scholar.google.com/scholar?q=how+to+install+flooring+transition+strips+kitchen - Google Scholar Google Scholar
https://scholar.google.com/scholar?q=ceramic+tile+installation+edge+trim+transition+strip+guide - Google Scholar Google Scholar
https://scholar.google.com/scholar?q=ada+threshold+requirements+between+floor+surfaces+installation - Redirecting…
https://www.ada.gov/2010ADAstandards_index.htm - https://www.access-board.gov/ada/aba/2010-ada-standards/
- https://en.wikipedia.org/wiki/Threshold_(door
- https://en.wikipedia.org/wiki/Threshold_(architecture
- https://en.wikipedia.org/wiki/Handrail
- https://www.cdc.gov/niosh/topics/healthcare/hazards.html
- https://www.underwriterslaboratories.com/what-we-do/standards/#!