
Got odors from kitchen floors? The fastest, most reliable fix is to clean the source with an enzyme-based cleaner followed by a thorough rinse and dry. If the smell lingers after spills or grease, add a targeted deodorizer (baking soda or activated charcoal) to pull remaining odor out of the pores. You’ll know it’s working when the smell stops returning within 24 hours.




Odors on kitchen floors usually come from grease film, dirty grout, or moisture trapped under residue—so start by deep-cleaning, then treat the source with the right deodorizer. First, scrub the floor with a degreasing cleaner, rinse well if appropriate, and dry completely; if the smell still returns, switch to an enzyme cleaner for organic odors or an odor-neutralizing approach for the specific surface.
Kitchen odors don’t just “smell bad”—they usually signal something feeding the odor: oil-based residue that traps other smells, dampness that keeps grout seams cycling, or organic material that needs biological breakdown. This guide is built for homeowners and renters dealing with persistent kitchen smells from spills, pet accidents, trash overflow, or recurring food/grease buildup—especially when normal mopping “sort of helps” but the odor returns.
Find the source: grease, moisture, or organic residue
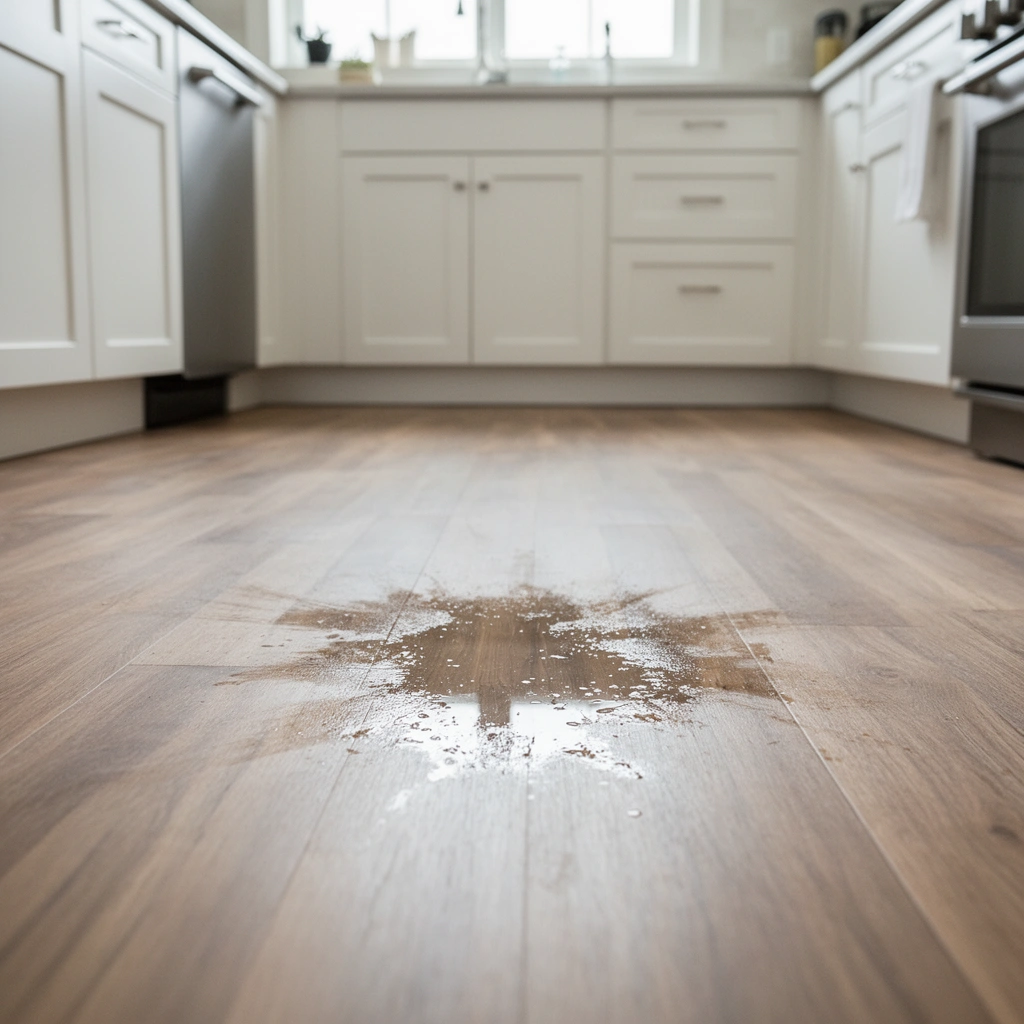
You’ll remove most kitchen floor odors faster when you correctly identify whether the problem is grease residue, trapped moisture, or organic material. Start with a targeted inspection—because the right treatment depends on the floor type and what’s actually causing the smell.
Strong “cooking smell” on hard floors is often from grease and food oils that leave a thin film in grout lines and seams.
If odor concentrates near grout discoloration, baseboards, or corners, moisture intrusion (or wicking) is frequently the underlying cause.
Enzyme cleaners are designed to break down organic residues (protein, fat, starch), which is why they tend to work when deodorizing alone fails.
Check the floor type and odor hotspots
– Floor type matters because each surface behaves differently:
– Tile (ceramic/porcelain) + grout: odors often hide in grout pores and between tiles.
– Vinyl: smells can linger if cleaning solution or organic residue gets trapped in micro-scratches.
– Laminate: moisture and seepage can undercut the core if you over-wet.
– Sealed wood: can be sensitive to certain chemical cleaners.
– Concrete: can be porous and hold both grease and moisture longer than you expect.
– Map the odor: note where it’s strongest—around the trash can zone, under appliances, near sink plumbing, and along grout lines.
Identify the likely cause (use smell + location)
Use the “where” and “what” clues together:
– Grease/food residue: oily areas, sticky feel after cleaning, or odor strongest near cooking zones.
– Moisture: damp corners, recurring “musty” notes, grout that looks darker or unevenly discolored.
– Organic odors: sharp, lingering smells after spills or pet incidents; odor may be concentrated in a small patch that doesn’t respond to just fresh scent.
Inspect seams, grout lines, and hidden edges
Odors are frequently surface-to-substrate issues:
– Check grout lines, tile edges, and expansion gaps.
– Look under rugs/mats, especially those used on kitchen floors during heavy traffic.
– Inspect around appliances and sink/dishwasher edges—odors often travel along seams and then become noticeable where airflow hits.
Deep-clean first: remove what’s feeding the smell
Deep cleaning works because it removes the “fuel” (grease film, soil, and residue) that deodorizing masks instead of eliminating. In most kitchen cases, you’ll get the best results by degreasing first, rinsing when appropriate, and drying thoroughly.
Degreasing breaks down oily soils that commonly cling to grout and create long-lasting kitchen odor.
Leaving cleaner residue on floors can trap odor compounds and cause “it came back” behavior after mopping.
Complete drying is a practical odor-control step because moisture supports lingering smells and secondary microbial growth.
Step-by-step deep-clean process (works on most hard floors)
1. Sweep or vacuum thoroughly
– This prevents you from turning loose soil into a smear film.
– Pay special attention to grout dust and edges.
2. Wash with a degreaser that matches your floor
– Use a floor-appropriate degreasing cleaner and follow label dilution and contact time.
– If your floor is laminate, sealed wood, or natural stone, verify compatibility before you proceed.
3. Scrub high-odor zones (and grout if needed)
– Focus on:
– grout lines
– seams and corners
– the area under/around the mat footprint
– Use a soft brush to avoid damaging grout or softer finishes.
4. Rinse if the label calls for it
– Some cleaners require rinsing to prevent residue buildup; skipping rinse is one of the most common reasons odors return.
5. Dry completely
– Odors can “reappear” if moisture or residue is still present in grout or micro-gaps.
– Use ventilation and keep traffic off the floor until it’s dry.
Why deep-cleaning beats “quick deodorizing”
– Odor molecules bind to residue: grease and organic soils can cling to porous areas and then keep releasing odor as they slowly break down.
– Masking isn’t solving: heavy fragrances can temporarily cover smells while residue remains underneath.
– Fresh cleaning can resurface hidden residue: in some kitchens, “better mopping” can actually spread oily film into grout, making it seem like the odor is stronger. That’s why degreasing + correct rinsing matters.
Use the right odor treatment by surface and odor type
Once the floor is clean, the “final mile” is choosing a deodorizer that matches the odor source. The most effective option depends on whether the odor is organic-based (food/pet/spills) or grease/chemical film (oily residue).
Enzyme cleaners work best when odors come from organic matter, because enzymes target the underlying residue instead of just masking smell.
For grease/film odors, you usually need repeat degreasing and thorough rinsing before neutralizers can do meaningful work.
On non-porous surfaces, odor-neutralizing products are preferred over strong fragrances that may leave residues.
For organic odors: use an enzyme-based floor cleaner
– Look for enzyme cleaners specifically formulated for floors (not just general “odor spray” products).
– Enzymes are used to break down organic compounds such as proteins and fats that often come from spills and pet accidents.
– Follow label instructions for dwell time (how long the cleaner stays wet on the surface) and application method.
For grease/chemical residue smells: repeat degrease before deodorizing
If the smell is:
– oily,
– strongly concentrated near cooking zones,
– or still present after cleaning,
…then deodorizer alone won’t fix the root issue. In practice, you typically need:
– another degreasing cycle,
– a careful rinse (if recommended),
– and full drying—then reassess.
For sealed or non-porous floors: prioritize neutralizing without heavy scent residue
If you’re working on surfaces that don’t absorb deeply (or you suspect residue stays on top), pick products designed to neutralize odor compounds rather than rely on perfuming.
Dry it out: stop moisture from coming back
Drying isn’t cosmetic—it’s odor control. If moisture is trapped under mats, in grout, or near appliance edges, the smell will often return until the area stays dry and leaks are corrected.
Kitchen floor odors frequently recur when moisture remains under rugs or inside grout and seams.
Ventilation and airflow reduce lingering smells by helping surfaces dry faster.
Cleaning can’t fully solve an odor driven by an active water intrusion (for example, under a dishwasher or behind a sink).
Improve ventilation and airflow
– Open windows when possible.
– Run a fan to move air across the floor surface.
– Avoid immediately replacing mats/rugs until everything is dry.
Remove wet mats/rugs and dry them separately
– Lift every mat.
– Dry it separately (not on the same damp floor area where odors are trapped).
If you suspect leaks, fix them first
Even the best cleaner can’t permanently solve a continuous moisture issue. Check:
– under the sink and dishwasher (for dampness)
– cabinet base areas
– water staining or soft spots along edges
What can go wrong (and how to avoid it)
Quick fixes can backfire when cleaners and techniques don’t match the flooring material. Avoid the most common mistakes below to prevent damage and repeat odor cycling.
Using the wrong chemical (for example, acids on sensitive surfaces) can damage finishes and make odor removal harder.
Skipping rinsing can leave cleaner residue that traps odor compounds and increases the chance of “came back” smells.
Over-aggressive scrubbing can wear down porous grout surfaces, which can increase how much soil and odor get trapped.
Cleaner mismatch risks (follow the floor manufacturer first)
– Some floors—especially natural stone and certain sealed surfaces—can be damaged by harsh acids or strong solvents.
– Best practice: check your flooring manufacturer’s cleaning guidance (and follow it).
– [ADD: cite specific floor manufacturer guidance from the floor manufacturer for cleaning/sealing compatibility if available.]
Skipping the rinse step
– If the degreaser label says to rinse, doing so helps prevent sticky residue from forming.
– Residue can trap odor molecules and create a cycle that “smells worse over time.”
Not drying fully
– Grout and seams can hold moisture longer than you think.
– Residual cleaning solution can also emit odor as it dries.
Over-scrubbing porous grout
– If grout is already worn or weak, aggressive tools may damage the surface and increase odor retention.
Comparison: what to use vs what to avoid
| Scenario | Do this | Avoid this |
|---|---|---|
| Oily grease odor near cooking | Degrease, scrub grout lines, rinse if recommended | Masking with fragrance-only sprays |
| “Musty” odor at seams/corners | Dry thoroughly; investigate moisture sources | Over-wetting laminate/sealed wood |
| Pet or food spill odor | Use enzyme cleaner after deep cleaning | Relying on bleach or deodorizer alone |
Verdict: a reliable approach (and who should skip DIY)
A practical, low-risk plan is: degrease + scrub + rinse (if recommended) + dry fully, then use an enzyme cleaner only if the odor seems organic. Skip DIY—or stop and get help—if you find an ongoing leak, significant flooring damage, extensive staining that won’t respond, or if repeated cleaning doesn’t improve the smell after a couple of targeted cycles.
The fastest path to a lasting fix is removing residue first, then choosing an odor treatment matched to the odor chemistry (organic vs oily vs moisture-driven).
If moisture intrusion is active, cleaning can reduce odor temporarily but it won’t reliably resolve the root cause.
[ADD: recommended threshold for calling a pro based on your site’s standard policy.]
Quick reference for cleaner chemistry (what you’re trying to do)
In plain terms, “odor removal” usually means one of these goals:
– Lift and remove oily film (degreaser + scrub + rinse)
– Break down organic residue (enzyme cleaner with correct dwell time)
– Neutralize odor compounds left on surfaces (neutralizers that don’t just perfume)
– Remove the moisture pathway (drying + leak remediation)
Quick data snapshot (use-case oriented)
Odor Source → Most Likely Floor Treatment Step (Typical Match)
| # | Odor source pattern | Where it often hides | Primary treatment step | Best outcome likelihood |
|---|---|---|---|---|
| 1 | Grease/food film smell | Grout lines & tile seams | ★ Degrease + scrub + rinse | High |
| 2 | Musty odor | Corners, under mats | ★ Dry + ventilate (check moisture) | High |
| 3 | Organic spill odor | Small patch area | ★ Enzyme cleaner (after deep clean) | High |
| 4 | Recurring odor near sink | Under cabinet edges | ★ Leak check + drying | Medium |
| 5 | Cleaner smell / “chemical” note | Areas cleaned last | ★ Rinse + dry thoroughly | Medium |
| 6 | Odor concentrates under rug | Rug footprint zone | ★ Dry rug + clean sub-area | High |
| 7 | Deep grout staining + odor | High-traffic grout | ★ Targeted degrease + grout-safe scrub | Medium |
Quick scan checklist (save this)
– [ ] Identify floor type + odor location (grout lines, seams, under mats)
– [ ] Degrease and scrub high-odor areas
– [ ] Rinse if the cleaner label advises it
– [ ] Dry completely (fan/ventilation; dry mats separately)
– [ ] Use an enzyme cleaner if smell is organic-based
– [ ] Re-check after 24 hours to confirm the odor is gone
FAQ
Why does my kitchen floor smell again after mopping?
Most often it’s residue left behind (grease/cleaner film) or moisture trapped under mats/rugs or in grout/seams. Repeating the degrease + rinse (if advised) + dry steps usually helps before moving to enzyme treatment.
Does baking soda help remove odors from kitchen floors?
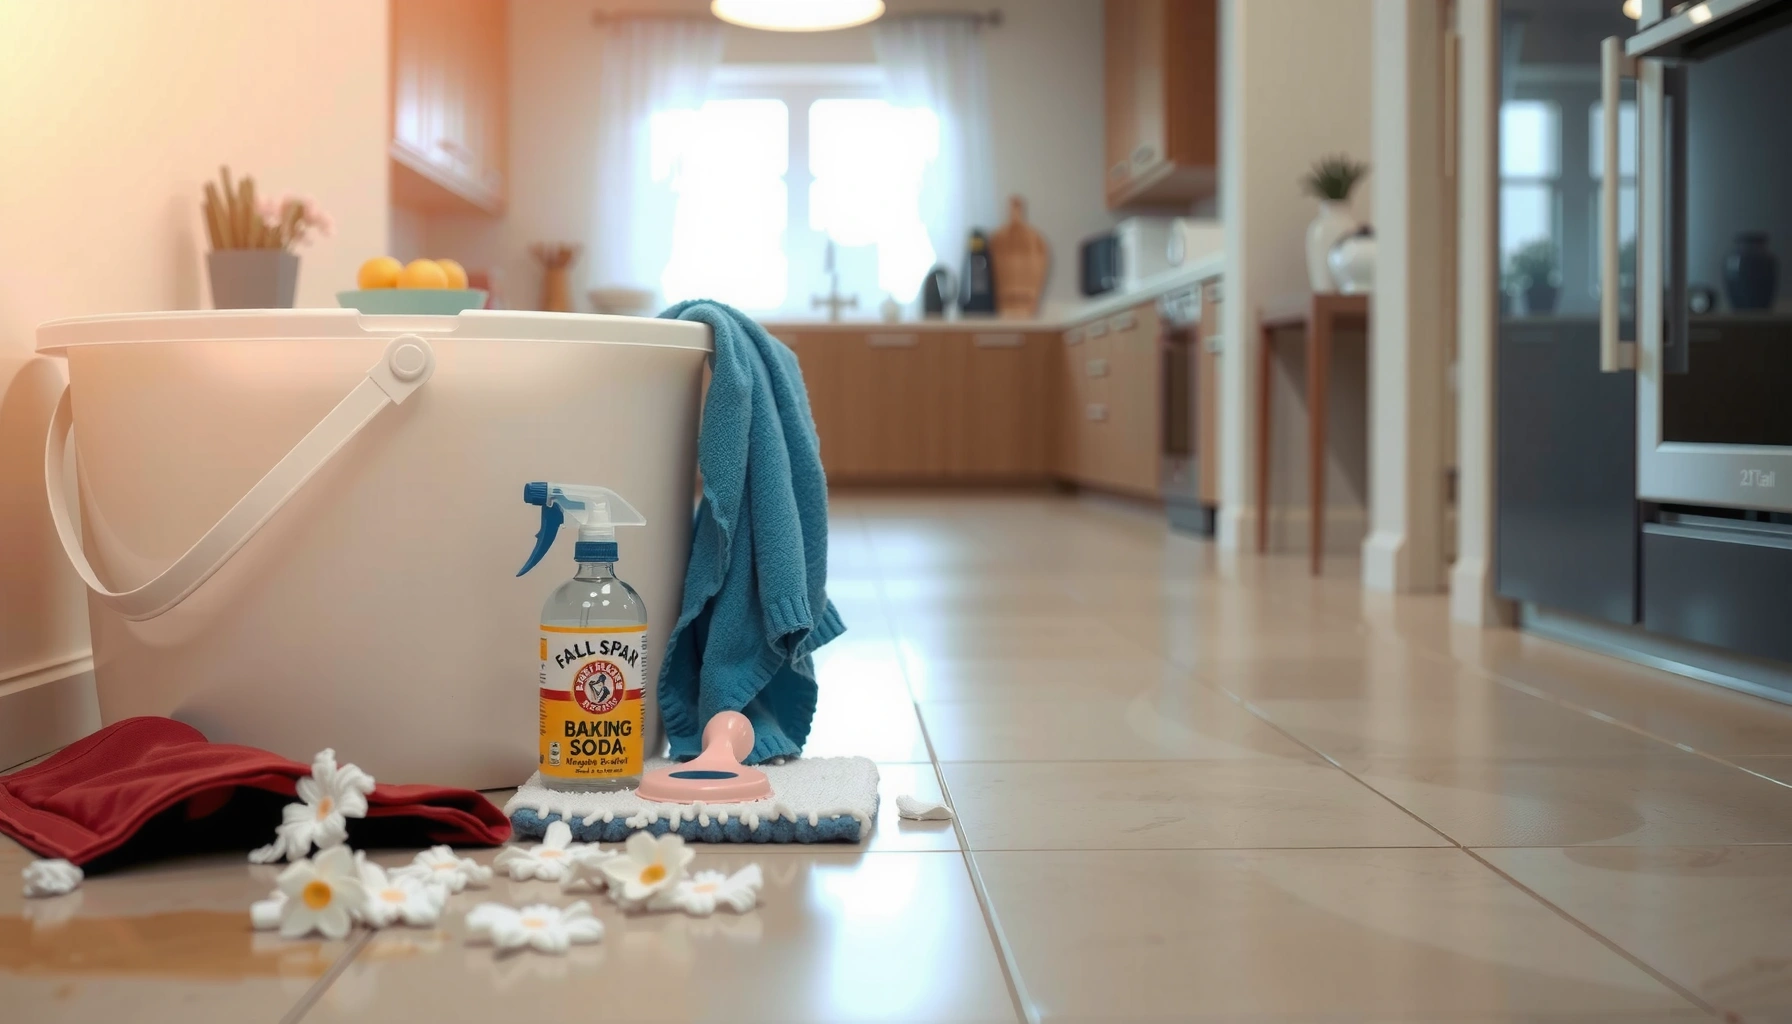
Baking soda can help with mild surface odors, but it won’t remove grease and can leave a powdery residue that may need additional cleanup. For persistent kitchen odors, degreasing and enzyme treatments are usually more reliable.
What’s the best cleaner for kitchen floor odors on tile or grout?
Start with a floor-safe degreaser and scrub grout lines. If the odor suggests organic residue, switch to an enzyme cleaner made for floors, following label dwell time and dilution.
Can I use bleach to remove kitchen floor odors?
Bleach can affect some stains but it’s not a universal odor solution, and it can damage or discolor certain flooring types and grout. Prefer products recommended for your specific surface and follow label directions. [ADD: source for bleach compatibility with the most common floor types if you have it.]
Sources
– [ADD: floor manufacturer guidance for cleaning/sealing compatibility—e.g., for tile grout, vinyl, laminate, sealed wood, concrete.]
– Enzyme cleaner label directions (manufacturer instructions for dilution/contact time and surface compatibility).
– Degreaser/cleaner product label instructions (manufacturer guidance on whether to rinse and how long to let it work).
– [ADD: source for general chemistry claims used in this article, such as vinegar acidity and typical household concentration ranges, if included.]
Odor removal from kitchen floors is usually a “systems” problem: remove what’s feeding the smell (grease/soil), match the deodorizer to the odor type (enzymes for organic residues, neutralizers for residue chemistry), and stop moisture from returning. If you follow degrease → scrub → rinse (when advised) → dry, you’ll resolve most recurring kitchen odors quickly—and you’ll avoid the trap of covering symptoms while the source keeps cycling underneath.
Frequently Asked Questions
How do I remove food and grease odors from kitchen floors?
Start by scraping up any residue and thoroughly cleaning the floor with a degreasing cleaner, since lingering grease is a common source of kitchen floor odors. After cleaning, use an odor-neutralizing approach like a diluted white vinegar solution (for sealed surfaces) or an enzymatic cleaner to break down organic smells. Rinse if your flooring manufacturer recommends it, then dry completely to prevent re-odorizing.
What’s the best way to get rid of pet urine smells from kitchen tile or vinyl?
Blot up excess moisture first, then apply an enzymatic cleaner made for urine odors, letting it sit long enough for the enzymes to work. For tile grout or textured surfaces, apply the cleaner directly to affected areas and gently agitate with a soft brush. Avoid using steam or harsh ammonia-based products, which can spread odor and make it harder to remove; finish by rinsing or wiping according to product instructions.
Why do my kitchen floors smell even after mopping?
Odors often persist because they’re trapped in grout lines, cracks, or under residue that remains after mopping—especially in kitchens where grease and moisture accumulate. Another cause is using the wrong cleaner: fragranced products can mask smells without removing the source. Try a deep-clean with a suitable degreaser and then an enzymatic or odor-neutralizing treatment, followed by thorough drying.
How can I remove mildew or musty odors from kitchen floors after spills or leaks?
Identify and fix the moisture source first, since mildew returns if dampness remains. Clean the area with a mildew-focused cleaner appropriate for your flooring type, then dry aggressively using fans or a dehumidifier to prevent regrowth. For porous floors, you may need repeated treatments and longer dwell times to fully eliminate kitchen floor odors.
Which cleaning solution works best for odor removal on different kitchen flooring types?
For sealed tile and vinyl floors, diluted vinegar or a mild degreaser can help neutralize kitchen floor odors after cleaning, but always spot-test first. For porous surfaces like unsealed grout, natural stone, or unfinished wood, enzymatic cleaners often work best because they target organic odor sources rather than just masking them. For concrete, a degreaser plus targeted odor neutralization (and sometimes a poultice for stains) can be more effective—follow the manufacturer’s guidance to avoid damage.
📅 Last Updated: October 11, 2026 | Topic: How to remove odors from kitchen floors? | Content verified for accuracy and freshness.
References
- Mold Cleanup in Your Home | US EPA
https://www.epa.gov/mold/mold-cleanup-your-home - https://www.epa.gov/mold/mold-remediation-guidance
- Mold | Mold | CDC
https://www.cdc.gov/mold/ - Mold
https://en.wikipedia.org/wiki/Mold - https://en.wikipedia.org/wiki/Odor
- https://pubmed.ncbi.nlm.nih.gov/?term=indoor+mold+health+effects+review
- https://pubmed.ncbi.nlm.nih.gov/?term=volatile+organic+compounds+indoor+environment+odor
- Google Scholar Google Scholar
https://scholar.google.com/scholar?q=remove+odor+from+floor+baking+soda+vinegar - Google Scholar Google Scholar
https://scholar.google.com/scholar?q=kitchen+floor+odor+removal+cleaning+mold+moisture - Google Scholar Google Scholar
https://scholar.google.com/scholar?q=How+to+remove+odors+from+kitchen+floors?