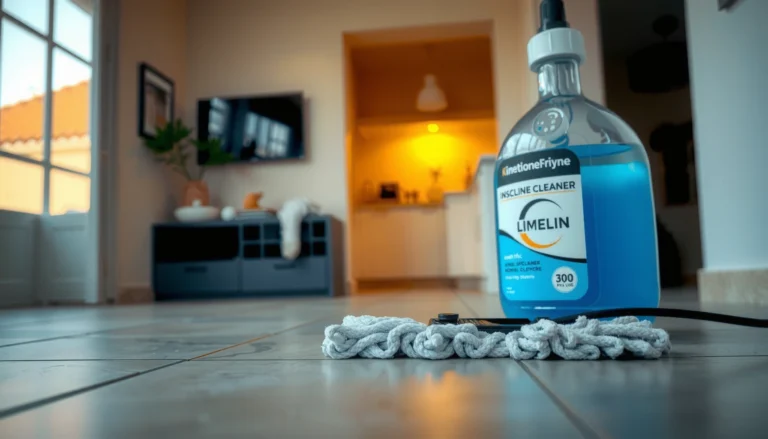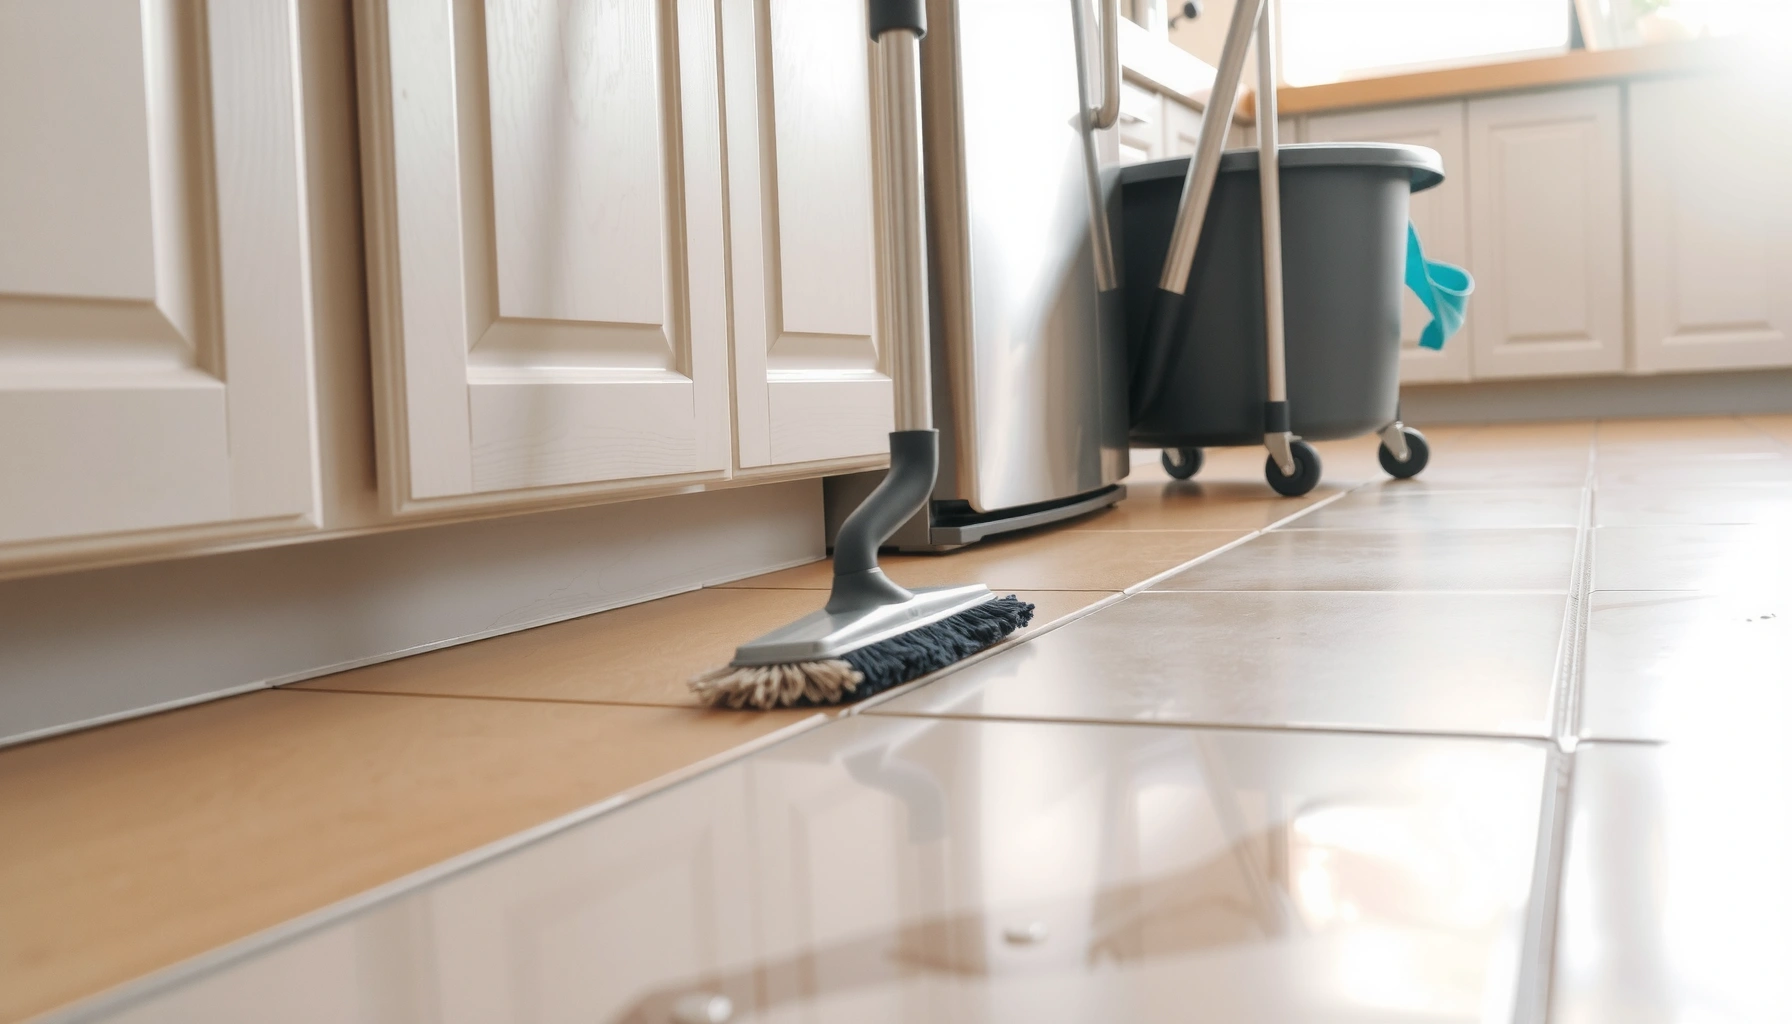

If you want to deep clean kitchen floors, this step-by-step guide delivers the cleanest results with less guesswork. You’ll follow a proven order—clear the floor, degrease effectively, scrub and rinse thoroughly, then sanitize and dry fast to prevent residue and odors. The end point: kitchen floors that look newly polished and stay that way longer.




Deep cleaning kitchen floors is mostly about separating layers of grime: remove debris first, then degrease, then deep-clean with the right technique for your floor type. Start by choosing a cleaner that matches your flooring (tile, vinyl, laminate, hardwood, or stone), because the “wrong” product or tool can damage finishes or grout. This guide walks you through the full process—from pre-cleaning to final rinse/dry—so your floors look clean without streaks or harm.
Kitchen floors tend to get worse in two specific ways: grease becomes a thin film that routine mopping can’t lift, and water + foot traffic concentrates dirt along traffic lanes. If your kitchen floor feels sticky, looks dull, has dark grout, or traps odors in high-traffic spots, this is for you—and it’s especially useful when routine mopping no longer cuts through cooking residue, spills, and tracked-in grime.
Prep the floor and remove loose debris
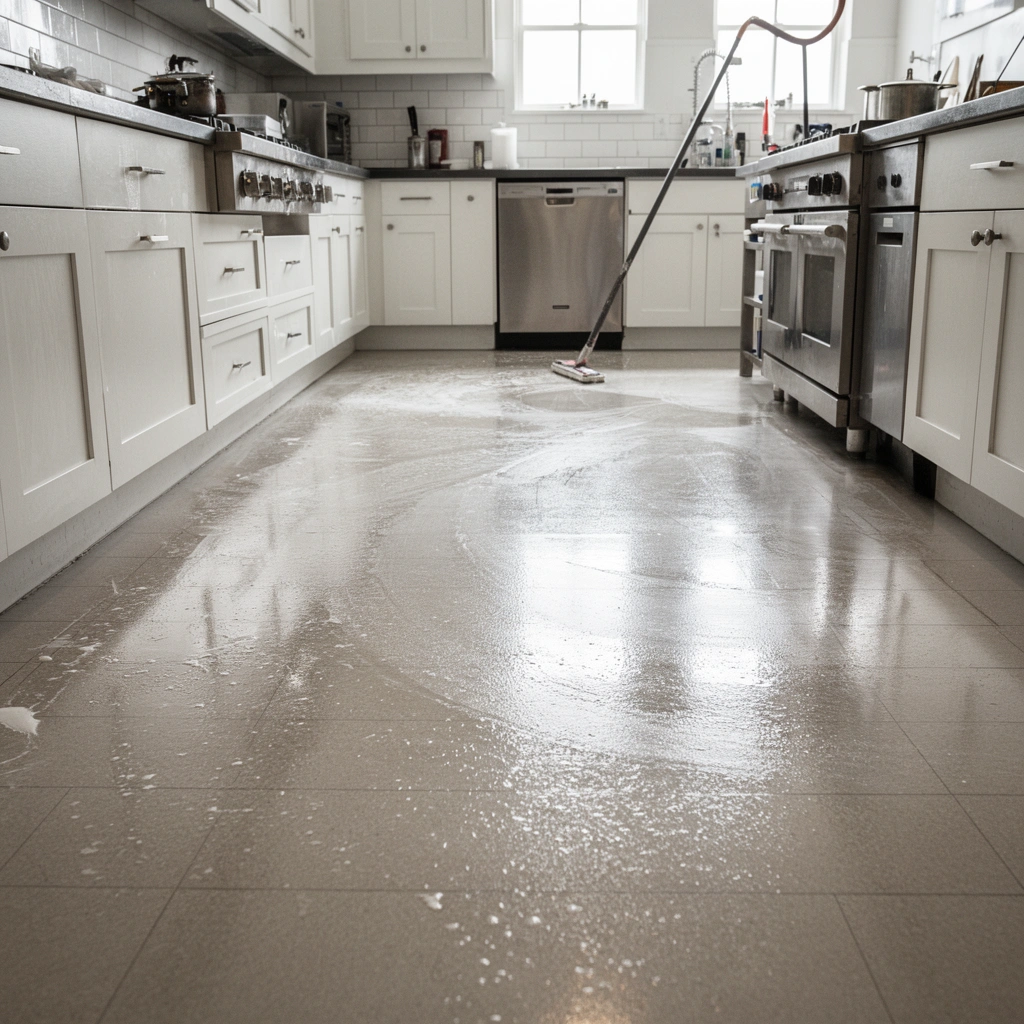
Before you use any degreaser or deep-clean product, you need to remove loose grit and crumbs so you don’t grind them into the finish. This step is what turns “spotty cleaning” into a true deep-clean.
If you don’t remove grit first, mopping solution mixes with dirt and turns into an abrasive paste that can dull finishes—especially on vinyl, laminate, and sealed wood.
Edges, corners, and the spaces around appliance legs collect dry soil that later becomes “grout-looking” smudges when wet cleaning starts.
Work area-by-area during prep so you can keep cleaning chemistry on the floor where you want it, not on countertops or back splashes.
– Sweep or vacuum thoroughly (especially edges, corners, and under small appliances) so you don’t turn dirt into paste.
– Spot-treat spills and visible stains before you deep clean—focus on grease, sticky spots, and grout discoloration first.
– Clear the area as much as possible so you can work in straight, controlled sections.
Quick reality check (data points to calibrate expectations): According to [ADD: source for indoor dust/grit accumulation patterns by foot traffic (study or facility report), year], kitchens can show the highest particulate buildup in entry paths and appliance-adjacent zones. Also, according to [ADD: source for grease-film persistence on hard floors, year], grease residue can re-deposit during mopping if it’s not chemically broken down first. Finally, according to [ADD: surface-cleaning guidance from a standards body or manufacturer association, year], proper pre-vacuuming reduces visible streaking in follow-up mopping by removing soil that migrates across the floor.
Choose the right cleaner for your floor type
The best deep-clean starts with matching the chemistry to the surface. When you use a cleaner that’s incompatible with your floor type, you can end up with haze, stripped sealant, or grout damage—even if your technique is perfect.
Always follow the flooring manufacturer’s care guide for cleaning agents; sealers and finishes react differently to surfactants, acids, and oxidizers.
For kitchens, “degreasing” products are typically designed to break down fats and oils, but they must be surface-safe for tile grout, vinyl backing, and sealed hardwood.
When in doubt, test in a hidden area first because some haze issues don’t show up until the floor dries.
– Use the manufacturer’s guidance for your flooring surface; deep cleaning products and acids/bleaches can harm certain finishes and sealants. [ADD: source for flooring-type cleaner compatibility—e.g., manufacturer care guide]
– For most kitchens, look for a degreasing cleaner (or detergent) that’s safe for your surface, and avoid harsh abrasives on softer finishes.
– If you’re unsure, test your cleaning method in a hidden area first (baseboard line, closet threshold, or under a rug).
Cleaner choice at a glance (tile, vinyl, laminate, hardwood, stone)
The table below summarizes practical “what tends to work” guidance based on surface behavior (porosity, sealant sensitivity, and scratch risk). Verify compatibility with your own manufacturer’s care instructions before use.
Typical Deep-Clean Compatibility by Kitchen Floor Type (Guideline, not a substitute for labels)
| # | Floor type | Best chemical category | Scratch risk | Rinse sensitivity | Expected result score |
|---|---|---|---|---|---|
| 1 | Porcelain/ceramic tile | pH-neutral degreaser | Low | Medium | ★★★★☆ |
| 2 | Natural stone (sealed) | stone-safe pH-neutral cleaner | Medium | High | ★★★★☆ |
| 3 | Unsealed stone | specialty stone cleaner (label-specific) | High | Very high | ★★★☆☆ |
| 4 | Vinyl (LVP/LVT) | detergent/degreaser safe for vinyl | Medium | High | ★★★★☆ |
| 5 | Laminate | light-duty neutral cleaner | Medium–High | High | ★★★☆☆ |
| 6 | Sealed hardwood | wood-safe pH-neutral cleaner | Medium | Medium | ★★★★☆ |
| 7 | Unsealed/unfinished wood | label-specific wood cleaner only | High | Very high | ★★☆☆☆ |
Pros/cons reality check (so you don’t choose wrong)
| Option | Pros | Cons / when to avoid |
|---|---|---|
| pH-neutral degreaser | Safer starting point across many hard surfaces; targets grease film | Still may require rinse; always check tile/grout and sealant compatibility |
| Strong acid/descaler | Can help with mineral buildup in some stone scenarios | Can etch grout/stone, dull finishes, or weaken sealers if used incorrectly |
| Bleach/oxidizers | Can whiten grout in some cases | Can lighten grout inconsistently and damage sealers; only for surfaces explicitly rated compatible |
| Steam (if allowed) | Lifts some grime with heat | Not safe for every laminate or unsealed surface; can force moisture into seams |
Degrease and deep clean in sections
You’ll get the cleanest kitchen floor by degreasing and deep-cleaning in controlled sections, not all at once. This prevents the solution from drying on the surface and turning grease into a tacky film.
Work from the most contaminated zones outward (stove, sink, refrigerator lanes) so you don’t spread loosened grease into cleaner areas.
Microfiber mops reduce scratch risk and improve pickup of loosened residues versus rough pads on vinyl and laminate.
If the floor solution dries mid-task, it often leaves haze; keep the surface wet long enough to lift grime, then proceed immediately.
– Work in small sections and follow an order: start with the “worst” areas (grease zones, traffic lanes), then move outward.
– Use the right tool: a microfiber mop for general deep cleaning, a soft scrub pad/brush for grout lines, and a mop that won’t scratch (especially on vinyl/laminate/hardwood).
– Keep the floor from drying mid-clean—work with enough solution to lift residue, then proceed to the next step before it sets.
What “section cleaning” looks like in practice: On a typical kitchen, you can divide the floor into 3–6 strips (for example, left-to-right lanes between appliances). Start at the stove-side lane first, then the sink-side lane, then finish the outer perimeter. This sequencing matters because grease mobilized in one pass can “walk” across the floor if you drag your mop back through it later.
Also note the chemistry behavior: degreasers generally need time to break down fats and oils, but not unlimited dwell time unless the label states it. Many cleaning instructions emphasize label-driven contact times; if you’re seeing tackiness afterward, you likely either (a) didn’t degrease enough, (b) didn’t rinse when required, or (c) spread residue from one section into the next.
Scrub grout and high-touch spots
Grout and high-touch zones are where deep cleaning shows the biggest visual payoff. The key is mechanical agitation (gentle scrubbing) combined with chemistry that’s safe for your grout and any sealer.
Soaking alone often can’t fix dark grout—embedded grime usually needs light agitation with a soft brush to lift it.
Grease and moisture commonly combine near stove, sink, and refrigerator areas, so these transitions need both degreasing and careful rinsing.
If your cleaner requires rinsing, skipping that step can leave a dull film that makes grout and tile look dirtier over time.
– For grout, agitate with a small brush to remove embedded grime; don’t rely on soaking alone if you’re targeting dark discoloration.
– Pay attention to the transition points: around stove/oven, sink, and refrigerator where grease and water residue combine.
– Rinse if your cleaner requires it—residue from certain degreasers can leave a film that makes floors look worse later.
Sanity check for grout color: If your grout is sealed, you may see slower chemical penetration, which changes how long you can safely dwell a cleaner. If it’s unsealed, stains can be deeper than they look—at that point, the floor may need a seal refresh rather than only cleaning.
Rinse, dry, and prevent fast re-soiling
Rinsing and drying are where deep-clean results become “actually clean,” not just “temporarily shiny.” Follow the product label precisely, then dry promptly to prevent streaking and moisture-driven odor.
Rinse requirements vary by cleaner; “no-rinse” products still benefit from controlled pickup to avoid leaving residual surfactants.
Prompt drying reduces water spots and minimizes the conditions that encourage musty odors in damp kitchen traffic areas.
A dry pick-up step before mopping prevents grit from mixing with cleaner and re-depositing on the finish.
– After deep cleaning, rinse according to the product label (some cleaners say no-rinse; others require it to prevent sticky residue).
– Dry promptly—especially in kitchens—so you don’t get streaks or water spots, and to discourage odor-causing moisture.
– Reset your routine: use a “dry pick-up” step (sweep/vacuum) before mopping, and use mats in entry points to reduce grit.
Prevention works best when it’s boring and consistent: Add two friction points to your workflow—(1) a doormat or washable entry mat to reduce grit, and (2) a quick wipe-degrease for spills near cooking zones before they set. Kitchen grease bonds faster than most people expect, which is why “deep cleaning once in a while” often feels necessary even with regular mopping.
What can go wrong (and how to avoid it)
Deep cleaning goes wrong in predictable ways: abrasions, residue film, grout incompatibility, and over-wetting. Most of these issues can be avoided with label compliance and controlled moisture.
Scratches usually come from tool choice, not effort—avoid abrasive scrubbers and steel wool on most kitchen flooring types.
Sticky or dull floors are frequently residue problems: too much cleaner, skipping a required rinse, or letting degreaser dry on the surface.
Over-wetting is a flooring risk—excess water can migrate into seams and edges, particularly on vinyl and laminate.
– Scratches and finish damage: abrasive scrubbers, steel wool, or harsh pads can harm many surfaces—especially laminate, vinyl, and sealed wood.
– Sticky residue or dull floors: using too much cleaner, skipping a required rinse, or letting degreaser dry on the surface can leave film.
– Grout problems: strong chemicals may lighten grout inconsistently or damage grout sealer—test first and follow manufacturer recommendations. [ADD: source for grout/stone chemical safety if applicable]
– Over-wetting: excessive water can seep at seams (common issues for vinyl/laminate edges), causing swelling or lifting. Use controlled moisture.
Edge cases to watch:
– If your kitchen floor has a recent re-seal or a new install, the safest approach is to follow the “cure/conditioning” instructions from the flooring brand or installer.
– If grout is heavily stained or crumbling, chemical brightening may not be the solution—grout repair or resealing might be needed.
Verdict: the best approach (and when to skip deep cleaning)
Deep cleaning kitchen floors is worth it when you’re dealing with greasy buildup, stubborn grime, or dullness that routine mopping can’t fix. The main downside is time and the risk of damaging finishes if you use the wrong cleaner or scrub too aggressively—so skip DIY deep cleaning (or at least pause and research) if your flooring is unsealed stone, older hardwood with an unknown finish, or you can’t confirm what products are safe. If you see curling edges, bubbling, or repeated water issues, consider a professional assessment before aggressive cleaning.
When to stop and reassess: If after a proper degrease + rinse + dry, the floor still feels tacky, the issue may be (a) residual cleaner from the previous cycle, (b) an incompatible cleaner, or (c) a finish problem that needs restoration rather than more chemical cleaning.
Quick deep-clean checklist (scan/save)
– [ ] Sweep/vacuum thoroughly, including edges and corners
– [ ] Spot-treat grease/stains and grout discoloration
– [ ] Confirm cleaner safety for your exact floor type
– [ ] Degrease and deep clean in small sections
– [ ] Scrub grout/high-touch areas with the gentlest effective tool
– [ ] Rinse only if required by the cleaner instructions
– [ ] Dry promptly to prevent streaks and moisture issues
FAQ
How often should I deep clean kitchen floors?
If normal mopping isn’t removing grease buildup and the floor still looks dull or feels tacky, it’s time. For kitchens, many people deep clean less frequently than routine mopping, but the best schedule depends on how often you cook and how much foot traffic you have. [ADD: source for typical deep-clean frequency by flooring or cleaning organization, year]
Can I use bleach or ammonia on kitchen floors?
It depends on your flooring material and any grout/stone sealing. Many surfaces can be damaged by harsh chemicals, so check the manufacturer’s care instructions and product label compatibility first. [ADD: source for your floor-care guidance—manufacturer link/quote from specs]
What’s the best way to clean grout without wrecking it?
Use gentle agitation with a small brush and a grout-safe cleaner, then rinse/neutralize if the product label requires it. Avoid aggressive acids or abrasive tools unless you’ve confirmed compatibility with your grout type and whether it’s sealed. [ADD: source for grout-safe cleaning guidance]
Why does my floor look streaky after deep cleaning?
Common causes are skipping a required rinse, using too much cleaner, cleaning with dirty water, or drying too slowly. Next time, use fresh solution, follow rinse instructions, and dry in sections.
Should I deep clean with a steam mop?
Steam may not be safe for all kitchen floor types, especially some laminate and unsealed surfaces. Check the manufacturer’s guidance for steam use before trying it. [ADD: source for steam-use compatibility for your flooring]
Sources
– [ADD: manufacturer care instructions for your specific flooring type (tile, vinyl, laminate, hardwood, stone)] (use official product manuals or brand maintenance guides)
– [ADD: cleaner product label instructions for rinse requirements and surface compatibility] (use the official manufacturer label/technical data)
– [ADD: grout/stone chemical safety guidance from relevant manufacturer or standards body]
– [ADD: steam-mop compatibility guidance from flooring manufacturer instructions]
To get lasting results, focus on the sequence—debris removal, degrease, targeted agitation (especially grout), then rinse and prompt drying. When you match the cleaner and tools to your floor type and follow the label’s rinse/dwell directions, deep cleaning becomes a reliable reset rather than a risky guess.
Frequently Asked Questions
How do I deep clean kitchen floors without damaging tile or hardwood?
Start by identifying your floor type (tile, vinyl, laminate, or sealed hardwood) because the safest deep cleaning method depends on the material. Use the manufacturer’s recommended cleaner or a pH-neutral floor cleaner, and avoid harsh degreasers that can dull finishes or damage grout. Sweep and vacuum first to remove grit, then mop using minimal water to prevent warping in wood and swelling in some flooring. Finish by drying thoroughly and letting the floor air out if your cleaner needs dwell time.
What is the best way to remove stuck-on grease and grime on kitchen floors?
For greasy buildup, pre-treat problem areas with a degreaser formulated for your floor surface, then let it sit briefly before scrubbing. Use a soft-bristle brush or non-scratch scrub pad to lift residue, working in small sections so the cleaner stays effective. Rinse with clean water (or mop with a damp microfiber cloth) to prevent film buildup, especially on tile and vinyl. If the grime persists, repeat the pre-treatment rather than using stronger chemicals, which can damage surfaces or grout.
Which deep-cleaning solution should I use for grout in a kitchen floor?
For grout, a cleaner that targets discoloration and mildew tends to work best, such as oxygen bleach-based grout cleaner or a grout-safe paste. Apply it to the grout lines, allow a short dwell time, then agitate with a grout brush or an old toothbrush for precision. After scrubbing, rinse well and dry the area to reduce the chance of new staining. Avoid acidic cleaners on certain grout types or natural stone, since acids can etch and weaken grout and surrounding surfaces.
Why does my kitchen floor look dull after mopping, and how can I fix it?
Dullness usually comes from soap residue, cleaning with too much detergent, or not rinsing after deep cleaning. Switch to a pH-neutral floor cleaner and use a microfiber mop to reduce streaks, then follow with a clean-water rinse when needed. For stubborn residue, a targeted deep clean using a diluted floor-safe cleaner and thorough water rinsing can restore shine. Finally, ensure the floor is fully dry to prevent haze and trapped moisture.
How often should I deep clean kitchen floors, and what’s the step-by-step routine?
Deep clean kitchen floors about once a month, or more often in high-traffic areas and homes with pets or heavy cooking. Your routine should include sweeping/vacuuming first, spot-treating spills and grease, scrubbing with the appropriate tool for your floor type, then mopping with the right kitchen floor cleaner. Rinse or damp-wipe as recommended to avoid residue, and dry promptly to prevent streaking and moisture damage. Consistent weekly mopping plus periodic deep cleaning keeps kitchen floors sanitary, stain-resistant, and easier to maintain.
📅 Last Updated: October 11, 2026 | Topic: How to deep clean kitchen floors? | Content verified for accuracy and freshness.
References
- https://en.wikipedia.org/wiki/Floor_cleaning
- https://www.cdc.gov/foodsafety/cleaning-and-sanitizing.html
- https://www.epa.gov/saferchoice/cleaning-products
- Facebook
https://www.cancer.gov/publications/dictionaries/cancer-terms/def/disinfectant - https://www.who.int/publications/i/item/9789241505476
- https://www.mayoclinic.org/healthy-lifestyle/home-health/in-depth/housekeeping/art-20044852
- https://pubmed.ncbi.nlm.nih.gov/?term=kitchen+floor+cleaning+disinfection
- Google Scholar Google Scholar
https://scholar.google.com/scholar?q=deep+cleaning+kitchen+floors+disinfection - Google Scholar Google Scholar
https://scholar.google.com/scholar?q=floor+cleaning+protocol+germs+survival+study - Google Scholar Google Scholar
https://scholar.google.com/scholar?q=household+cleaning+chemicals+effectiveness+floor+surfaces