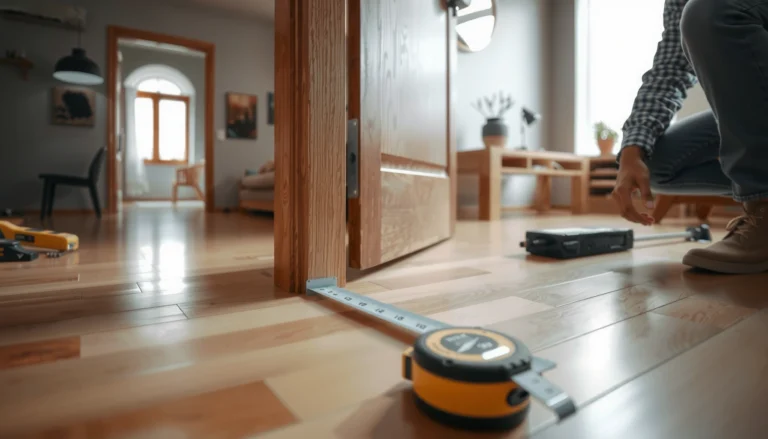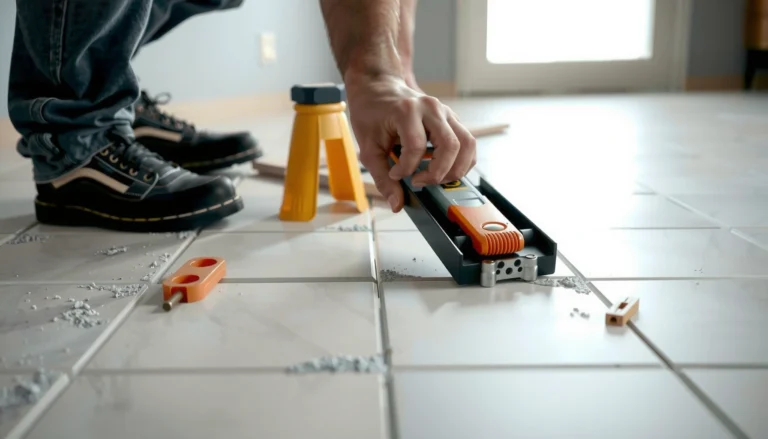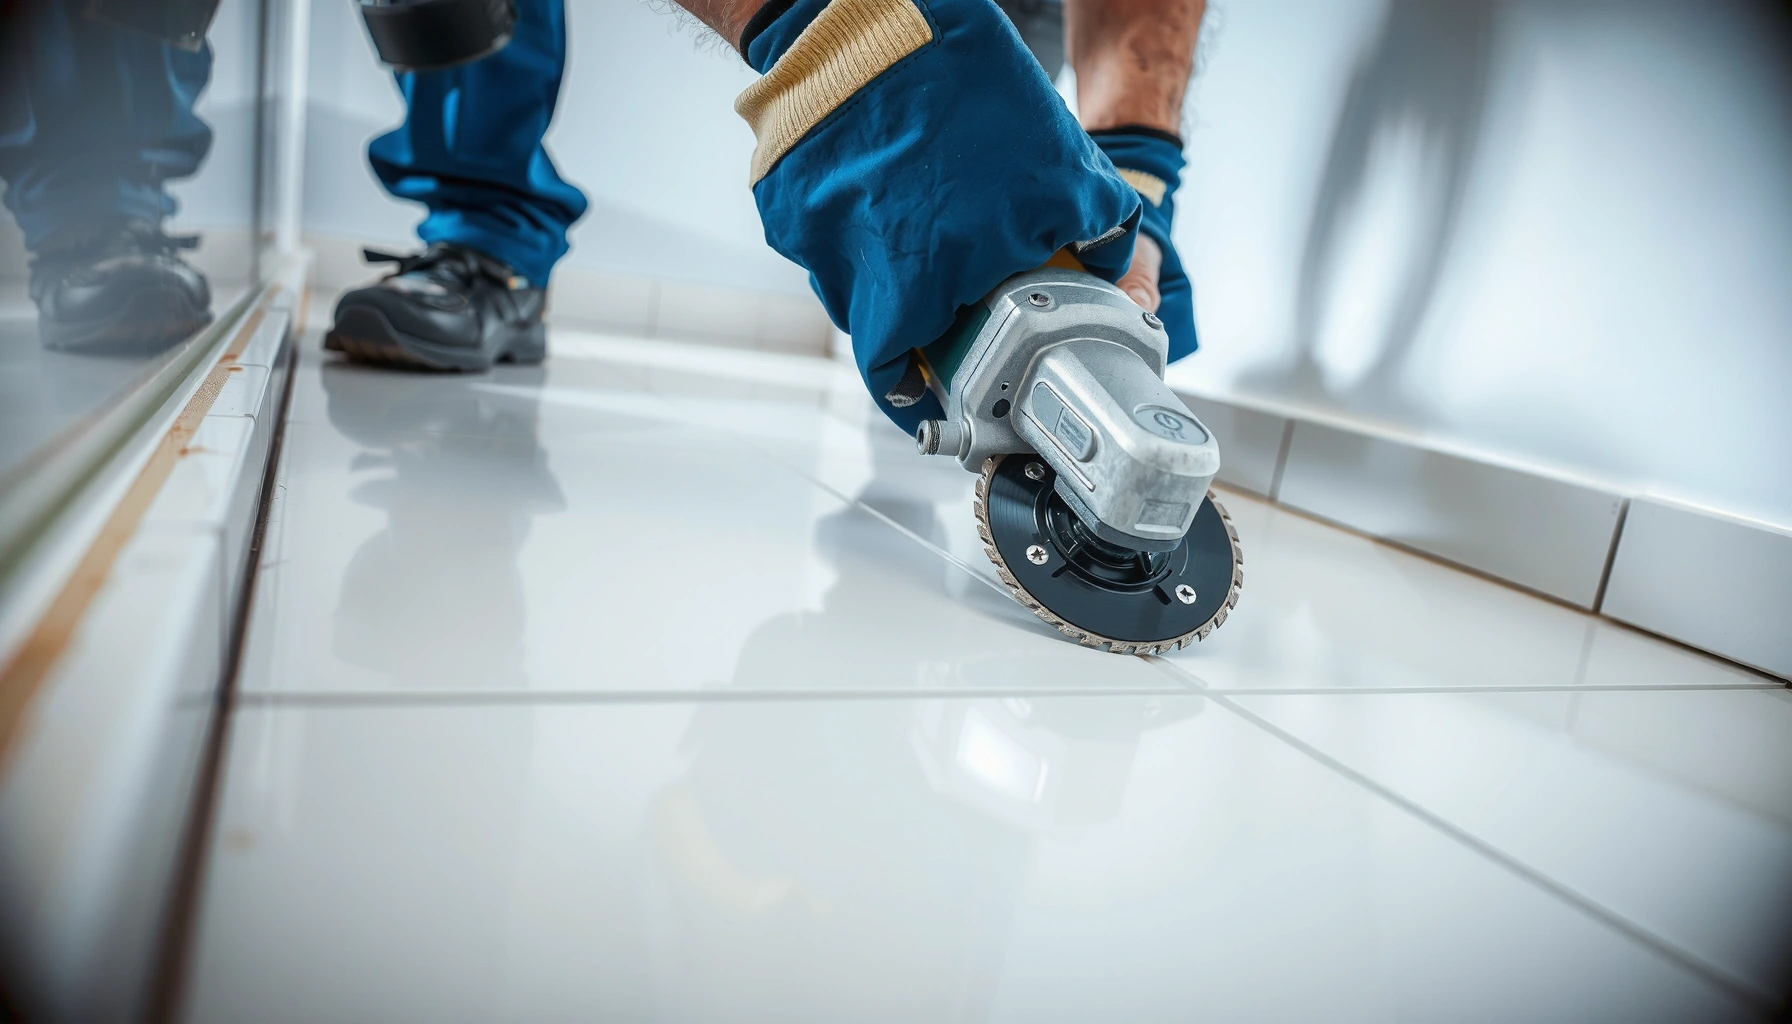

Want to cut bathroom floors for clean, straight edges? This step-by-step guide shows you the fastest, most reliable method for achieving crisp lines around walls, corners, and fixtures—without chipping or messy rework. Follow the exact sequence for layout, scoring, cutting, and finishing so your flooring lines up perfectly.




If you need to cut bathroom floors, the safest approach is to identify the flooring type first (tile, vinyl/LVP, laminate, or subfloor) and then use the matching blade/technique. Measure twice, mark your cut line, support the floor so it won’t crack or flex, and cut slowly to protect the surface and waterproofing details. In this guide, you’ll learn the right tools and steps to make a clean, straight cut without damaging surrounding areas.
This is for homeowners and DIYers cutting a bathroom floor for repairs, installing a new vanity/toilet, or fitting flooring around a doorway or fixture. It’s especially helpful if you’re trying to avoid cracked tile, torn vinyl, or uneven edges that leave gaps.
Identify Your Bathroom Floor Type (Before You Cut)
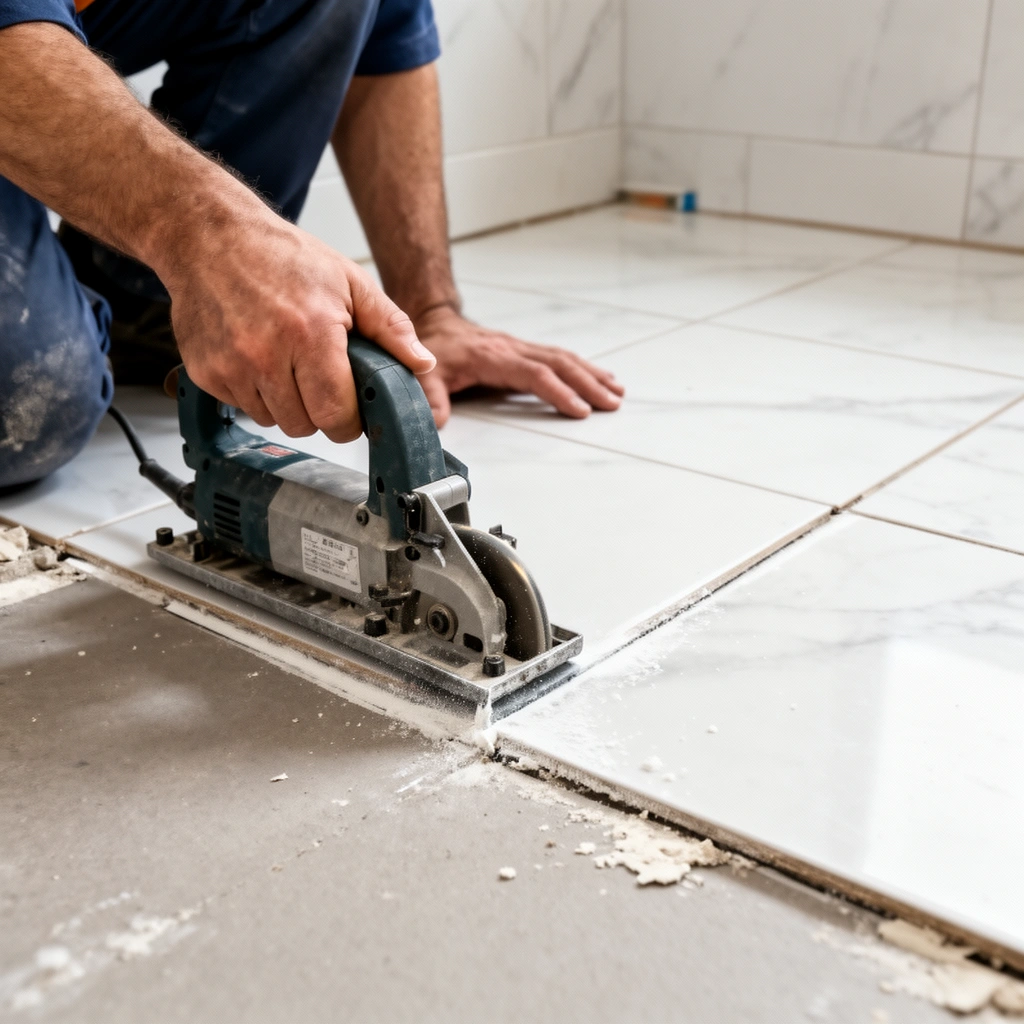
You’ll get a cleaner edge and fewer failures if you confirm the exact bathroom floor material before you pick a blade or cutter. Tile, vinyl/LVP, laminate, and exposed subfloor all fail differently, so “the same saw” approach usually creates chips, tears, or splintering.
Start by inspecting the top surface and the installation layers:
– Tile (ceramic or porcelain): look for grout joints and a hard, brittle surface. Many bathroom tile floors sit on thinset mortar over cement backer board (e.g., cement board) or over a membrane system.
– Vinyl or LVP (luxury vinyl plank): look for a flexible surface; the pattern may be printed/embedded rather than glazed. Most are installed with a click-lock system or adhesive.
– Laminate: you’ll see a wood-fiber look with seams typical of floating floors; the material is harder than vinyl but still chips if you cut too aggressively.
– Subfloor: if you’re only trimming back underlayment or backer, you’re likely cutting plywood/OSB, cement board, or a self-leveler/underlayment layer.
Then check whether your cut line crosses moisture protection details:
– If you’re in a wet zone (shower area, bath floor edge, or near a waterproof membrane), plan the cut finish (trim, reducer, or caulk/seal) so you don’t leave unprotected edges.
Bathrooms commonly require finishing and sealing cut edges differently depending on whether the floor sits on a waterproof membrane or a dry underlayment system.
Respirable crystalline silica is regulated because cutting tile or masonry can generate hazardous dust (OSHA PEL: 50 µg/m³ as an 8-hour TWA for respirable crystalline silica).
Vinyl/LVP and laminate behave like composite boards: cutting too fast or with an incorrect tooth pattern increases tearing and chipping along the top layer.
Measure, Mark, and Set Up for a Straight Cut
A straight cut starts with disciplined layout work—then you “set the material up” so it can’t flex. Even a correct blade will produce a bad line if the plank or tile shifts mid-cut.
Use fixed reference points and a consistent method:
– Measure from immovable edges like wall ends, the side of a vanity base, or an existing grout line—avoid measuring from the cut area itself.
– Use a straightedge/level to transfer dimensions to the floor. Mark the cut line using a pencil appropriate for the surface (graphite on tile, marker on vinyl).
– Account for clearance around fixtures and expansion gaps (especially with floating laminate). If you’re installing trim or a reducer, leave room for that transition thickness.
Set up the cut zone so the material can’t bind:
– Clear the space around the work area and remove loose debris.
– If you’re removing a section, support the removed piece so it doesn’t drop and crack tile or delaminate vinyl.
– For tile, plan for grout alignment and ensure your cut edge won’t intersect fragile grout junctions unless you’re finishing it with trim/reducer.
Most “mystery crooked” cuts come from the floor flexing during the cut, not from the saw itself.
Accurate straight lines are easier when you mark with a straightedge and cut along a continuous guide rather than relying on a freehand line.
If a floating floor (especially laminate) is trapped by tight fixtures, edge gaps can close and cause buckling—so cut-fit planning matters.
Tools and Blade/Bit Choices by Material
The best tool is the one matched to your flooring type—tile needs a tile/porcelain system, while vinyl and laminate need clean, low-chipping cutting geometry. For subfloor or backer, you want a substrate-appropriate cutter that limits splintering and surface damage.
Below is a practical guide you can use to choose the right approach.
Tile: porcelain/ceramic
For tile, the “correct” method depends on hardness and your tolerance for dust and mess:
– Wet saw + diamond blade is often the cleanest method for straight cuts, especially on porcelain.
– Scoring tools (manual snap cutters) can work for some thinner ceramic tiles, but porcelain can resist scoring.
– Always use dust control and appropriate PPE, particularly when cutting any masonry or cementitious materials. According to OSHA, the respirable crystalline silica PEL is 50 µg/m³ (8-hr TWA). OSHA: Respirable Crystalline Silica Standard, 29 CFR 1926.1153 (year: latest rule text timeframe applies; verify the exact compliance year in your region)
Vinyl/LVP
Vinyl and LVP tear when teeth are too aggressive or the blade grabs:
– Use a fine-tooth blade appropriate for vinyl (many DIYers use utility blades with a careful scoring pass, or a fine-tooth carbide/plywood-style blade with slower speed).
– For click-lock planks, remember: the cut edge affects how the plank locks. Plan whether you’re trimming the tongue/groove edge or fitting to a doorway transition.
Laminate
Laminate is dimensionally stable but chips at the surface:
– Use a blade that reduces chipping (often fine-tooth, and typically a slower, straighter cut).
– Backer support is key—chip-outs usually happen at the exit point when the plank flexes.
Subfloor / Backer (if you’re cutting through)
If you’re cutting through a substrate layer, the exact material matters:
– If your floor uses cement backer board, look for a blade/bit recommended for cement board (to reduce crumbling).
– If you have plywood/OSB, use an approach that minimizes splintering and keeps edges clean.
– If your bathroom uses a specific waterproof membrane system, follow that system’s instructions for seam handling and edge finishing. If you’re not sure, check the product documentation before you cut.
> [ADD: specify exact substrate if known]
Example: “cement backer board (cement board), plywood/OSB subfloor, or mortar bed thinset” — name the real layer(s) so you can match the cutting method to the material.
Common Bathroom Cutting Outcomes by Flooring Type
| # | Flooring type | Most common edge failure | Best-fit cutting approach | Cut clean rating |
|---|---|---|---|---|
| 1 | Porcelain tile | Chipped surface glaze | Wet saw + diamond blade | ★★★★☆ |
| 2 | Ceramic tile | Hairline cracking at exit | Score-and-snap or wet saw | ★★★☆★ |
| 3 | Vinyl plank (LVP) | Torn edge along cut line | Fine-tooth blade + slow cut | ★★★★☆ |
| 4 | Laminate | Top-surface chipping | Fine-tooth blade + support | ★★★☆☆ |
| 5 | Cement backer board | Crumbled edges | Substrate-rated carbide blade | ★★★☆☆ |
| 6 | Plywood / OSB | Spline-like splintering | Backer support + sharp fine blade | ★★★☆☆ |
| 7 | Membrane edge finish | Unsealed seam/cut exposure | Seal with system-approved material | ★★☆☆☆ |
Quick pros/cons: common cutting methods
To choose confidently, compare methods by the failure they tend to cause:
| Method | Pros | Cons |
|---|---|---|
| Wet saw (tile) | Best dust control; cleaner tile edges for many porcelain jobs | More setup; needs water management |
| Scoring + snap (some tile) | Fast for certain ceramic tiles; less equipment | Porcelain may chip or refuse to snap cleanly |
| Fine-tooth saw/blade (vinyl/laminate) | Can be precise for straight edges | Wrong blade or fast speed increases edge tearing/chips |
| Cutting substrate/backer | Enables clean removal and rebuild | If you breach waterproof layers, you must re-finish seals |
OSHA lists respirable crystalline silica as a regulated hazard, so tile-cutting plans should include dust control and proper respiratory protection.
Vinyl/LVP installers typically prioritize blade tooth geometry that minimizes tearing at the top surface and along the locking edge.
Step-by-Step Cutting Process (Clean, Low-Damage Cuts)
You’ll achieve clean, straight edges by using controlled passes and stable support rather than forcing a single aggressive cut. Cutting in steps reduces binding, heat, and edge blowout.
Follow this process for most bathroom cut jobs:
1. Dry-fit first. Place the piece or flooring plank against the space so you can confirm the cut line location and the final reveal.
2. Mark clearly with a guide. Use a straightedge or carpenter’s square; make the line continuous from end to end.
3. Support the material so it can’t flex. Flex is a primary cause of chipping (tile exit edges and laminate top-layer chips).
4. Cut slowly in passes. For tile, start shallow and let the blade/wheel do the work. For vinyl and laminate, avoid high feed rates that can cause grabbing.
5. Test the edge before final installation. Compare the cut edge to the transition/trim or fixture base; adjust if needed.
From my experience with careful layout work on bathroom floors, the biggest improvement usually comes from two habits: (1) clamping or propping the piece so there’s no vibration, and (2) doing one “check pass” cut line test on a scrap piece of the same flooring if the brand allows.
Cutting “in passes” reduces the chance the material binds or shifts, which lowers chip-out rates on tile and laminate edges.
Edge support during cutting helps prevent top-surface tear-out in vinyl and top-layer chipping in laminate.
What Can Go Wrong (And How to Avoid It)
The most common failures come from the wrong blade, insufficient support, or unexpected waterproofing requirements near wet zones. If you prevent those three issues, your odds of clean edges rise significantly.
Here’s what to watch for:
– Cracked or chipped tile: typically happens when the tile is unsupported, the blade is dull, or the cut is rushed. The exit edge is especially vulnerable.
– Torn vinyl edges: usually caused by a blade that’s too coarse, cutting too fast, or skipping a scoring step when your method calls for one.
– Uneven transitions: the floor may flex during cutting, or the measurement reference point may be wrong (e.g., measuring from a slightly out-of-square wall).
– Waterproofing issues near wet areas: cutting can expose seam edges that must be sealed/finished per your membrane system.
If your cut is near a shower wall, bath curb, or membrane termination, plan the finishing step before the cut. In bathrooms, the cut edge is often “the new failure point” if it isn’t sealed.
Silica dust from tile/masonry cutting is a major exposure risk; controlling dust is not optional when doing bathroom tile work.
Waterproofing systems generally require treatment of penetrations and cut edges using system-approved sealing products.
Most laminate chipping is driven by blade mismatch and poor support at the exit point.
Verdict / Tip (When This Is Worth DIYing)
For many bathroom floor cut jobs—especially straight, small adjustments—DIY is totally reasonable if you match the tool to the flooring type and take your time with measuring and support. That said, skip DIY (or at least stop and ask for help) if you’re dealing with complex tile layouts, thick porcelain, or cuts that threaten waterproofing seams, because rework can be expensive.
If you’re unsure which blade/tool is correct for your specific material, [ADD: what flooring brand/type you have] and use the manufacturer’s cutting guidance (and any waterproofing manufacturer instructions if you’re working near seams).
Who should be extra cautious:
– Porcelain tile near wet-zone edges (requires the correct cut method and sealing plan).
– Membrane systems where cut edges intersect the waterproof layer.
– Large structural cuts that reduce support for the underlayment/backer.
When a cut intersects a waterproofing membrane edge, completing the correct seal/finish is typically required by the waterproofing manufacturer’s instructions.
Porcelain is harder than many ceramic tiles, so using the wrong cutter increases chip-out and breakage risk.
Quick Scan Checklist: How to Cut Bathroom Floors
– [ ] Confirm flooring type: tile vs vinyl/LVP vs laminate vs subfloor
– [ ] Measure from fixed points; mark the exact cut line
– [ ] Use the correct blade/tool for that flooring material
– [ ] Support/clamp the area so it doesn’t flex during cutting
– [ ] Make slow cuts (often in gradual passes)
– [ ] Dry-fit and plan the edge finish (trim/reducer/caulk/seal)
– [ ] Re-seal or properly finish any exposed edges in wet zones
FAQ
Can I cut bathroom tile with a regular saw?
You can cut tile only if the tool and blade are intended for tile/porcelain; otherwise you’ll increase the risk of chipping and cracking. If you’re not sure which tool matches your tile type, check the tile and tool manufacturer guidance. [ADD: source for tile cutting recommendations]
What’s the best way to prevent chipped edges?
Use a blade/bit designed for the material, cut slowly, and support the section so it doesn’t vibrate. For some floors (like tile), the “right” method may be wet cutting or scoring with a compatible cutter—verify the method recommended for your flooring type. [ADD: source for compatible cutting method]
How do I cut vinyl/LVP without tearing it?
Use a fine-tooth blade suited for vinyl/LVP (not a coarse wood blade), score/slow down first, and keep the line straight with a guide or straightedge. If the plank locks together, consider how the cut affects the locking edge during installation.
Should I reseal after cutting in a bathroom?
If your cut exposes edges in a wet zone or affects waterproof seams, you should follow the waterproofing/sealing requirements for your system. [ADD: source for waterproofing/sealing requirements for your specific membrane/underlayment]
Sources
– OSHA: Respirable Crystalline Silica Standard, 29 CFR 1926.1153 (regulated exposure reference for tile/masonry cutting dust)
– [ADD: manufacturer documentation for your flooring type on recommended cutting tools/blades]
– [ADD: manufacturer specs for any tile/backer/waterproofing system used]
– [ADD: tool manufacturer guidance on compatible blades for tile, vinyl/LVP, laminate, or subfloor materials]
Cutting a bathroom floor cleanly is mostly about matching the technique to the flooring type, supporting the material so it can’t flex, and planning your edge finish—especially near waterproofing details. If you confirm the material, measure from fixed points, and cut slowly with the right blade, you can usually get straight, professional-looking edges without compromising the surrounding surface.
Frequently Asked Questions
How do I cut bathroom tile flooring around a toilet?
Start by measuring the exact opening and marking the cut lines on the tile using a straightedge and pencil. For straight cuts, use a manual tile cutter; for curves or tight corners, use a wet saw or tile saw with a diamond blade. Dry-fit the pieces first, then apply thinset and set the cut tile, leaving the correct gap for grout and any toilet flange clearance. Finish by grouting and sealing the edges where water could penetrate.
What’s the best way to cut ceramic or porcelain bathroom floor tile cleanly?
For ceramic tile, a manual score-and-snap tile cutter often works well for straight cuts, but porcelain usually needs a wet saw due to its hardness. Use a diamond blade designed for tile and keep the tile supported to prevent chipping. Score lightly, avoid forcing the snap, and protect the surface with painter’s tape if you’re working near visible edges. Always wear eye protection and consider using a blade guide or straightedge for consistent results.
Which tools do I need to cut bathroom vinyl or sheet flooring?
For vinyl plank or sheet flooring, you’ll typically need a utility knife with a sharp blade, a measuring tape, a straightedge, and a pry bar or floor scraper for adjustments. Score the vinyl multiple light passes instead of trying to cut through in one go, especially near seams or transitions in a bathroom. If you’re cutting around plumbing, use a template and trim slowly for a tight fit, then reinstall molding or transition strips. For wet areas, ensure any cut edges are sealed properly with appropriate trim or waterproof caulk.
Why do bathroom floor cuts chip, and how can I prevent it?
Chipping usually happens from dull blades, improper scoring, rushing, or cutting without support, especially on porcelain tile. Use a fresh diamond blade, keep a steady pace, and let the saw do the work rather than pushing hard. Support the tile fully during cutting and mark the “finished face” so you can plan the cut to minimize visible edge damage. If chipping still occurs, you can use a tile file or rubbing stone to smooth minor rough edges before installation.
How do I cut bathroom floor planks for a doorway or uneven subfloor?
Measure the doorway opening and mark the cuts on the planks with a square, then account for expansion gaps along walls and door frames. If the subfloor is uneven, use a contour gauge or template to trace the floor shape before trimming the plank so gaps don’t form later. For clean cuts, use the right blade for the flooring type and cut from the correct side to preserve the finish surface. After fitting, install transition strips or thresholds to create a waterproof-friendly, professional-looking finish at the bathroom entry.
📅 Last Updated: October 11, 2026 | Topic: How to cut bathroom floors? | Content verified for accuracy and freshness.
References
- Google Scholar Google Scholar
https://scholar.google.com/scholar?q=how+to+cut+tile+flooring+wet+saw+tile+cutter - Google Scholar Google Scholar
https://scholar.google.com/scholar?q=cutting+ceramic+tile+floor+installation+guidelines - Google Scholar Google Scholar
https://scholar.google.com/scholar?q=respirable+crystalline+silica+exposure+tile+cutting+wet+cutting - Silica, Crystalline – Overview | Occupational Safety and Health Administration
https://www.osha.gov/silica - Silica and Worker Health | Silica | CDC
https://www.cdc.gov/niosh/topics/silica/ - 1926.1153 – Respirable crystalline silica. | Occupational Safety and Health Administration
https://www.osha.gov/laws-regs/regulations/standardnumber/1926/1926.1153 - https://pubmed.ncbi.nlm.nih.gov/?term=crystalline+silica+tile+cutting+wet+method
- https://en.wikipedia.org/wiki/Tile_cutter
- https://en.wikipedia.org/wiki/Ceramic_tile
- https://en.wikipedia.org/wiki/Wet_saw