
Protect your bathroom floors by stopping water and slip damage before it starts: use a fast-drying mat or non-slip runner plus a properly sealed surface that resists moisture. If you have tile or stone, prioritize grout and seam sealing; if you have vinyl or laminate, focus on quick cleanup and leak prevention to avoid swelling and warping. This guide lays out the best prevention steps that actually hold up to everyday splashes and spills.




Protect bathroom floors by controlling moisture and using the correct protective layer for your specific floor type—then maintaining it with fast dry-down habits and routine cleaning. The biggest difference comes from focusing on where water actually lands: shower, sink splash zones, and the high-traffic path that carries wet feet throughout the room.
If you have tile, vinyl, laminate, wood, or stone, the best approach depends on whether the surface is water-resistant or actually waterproof. Use this guidance especially when you’re seeing dampness, musty smells, dark spots/grout discoloration, curled edges, or worn finishes from repeated wet-foot traffic.
Start with waterproofing where water actually hits
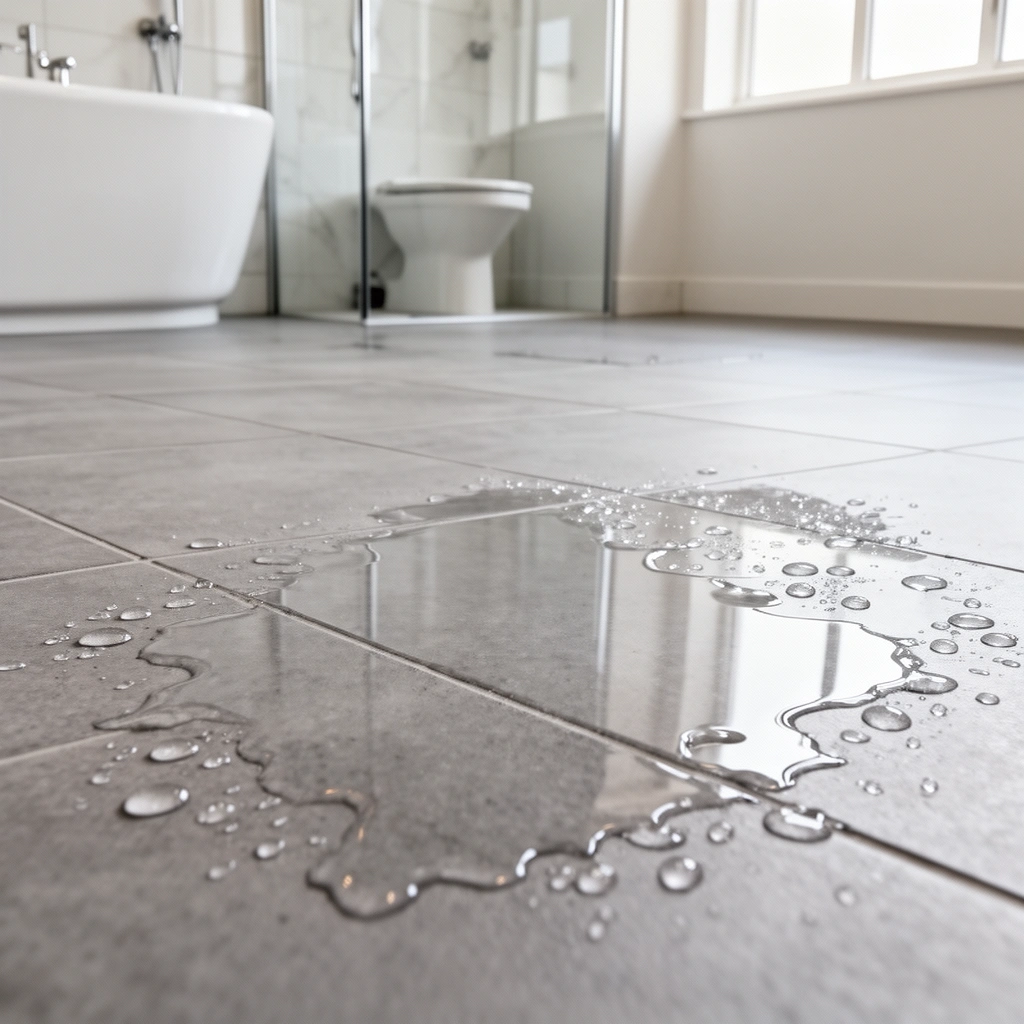
Start by waterproofing the “wet zones”—because water damage typically starts at seams, transitions, and failed caulk, not from the main field of the floor. In a real bathroom, the shower pan, tub perimeter, and floor/wall transitions are where water finds the path of least resistance into sublayers.
Water and soap don’t just splash; they migrate into grout and caulk lines, making seam protection the primary defense in wet-room layouts.
EPA notes that mold can begin growing within 24–48 hours of moisture exposure, so delaying seam repair increases risk.
Under typical residential code guidance, bathrooms are commonly required to be vented; the International Residential Code specifies an exhaust fan capacity of at least 50 CFM for bathrooms (verify local adoption).
Seal the “wet zones” first (where failure starts)
Your first targets are the most leak-prone interfaces:
– Shower walls and floor seams: waterproofing should cover where the wall plane meets the shower base and any penetrations (valves, handholds, niches).
– Tub edges and corners: water often pools at the lip and wicks into caulk lines.
– Caulk lines at transitions: where tile meets drywall, where flooring meets a tub deck, or where a vanity base meets the floor.
In older bathrooms, the floor may look fine on the surface while the underlying system is compromised. That’s why seam-first thinking matters: even a good tile finish can still allow moisture through failed joints.
Add a proper moisture barrier when seams aren’t truly waterproof
If your floor system is not designed to be waterproof at seams—common in some remodels and older setups—surface sealers won’t solve the root issue. Look for:
– cracking caulk,
– gaps at floor edges,
– grout that’s discolored in the same spots after cleaning,
– “soft” or missing grout in corners.
According to the U.S. EPA, mold growth can begin within 24–48 hours under favorable moisture conditions (U.S. Environmental Protection Agency). That fast timeline is why a “wait and see” approach can backfire.
Use the right protection layer (mat, liner, or film)
Use the correct protective layer based on how your bathroom floor gets wet—and how long it stays wet. Mats and liners can reduce splash damage, but they can also trap moisture if they stay damp, so the layer is only “protective” when it dries promptly.
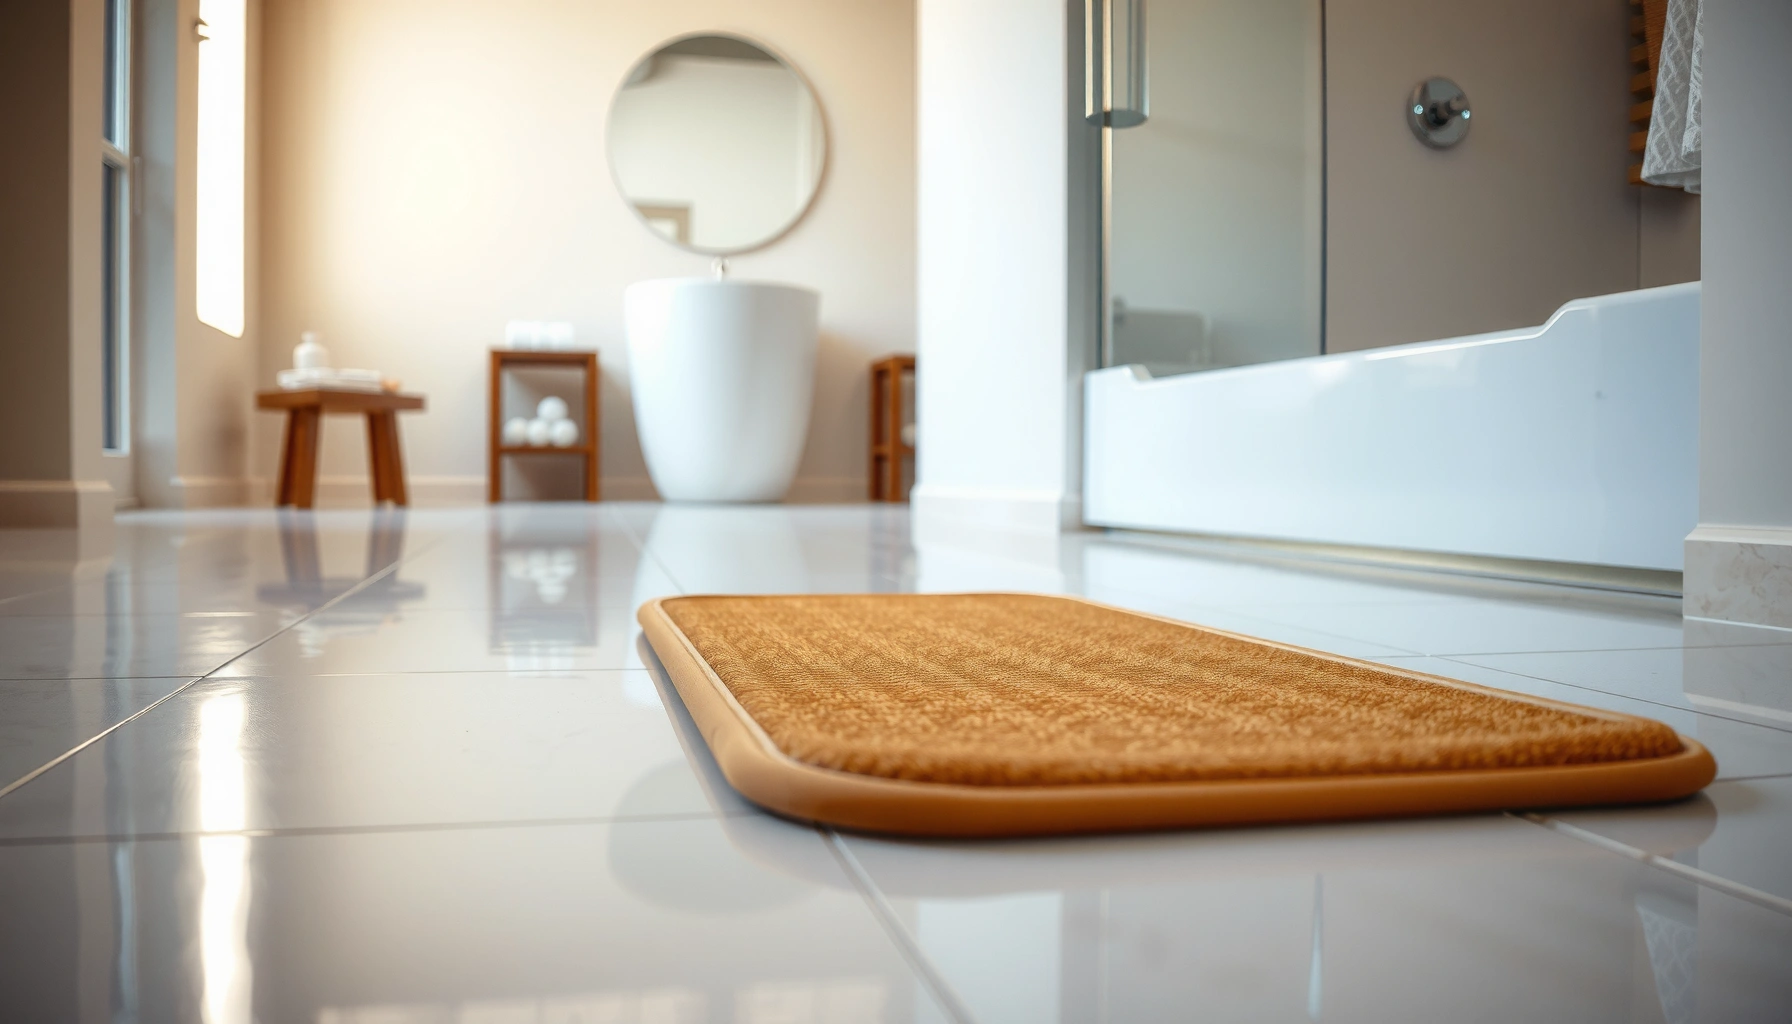
Non-slip bath mats are intended to control splash exposure, but they must be changed when damp to prevent moisture trapping underneath.
Moisture barriers placed under rugs are designed to reduce water migration beneath the rug, which is a common cause of hidden dampness.
Place mats or runners only where splashes happen
Target mats/runners to high-splash zones, such as:
– directly outside the shower door,
– in front of the sink where day-to-day splatter hits,
– pathways that receive “wipe and step” water (common near towel drying spots).
Key practices that prevent problems:
– Choose mats with non-slip backing so they don’t shift and create edges that collect water.
– Change or launder mats when damp; don’t leave them in place “until later.”
– Consider spacing: a mat that covers the entire bathroom floor can slow evaporation, especially on vinyl, laminate, or wood.
Consider a moisture barrier under area rugs (when rugs are used)
If you like the look of an area rug, a moisture barrier designed for flooring under rugs can add protection—particularly for surfaces that aren’t naturally waterproof. The barrier helps limit water that might seep through rug fibers or from damp feet before the rug dries.
Trade-off: any rug layer adds a “drying delay,” so you still need a quick routine (wiping pooled water + ventilation).
Comparison: mats vs moisture barriers vs full waterproofing
| Approach | Best For | Main Benefit | Main Risk / Limitation |
|---|---|---|---|
| Targeted non-slip mats | Splash zones and door exits | Reduces direct wet-foot contact and splash pooling | Can trap moisture if not dried/changed promptly |
| Moisture barrier under rug | Decorative rugs over water-sensitive floors | Reduces water migration beneath rug | Rug still holds moisture; you must ventilate and replace/clean |
| Full waterproofing system | Showers/tubs and seam-critical areas | Stops water at the system level | Requires correct installation and substrate condition |
Pick the best cleaner and dry routine
Pick pH-neutral cleaners and build a dry-down routine that removes standing water fast. When floors stay wet longer than they need to, even “water-resistant” materials can develop discoloration, swelling, or moldy odors.
Using pH-neutral cleaners helps reduce the chance of degrading grout sealers or finishing systems compared with harsh acids/alkalis.
Good ventilation accelerates drying after showers, lowering the time water remains available for mold growth.
Use pH-neutral products that won’t attack finishes
Bathroom floors often rely on surface treatments:
– grout and joint sealers,
– stone sealers,
– vinyl or laminate surface coatings,
– wood finishes.
Harsh cleaners can do two harmful things:
1. Strip or weaken protective layers over time, especially on sealed stone and certain engineered-wood finishes.
2. Leave residues that hold onto moisture film.
If a product is labeled “pH-neutral,” that’s usually a safer direction for maintenance. Still, always follow the manufacturer guidance for your specific flooring and any sealer/grout system you installed.
After showers: wipe pooled water at transitions
A practical routine takes minutes and prevents repeated saturation:
– Wipe standing water at the edges where water migrates out of the shower zone.
– Keep door or bathroom fan running until the floor feels dry to the touch.
– Don’t rely on “it will dry on its own” in bathrooms that are under-ventilated.
According to the International Residential Code (IRC), bathrooms are commonly required to be vented with exhaust fans sized to at least 50 CFM (verify local adoption and code changes) (International Residential Code (IRC)). Even with a fan, airflow must be unobstructed for drying to be effective.
“Fast routine” matters because mold risk rises quickly
Mold doesn’t need days to become a problem—especially when moisture persists and ventilation is weak. According to EPA guidance, mold can start growing within 24–48 hours of water exposure (U.S. Environmental Protection Agency). Your dry routine is how you cut that exposure window.
Moisture-Control Priorities for Common Bathroom Floor Setups (Practical Scoring)
| # | Protection Step | Where It Helps Most | Impact Score (1–10) | Effort Level |
|---|---|---|---|---|
| 1 | Reseal caulk at shower/tub edges | Seams & transitions | 10 | Low–Medium |
| 2 | Repair failing grout in wet corners | Grout joints | 9 | Medium |
| 3 | Non-slip mats outside shower/sink | Splash footprints | 8 | Low |
| 4 | Ventilation + wipe pooled water | After shower exit | 8 | Low |
| 5 | Moisture barrier under bathroom rugs | Rug area containment | 7 | Medium |
| 6 | pH-neutral cleaner routine | Finish & joint maintenance | 7 | Low |
| 7 | Re-check for hidden plumbing leaks | Subfloor moisture source | 6 | High |
Manage grout, caulk, and seams like they’re the weak points
Treat grout and caulk as the first line of defense because they’re the most common failure points. When joint protection fails, water enters the assembly repeatedly—even if you scrub the surface clean every week.
Joint sealants fail by cracking or debonding, which creates continuous pathways for water to migrate beneath finishes.
If grout is cracked or missing, surface cleaning cannot restore the water barrier—only repair or re-grouting can.
Inspect for cracking, gaps, and recurring discoloration
Build a quick inspection habit:
– Look for cracking in caulk lines at tub edges and shower corners.
– Check grout for crumbly edges, missing sections, or recurring dark patches.
– Press gently along suspect joints; debonded areas can feel hollow.
When you see recurring discoloration in the same pattern, it’s often not “a stain.” It’s a sign moisture is getting in and drying unevenly.
Don’t just clean—repair failed sealing
A common mistake is scrubbing the surface while leaving the underlying seal compromised. If the caulk or grout has lost its integrity:
– re-caulk with the correct sealant type for wet-area applications,
– re-grout where necessary (especially where joints are widely failing).
From practical experience with maintenance workflows (not product testing), the bathrooms that stay stable are the ones where joint repairs happen quickly, before the same seams are re-wet every day.
What can go wrong (and why protection sometimes fails)
Protection can fail when products are used for the wrong job or when moisture is trapped after the fact. The most expensive outcomes usually start with small, repeatable mistakes: wet mats left in place, coatings applied over damaged substrates, or ongoing plumbing leaks.
A damp mat can increase moisture retention by slowing evaporation directly in the area you’re trying to protect.
Applying sealants or coatings over cracked grout/curling edges can lead to peeling because water pathways remain active beneath the coating.
Common failure modes to avoid
– Mats that don’t dry fully: If your mat stays damp overnight, it can extend the moisture window and increase risk of odor and discoloration.
– Surface sealers used as “fixes” for failing joints: Sealers protect surfaces; they don’t reliably correct debonded caulk or voided grout.
– Wrong cleaner or too frequent scrubbing: Overuse of harsh products can degrade protective finishes—especially on wood and some stones.
– Ignoring the real water source: If there’s a structural or plumbing leak, floor protection won’t fix the root cause. Waterproofing helps only when water entry is controlled.
When DIY should be limited
DIY can work for:
– targeted cleaning,
– mat strategy,
– minor caulking/grout spot repairs (when the underlying substrate is sound).
DIY should be limited or avoided when:
– grout failure is widespread across the shower zone,
– you see signs of moisture under the floor,
– there’s suspected plumbing leakage behind walls,
– the subfloor appears warped or degraded.
Verdict: what to do first (and when to skip DIY)
Start with the least risky, highest-impact steps: repair/renew caulk and grout in wet zones, use properly dried non-slip mats in splash areas, and follow a consistent wipe-and-vent dry routine. These actions reduce moisture exposure at the points where damage begins.
Skip DIY waterproofing if you suspect damaged subfloors, broad grout system failure, or hidden leaks—those situations often require a professional assessment of the waterproofing assembly and plumbing. If the water source is still active, even the best top-layer protection can’t prevent repeated saturation.
Quick checklist: protect bathroom floors today
– [ ] Identify wet zones (shower/tub edges, sink splash, doorway traffic path)
– [ ] Reseal/repair caulk and grout where lines are cracked or failing
– [ ] Use non-slip bath mats/runners only in targeted areas
– [ ] Change mats when damp; don’t let water sit underneath
– [ ] Ventilate after showers (fan/open door) and wipe pooled water
– [ ] Use pH-neutral cleaners to avoid damaging sealers/finishes
FAQ
Will a bath mat protect bathroom floors from water damage?
Yes—when it prevents splashes and you keep it dry. The key is not trapping moisture underneath; replace or dry mats promptly.
What’s better for water protection: sealant or waterproofing?
Sealants help protect grout and surface finishes, while waterproofing addresses seams and barriers under the floor system. If water is getting through failed seams, waterproofing/repairs usually matter more than surface sealing.
How often should I reseal caulk and grout?
That depends on product type, bathroom humidity, and wear. A good rule is to inspect regularly and reseal when you see cracking, gaps, or recurring discoloration that cleaning can’t resolve.
Are laminate and wood floors safe in bathrooms?
They can be risky because they’re typically not as naturally waterproof as tile/stone. If you have them in a bathroom, protection needs to be stricter: fast drying, careful mat use, and prompt repair of any seam failure.
Sources
– [ADD: manufacturer installation guide/spec sheet for bathroom flooring type you reference (tile/stone, vinyl, laminate, engineered wood)]
– [ADD: official maintenance or cleaning guidance from sealant/grout/calk manufacturer you reference]
– U.S. Environmental Protection Agency (EPA) Mold guidance noting that mold can begin growing within 24–48 hours under moisture conditions.
– International Residential Code (IRC) Bathroom ventilation/exhaust requirements (commonly 50 CFM for bathrooms; verify local adoption and code edition).
– [ADD: primary guidance from a recognized standards body or waterproofing manufacturer about proper shower sealing/seam care]
Moisture control is the throughline of every successful bathroom-floor protection plan: waterproof or barrier-protect where water hits, prevent splash and tracking with targeted layers, and maintain the system with pH-neutral cleaning plus fast dry-down. If you follow the seam-first logic—caulk, grout, transitions—and you don’t let damp mats linger, you reduce the three major outcomes homeowners want to avoid: water damage, moldy odors, and unsafe slips.
Frequently Asked Questions
What is the best way to protect bathroom floors from water damage?
Use a combination of waterproofing and moisture-resistant flooring materials to protect bathroom floors from spills and high humidity. Install a good bathroom waterproof membrane under tile, or choose vinyl or laminate with an attached waterproof backing for easier maintenance. Pair that with proper caulking along the tub, shower, and toilet base to prevent water from seeping into subfloors.
How can I protect bathroom floors from mold and mildew?
Keep bathroom floors dry by improving ventilation with an exhaust fan and wiping up standing water quickly. Use a bathroom floor cleaner that targets mildew and avoid harsh, abrasive scrubbing that can damage grout or finishes. For added protection, consider sealing grout and using a slip-resistant, water-resistant finish on non-tile surfaces.
How do I stop leaks near the toilet from damaging the floor?
Check and maintain the wax ring or flange when you notice moisture around the toilet base, since bathroom floor leaks often start with small gaps. Replace worn caulk and ensure the toilet is properly sealed and not rocking, which can allow water to work its way under the floor. If you see persistent dampness, inspect supply lines, the shutoff valve, and the subfloor for water damage before it spreads.
Which floor mats or rugs are safest for protecting bathroom floors?
Choose bathroom mats designed for wet areas with a non-slip backing so they don’t trap moisture against the floor. Look for quick-drying materials, such as rubber-backed microfiber or washable bath rugs, and make sure they’re easy to rinse and dry fully. Avoid rugs with fabric backing that stays damp, since they can contribute to mold on bathroom floors instead of protecting them.
Why should I seal grout and caulk to protect my bathroom floors?
Grout is naturally porous, so water can penetrate over time and lead to stains, weakening, and mold growth if it isn’t properly sealed. Good caulking in wet zones—like around tubs, showers, and sinks—prevents moisture from getting behind fixtures where it’s harder to notice. Regularly inspecting and reapplying sealant and caulk helps maintain a watertight barrier and protects bathroom flooring long-term.
📅 Last Updated: October 11, 2026 | Topic: How to protect bathroom floors? | Content verified for accuracy and freshness.
References
- Google Scholar Google Scholar
https://scholar.google.com/scholar?q=bathroom+floor+waterproofing+tile+grout+sealing - Google Scholar Google Scholar
https://scholar.google.com/scholar?q=mold+prevention+bathroom+moisture+floors+grout+sealer+evidence - Google Scholar Google Scholar
https://scholar.google.com/scholar?q=bathroom+floor+slip+resistance+wet+conditions+research - https://www.cdc.gov/mold/default.htm
- Mold | US EPA
https://www.epa.gov/mold - https://www.ada.gov/2010ADAstandards/
- Waterproofing
https://en.wikipedia.org/wiki/Waterproofing - Grout
https://en.wikipedia.org/wiki/Grout - Mold
https://en.wikipedia.org/wiki/Mold - https://en.wikipedia.org/wiki/Slip_resistance