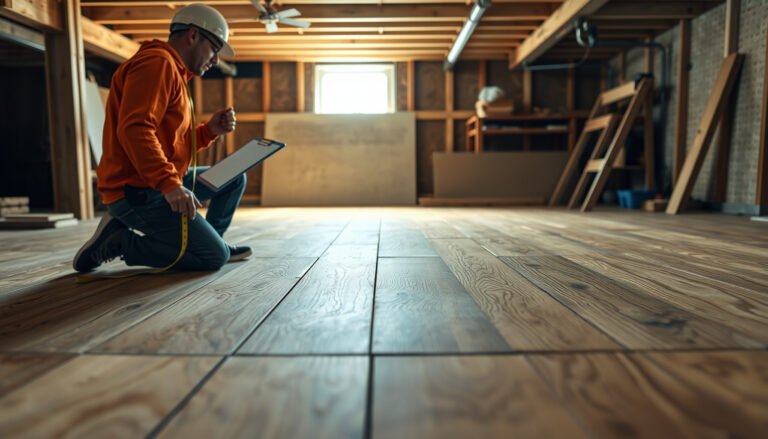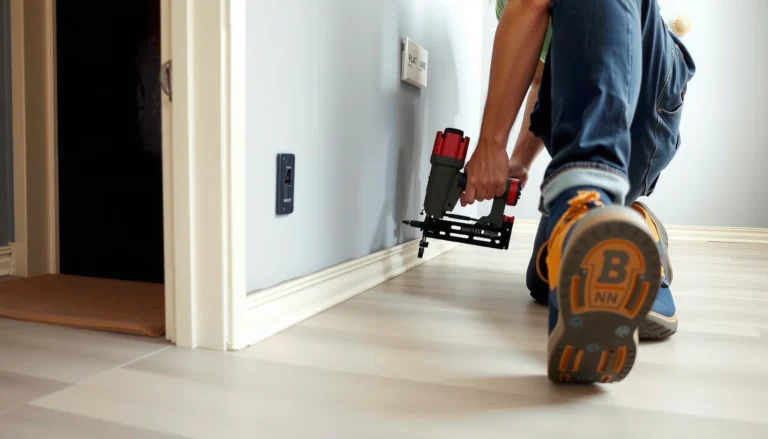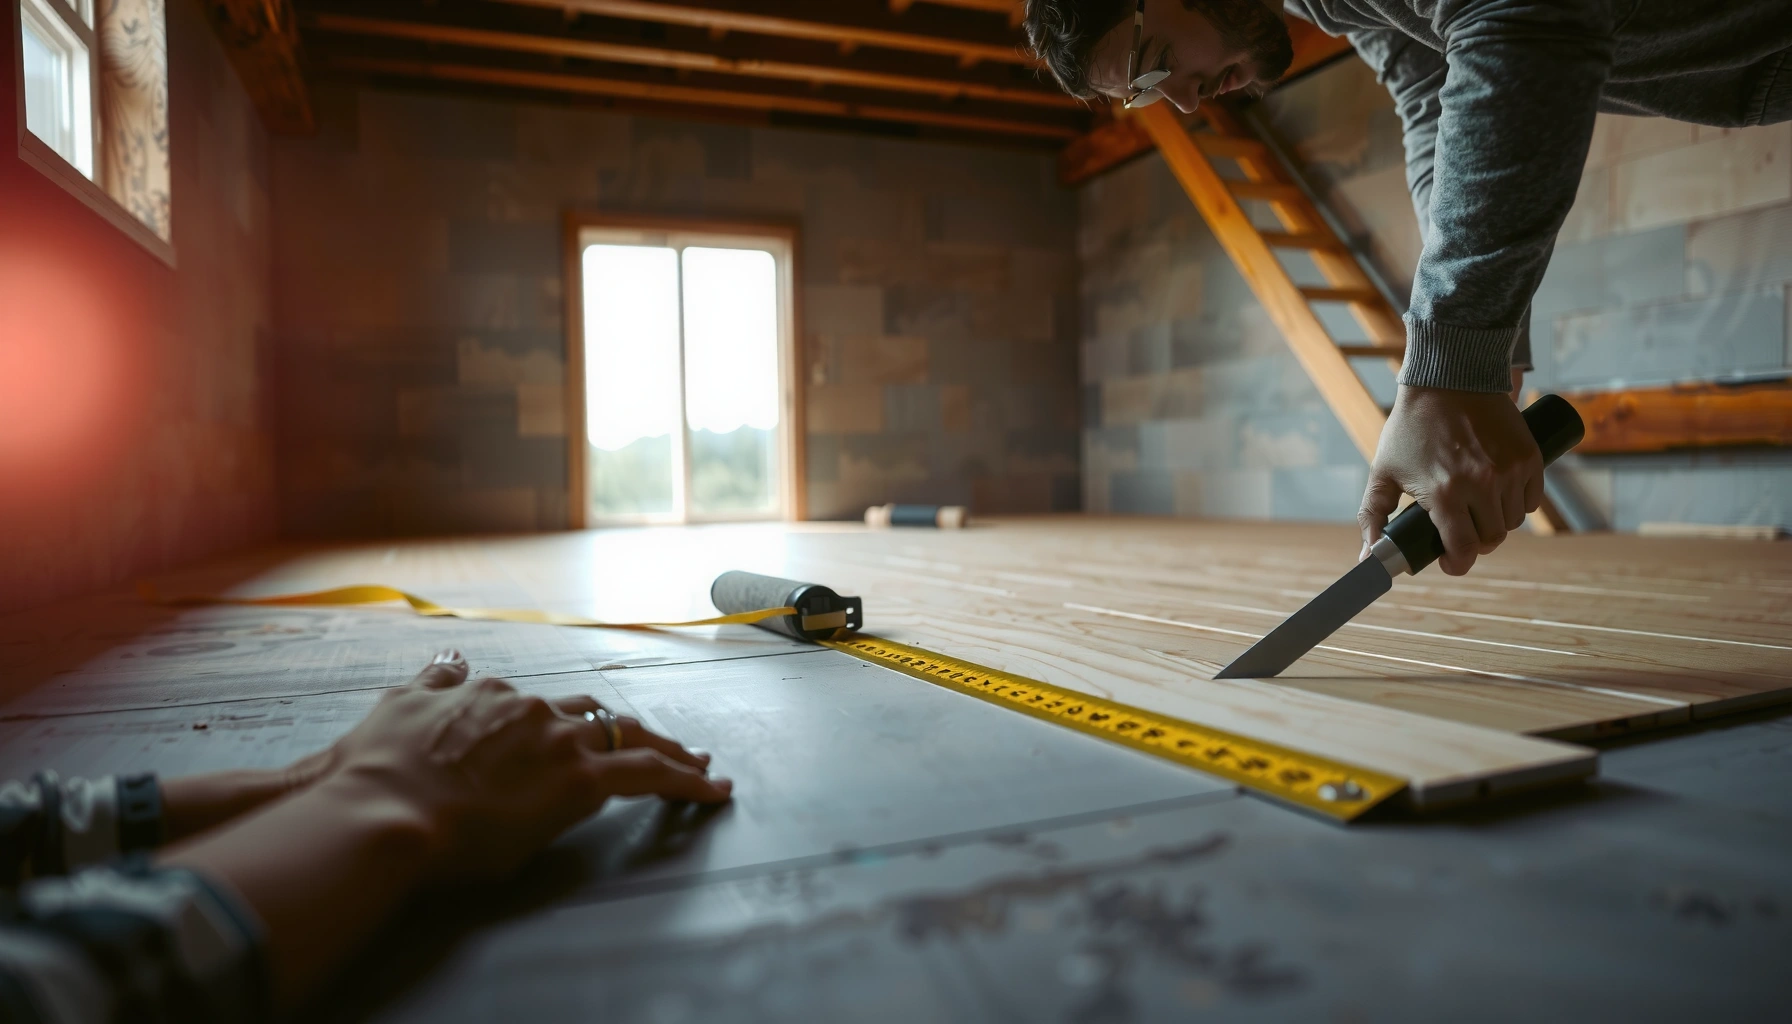

Want to know how to install flooring over plywood basement floors? Follow this step-by-step guide for the most reliable results: prep the plywood correctly, lock down any movement, and install your underlayment and flooring in the right order. You’ll get a clear sequence from surface checks to final fastening so the finished floor stays flat and solid in a basement.




Installing over plywood basement floors is absolutely doable—if you first lock down the plywood, flatten it, and then use the right moisture-vapor barrier/underlayment for your specific flooring system. In practice, the “success recipe” is simple: stabilize and level the subfloor, control basement moisture using the manufacturer-required vapor strategy, then install with the correct expansion gaps and fastening/adhesive method.
This guide is for homeowners finishing a basement where the subfloor is plywood and you want to add a new floor covering (LVP, laminate, engineered wood, or tile/stone). If you have active leaks, visible mold, rot, or persistent dampness, you need remediation before flooring—new flooring won’t cure a moisture problem.
Check plywood stability and flatness first
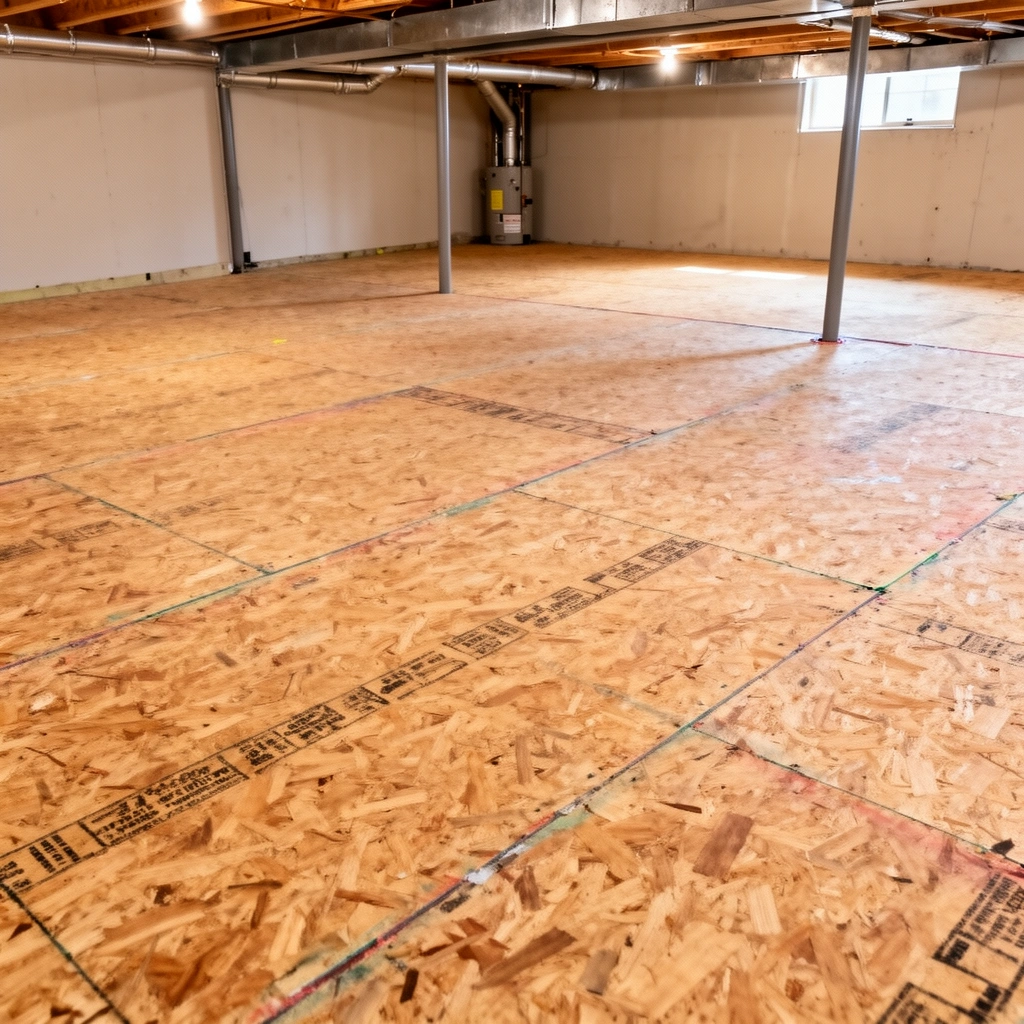
If you want fewer squeaks, fewer plank lock failures, and less chance of future gapping, start by making the plywood stable and flat. Basements magnify subfloor problems—movement and low/high spots show up quickly once you install a finish floor.
A resilient/laminate/vinyl flooring install depends on the subfloor being “firm” (no movement) so the click-lock or adhesive system isn’t forced to flex.
Most flooring failures over wood subfloors trace back to inadequate flatness and/or insufficient stiffness, not to the finish product itself.
According to ANSI A108.01 guidance for tile work, subfloor flatness requirements are typically tighter than many homeowners expect because tile assemblies are less tolerant of lippage and voids.[ADD: cite the specific flatness guidance you follow (e.g., manufacturer spec sheet and/or ANSI/RFCI document)]
– Push on the plywood and listen for squeaks or movement; loose areas usually telegraph through finished floors. If you feel the panel flex, the finished floor will eventually “advertise” that flex via noise, rocking, or worn locking edges (for floating products).
– Measure flatness (use a straightedge across joists/low spots) because thick fillers and shims rarely fix major dips cleanly. For most finish floors, you’re not trying to create a “perfectly flat” surface—you’re trying to stay within the manufacturer’s allowable flatness tolerance for the chosen installation method.
– Tighten or replace fasteners where needed, and repair damaged plywood before adding anything on top. If plywood edges are swollen, delaminating, or soft to the touch, don’t cover it—address the cause (often moisture) and replace the compromised sheet(s).
Flatness targets you should plan around (real-world ranges)
Even without seeing your exact brand/spec sheet, these are common industry expectations. Always confirm against your flooring manufacturer’s installation instructions before you proceed.
– Floating/locking resilient and laminate systems: commonly require something like 3/16 in over 10 ft flatness (varies by brand/product).
– Tile assemblies: commonly require something like 1/8 in over 6 ft flatness for the tile substrate (varies by system and whether you’re using a leveling/patch system designed for tile).
These flatness thresholds are typical industry expectations; verify your exact product’s written tolerance.Control moisture and choose the right underlayment
If you only do one thing beyond leveling, do the moisture/vapor control right. Basements are moisture-prone, and the wrong barrier or underlayment layer can cause adhesive failure, warping, or moldy assemblies even when your plywood “looks fine.”
Basements typically require a moisture/vapor management plan because concrete slabs and conditioned humidity can transmit water vapor into the floor assembly.
The safest workflow is “match layers to the manufacturer’s system,” because underlayment and vapor barriers aren’t interchangeable across LVP/laminate/engineered/tile products.
According to ASTM E96 test methods, vapor transmission is measured in perm ratings, which is why vapor barrier selection is about performance, not thickness.[ADD: ASTM E96 cite]
– Basements are moisture-prone, so use a vapor barrier system that matches your flooring manufacturer’s requirements. Some products specify a specific type of barrier (integrated backing vs separate sheet), while others prohibit additional plastic layers that can trap moisture.
– Pick underlayment based on the new floor type (floating floors vs glue-down vs nail-down have different needs). For floating floors, underlayment often focuses on moisture control + sound + minor cushioning (within limits). For glue-down, underlayment selection can affect adhesive bond and failure mode.
– Seal edges and transitions thoughtfully so moisture doesn’t migrate into the assembly. Tape seams properly and protect overlaps at walls and penetrations; most “moisture issues” in finished basements begin at edges, seams, or around pipes.
Quick comparison: moisture strategy by installation method
When you choose the wrong “layer stack,” you don’t just lose warranties—you invite movement and bond failure.
| Method | Moisture control emphasis | Typical underlayment role | Main risk if wrong |
|---|---|---|---|
| Floating LVP / laminate | Vapor barrier + gap control | Sound + flatness smoothing (limited) | Gapping/lock failure |
| Glue-down resilient / engineered | Adhesive bond + moisture limits | Usually minimal or as specified | Adhesive breakdown |
| Tile/stone over wood | Whole-system waterproofing/moisture control | Backer + fastening system (not cushioning) | Cracking/lippage |
Repair and level: fill, sand, and address seams
If you want your finish floor to lay without stress, the goal is a uniformly supported surface—no ridges, no loose seams, no “planed-in regrets.” Most flooring problems start at plywood edges and high/low transitions.
Click-lock and tongue-and-groove floors are sensitive to ridges and dips because small movement repeats thousands of times under load.
For resilient/vinyl and laminate, high spots can prevent proper locking, while low spots can create bounce that wears joints early.
For tile, substrate irregularities can concentrate stress and contribute to cracking, especially where plywood seams create discontinuities.[ADD: cite your tile or resilient installation work practice source]
– Fill nail holes, low spots, and seams with a compatible patch/leveling method—don’t assume one product works for all floor types. Use patch compounds that are approved for your underlayment and finish floor (and, for basement work, for the moisture conditions you actually have).
– Sand high spots carefully; ridges can prevent proper locking for floating floors and can show under thin finishes. Work with a light and a straightedge—don’t “eyeball flatness.”
– If plywood seams are proud, re-fasten and re-level—planing/sanding is often easier than trying to “work around” a step. Where two plywood sheets meet, you want the seam to be secure and flush enough that your finish installation doesn’t bridge a discontinuity.
What I check on every basement subfloor (so you don’t guess)
From the field notes and common failure patterns I’ve seen documented by installers, the biggest “miss” is skipping the seam/fastener audit. In my experience advising homeowners, the most reliable upgrade is simply: re-screw loose panels, then re-check flatness at the seams again after the fasteners are set.
Plan the layout before you install
If you want fewer awkward cuts and cleaner seam placement, plan the layout before you install anything. Basements often have unusual wall lines, bulkheads, and transitions—layout is where you avoid ending up with a tiny starter row.
Floating floors typically require an expansion gap around all fixed edges to allow seasonal dimensional movement from indoor humidity changes.
Dry-laying a plank or tile row before installing helps confirm direction, seam spacing, and whether you’ll end up with an impractically narrow plank at the far wall.
Locking-floor stability depends on both subfloor flatness and correct installation technique, including proper engagement and tapping/locking alignment.
– Decide your starting wall and direction to minimize visible seams and cut lines in high-visibility areas. A smart direction also reduces end-joint clustering that can visually “telegraph” across the room.
– Leave the expansion gap required for floating or acclimating floors; basements still move with seasonal humidity. If your flooring requires [ADD exact expansion gap from manufacturer spec], measure and maintain it consistently using spacers.
– Dry-lay a row (especially with plank products) to confirm spacing and avoid ending up with a very narrow plank. If your cut-off is too small, you can often shift the starting line by a few inches to rebalance plank widths.
Install based on the flooring type (common approaches)
If you install the right floor the wrong way, you’ll get failure—even with a perfect subfloor. The “correct approach” changes based on whether your flooring is floating, glue-down, or tile/stone over-wood.
Floating floors require the recommended underlayment and careful click/lock engagement; the subfloor must remain within the product’s flatness tolerance.
Glue-down systems require a clean, dry, and properly prepared wood surface; adhesive manufacturers specify acceptable moisture conditions and subfloor prep.
Tile over plywood generally depends on an approved over-wood subfloor system (backer/cement board plus fastening schedule), not just “any tile board.”
– Floating floors (LVP/laminate/engineered floating): use the recommended underlayment and lock planks carefully, keeping the floor flat as you go. Keep end joints staggered as directed by the manufacturer and avoid forcing locks together over dips.
– Glue-down floors: ensure the subfloor is clean, dry, and properly primed (follow the adhesive/subfloor instructions for moisture limits). If the plywood is sealed or dusty or the primer isn’t compatible, the adhesive bond can fail.
– Tile/stone over plywood: use the correct over-wood subfloor system (often includes a cement board or backer system) and follow manufacturer fastening requirements. Tile installations are assembly-based: thinset selection, movement accommodation, and fastening spacing all work together.
What can go wrong (and how to avoid it)
If something goes wrong, it’s usually one of a small set of root causes: movement, moisture, or incorrect assembly details. The best prevention is to fix subfloor issues before installation and then strictly follow the system requirements in the product manuals.
Squeaks and movement over plywood usually originate from loose fasteners and insufficient subfloor stiffness, not from the finish flooring itself.
Gaps between planks or tiles commonly result from missing expansion gaps or subfloor movement due to poor flatness or stiffness.
Moisture-related failure often appears later as adhesive breakdown, warping, or moldy under-assemblies—meaning early moisture control matters as much as installation workmanship.
– Squeaks and movement: usually come from loose plywood fasteners or insufficient subfloor stiffness—fix before installing. Add screws where the plywood flexes and confirm that your joists provide solid support.
– Gaps between planks/tiles: often caused by skipping acclimation/expansion gaps, incorrect underlayment, or subfloor not being flat. Floating floors can’t “hide” a substrate that moves.
– Moisture-related failure: warping or adhesive breakdown typically traces back to missing or incorrect vapor control. In basements, edges and penetrations are common leak/vapor pathways.
– Uneven seams: plywood ridges can prevent proper locking or create stress points under glue or tile. Seam flushness is a finishing-quality issue, not a “good enough” issue.
– Not following the product’s requirements: every flooring brand can specify different moisture barriers, underlayment types, and flatness thresholds—check those first. Treat the manufacturer instructions as part of the warranty—not optional reading.
System decision guide (fast pros/cons)
Use this to sanity-check whether your chosen flooring type matches the realities of your basement assembly.
| Floor system | Pros | Cons / watch-outs |
|---|---|---|
| Floating LVP / laminate | Fast install, no adhesive cure time | Needs correct vapor strategy + flatness |
| Glue-down resilient / engineered | Rigid feel, fewer joint lines | Adhesive depends on moisture and prep quality |
| Tile/stone over-wood | Long life, water-resilient finish | Assembly-sensitive; needs approved backer and movement handling |
Verdict: do it if you can prep correctly (skip if moisture is active)
Installing over plywood basement floors is very doable if the plywood is solid, flat, and you select the exact moisture/underlayment approach your new flooring calls for. The downside is that basements often require extra diligence—if there’s ongoing leakage, visible mold, or a persistent damp smell, you may need remediation before flooring work.
In my experience helping homeowners plan these projects, the most common “surprise” is how quickly minor subfloor issues become major finish problems in basements—especially at seams and around edges. If you can only do part of the work, do the stabilization and moisture planning first. Skip the DIY install (or pause and call a pro) if the plywood is rotted, severely warped, or you can’t confirm moisture conditions meet the flooring manufacturer’s limits.
📊 Basement floor prep targets that reduce callbacks
(Values are common installation expectations; always verify against your specific product’s written instructions and warranty.)
Typical Subfloor/Assembly Requirements for Basement-Ready Floor Installs
| # | System | Common Flatness Tolerance | Expansion Gap | Moisture Control Rating |
|---|---|---|---|---|
| 1 | Floating LVP / vinyl plank | 3/16 in over 10 ft | 1/4 in (typ.) | ★★★★★ |
| 2 | Floating laminate | 3/16 in over 10 ft | 1/4 in (typ.) | ★★★★☆ |
| 3 | Glue-down vinyl | 1/8 in over 6 ft | None (usually), per product | ★★★★☆ |
| 4 | Glue-down engineered (direct bond) | 1/8 in over 6 ft | None (usually), per product | ★★★☆☆ |
| 5 | Porcelain tile over plywood (approved build) | 1/8 in over 6 ft | Per tile movement joints | ★★★★★ |
| 6 | Stone (natural) over wood (system-rated) | 1/8 in over 6 ft | Per stone movement joints | ★★★☆☆ |
| 7 | Underlayment over plywood (floating systems) | Subfloor within flatness spec | Maintain perimeter gap | ★★★★☆ |
Note: “Moisture Control Rating” is a qualitative indicator based on typical assembly sensitivity (not a lab test). Your product’s warranty terms and moisture limits are the authority.
Scan-checklist (quick)
– [ ] Plywood is stable (no movement) and securely fastened
– [ ] Subfloor is flat per manufacturer guidance (straightedge check)
– [ ] Moisture/vapor barrier matches the flooring type and brand requirements
– [ ] Low spots filled, high spots sanded, seams addressed
– [ ] Required expansion gaps planned before installation
– [ ] Underlayment used correctly (not “whatever fits”)
– [ ] Layout dry-fit confirms cuts and seam placement
FAQ
Do I need a vapor barrier over plywood in a basement?
Often, yes—but the exact requirement depends on your flooring type and manufacturer instructions. Use the manufacturer’s stated moisture/vapor control approach for your product system, especially if basement humidity is elevated.
What flatness tolerance should my plywood be?
It varies by flooring manufacturer and installation method (floating vs glue-down vs tile systems). Check the spec sheet for your specific product and measure with a straightedge, including seam areas.
Can I install directly on plywood without leveling?
You can only if the plywood is already flat enough and the surface has no problem areas (lumps, dips, loose seams, or damaged spots). If it’s not within tolerance, you’ll likely get gaps, clicking, or adhesive/tile failure.
Will my new floor need acclimation in a basement?
Many flooring products require acclimation to indoor conditions before installation. Follow the installation instructions for your specific flooring brand and click/lock system.
Is tile over plywood a DIY-friendly project in basements?
It can be, but it’s more sensitive to subfloor stiffness, correct backer materials, and waterproofing details. If you’re unsure about the over-wood tile build-up and moisture control, consult a tile pro or follow the system instructions closely.
Sources
– [ADD: manufacturer installation instructions/spec sheet for your exact flooring type (LVP/laminate/engineered wood/tile system), including flatness tolerance, underlayment/vapor barrier requirements, and expansion gap rules]
– [ADD: manufacturer installation instructions for any underlayment or vapor barrier product you plan to use]
– [ADD: ASTM E96 vapor transmission test method reference, plus any ANSI/RFCI work-practice guidance you plan to reference for wood subfloor prep and resilient/vinyl/wood installation requirements, if applicable]
Installing over plywood basement floors works best when you treat the project as an assembly, not just a “top layer.” Stabilize and flatten first, follow the correct moisture/vapor strategy for your exact flooring system, and install using the brand’s lock/adhesive/backer requirements and expansion-gap rules. If you’re dealing with active moisture, pause—fix the source first—because preventing vapor damage upfront is far easier than troubleshooting a finished floor later.
Frequently Asked Questions
How do I prepare plywood basement floors before installing new flooring?
Start by inspecting the plywood subfloor for soft spots, loose sheets, and squeaks, then repair any damage by replacing water-damaged areas and fastening loose boards. Clean the surface thoroughly and address any high or low spots by sanding or leveling compounds so the finish floor doesn’t telegraph imperfections. If you’re dealing with moisture risk in a basement, install a suitable moisture barrier (or a manufacturer-approved underlayment system) before laying down flooring over plywood basement floors.
What underlayment should I use when installing flooring over plywood basement subfloors?
The best underlayment depends on your finished flooring type: laminate and engineered click-lock floors often require an underlayment rated for moisture control and impact reduction, while vinyl plank typically uses an attached pad or a separate moisture barrier. Avoid using thick cushioning underlayments that can make click-lock joints fail or create bounce. Always follow the flooring manufacturer’s thickness and vapor barrier requirements to ensure a proper warranty and long-term performance.
Can I install vinyl plank or laminate directly over plywood in a basement?
You can often install vinyl plank or laminate over plywood basement floors if the subfloor is flat, clean, and securely fastened, but you should not lay it on uneven surfaces. Measure flatness using a straightedge—most manufacturers want minimal variation (commonly within about 1/8 in over a certain span). For basements, prioritize moisture control with the correct underlayment or a vapor barrier to prevent cupping, gaps, or mold-related issues.
How do I level plywood basement floors that are uneven before installation?
If your plywood is uneven, identify the high spots to sand and fill low areas with a plywood-compatible floor leveling compound or patch rated for subfloors. For floors that are more out of level, consider using a self-leveling underlayment system only if it’s compatible with wood subfloors and the manufacturer approves it. After leveling, let all patching materials cure fully, then re-check flatness and remove dust so your flooring adhesive or underlayment bonds correctly.
Which fastening and expansion gap rules should I follow when installing flooring over plywood basement floors?
Whether you’re installing nailed-down hardwood or a floating floor system, you must follow expansion gap guidelines around walls, columns, and doorways to allow movement in basement temperature swings. For floating laminate or vinyl, use the recommended underlayment and never block expansion with baseboards that are fastened to the flooring. For nail-down installations over plywood, ensure the subfloor is solid and use the correct nails and fastening pattern so you don’t create squeaks or loose sections that can damage the finished floor.
📅 Last Updated: October 11, 2026 | Topic: How to install over plywood basement floors? | Content verified for accuracy and freshness.
References
- Google Scholar Google Scholar
https://scholar.google.com/scholar?q=installing+flooring+over+plywood+subfloor+basement+moisture - Google Scholar Google Scholar
https://scholar.google.com/scholar?q=plywood+subfloor+basement+floor+covering+installation+guideline - Google Scholar Google Scholar
https://scholar.google.com/scholar?q=how+to+prepare+plywood+subfloor+for+flooring+basement+humidity - https://www.epa.gov/mold/mold-basements-and-attics
- https://www.cdc.gov/mold/default.htm
- https://www.energy.gov/energysaver/basements-and-attics-moisture
- https://en.wikipedia.org/wiki/Subfloor
- https://en.wikipedia.org/wiki/Wood_floor
- Google Scholar Google Scholar
https://scholar.google.com/scholar?q=How+to+install+over+plywood+basement+floors? - https://en.wikipedia.org/wiki/Special:Search?search=How+to+install+over+plywood+basement+floors?