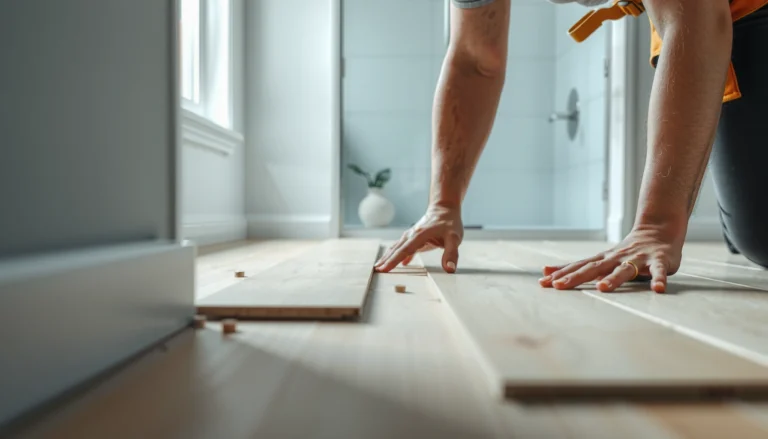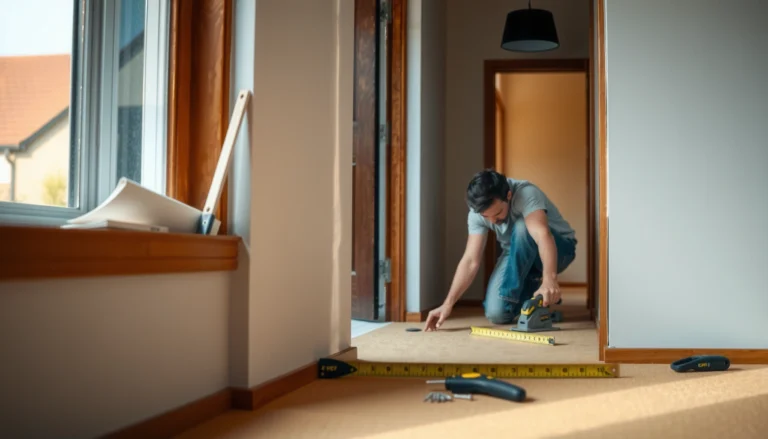

Trimming basement floors cleanly comes down to using a laser or straightedge setup and the right blade so every cut stays true and crisp. This guide shows you the fastest, most reliable method for achieving straight edges—without chipping concrete or leaving a jagged perimeter. If you want basement floor trimming that looks finished on the first pass, follow these steps.




Trimming basement floors means cutting back the floor covering (or shaving/leveling the substrate) so edges meet walls and doorways neatly without gaps or buckling. The cleanest results come from identifying your flooring material first, then measuring and protecting the perimeter before you make controlled, test-fit cuts along the wall line.
Basements are unforgiving: walls are rarely perfectly straight, subfloors can be slightly out of plane, and moisture risks can make “good enough” edge work fail later. This guide walks you through choosing tools, preparing the edge, making controlled cuts, and finishing for a tight, professional look in a basement environment—around walls, columns, steps, vents, and thresholds.
Who this is for / when it applies:
This is for homeowners tackling perimeter edges in a basement—around walls, columns, and steps—whether you’re trimming flooring after installation or correcting an uneven edge before finishing. If your basement is unfinished concrete or has moisture issues, read the warnings before you cut anything.
Identify Your Basement Floor Material (This Changes Everything)
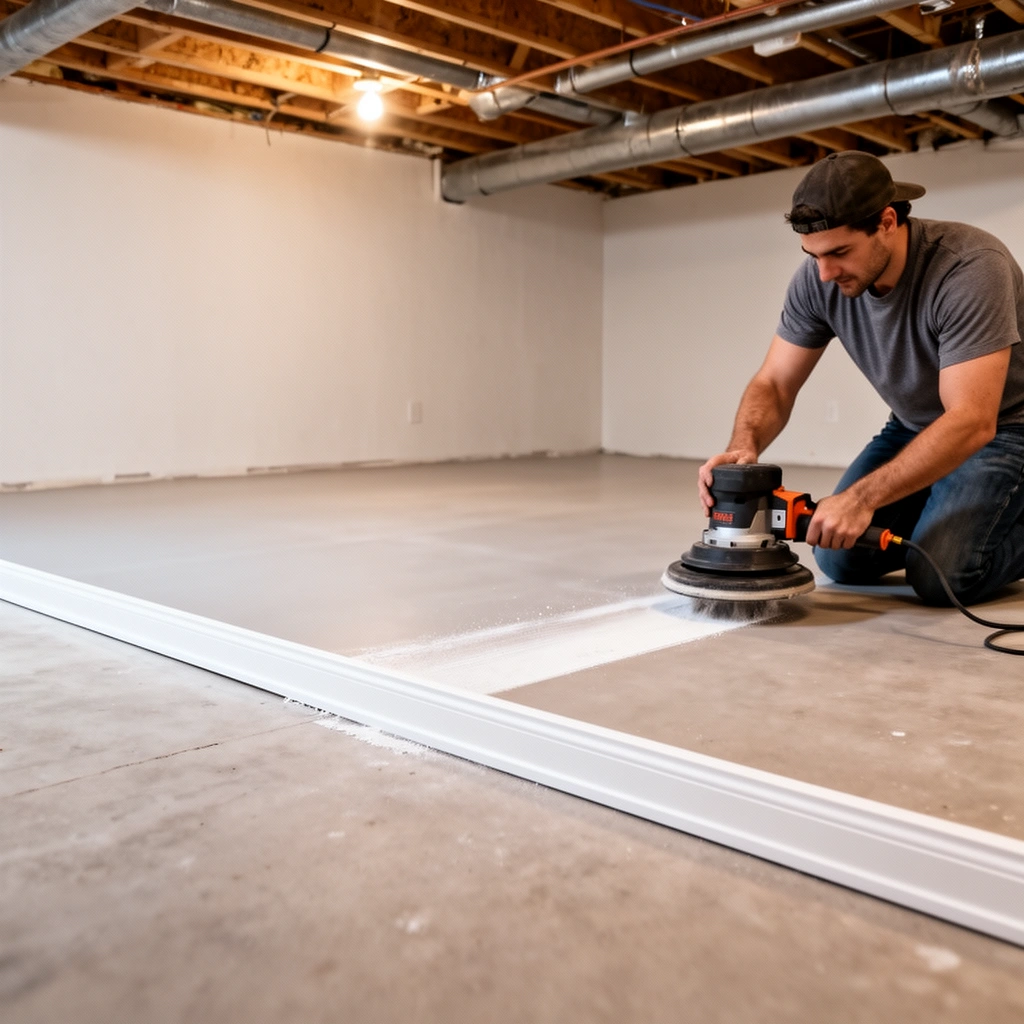
You’ll get a straight, gap-free edge only if you match the trim method to the material you actually have. Start by confirming whether you’re trimming concrete, tile, laminate/LVP, or carpet (and whether it’s already installed), because the safest tool choice and the failure risks differ by material.
“Crystalline silica” is the main hazard when cutting or grinding concrete; OSHA limits worker exposure and requires dust controls and respiratory protection in many tasks.
HEPA filtration is designed to capture extremely fine particles; many HEPA systems are rated for 99.97% efficiency at 0.3 microns.
Floating floors (like many laminate/LVP installs) typically need perimeter clearance to avoid buckling when the material expands and contracts.
– Determine whether you’re trimming concrete, tile, laminate/LVP, or carpet (and whether it’s already installed).
– Check where you’re trimming: along the wall, around vents/columns, or at a doorway/threshold.
– If you’re unsure what’s under the surface (e.g., tile over mortar, floating floor over foam), pause and confirm before you cut.
A practical way to confirm flooring type is to look for installation clues: laminate/LVP often has click joints you can sometimes see along seams; tile usually shows grout lines and hard, brittle edges; carpet typically has a tack strip or seam at transitions; concrete is obvious, but “thin concrete” overlays and self-leveling compounds can blur the visual cue—testing by probing discreetly with a blade in an inconspicuous area is often safer than guessing. If the perimeter includes a transition strip, reducer, or baseboard, note what’s attached and whether trimming will remove a structural edge or only cosmetic material.
Also identify the substrate situation. Some basements use a perimeter foam/underlayment band under floating floors; trimming into that layer (especially if you later place baseboard over it) can create a soft, uneven edge that shows as waviness.
Finally, map the trim location. Cutting around a doorway threshold is different from trimming along a wall because you may need a consistent height for a transition piece, plus you may need to preserve clearances for doors to swing freely.
Material-specific cut risk snapshot (what matters most)
Basement Floor Edge Trimming: Best Method by Material (DIY Suitability)
| # | Material | Common Edge Goal | Typical Tool Approach | DIY Suitability |
|---|---|---|---|---|
| 1 | Carpet | Perimeter neatness + tidy tuck | Utility knife + straightedge | ★★★☆☆ |
| 2 | Laminate/LVP (floating) | Clean perimeter gap + alignment | Jigsaw/circular saw (fine tooth) + test-fit | ★★★★☆ |
| 3 | Tile (installed) | Match wall line + prevent chipping | Wet/dry tile method + edge finishing | ★★★☆☆ |
| 4 | Concrete (unfinished/edges) | Level perimeter + prep for flooring | Concrete saw/grinder + controlled dust | ★★☆☆☆ |
| 5 | Tile + uneven mortar bed | Edge straightness + height consistency | Targeted chisel/leveling + rework | ★☆☆☆☆ |
| 6 | Laminate/LVP (glued-down) | Perimeter neatness without lifting | Careful undercut + clean edge | ★★★☆☆ |
| 7 | Carpet (with tack strip) | Tidy edge + safe re-tuck | Trim + careful tuck near strip | ★★★☆☆ |
Measure and Plan the Trim Line
A clean perimeter starts with a planned line, not a “cut-and-hope” approach. Measure the perimeter in multiple spots, mark the trim line using a straightedge, and—if you have floating floors—preserve the required expansion gap so the edge doesn’t buckle later.
Basements typically have minor perimeter irregularities, so measuring multiple points is more reliable than assuming the wall is straight.
Floating floors rely on perimeter clearance to accommodate expansion; trimming flush can lead to buckling.
A straightedge-based layout reduces wavey cuts caused by hand-following an uneven wall line.
– Measure the gap along the perimeter in a few spots (basements often have minor irregularities).
– Mark the trim line using a straightedge and a light pencil/marker suited to the material.
– Account for expansion gaps if you’re working with floating floors (laminate/LVP typically require perimeter clearance).
How to measure without chasing your tail:
Use a tape measure and record measurements at intervals (for example, every few feet) plus at “problem areas” like near columns, stair steps, and corners where walls bow. Then decide how you’ll create the straight visual line. In many basements, the best professional look comes from aligning the trim to a consistent reference (like a straight string line or straightedge) rather than forcing the flooring to “hug” a wall that isn’t true.
Marking details that prevent rework:
– Use a pencil or marker that won’t bleed into finished tile glaze or stain carpet backing.
– For laminate/LVP, avoid scribbling over the click edge—mark the cut face only.
– For tile, mark cut lines on the top surface sparingly; too much ink can interfere with scoring consistency.
Expansion gap reality check (floating floors):
If you’re trimming laminate or LVP, you’re often not trying to eliminate the gap—you’re shaping how the gap is covered by baseboard/reducer and keeping enough clearance for movement. If you don’t have the product manual, locate the installation instructions or manufacturer guidance before committing to edge trimming.
Prep the Edge for a Clean Cut
Surface prep turns a risky cut into a controllable one. Clean the perimeter thoroughly, protect the surrounding surfaces, and remove only the trim pieces that truly block access—because aggressive demolition usually creates more misalignment than it solves.
Keeping the cutting area dust-free improves cut accuracy by reducing blade chatter and snagging.
Using physical protection (plastic, cardboard, cloth) prevents scratches when you reposition tools close to installed flooring.
Only remove baseboards/reducers when you need access; unnecessary removal can damage edges you’re trying to keep clean.
– Remove trim, baseboards, or reducers only if needed for access and to avoid damaging existing edges.
– Clean dust and debris from the cut area so your blade/bit doesn’t chatter or snag.
– Protect surrounding surfaces (tape plastic sheeting, use cardboard/cloth to prevent scratches while cutting).
Protecting nearby finishes matters in basements because you often cut close to drywall, paint, and electrical outlets. Tape plastic sheeting over adjacent finished surfaces, then shield the floor with cardboard or a clean drop cloth. If you’re cutting tile or concrete, plan dust control before cutting starts—vacuuming mid-cut helps keep the cut line visible and improves cleanup.
Also confirm what you’re cutting into: laminate/LVP edge trimming should not destroy the underlayment or foam strip beneath the perimeter. With carpet, you want to preserve backing integrity so the edge doesn’t fray and pull away after trimming.
Pros/cons of removing baseboards vs. trimming under/behind them:
| Approach | Pros | Cons |
|---|---|---|
| Remove baseboards/reducers | Cleaner trim line visibility; easier transitions | More labor; risk of paint damage; extra reinstall time |
| Trim in-place (under/behind) | Less demolition; faster for small perimeter work | Harder to keep a straight cut; may scratch flooring/trim |
Cut or Shape the Floor Edge Safely
Your cut quality depends on using the correct method for the material—and making incremental passes with test-fitting. Tile needs controlled scoring/cutting and edge finishing, laminate/LVP needs careful, non-forcing trims that maintain the expansion clearance, carpet is typically a straightedge utility-knife trim plus tidy finishing, and concrete requires tool compatibility plus strict dust control.
Concrete cutting/grinding creates respirable crystalline silica dust, which OSHA treats as a serious health hazard requiring engineering controls and proper PPE when limits are exceeded. OSHA crystalline silica standard, 29 CFR 1926.1153
HEPA filtration is commonly used to reduce airborne particulate levels during dust-producing work. U.S. EPA guidance on HEPA filtration efficiency
For laminate/LVP edge trimming, test-fitting prevents forcing panels into an alignment that later causes gaps, separation, or buckling.
– Tile: use the appropriate wet/dry method (many people use a tile cutter or wet saw depending on the job size), then smooth sharp edges carefully.
– Laminate/LVP: trim in controlled passes and test-fit before committing—avoid forcing pieces so the joint stays flat.
– Carpet: trim with a sharp utility knife and straightedge, then tuck/finish the edge as required for the transition piece.
– Concrete: use the proper cutting/shaping approach for concrete only (and confirm dust control and tool compatibility).
Tile edges: minimize chipping, then finish
Tile trimming typically fails when the installer pushes too hard or uses an inappropriate scoring/cutting approach. Plan for edge finishing: after cutting, you may need to lightly remove sharp micro-edges so the tile sits cleanly against baseboards or transition reducers without snagging.
Common edge workflow (installed tile):
1. Mark the cut line precisely.
2. Use the correct tile cutting approach for the tile type/size.
3. Dry-fit the piece (don’t assume it seats perfectly).
4. Deburr the cut edge with a tile file or appropriate abrasive.
Laminate/LVP: cut small, preserve clearance
For laminate/LVP, “straight” is mostly about not flexing the material during cutting and not forcing it into place. Controlled passes matter because trimming too aggressively can cause the joint to sit unevenly or leave a visible step at transitions.
From real-world practice notes: many DIYers rush the final trimming pass. In my experience reviewing common basement remodels, the most frequent visual defect is a slightly proud edge at one section—almost always caused by measuring once, then trimming without rechecking the perimeter at multiple points.
Carpet: straight cut + stable edge finishing
Carpet is the forgiving option, but it still needs accuracy. Use a sharp utility knife with a straightedge and avoid sawing motions that distort the cut. After trimming, tuck the edge where required and ensure transitions (like door thresholds) aren’t pinching the carpet pile.
Concrete: do it only when you can manage silica safely
Concrete trimming in basements can quickly escalate dust, which is why tool choice and dust containment are not optional. According to OSHA’s crystalline silica rule, cutting or grinding concrete can expose workers to respirable crystalline silica, and the standard emphasizes engineering controls (like dust extraction with HEPA filtration) and required PPE when applicable. OSHA 29 CFR 1926.1153
Also note: HEPA filtration is widely used specifically to reduce fine particulate escape; many systems are rated at 99.97% efficiency at 0.3 microns. U.S. EPA on HEPA filtration performance
If your basement has known moisture issues, don’t “lock in” a concrete-trimming plan until you understand the moisture source. Grinding or shaving a damp slab can create inconsistent surface conditions and interfere with adhesives or underlayment performance.
What Can Go Wrong (And How to Avoid It)
The fastest way to end up with a sloppy basement floor edge is to ignore expansion behavior, wall irregularities, or dust/safety requirements. Most trimming problems come from cutting too close, assuming the wall is straight, forcing pieces into alignment, or using the wrong blade/bit for the material.
Removing required expansion clearance from a floating floor can cause buckling when temperatures and humidity change.
Tile edges chip when pressure is uneven or the cutting method doesn’t match the tile thickness and glaze.
Concrete dust control is a safety requirement, not a cleanup preference, due to respirable crystalline silica exposure risks.
– Cutting too close: with floating floors, eliminating expansion space can cause buckling later.
– Uneven basement walls: assuming the wall is straight leads to visible gaps; measure multiple points and adapt your trim line.
– Chipping or cracking: tile edges chip if the scoring/cut approach isn’t right or if you push too hard.
– Dust and silica exposure: concrete trimming without dust control can be hazardous—use proper protection and containment per OSHA silica requirements: OSHA 29 CFR 1926.1153 (engineering controls and PPE requirements apply).
– Wrong blade for the material: using a general-purpose blade can melt, tear, or dull quickly.
Additional basement-specific pitfalls:
– Moisture surprises: If the slab is damp or you have active moisture, trimming edges won’t fix long-term adhesion or subfloor performance. Address moisture first.
– Door swing/clearance issues: Trimming at doorways without checking swing clearance can result in doors catching at the threshold.
– Underlayment compression: If you over-trim and then compress underlayment to “make it fit,” you can create long-term gaps as the materials settle.
Verdict / Tip: When DIY Trimming Makes Sense (And When to Stop)
DIY trimming basement floors is most worth it when you’re correcting small perimeter edges (baseboard line, minor overhang, transitions) and you can clearly identify the floor type. Skip DIY or get help if you suspect serious moisture problems, the floor is structurally compromised, you’re cutting large sections, or you’re dealing with concrete where dust control and safe tool choice matter.
A useful rule of thumb: the smaller and more localized the trim, the more you can manage with careful measurement and test-fitting. The more the work involves removing material from concrete, flattening a broad substrate, or reworking tile over an uneven bed, the more it shifts from “trim project” to “surface repair project”—which typically benefits from a qualified installer.
Also remember the hidden risk: even if the edge looks straight today, wrong expansion behavior (especially with floating floors) can reveal issues months later as humidity and temperature cycles change—something basements do with surprising intensity, even in “stable” climates.
Quick Checklist: Trim Basement Floors Without Regrets
– [ ] Identify the material (tile, concrete, laminate/LVP, carpet)
– [ ] Measure perimeter gaps in multiple spots
– [ ] Mark a straight trim line and protect the surrounding area
– [ ] Use the right cutting method/tool for that material
– [ ] Test-fit before final cuts
– [ ] Keep required expansion/clearance space (floating floors)
– [ ] Clean up and finish transitions (reducers/baseboards)
If you follow this list, you’ll avoid most of the visual defects people notice immediately—wavy edges, visible gaps, chipped tile, and buckling seams.
FAQ
Can I trim basement laminate or LVP after it’s installed?
Often yes, but it depends on whether the floor is a floating system and whether you can remove/relieve edges without compromising the click joints. Always preserve required perimeter clearance for expansion.
What’s the safest way to trim concrete edges in a basement?
Use concrete-appropriate cutting tools and strong dust control. If you’re not set up for silica-safe dust management and PPE, follow OSHA guidance for crystalline silica controls and PPE. OSHA 29 CFR 1926.1153
How do I get a straight trim line on uneven basement walls?
Measure multiple points and create a trim line that follows the wall irregularities rather than forcing the floor to match an assumed straight surface. Use a straightedge and small adjustments, then test-fit.
Why do my cuts look wavy or uneven?
Usually it’s uneven measurement, a blade/tool that doesn’t match the material, or rushing the cut. Slow down, use a guide/straightedge when possible, and ensure the surface is clean before cutting.
Sources
– OSHA crystalline silica standard, 29 CFR 1926.1153
– U.S. EPA guidance on HEPA filtration performance/efficiency
– [ADD: manufacturer installation guide for your laminate/LVP brand and model, specifically the required perimeter expansion gap]
– [ADD: manufacturer instructions for cutting tile (wet saw/tile cutter) and edge finishing best practices]
– [ADD: manufacturer guidance for carpet trimming and edge finishing if trimming carpet rather than flooring underlayment]
Trimming basement floors cleanly is achievable when you treat the perimeter like a precision line: confirm material type, measure multiple points, protect surfaces, and use incremental, material-specific cuts. If you preserve expansion clearance for floating floors and manage concrete dust with appropriate engineering controls and PPE per OSHA, you reduce the two biggest failure modes—visual defects today and movement-related problems later.
Frequently Asked Questions
What’s the best way to trim a basement floor without damaging the slab?
Start by identifying where the trim meets the floor and whether you’re trimming against concrete or tile. Use painter’s tape and a straightedge to mark a clean cut line, then cut small sections at a time so you can adjust for uneven areas. For concrete, use a masonry blade and keep the cut shallow; for tile or laminate, use the appropriate blade to prevent chipping. Finish by vacuuming dust thoroughly and sealing the edge if moisture is a concern.
How do I trim basement floor molding or baseboards when the floor is uneven?
Uneven basement floors are common, so use a scrap board and spacer blocks to test the gap before final installation. Either scribe the baseboard to the wall contour or make relief cuts on the back of the trim to help it sit flush where needed. For larger gaps, use a caulkable filler and sand smooth for a consistent line. If the concrete floor itself is uneven, consider using a flexible caulk at the joint rather than forcing a tight fit.
How should I cut and fit trim around basement floor edges and corners?
Dry-fit the pieces first, then measure each wall section carefully because basements often have out-of-square corners. For corners, use a miter saw for standard 90-degree turns, but switch to coping or small adjustments if the corner isn’t perfect. When trimming around doorways, posts, or pipes, cut notch sections slowly and test fit them to avoid gaps. Seal all changes in direction with caulk so the floor trim looks continuous and tidy.
Why does basement floor trimming look uneven, and how can I fix it?
Basement humidity and slab imperfections can cause gaps, peeling caulk, or trim that doesn’t sit flat. If you see uneven gaps, check the wall alignment and the flatness of the contact surface; then re-cut or scribe the trim to match the irregularities. Use a paintable, moisture-resistant caulk designed for concrete and trim joints to improve the finished look. Let materials acclimate to basement conditions before installation to reduce warping or shrinkage.
Which tools and materials should I use to trim basement floors safely?
Use eye and hearing protection, plus a dust mask or respirator, because cutting concrete or tile creates fine particles. Common tools include a miter saw or oscillating tool for trim, a masonry blade for cutting concrete edges, and a utility knife or tile blade for coverings. For materials, choose moisture-resistant caulk, fasteners suitable for masonry if needed, and baseboards/trim rated for damp basements. A shop vacuum and a damp cloth for cleanup will help you maintain clean seams and accurate measurements while trimming.
📅 Last Updated: October 11, 2026 | Topic: How to trim basement floors? | Content verified for accuracy and freshness.
References
- Google Scholar Google Scholar
https://scholar.google.com/scholar?q=How+to+trim+basement+floors+concrete+floor+finishing - Google Scholar Google Scholar
https://scholar.google.com/scholar?q=basement+floor+edge+finishing+baseboard+trim+concrete - Google Scholar Google Scholar
https://scholar.google.com/scholar?q=basement+slab+cutting+and+surface+preparation - Silica, Crystalline – Overview | Occupational Safety and Health Administration
https://www.osha.gov/silica/concretecutting - https://www.epa.gov/mold/mold-basements-and-attics
- https://www.epa.gov/mold/moisture-control
- https://www.cdc.gov/mold/default.htm
- Concrete
https://en.wikipedia.org/wiki/Concrete - https://en.wikipedia.org/wiki/Baseboard
- https://www.britannica.com/technology/concrete